
We're about
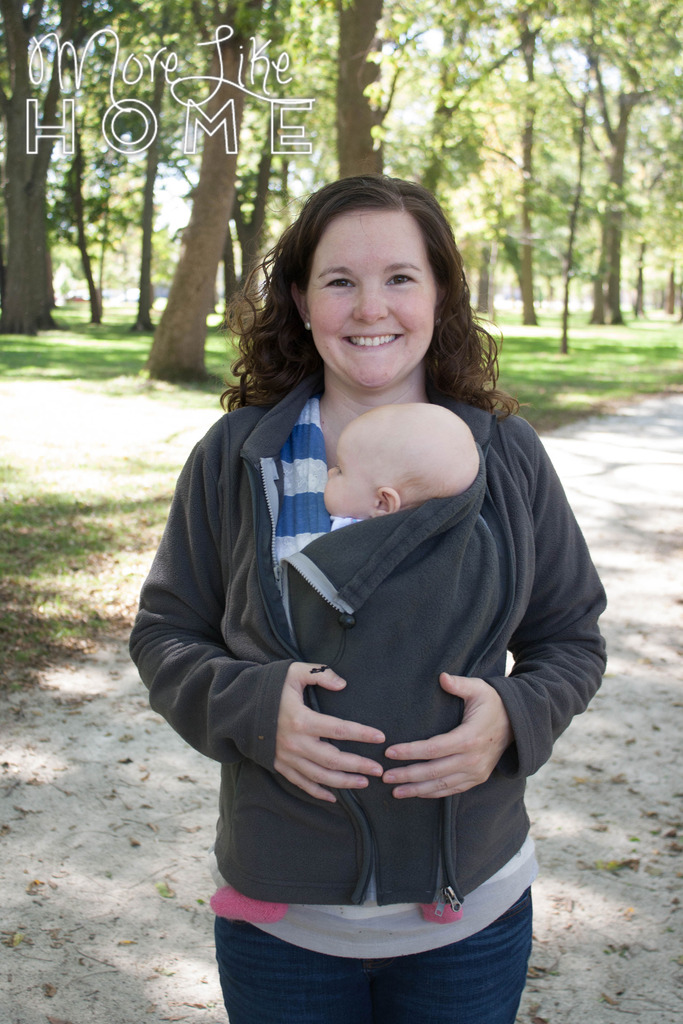
to have our first cold-weather baby. Like any day now. So I've been
nesting like crazy trying to get things ready around here. One of the
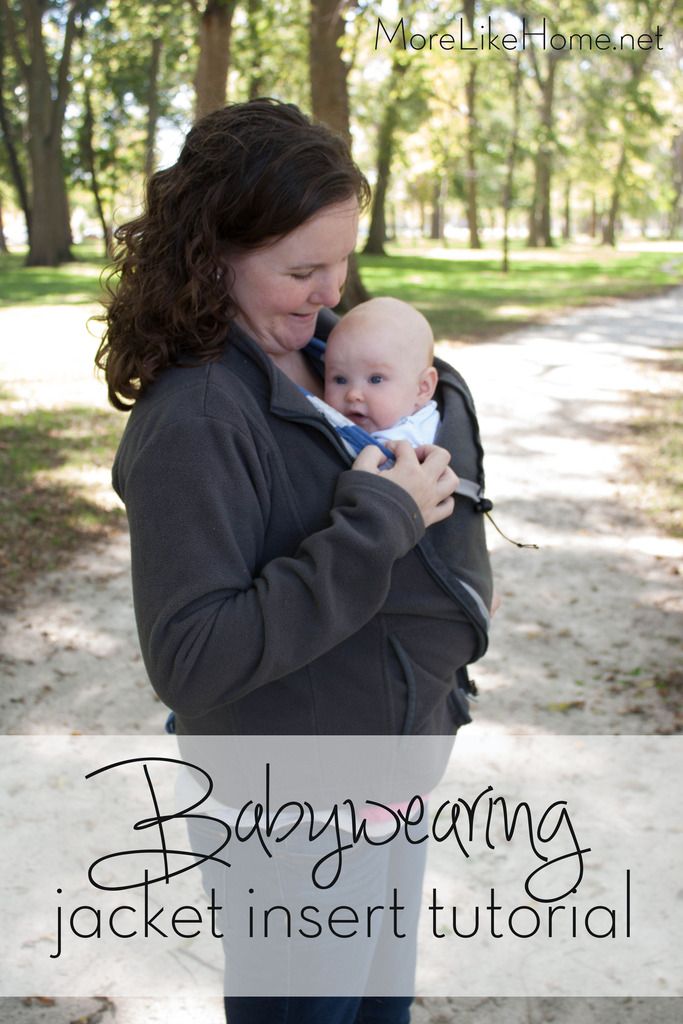
things on my to-do list was finding an affordable baby-wearing jacket...
which it turns out is no easy task! Prices started at $45 for a jacket
insert and went as much as $300 for a full babywearing jacket. Yikes. So
I decided the best option was to make my own. Not only did I end up
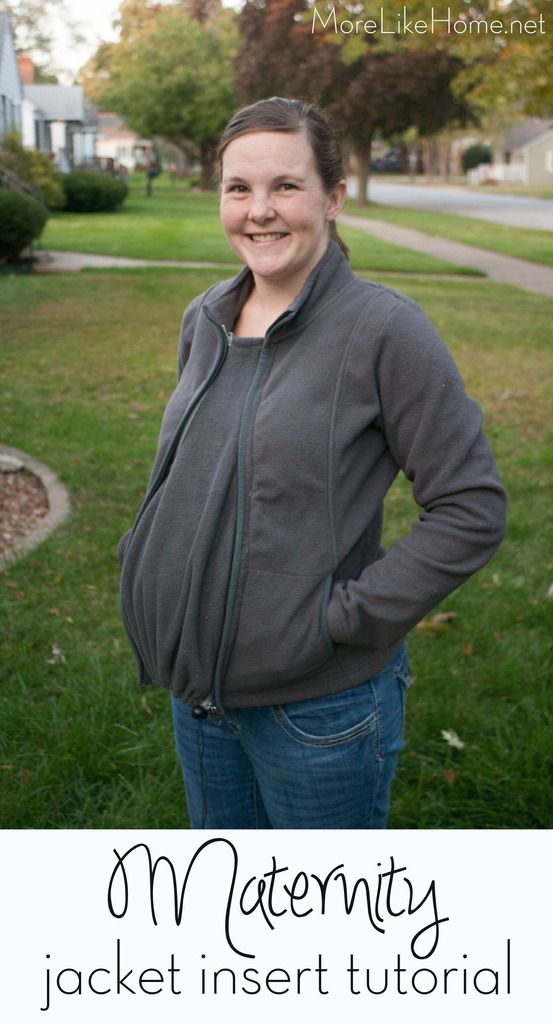
with a babywearing jacket that is both easy and affordable, it also doubles as a maternity insert to keep pregnant bellies warm!

You can make an insert to work with any jacket or coat you already own, and it's reversible so you can put the wider end at the bottom for maternity use, then flip it over for more space at the top when you have a little bundle to wear. The wider end has an elastic cinch cord to help you get a good fit at any stage.

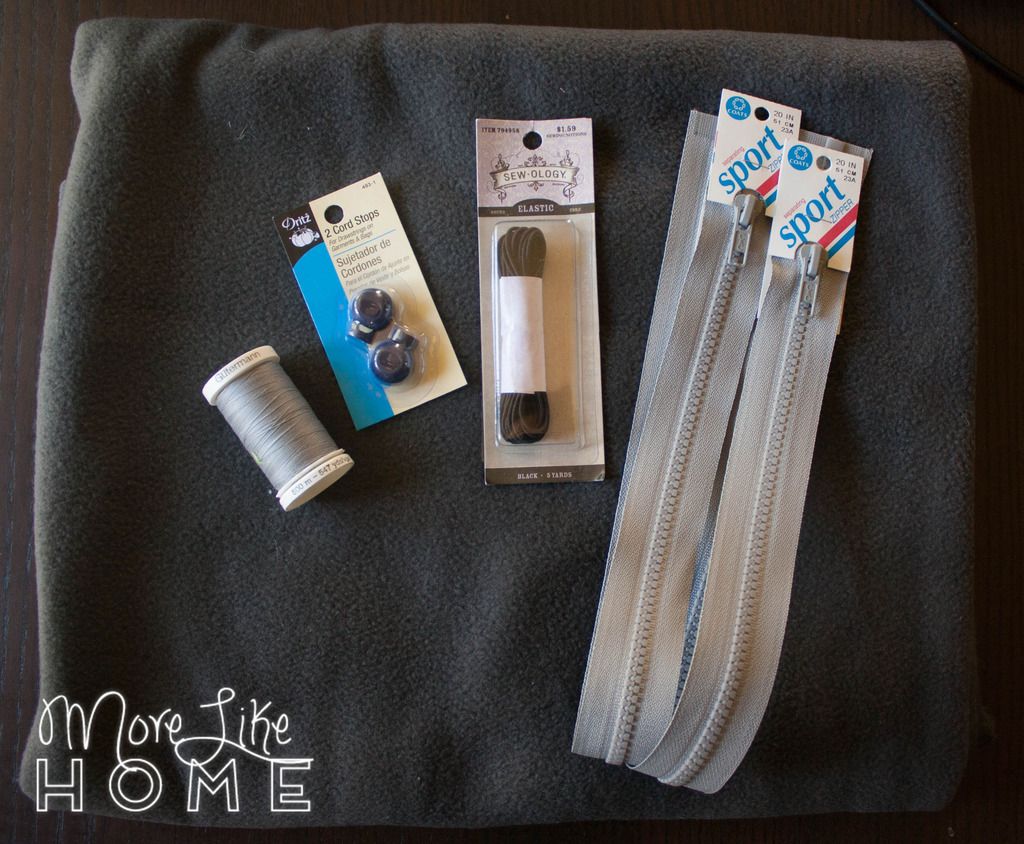
You really only need a few things to make your own babywearing jacket insert. I already had the thread and a jacket, and I spent about $15 on everything else. The fleece was on sale, so most of the cost was the zippers. If you use coupons for those you'll save quite a bit! Here's everything you nee:
- jacket or coat
- 1/2 yard of fleece that matches your jacket (if you want a wider insert you'll need a little more)
- two matching 20" separating zippers (measure your jacket to see if you need a different size)
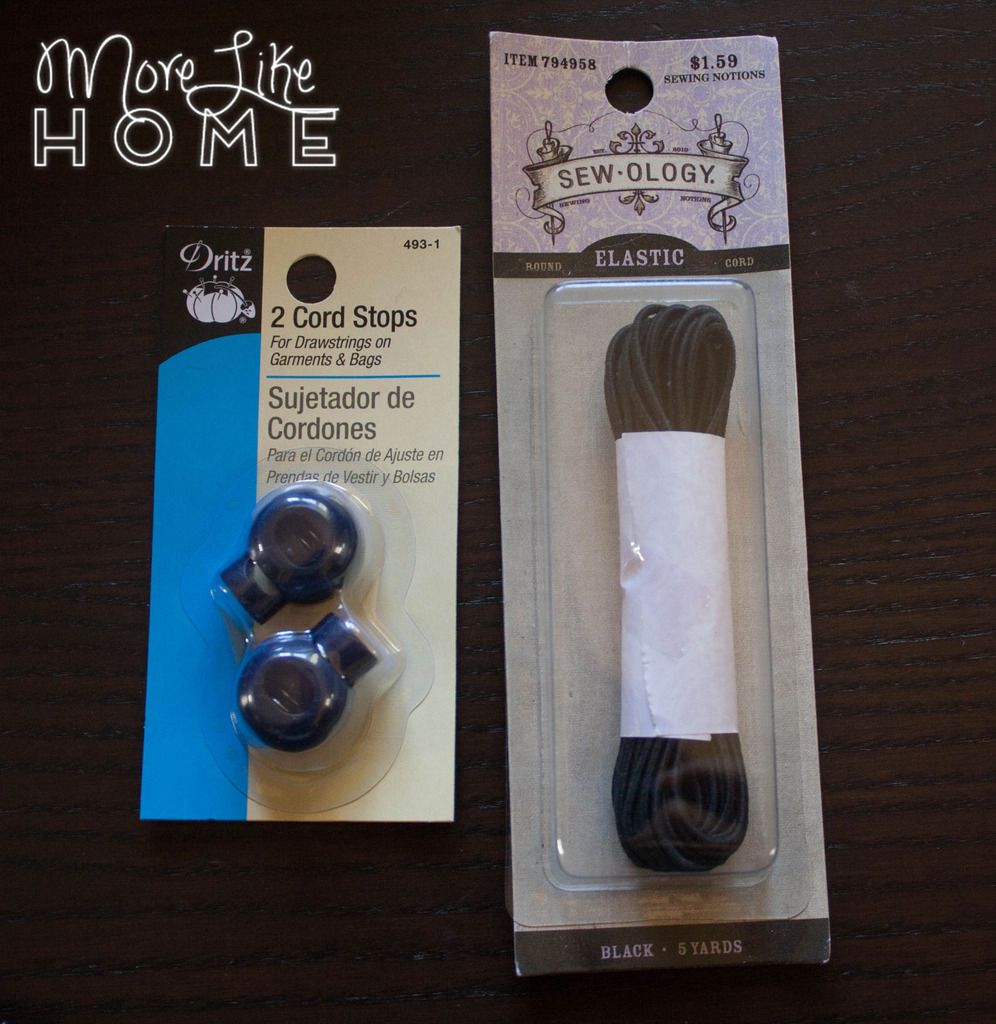
- 1 cord stop
- elastic cord
- thread
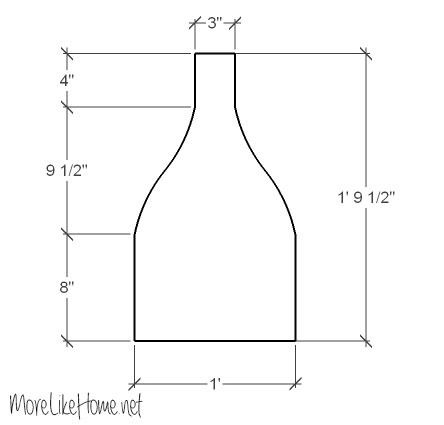
Start by cutting out the insert. I drew it out on the wrong side of the fleece using the diagram below and then cut it out. You can always measure first to see if you want to make any adjustments. I measured from the bottom of my jacket to the height I wanted it to stop (20") and added 1.5" to make my overall height 21.5"
The narrow end is 3" wide to add just a little space for baby legs.
The wider end is 12." If you're using this strictly as a maternity jacket you could make this end a bit narrower. I have to cinch it in pretty far even at a full 40 weeks pregnant. If you'll be babywearing an older child you may want to make it a little wider. It fits my sisters chunky 3 month old, but an older toddler might need a little more wiggle room. NOTE: If I made this again I would make it less curvy and do more of a straight tapered edge to the narrower top --- thanks to Connie for that tip!
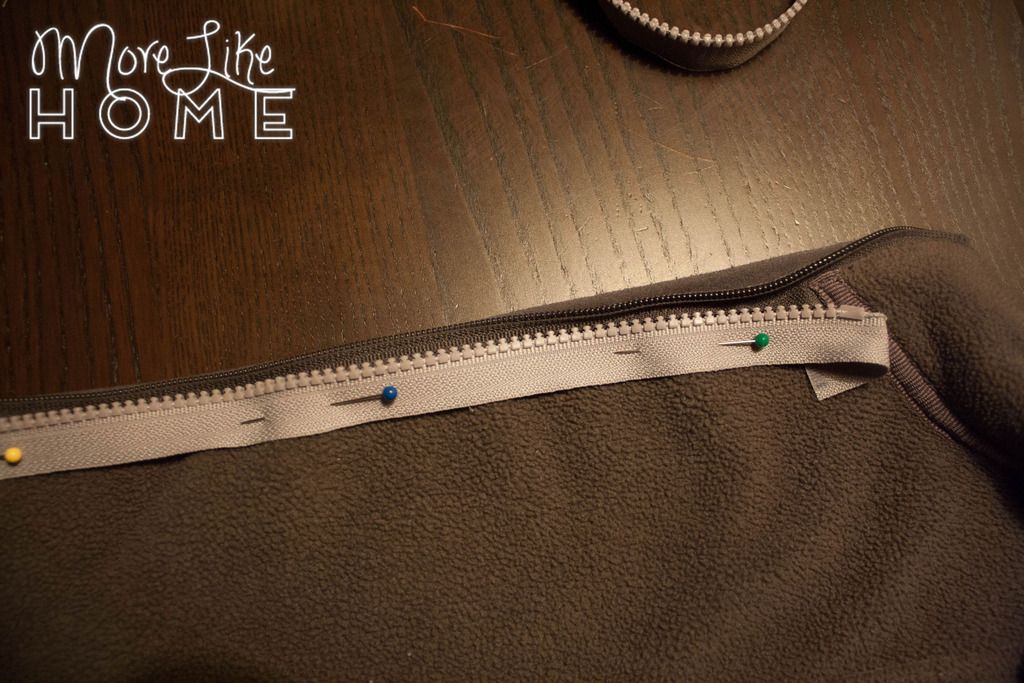
Pin the zippers in place on the insert. You need to open up both zippers and pin the halves without the pull tabs to the insert. The halves with the tabs will be attached to your jacket later. You can make it reversible (to be able to have the wider part at the top or bottom) by placing one zipper running each direction. You can see in the pic below that the zipper on the top edge has the pull tab facing left and the one on the bottom edge has the pull tab facing left.
Place each zipper half face-down on the right-side of your fleece and line up the non-zipper edge with the edges of the fleece insert. The pins (the part that goes into the zipper tab) should be about 1" in from the wide end and 1/2" from the narrow end. It's okay to have extra hang over at the zipper-stop ends. **Note: If you'll be using this exclusively for babywearing, I would keep both zippers running the same directions with the pins facing down toward the narrow end.

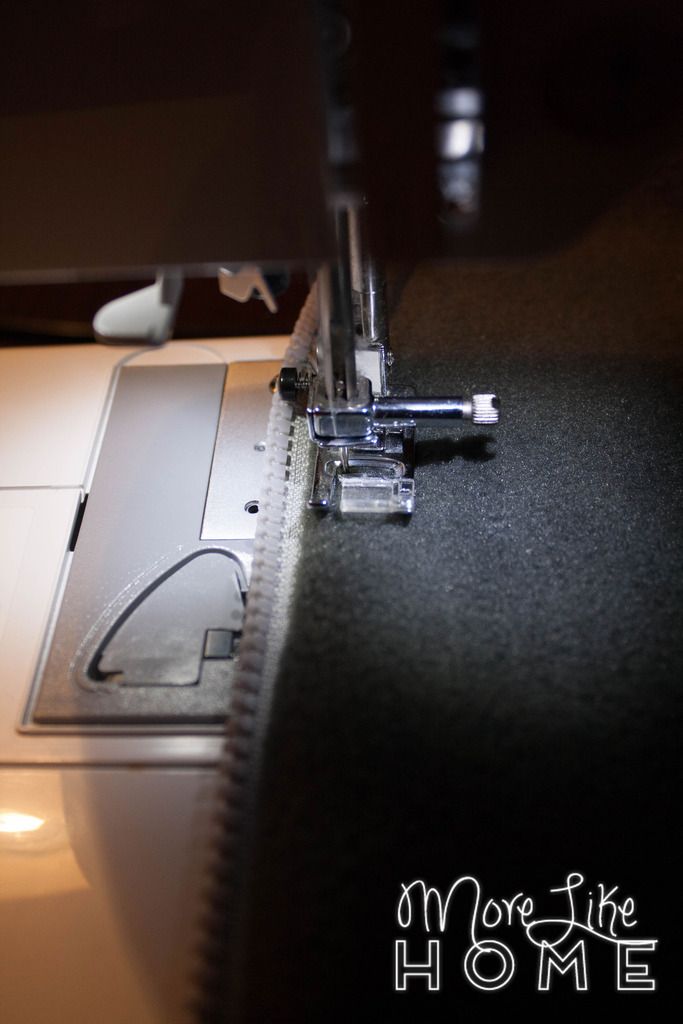
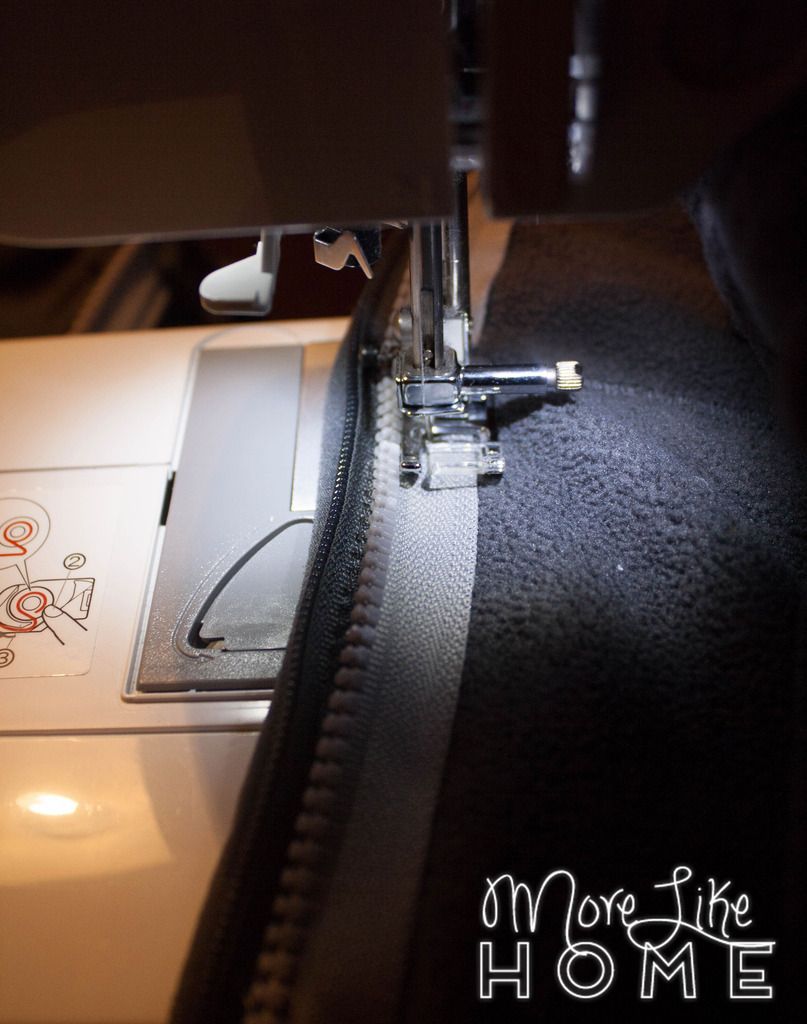
Sew the zippers in place.

Fold the zipper under to the wrong side of the insert and top stitch along the folded edge. This will give your jacket insert a nice finished look.
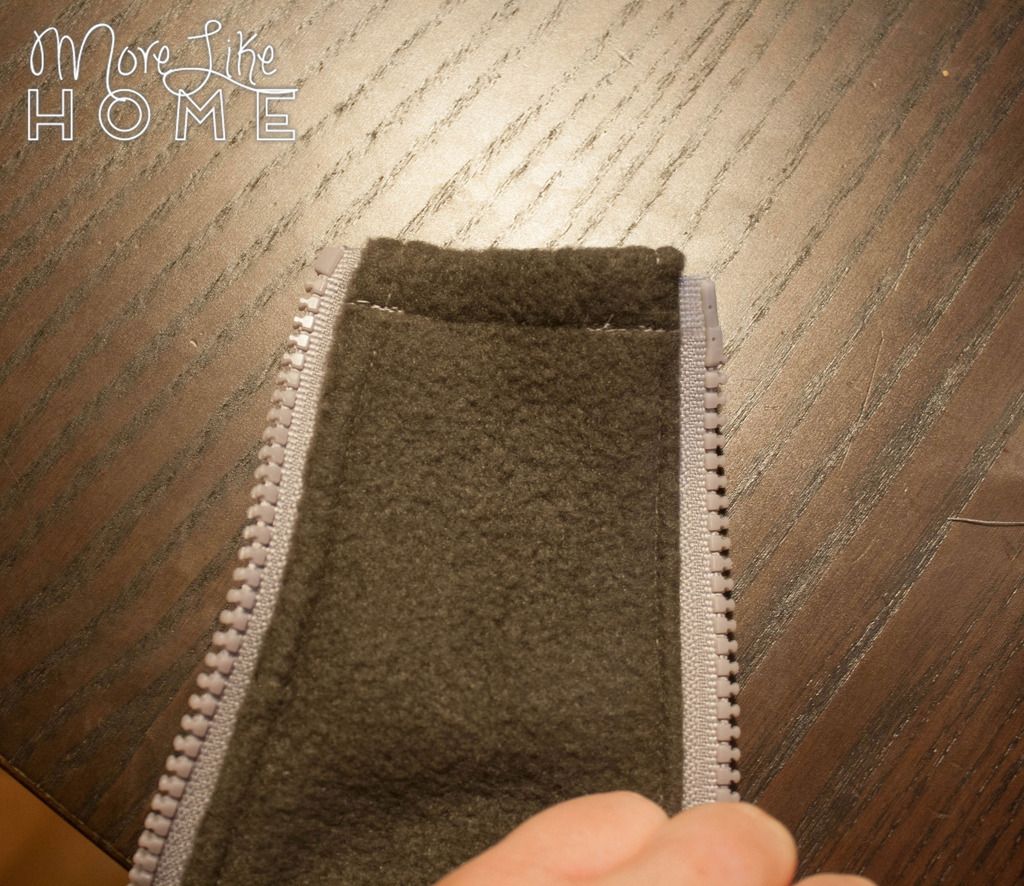
At the narrow end of the insert, fold the excess fabric under to the wrong side so it's even with the zipper pin. Sew it in place.

The front side will look like this:
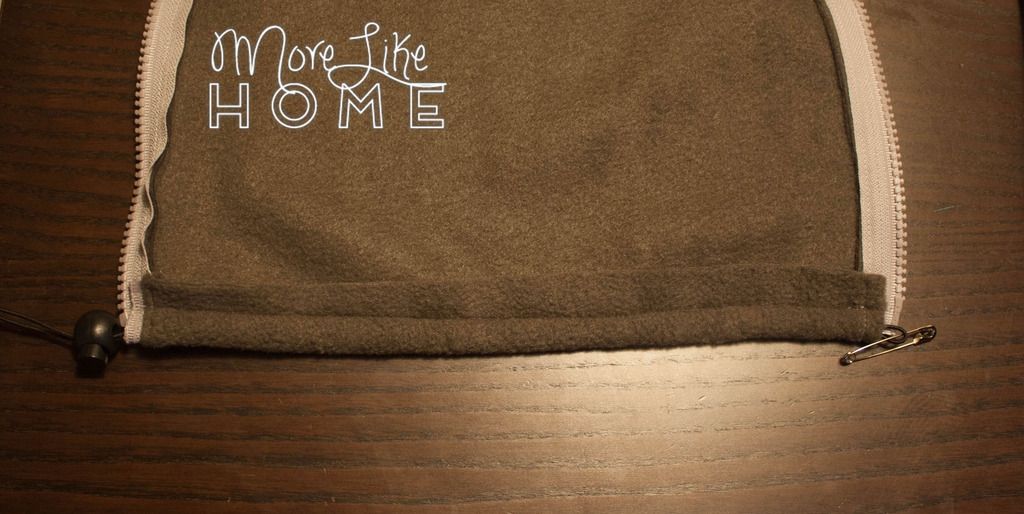
Do the same with the wide end and sew it in place with 1/2" seam allowance. This will be the casing for the cinch cord. (This end will have a little more extra fabric left over than the narrow end because I'm planning to add a snap-on hood and wanted two layers of fabric for the snaps.)

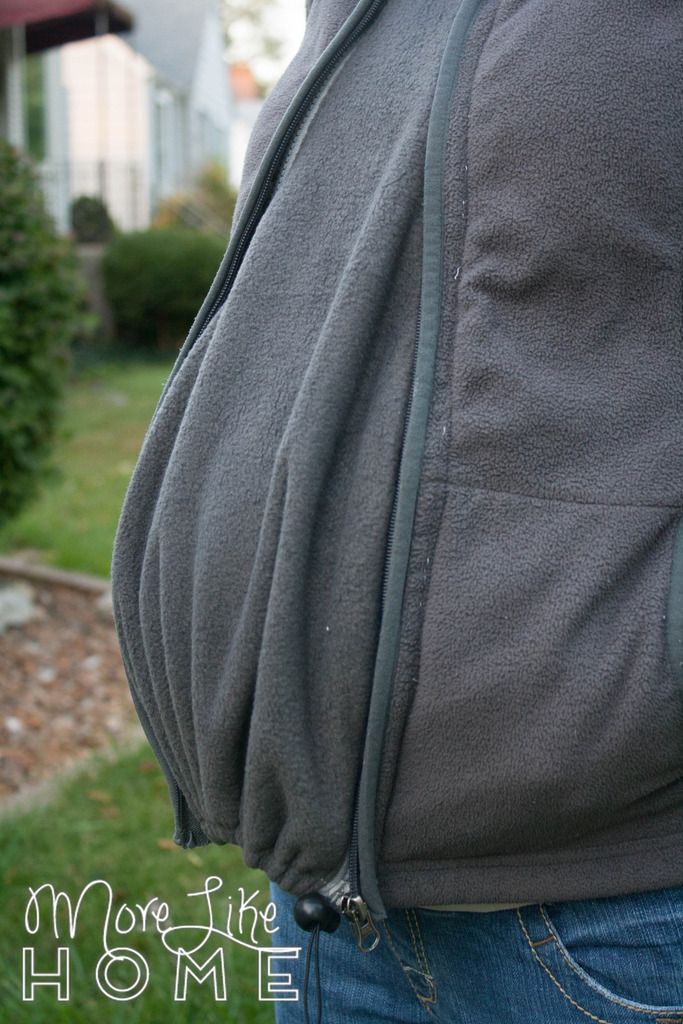
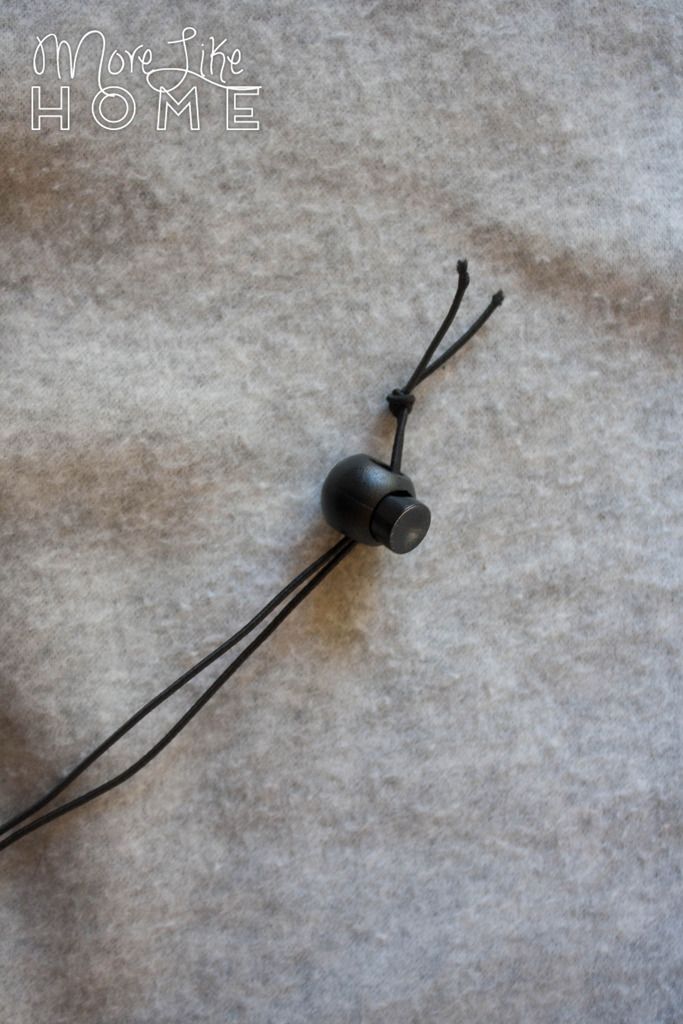
Now you can add your cinch elastic to the wide end. You'll need a cord stop and some elastic cording.
Cut a piece of elastic 25" long. Fold it in half and thread the ends through the cord stop. Tie the ends together in a knot.
Put a safety pin through the loop of the elastic.
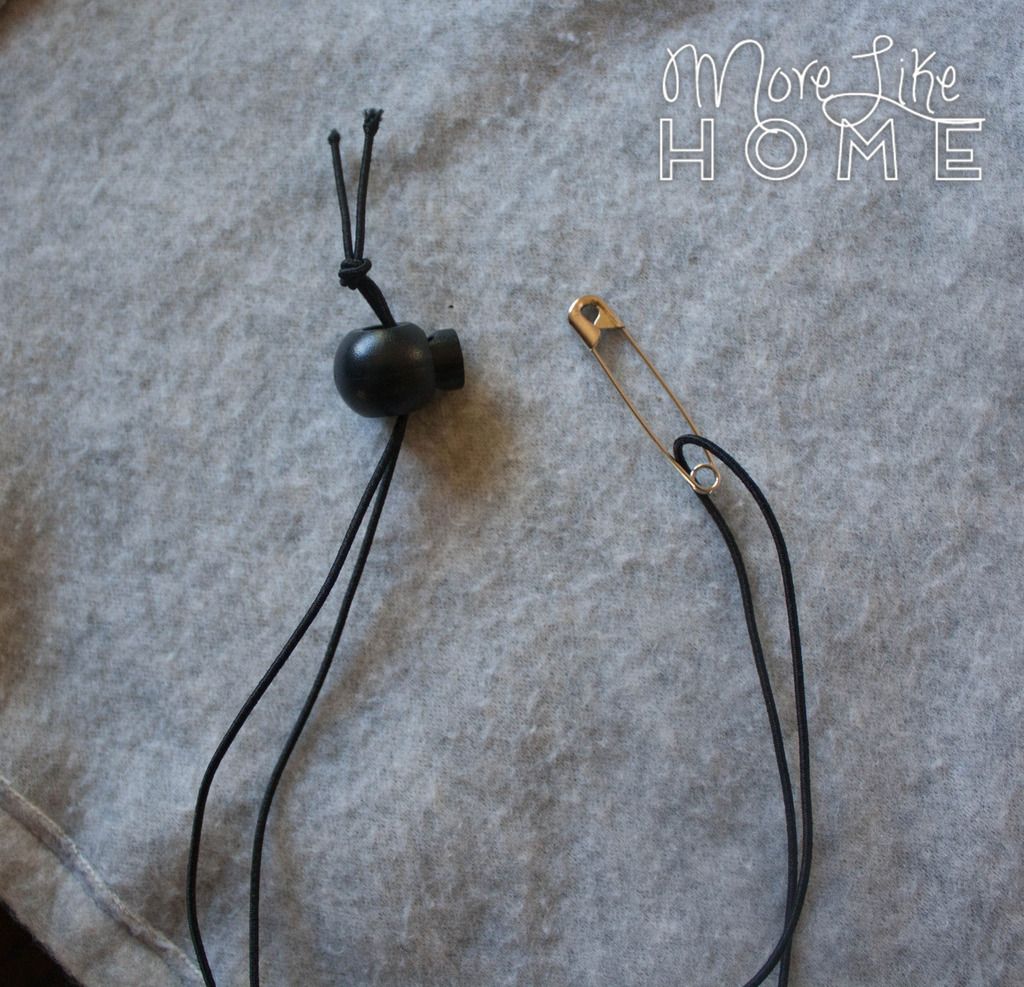
Use the safety pin to thread the elastic through the casing. Line the loop end of the elastic up with the end of the casing and sew across the end of the casing a few times to lock it in place.
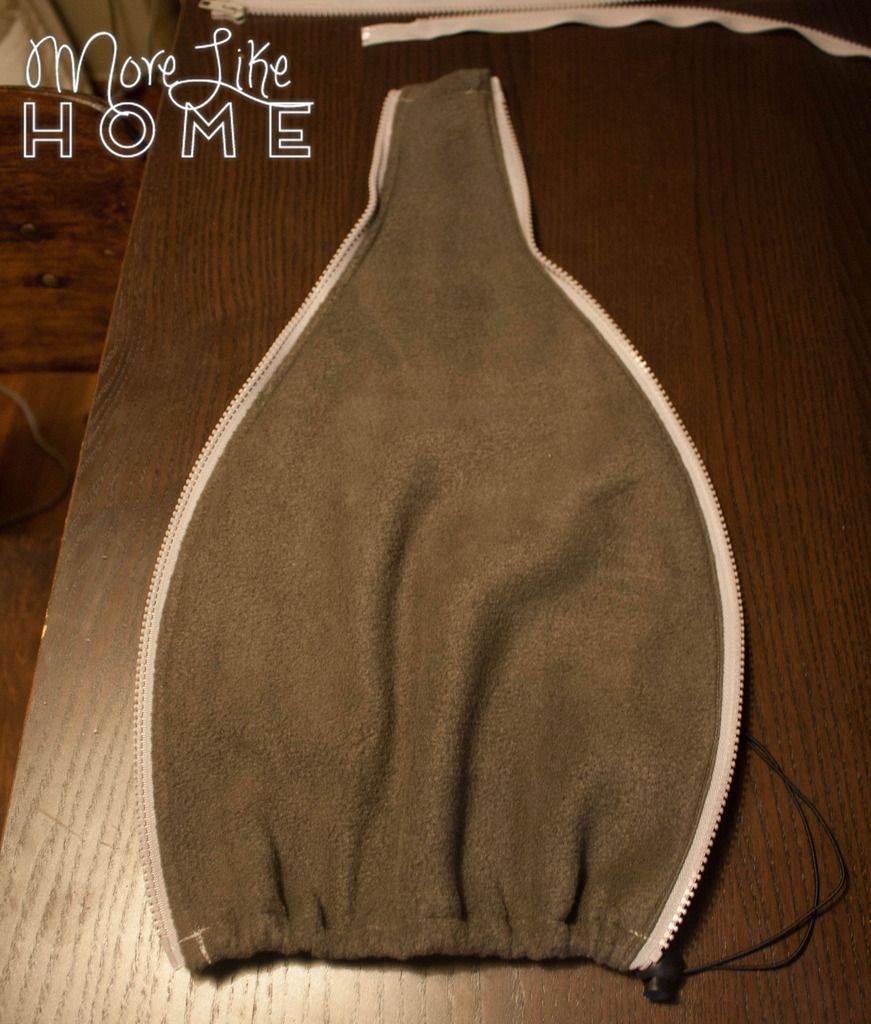
Ta-da! Cinch-ready!
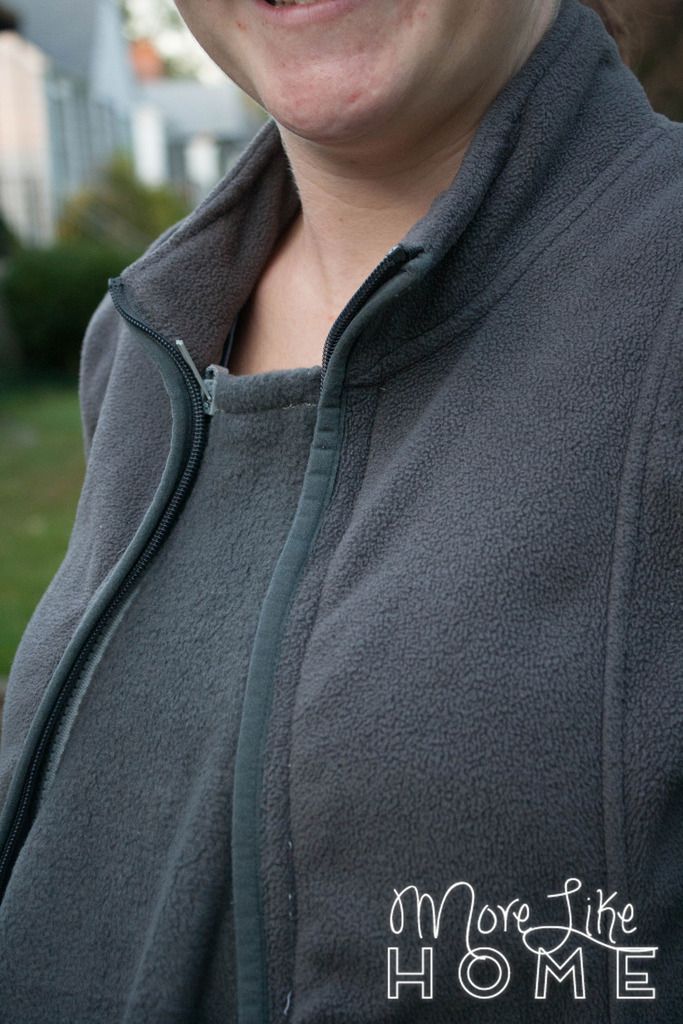
Now you need to attach the other half of each zipper to your jacket. Lay the zipper face-down on the wrong side of your jacket, just inside of your regular zipper. Line up the end of the zipper with the bottom of the jacket. And remember on the other side of your jacket the zipper tab will be at the top and the zipper pin will need lined up with the bottom of your jacket instead.

I tucked under the extra fabric at the pin end of each zipper.
Sew the zippers in place.
You're done!
Here's what I spent all together:
- $2.50 - 1/2 yard of fleece on sale
- $7.60 - two matching 20" separating zippers
- $3.50 - cord stop
- $1.60 - elastic cord

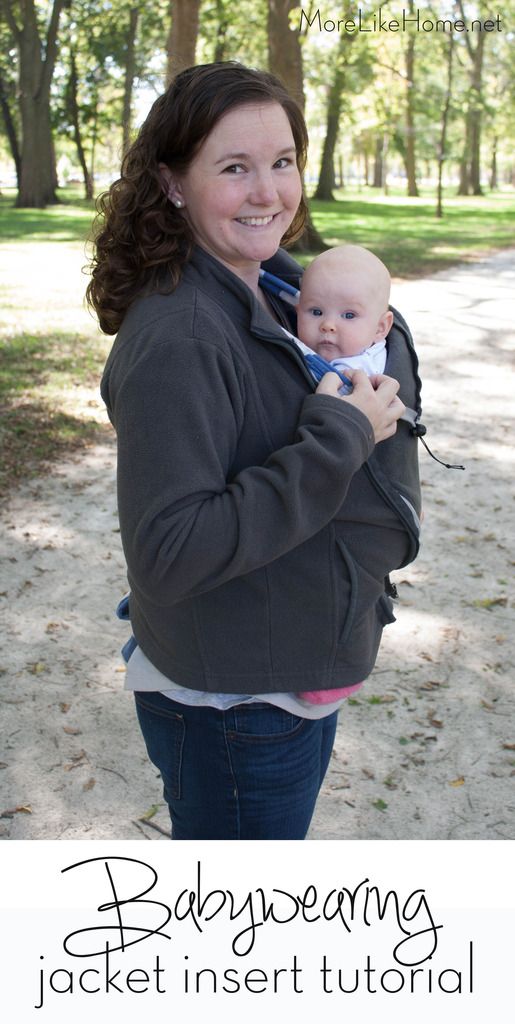
You
can zip down the top edge when it's not too chilly and baby wants to
look around, or zip it up higher when it's too cold. I'm working on a
snap-on hood option too to help keep those little heads covered. **Note:
If you'll be using this exclusively for babywearing, I would keep both
zippers running the same directions with the pins facing down toward the
narrow end. Then you will be able to zip down the top on both sides
instead of just one like in the pic above.
I'm also hoping to come up with an affordable back-carry option for when one of the bigger boys needs to be worn. I have a few ideas but haven't actually started that yet. We'll see if baby #3 hangs out long enough for me to tackle that project!

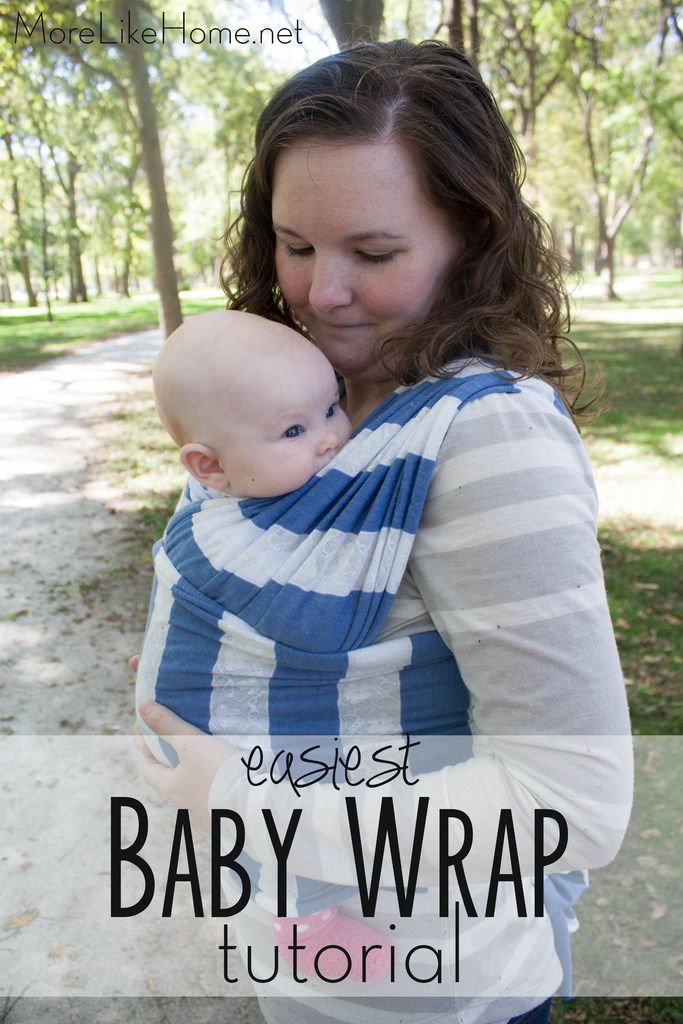
If you need a way to wear your baby in your new jacket, check out our easiest baby wrap tutorial. It's no sew, super comfy, and great for newborns!
I'd love you hear your tips for handling cold weather with a baby!

very nice tutorial. Those inserts and jacket are so freaking expensive. I was just about to buy an insert! This helped so much. i wish you have a video to see step by steps! But this is awesome thanks!
ReplyDeleteYes they are so expensive! Glad this was helpful to you. :)
DeleteLooking at making an insert for a friend... is there zippers that work with her coats that I can buy and put on insert for her coat or is that not such a thing that I can buyzippers already compatable with her coat?
ReplyDeleteThere probably are, but you would need to take her jacket to the store with you to find out which one fits. My store has 3 or 4 styles of zippers with different shaped teeth. There may be a way to guess which one, but I don't know how. Sorry!
Deletethis just blows my mind! i gotta say, GENIUS!! i'm having my little one in November and will be not only preggo in the fall with snow on the ground but with an infant all winter. Where was this 12 years ago when i had my winter daughter? did you come up with this yourself?
ReplyDeleteThank you! While I was pregnant I had seen a tutorial to make a square insert (so it wasn't a fitted shape at all) that would attach into an existing jacket, and I had also seen a maternity/babywearing jacket that sold for a few hundred dollars that included a fitted reversible panel. So I just put the two together to make the panel I liked work with the jacket I had. :)
DeleteThanks for the tutorial, was super easy to make and fast too; I made it in one evening. It's a little big for me right now but maybe I'll grow into it more in a few months. I used two layers of fleece and sandwiched the zippers in between both layers and it hides them nicely. I think I would have made it less curvy, if I ever make another one, I think I'd use a tapered straight line to connect up to the narrower top since mine bulges with the zippers on.
ReplyDeleteThanks for the feedback!! I'll make a note up in the tutorial about tapering the edges instead, that's a good call! I didn't quite fill it out pregnant, but I used all that space when I flipped it over for babywearing. :)
Delete