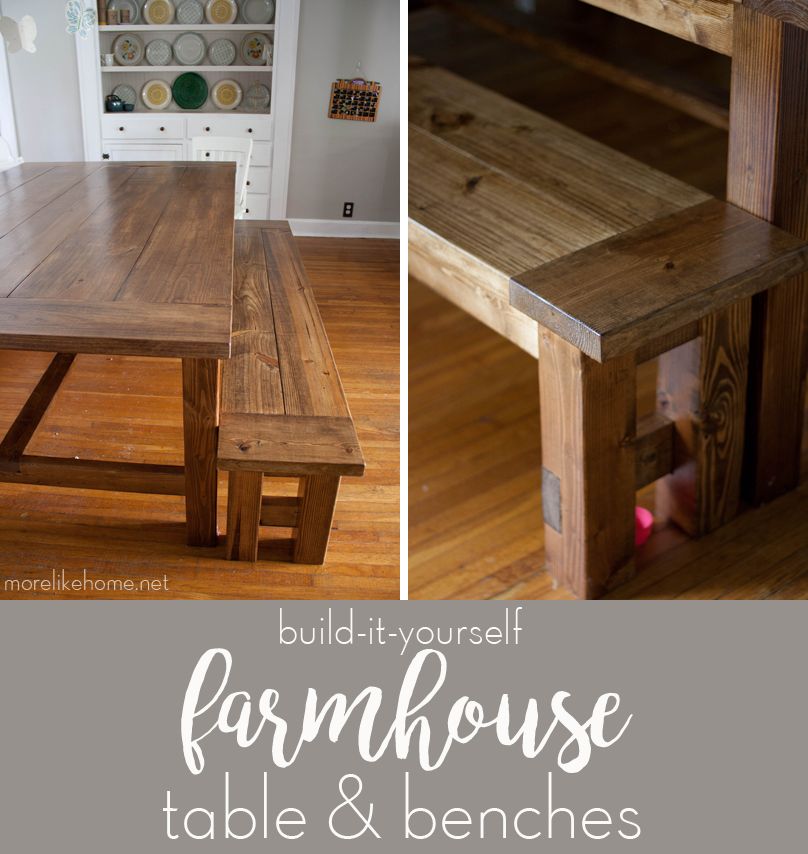
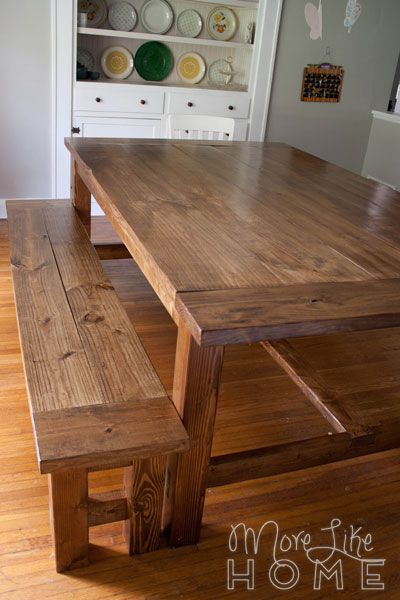
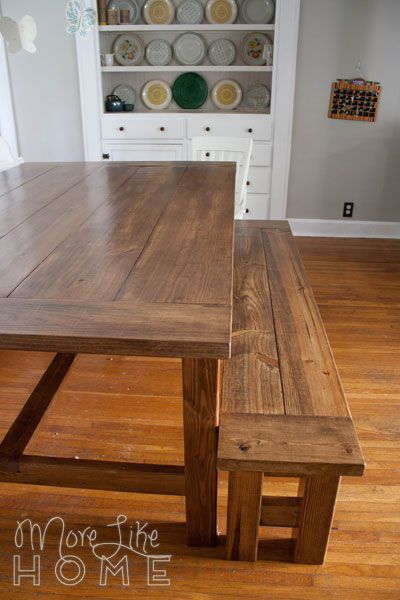
We're loving the new benches we built to go with our DIY farmhouse table. There's something wonderfully warm about gathering the family around a big table with benches. They invite the
family to gather around, relax, and share life together. So today we're sharing plans you can use to build your own (and don't forget to get our oversize farmhouse table plans here).
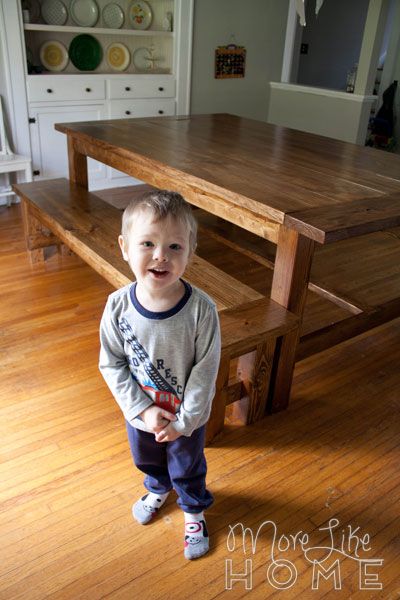
Their typical breakfast style.
You know how sometimes you can tackle a project with no hesitation because you know exactly what you want? Well that's not what happened here. We spent a solid four months working out the details of our dining set plan. We debated chairs vs. benches, the style of bench, stretchers, the size, would it fit under the table or sit against the legs... On and on. Building furniture is kind of a big ordeal, especially when we have three little boys to work around (usually only one of us can work at a time), so we did our best to make benches we won't want to replace for a very (very very very) long time. We finally reached the conclusion that, besides fitting the traditional style of our farmhouse table, benches would make the room look less cluttered plus we would be able to squeeze in a few more people.
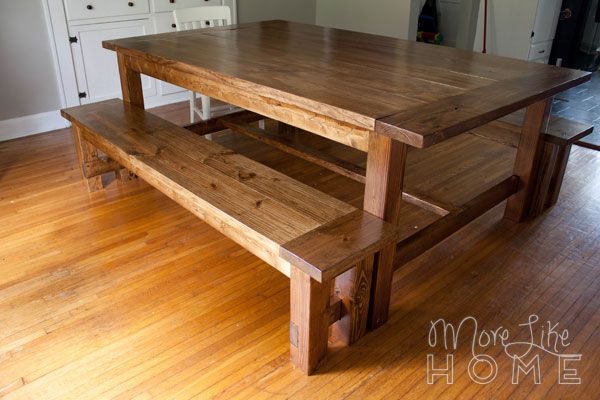
We also decided that they wouldn't be narrow enough to slide under the table. We have enough space for them to be out all the time and this way we wouldn't have to worry about digging them out from under the table if they got pushed in all the way. Plus the extra foot on each end gives more space sit!
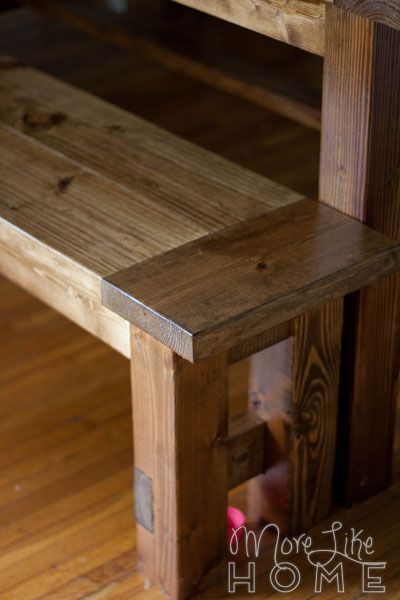
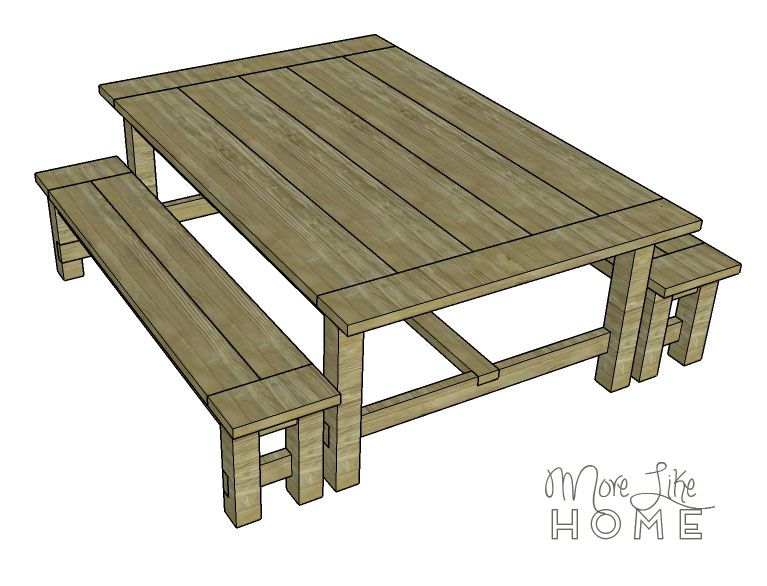
We skipped the center stretchers and lined up the bench legs with the table legs.
So far we love them and have no regrets! Ready to build your own? Here's what you need for each bench (double it for two benches):
Shopping List
1 - 2x8 @ 8'
1 - 2x8 @ 10'
1 - 4x4 @ 6'
1 - 2x4 @ 8'
1 - 2x4 @ 10'
Kreg Jig
2 1/2" pocket hole screws
3" screws
wood glue
Please read all the directions before beginning, and cut your pieces as you go, measuring before each cut. Use 3” screws or pocket holes with 2.5" screws unless otherwise indicated. Always use glue. Pre-drill and countersink your screws. Check for square as you go. Measure lots to make sure everything works out!
Cut list:
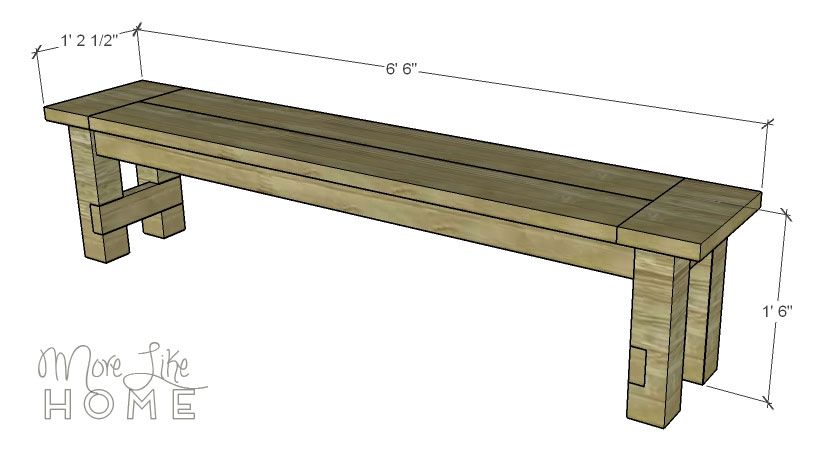
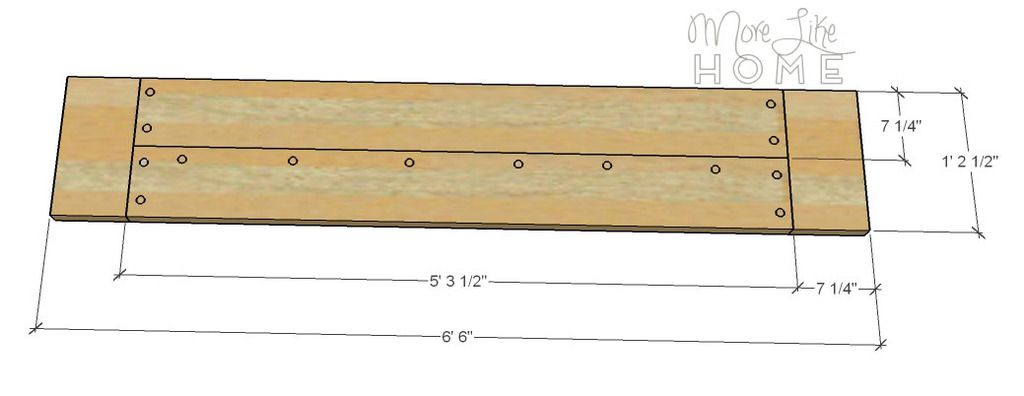
(A) 2 - 2x8 @ 63.5" (seat boards)
(B) 2 - 2x8 @ 14.5" (bread boards)
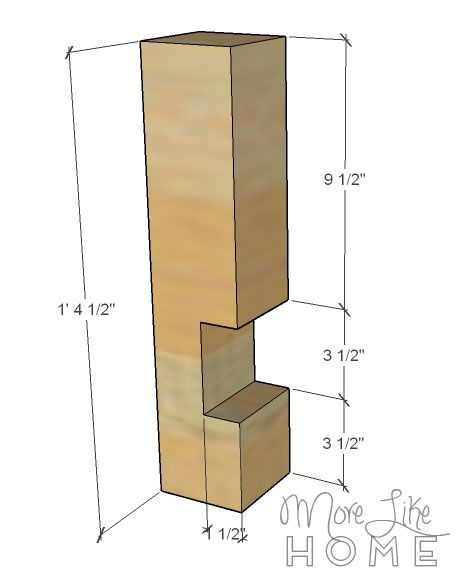
(C) 4 - 4x4 @ 16.5" (legs)
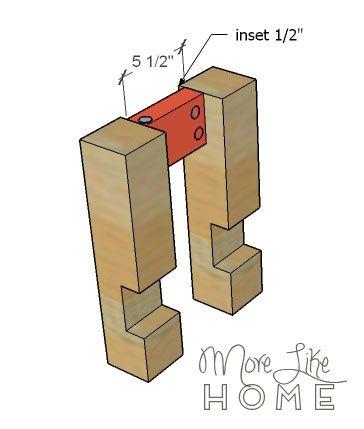
(D) 2 - 2x4 @ 5.5" (side aprons)
(E) 2 - 2x4 @ 12.5" (stretchers)
(F) 2 - 2x4 @ 66" (aprons)
(G) 5 - 2x4 @ 8.5" (seat support)
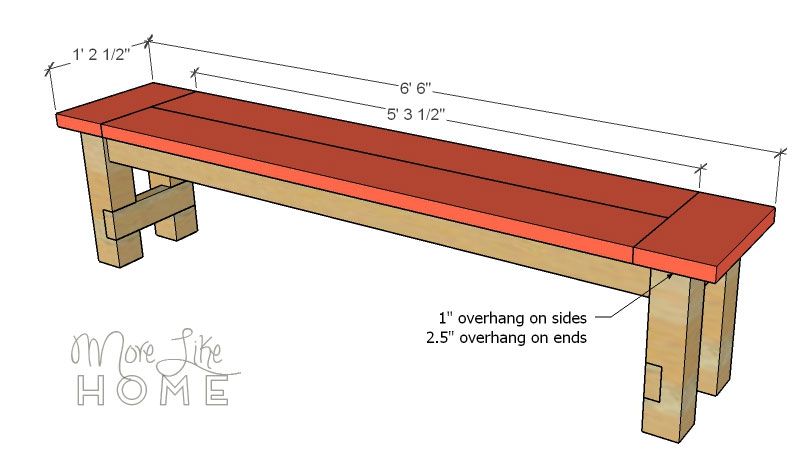
A bench built from these plans will be roughly 78" long x 14.25" deep x 18" high. It will vary slightly if you shave the rounded edges off your tabletop boards like we did.
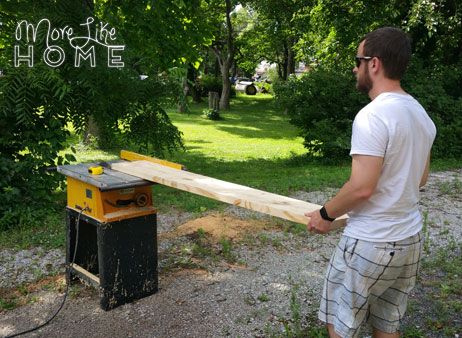
We started by running all our seat boards through the table saw to shave off the rounded edges. This way the boards can sit flush against each other with no dips. These plans are drawn using full size boards, so if you do this you may need to adjust some of the measurements as you go.
Start by building the seat. Use a Kreg jig to attach the seat boards (A) side-by-side, and the breadboards (B) to each end.
Cut notches out of the legs (C) for the stretchers. Each notch should start 3.5" from the bottom of the leg and be cut 3.5" high and 1.5" deep.
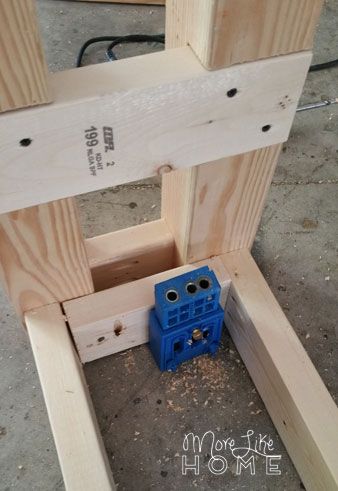
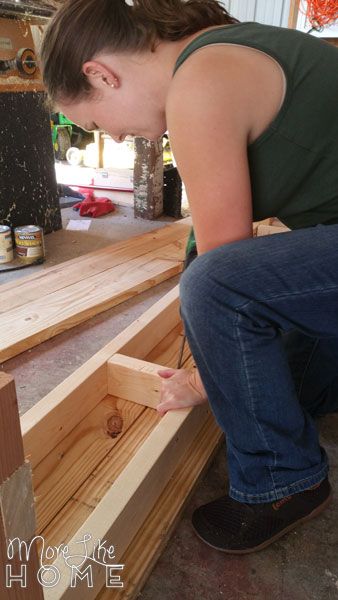
Attach a side apron (D) between two legs. Make sure the notches on the legs face the same direction, and the apron should be flush with the top of the legs and set in 1/2" from the outside face. This was tricky to install. I used two pocket holes on the inside of one end, and a single pocket hole on the top of the other end (see pic below). This is not a sturdy connection, but it held well enough until I could reinforce it in a later step.
Next install a stretcher (E) in the leg notches. Repeat this process to build the other leg section. Drill through the stretcher into the legs with 2.5" screws.
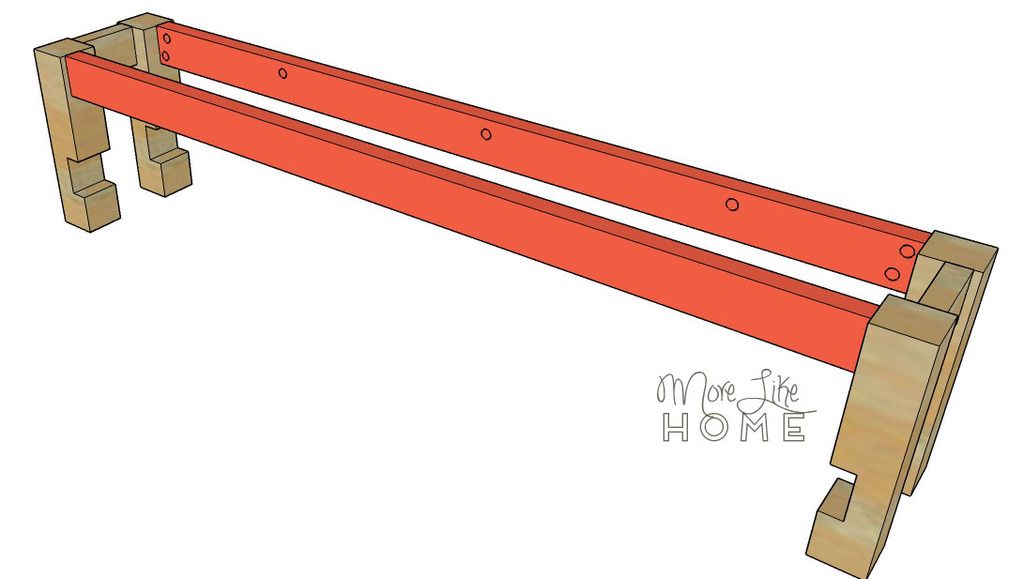
Use the aprons (F) to connect the two leg sections with the Kreg Jig. They should be flush with the top of the legs and inset 1/2" from the front and back faces. Each apron is 66" long and we drilled a few pocket holes along the top before installing them.
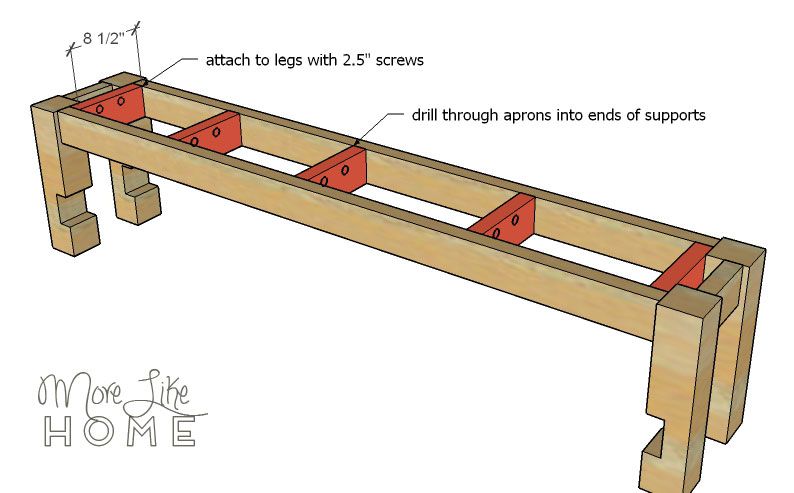
Now add a few seat supports (G). Before you install them, drill two pocket holes along the top of each support board. The first two supports are set right against the legs and attached by drilling through the support boards into the legs. This really reinforces the weak joint made by that tiny side apron. The remaining supports were space equally-ish across the seat. I just eyeballed it. Attach them by drilling through the front/back aprons into the ends of the seat supports with two 2.5" screws in each end.
We actually forgot to drill the holes first, and had a chance to try out our new portable Kreg Jig base. We luckily found it on the sale rack at Menards when we were buying the wood and couldn't pass it up. Thank goodness since we needed it already!
Then attach the seat to the base. Center the seat with 1" overhand on the front and back, and a 2.5" overhang on the ends.
It's easier if you flip the bench upside down since the seat is attached from underneath using the pocket holes you drilled in the aprons and seat supports.
Ta-da! Give yourself a pat on the back, then go build the second bench. :)
Sand it all down. I keep saying it, but sanding is one of the most important finishing steps and is key is a slick, professionally finished piece. I sanded these and the matching table more than I've ever sanded anything, and it really paid off. I started with a rough paper (60-80 grit), then followed with a medium (120 grit), and finished it off with a super-fine (220 grit). We stained it with Minwax Early American stain, and I let it set for 15-20 minutes before wiping it down to get it as dark as possible. Then we sealed it with a satin finish polyurethane - 2 coats on the legs and 3 coats on the seat. I love the not-too-shiny sheen!
These benches have been working perfectly with our farmhouse table. The large size gives us plenty of room to spread out with games, puzzles, and projects. We just use one end to eat at, so there's plenty of space for guests, too!
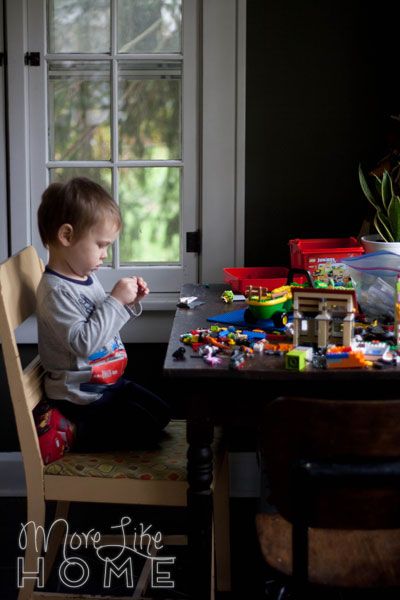
The simple style is a good fit for our old farmhouse and I love that it can stand up to the wear and tear of little boys. Like this one:
Any other farmhouse table fans out there? Would you build your own??





I don't see what the 2x8x10 is for? Is this a mistake? Then in the cut list your calling the wood 1x8's but there are no 1x8's in the shopping list. Is this also a mistake. Thank you.
ReplyDeleteThe cut list should say 2x8. Sorry for the typo, I'll correct it now! :)
Delete