
But after a while we started wondering if we were making the best use of the wide open space by just leaving it... wide and open. Hmmm. So I grabbed the kitchen cart we had parked along the wall and pulled it out to see how the space would feel if we added an island or peninsula.
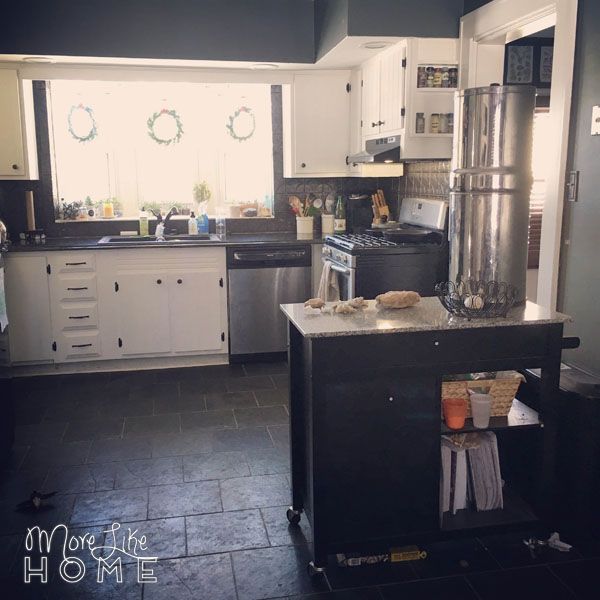
See how much space there is even with the cart pulled out?!
There wasn't a good spot for an island thanks to the traffic flow through the kitchen, but a peninsula? Well, that just might work. I told my husband we'd live with it for a few days and see how it felt. And then about an hour later I was on craigslist looking for cabinets because why didn't we think of this sooner??
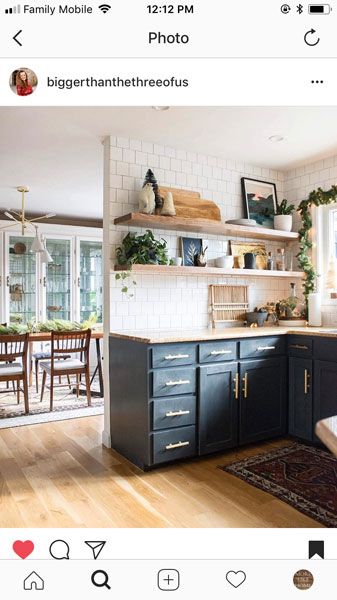
beautiful kitchen by biggerthanthethreeofus I pinned for inspiration and didn't actually copy at all. but still beautiful.
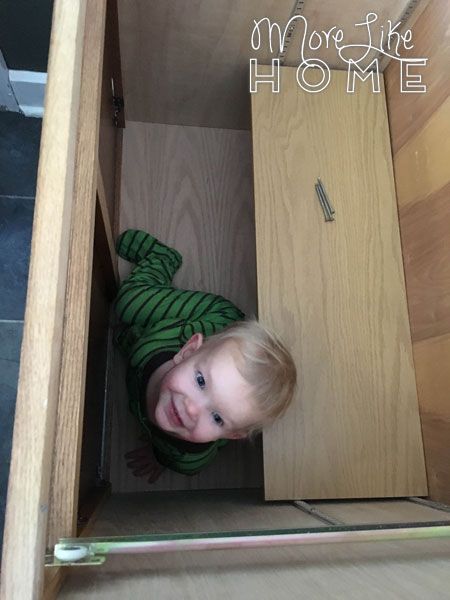
The cabinet resident proved to be somewhat problematic:
Check out these beauties:
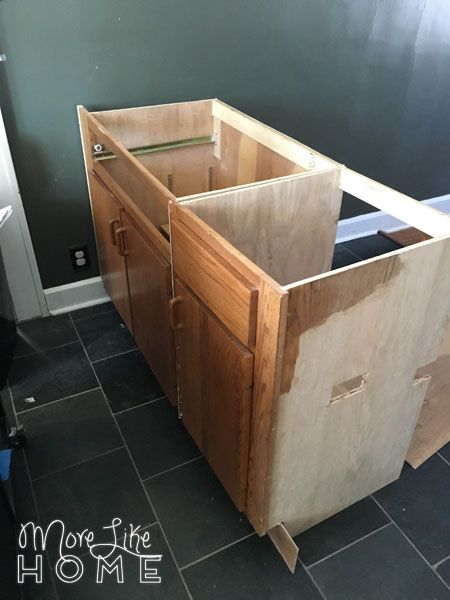
note the green wall
Okay "Beauties" may be a stretch, but I tell you, there is beauty in that potential.
These new cabinets did have a couple quirks we spotted in the photos, but nothing we couldn't work around. There were holes in one side that needed to be covered, and the smaller cabinet had a false drawer front that drops down (which made an excellent mailbox for some small boys). I did my best to ask questions ahead of time and make sure they were standard height, sturdy, and made with plywood (it is stronger and holds up better than particle board cabinets), but even so, we missed one big detail. It never occurred to me that the cabinets might not be standard depth. And they totally weren't. Which could have been a big "oops"... except it actually ended up perfect for our layout. SAY WHAT?!
Standard cabinets are 24" deep, but these were just pushing 21". I wanted to add an overhang on the back for barstools and had been worried that it would reach too far toward the dining room, and this gave me an extra 3" of space back there! Plus the shorter depth allowed us to purchase a cheap pre-made butcher block top from Ikea that wouldn't have fit full depth cabinets. It was like a kitchen miracle that they weren't the "right size."
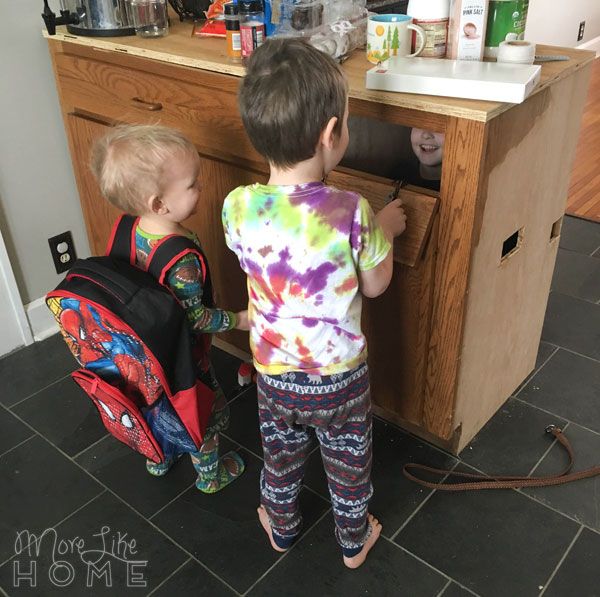
Mail delivery!
We set our new cabinets in place and got to work leveling them. Which turned out to be a feat in and of itself. Old house = nothing is level. Or square. Or straight. So we trimmed a little here, added shims there, and repeated until at long last we had level cabinets. And in this case, "we" means "husband who has the patience of a saint and leveled it by himself." He's a keeper.

you can see a few of the many, many shims we ended up using
P.S. BOOM gray wall!
P.S. BOOM gray wall!
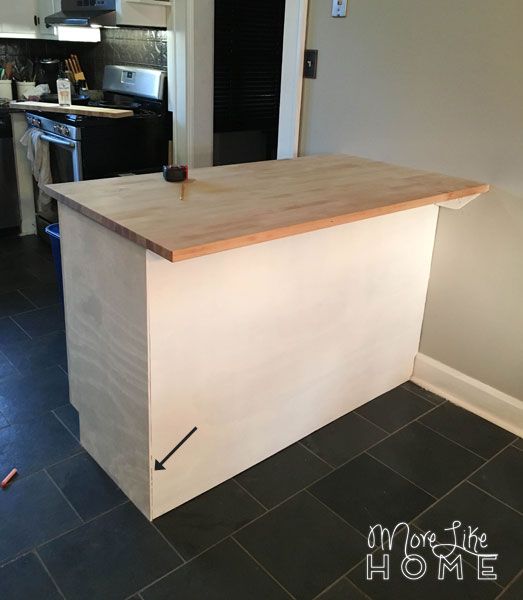
Once it was level, we screwed the cabinets to the wall and to each other to lock them in place. And attached the new countertop to the cabinets. We have a separate post about the countertop and why we chose this one (it's a lot of info and this post is getting long already) but the basics are it's butcherblock, we found it in the Ikea office section, and it was under $100!
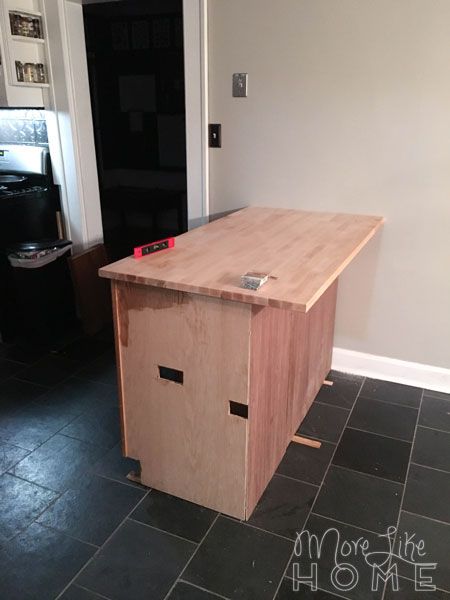
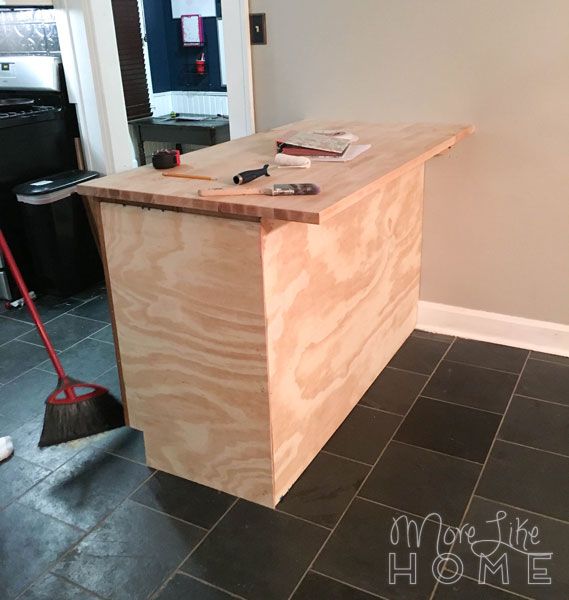
Then we used a sheet of thin plywood to wrap the side and back of the cabinets to give them a seamless look (and hide those holes!). The cabinets came with a piece of toekick we were able to reuse, but you could cut a strip of plywood for that too.
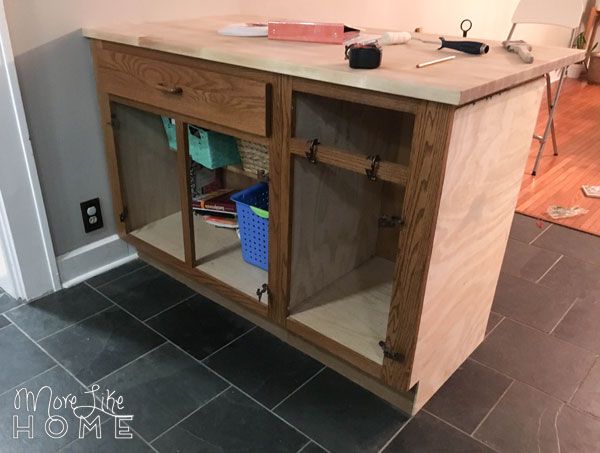
After that we were ready for paint! We took off all the doors and drawers and removed the hardware. Then we went over all the finished wood with a sander to rough-up the finish and help the paint adhere.
We caulked a few unsightly seams with a paintable caulk. Mostly where the pieces of plywood come together and where the plywood met the wall. We already painted a first coat before I admitted that yes, they did need to be caulked.
Then it was three coats of paint on the cabinets, doors, and drawer fronts. FYI - I only did one coat on the back of the doors and didn't paint inside the cabinet at all.

We used Benjamin Moore's Aura in Marscapone (the same paint we used in our first kitchen and we loved it).

Then "we" put on the doors and drawers.

And added spiffy new pulls (we bought a bulk pack of 6 from Lowe's):

So our total for a new kitchen island is just about $250:
$100 - craigslist cabinets
$100 - ikea countertop
$50 - new drawer pulls, plywood, and countertop sealer (we had the paint already)

There's still gap between the cabinet face and the wall. Pinterest says we need to find a way to fill it in perfectly for a flawless kitchen finish. But life says "hey, it's fine. You've got more important fish to fry." So I could pretend we're planning to fill it in, but I'll spare you the drama... because we're totally not.

The only thing we still "need" to do (a.k.a. I want to do because it will be prettier) is swap out the barstools for something more casual/farmhouse.
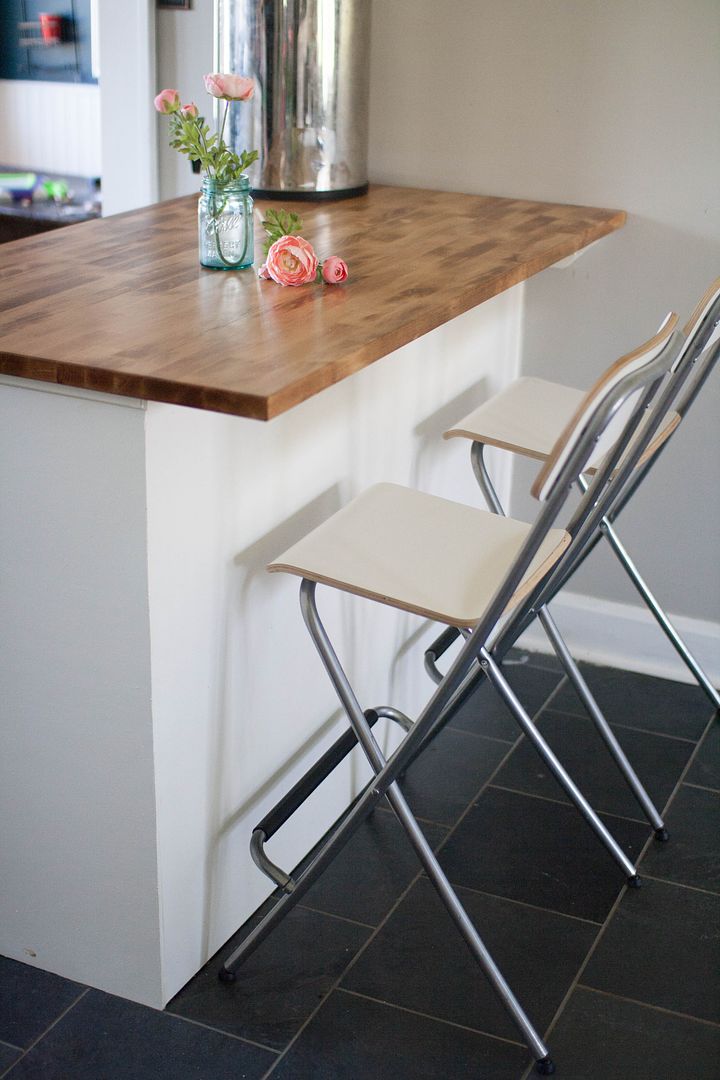
Exhibit A

But even without new stools, we're already loving the added workspace, extra storage, and family-friendly setup.
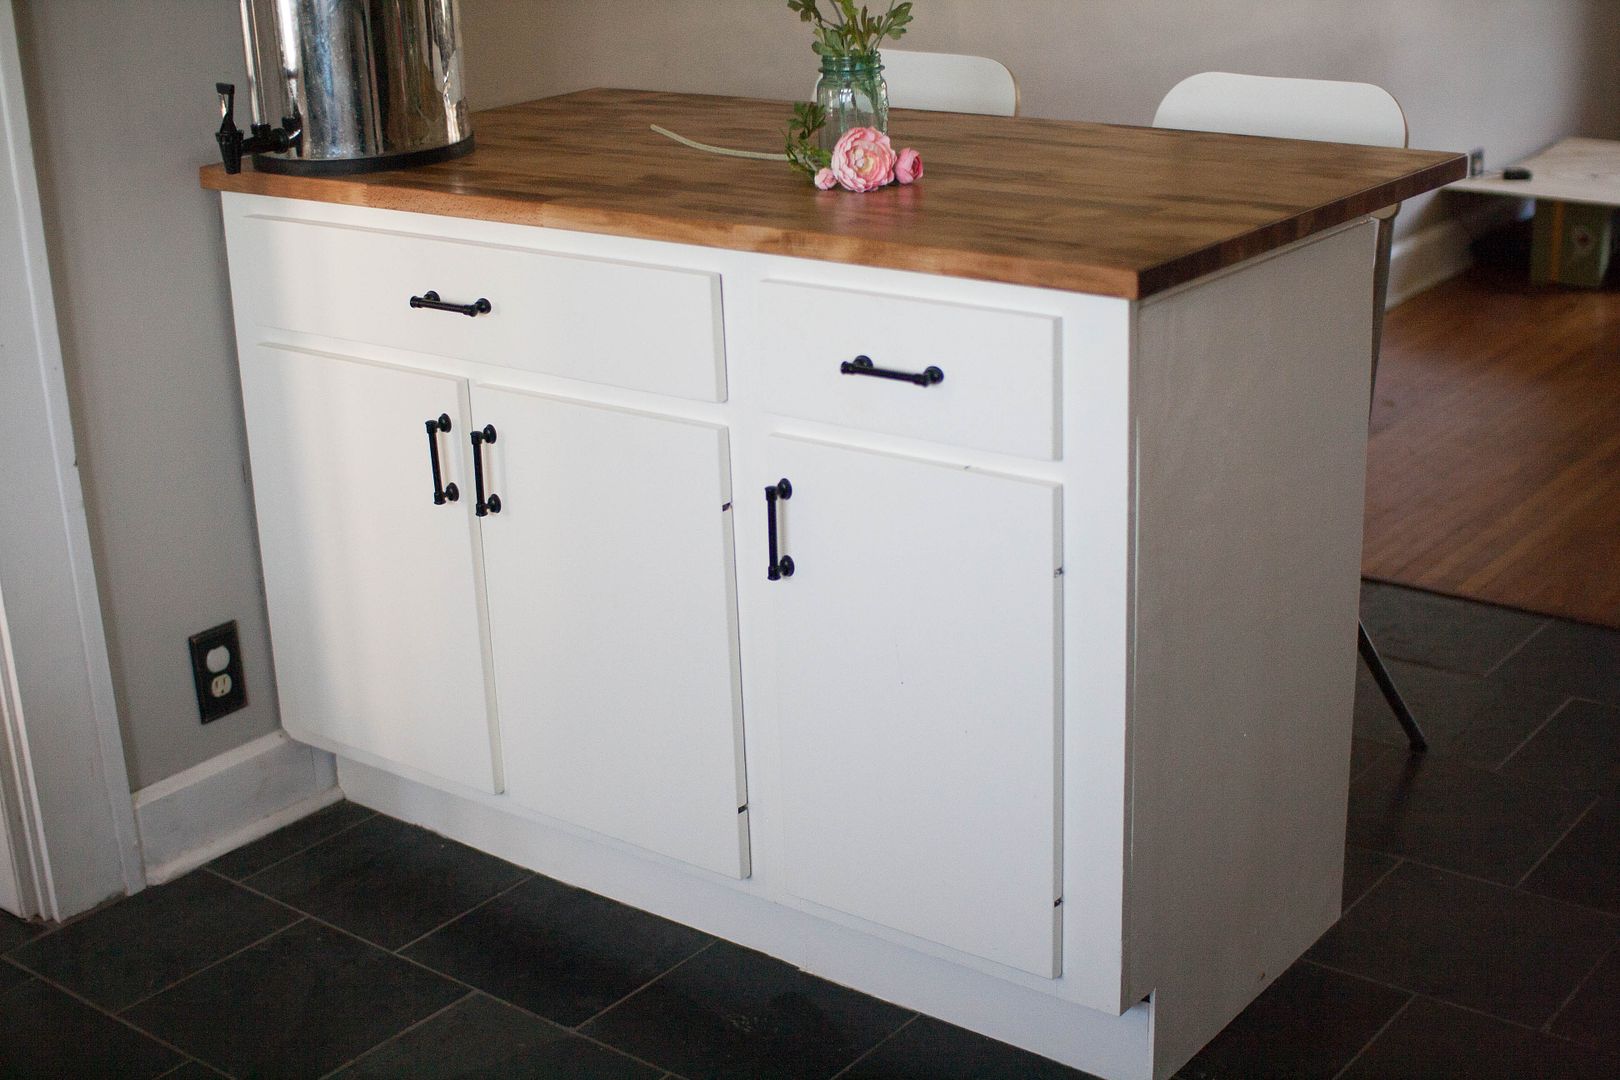
And if you're still wondering about the little false drawer front, here's what we did: nothing. We put our large recycling can in that cupboard, and we just open the drawer front and toss stuff in. Best use of the space? Meh. Working like a charm? OH YES. The cabinet on the left is housing our pots and pans (the only place for them before this addition was the lazy susan!), and the long drawer above it your typical junk drawer. But super long so there's room for extra bonus junk.
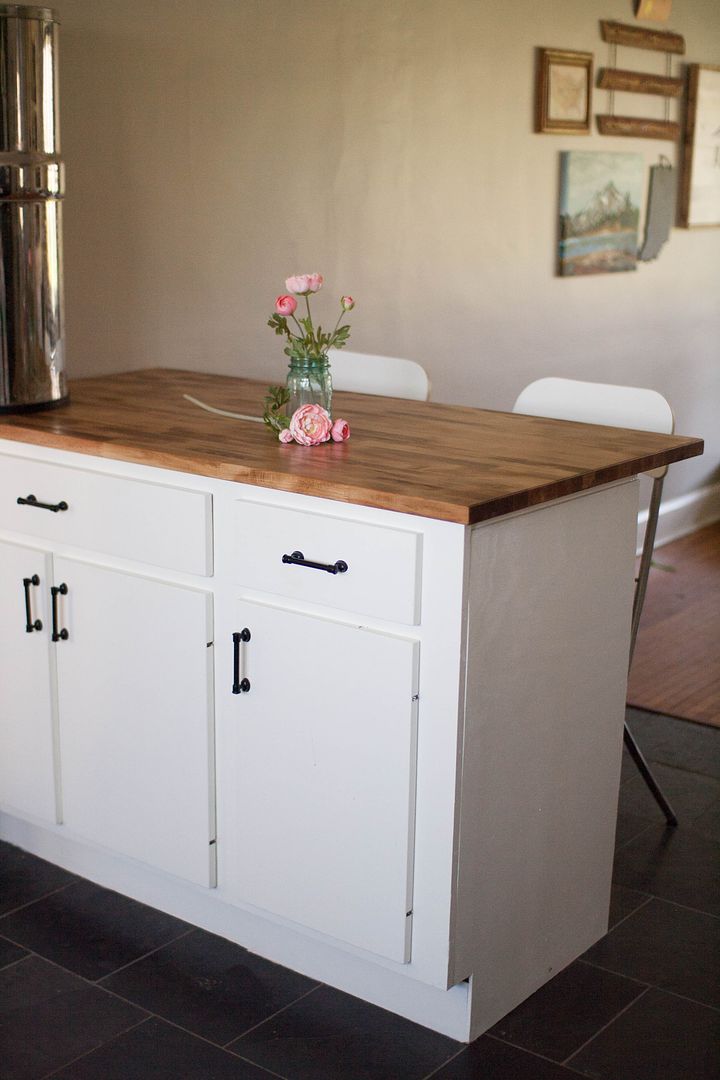
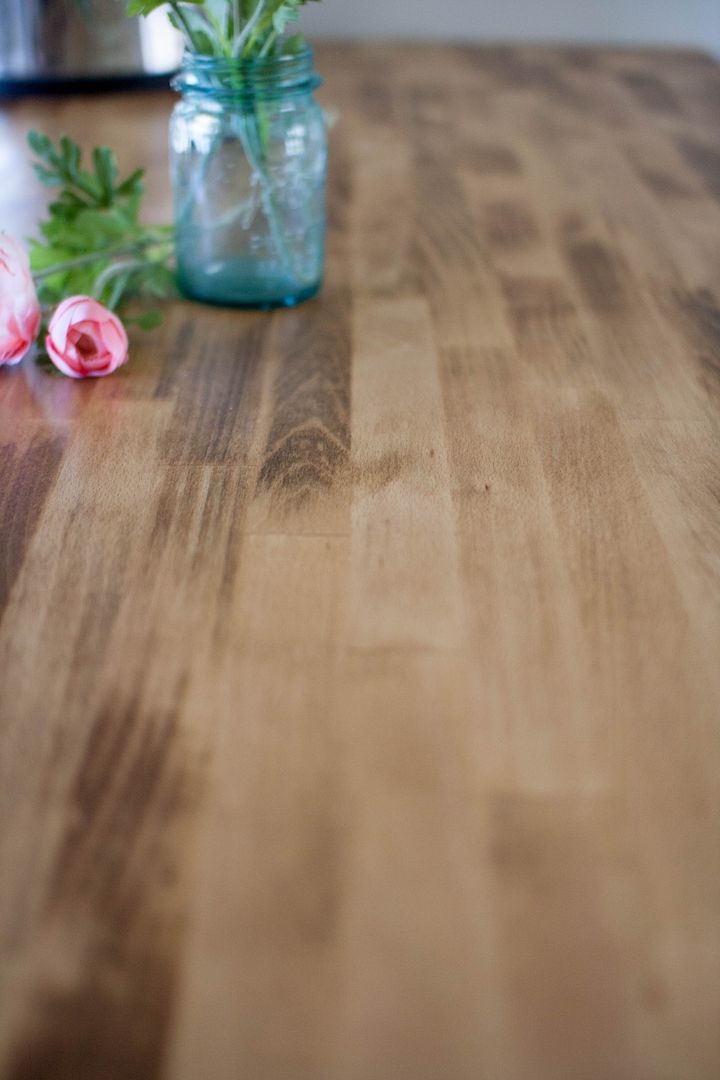
And this beautiful countertop? It nearly cost my sanity. And I'm still not totally sure that it's sealed. You can read more about that in our countertop post. At least it's beautiful. For now.
And that's all I have to say about it. :) So I'll leave you with this little gem.

tine Iron Man + the Ninjagos.
Here's to beautiful kitchens on a budget!!
)
No comments:
Post a Comment