
Art should be something you love.
I mean, those hats look pretty cool. And they're super trendy right now. But... do I love hats? No. I don't even wear hats. With the exception of one well-loved Magnolia hat that I only wear when my hair is too far gone. So a wall of hats probably doesn't deserve a place in my home. Guys, don't let the fickle winds of trendiness distract you from what your home should be. It should be yours. It should be a reflection of you and your family and the things you (really, truly) love.
If you feel stuck or confused when it comes to artwork in your home, the first thing you should do is make a list of the things you love (and the second thing is reading Cozy Minimalist Home to learn how to best display those things). Do you love running? Camping? Dogs? Tacos? Put those on the list! Those are the things that might deserve the honor of being on your walls. Did you notice that important word? Might? We only have so much wall space, guys. And we don't want to fill every inch. Let your master list serve as a starting point, but don't be afraid to weed out the things that don't make the cut for your walls (it doesn't mean they aren't still important to you!) and get a firm grasp on what really speaks into your life and your home.
So I don't love hats. But know what I do love? Here's my (shortened) list:
- My Family
- Plants
- Books
- Mountains
- Rocks
- Architecture

Today our home is looking a little more "lived in," but we were here almost two years without any artwork on the walls. No photos, no paintings, nothing permanently hung anywhere. I was paralyzed with indecision as I looked for "the perfect thing" for our walls. I searched through home decor stores and scoured pinterest and instagram for ideas. Nothing felt right - because none of it was right for my home. But through all that time I had a little pile of collected goodies that I loved. I hadn't hung them for a totally ridiculous reason - they didn't look like what I was seeing everywhere else, so I thought they couldn't be right. Guys, I'm here to tell you that art should be something you love. Did I say that already? I finally took the plunge and turned a few of my favorite pieces into a gallery wall in the dining room. Then I added a little treasure shelf for the boys' nature finds. And things started to change. Now I have a clear vision for my home and I can tell more easily which things deserve our space and which ones just don't.
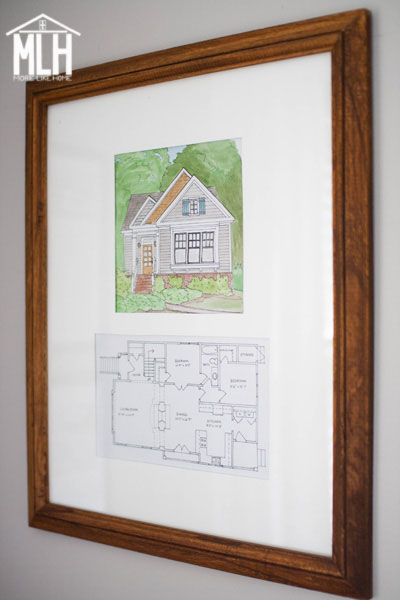
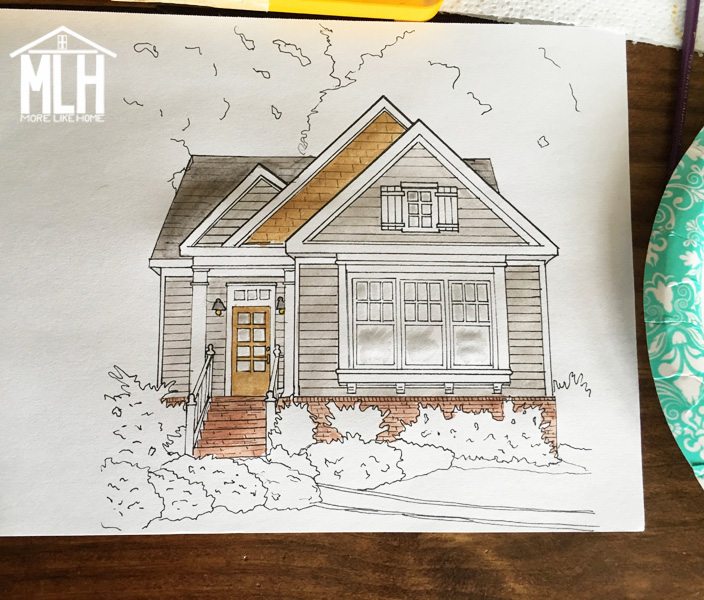
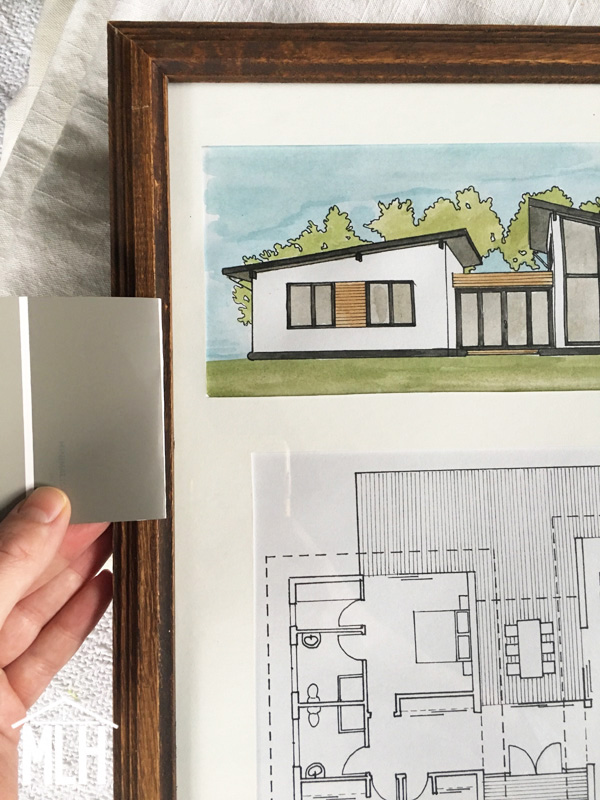
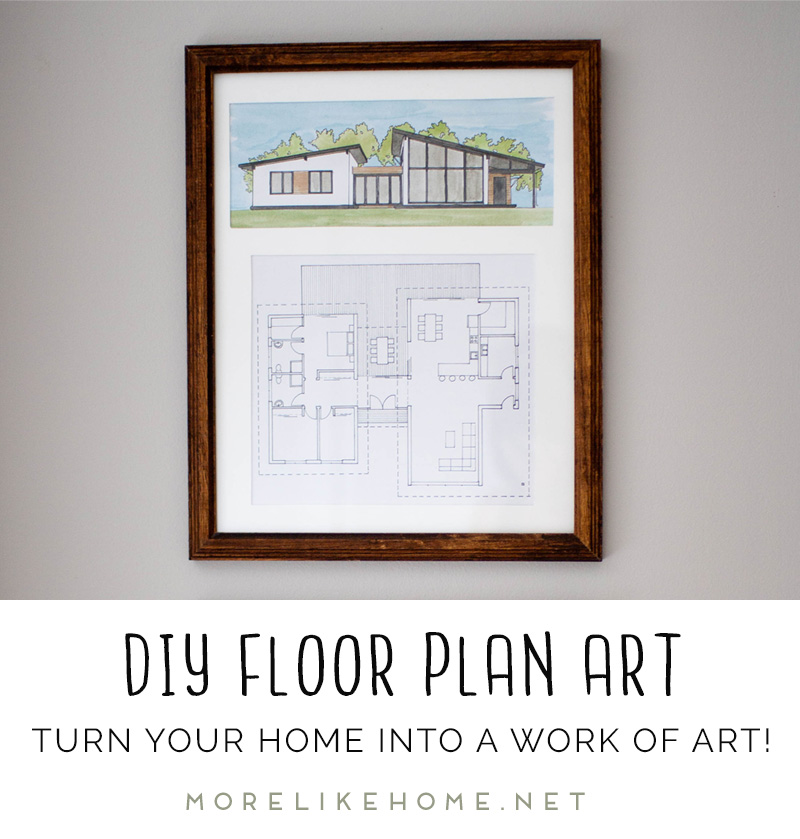
This all brings us (at long-winded last) to the whole point of today's post. The artwork I made for our guest room. It's collection of watercolor houses framed with floor plans, and it makes my heart happy. It also tickles the toes of our resident map-lover, because it's basically a house map.

Now if you've made it this far and you're thinking "I don't even like architecture" just hold on a second. Do you love your own home? The family you've raised there and the memories you've made? You can make one of your own home and just leave it at that. I'm planning to do our home on a larger scale to hang above the bed (and I'd also love to draw our last house because memories).
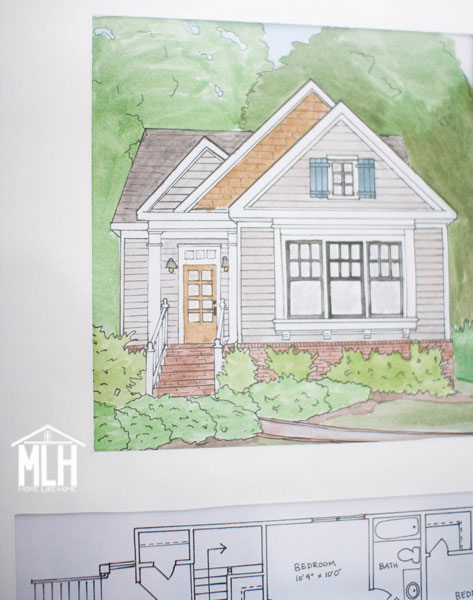
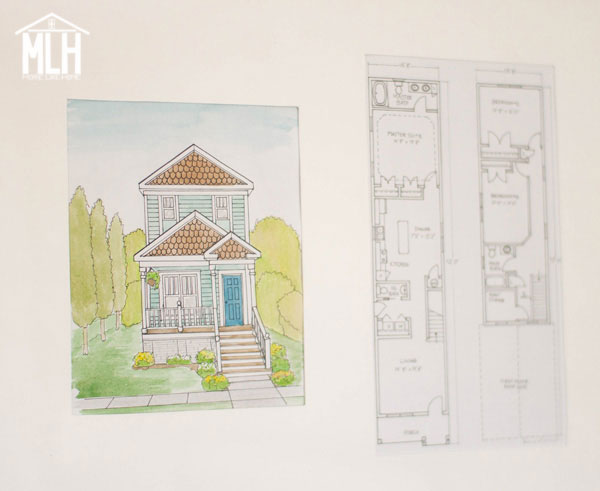
Each frame in the guest room has a watercolor sketch of the home's front elevation and a matching floor plan. And guess what? You don't even have to be a good drawer or painter or anything because I'm totally not. Not kidding. Ask my sister. This is mostly a tracing project (which kind of feels like cheating but they turn out so good).
I'll show you how I did it so you can make your own. I love the two-piece combo, but you could also stick to just the watercolor sketch and it would make a great gift for friends and family (all you need is a photo of their home). Even floor plans alone would be pretty cool and a great option if you don't want to try the watercolor (although you will have to do some measuring to draw up your own home).
If you have any kind of collection, displaying them together is much more powerful than spreading them around your home!
Supplies:
- floor plans (there are tons online, or you can measure your own house)
- front elevation photos printed on regular printer paper (most online floor plans include an elevation rendering you can use, or take a picture of your home!)
- light table (I'll show you how I rigged up my own for free)
- ruler
- fine-tip permanent pen (I used pens from the art store because sharpies tend to bleed)
- tape
- watercolors
I rigged up a DIY light table for free! You'll need picture frame with the back removed (leave the glass in), a short lamp or flashlight, and two laundry baskets or chairs or whatever you can rest your frame across while you work. You basically just need a light source under a glass "table." Something like this:

DO NOT LEAN ON THE PICTURE FRAME. I AM NOT RESPONSIBLE FOR BROKEN GLASS OR ANY RESULTING INJURIES, PEEPS. You can also buy pre-made light tables without the thrill factor. Or you can use a window in bright daylight, but you're arms will be jello by the time you're done. But just think of all the jello you can buy with the light table money you save, though.
DIY Floor Plan Art:
Choose a floor plan you like, print it out, and tape it to the light table (or window). I printed mine as close to a full page as I could get. I didn't have the good foresight to save links to the floor plans I used (sorry!) but you can find tons on pinterest! My favorites that I chose were a shotgun house, a fun modern house, and Frank Lloys Wright's "Falling Water" House. I also did two others that are pretty run-of-the-mill and I kind of regret that now. So I may replace them with something more interesting or iconic. We'll see.
If you want to draw your own house and don't have a floor plan already, you'll need to measure room-by-room and draw it up yourself using a program like Sketch Up Free. Don't sweat the details too much. You're won't be building a house from the floor plan, so close enough is close enough. This is a blog post about ARTWORK, after all.
Tape a piece of watercolor paper on top of the floor plan. The light shining through will let you see the floor plan shadow on your watercolor paper:

Use a fine tip permanent pen to carefully trace all the lines of the floor plan. Definitely use a ruler to keep those lines straight and crisp. When you're done, turn the light off before you un-tape the papers. It should look something like this:

Make sure you didn't miss any lines (it can be hard to tell which parts you've done while the light is on) before you remove the tape.
Now do the same thing with your front elevation photo or rendering. Tape it down, tape a piece of watercolor paper on top, and start tracing. Use a ruler and do your best to trace all the bones of the house including windows, siding, etc., plus any other details you want to include (I also traced the landscaping around each house).

Now before you do anything else, either scan them or make a copy! Many home printers have that feature now, or you can visit an office supply store to get copies for a small fee. Scanning is even better because you can just print out another copy if you need to. But don't start painting until you have a back-up! You won't want to re-trace if you make a mistake or spill your paints!
Got your copies? Good. Now you can watercolor your houses! Guys, this part was so much fun. You can make them whatever color floats your boat. I kept mine all in the same gray/black theme with wood accents and a splash of teal so the whole set would feel cohesive, but when I do our actual house I'll keep it true to life!

Confessions of a thrifty maker: I did all the watercoloring with one of the boy's $2 crayola set from the back-to-school section. #lifehack? This is the most important thing to know: these colors are super bright on their own, but you can tone them down by adding in a few drops black or brown. I was able to get some beautiful blues, greens, and wood tones with a little mixing. I used a paper plate as a palette to mix colors and I would drip a puddle of the color I wanted on the plate (I used the paint brush to move it a few drops at a time from the paint box to the plate until I had a little puddle) then add tiny drops of black and brown to mellow it out. I kept a second sheet of watercolor paper handy to test each color and see if I needed to adjust it more before I committed to it (you can see that paper in the top right of the photo above). Oh, and I did use a nicer paint brush instead of the plastic one that came with the set.
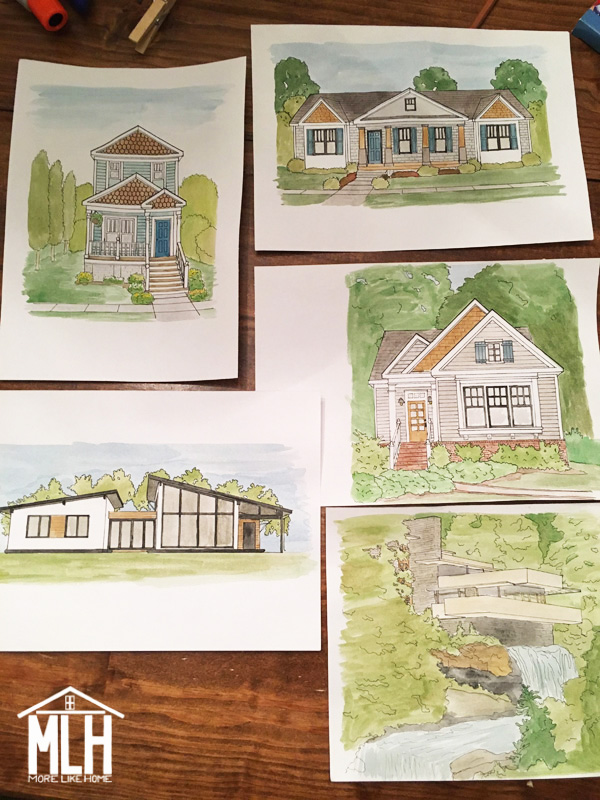
Here's is the shotgun house (one of my favorites!), complete with cedar siding and boxwood bushes. Shotgun houses are so fascinating to me!

Little gray house coming together:

I let the boys paint at the other end of the table and ended up with this gem from a four-year-old M2: Spider man jumping rope with fire. I will never not love it.

Framing + Matting:
After that, all that's left is framing. If you want to fit a certain size frame, you should buy it first and make sure the floor plans and photos you print will fit in the frame before you start tracing.
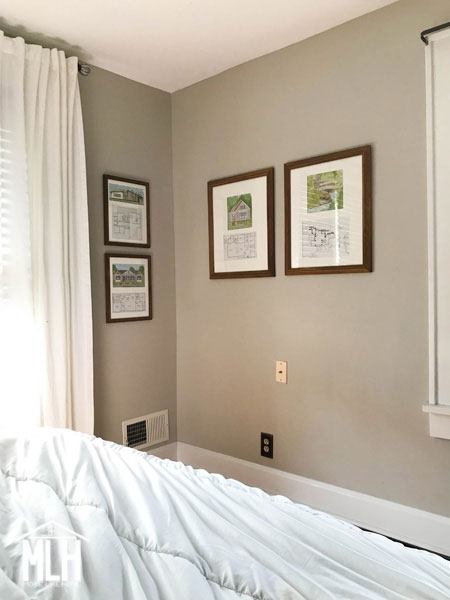
I did my tracing first, so I took the floor plans and house paintings with me to Hobby Lobby and laid them out on frames to find which size they fit best. I wanted a enough space around them for a mat, but I didn't want them totally swimming in the frame. The larger sets fit perfectly in 16x20" frames, and I had two smaller sets that fit in 11x14" frames. I also grabbed one 18x24" frame for my Pop Chart Lab "American Houses" poster. I went with wood frames because they are the perfect contrast to gray walls and white trim!
Hobby Lobby puts their frames on sale 50% off from time to time, so if you're doing a few it's worth waiting for the sale!
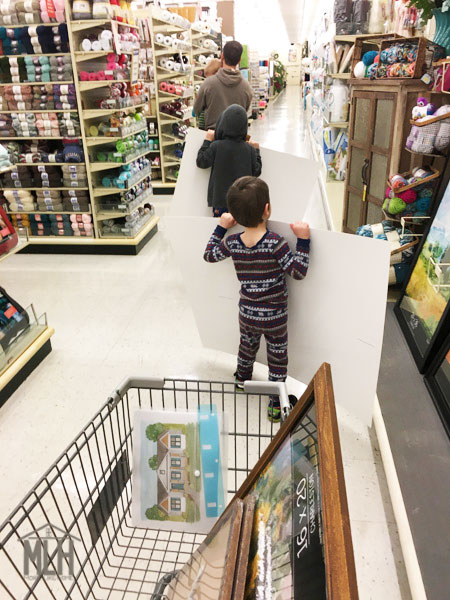
It was a late-night Hobby Lobby run with everyone in their pajamas!
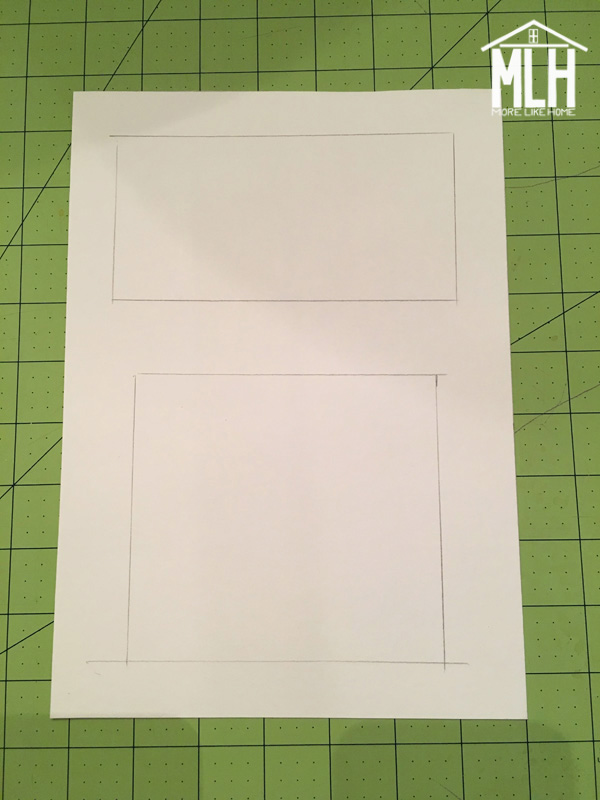
I knew I would need custom photo mats since I wanted two openings in each frame, so I also grabbed a few large sheets of white matboard while we were there. Cutting my own mats saved quite a bit over having them custom-cut at Hobbly Lobby (last time I checked it would be around $15/mat for custom cuts, and I was able to cut two from each $10 sheet myself). I started by cutting a mat to fit each frame. Then I measured each picture and floor plan to determine what size holes I would need. Make sure you cut each picture slightly larger than the hole! You need margins for the mat to overlap! I drew the openings I needed with a pencil:
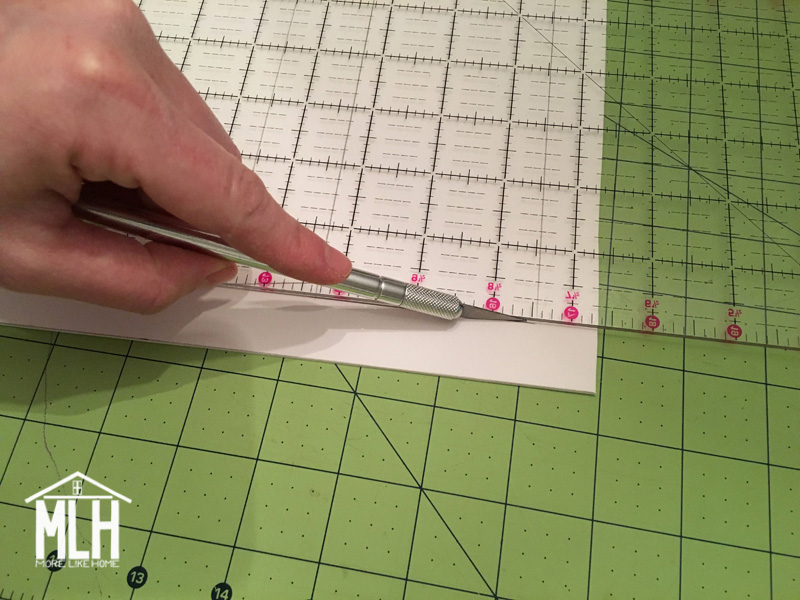
Then I cut the matboard with an exacto knife and a yardstick. I helps to clamp the matboard and yardstick down to your work surface if possible. They like to wiggle if you give them the chance! Next time I might invest in a mat cutter like this to see if it speeds things up and gives me a cleaner cut with nice, beveled edges
Then I centered the pictures and floor plans behind the openings in the matboard and taped them in place. (do you know the matboard-taping trick? You only tape the top of the photo to the matboard and then let the other three sides hang loose. it's supposed to keep the photo from wrinkling in the frame. Fact or Urban Legend? You decide.)
Most of the sets fit in their frames with the house on top and floor plan on bottom, but the shotgun house was my rogue set that fit best side-by-side.
Then they were ready to hang!
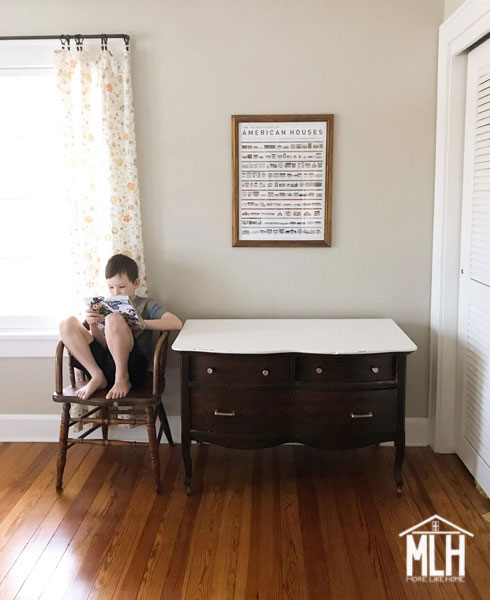
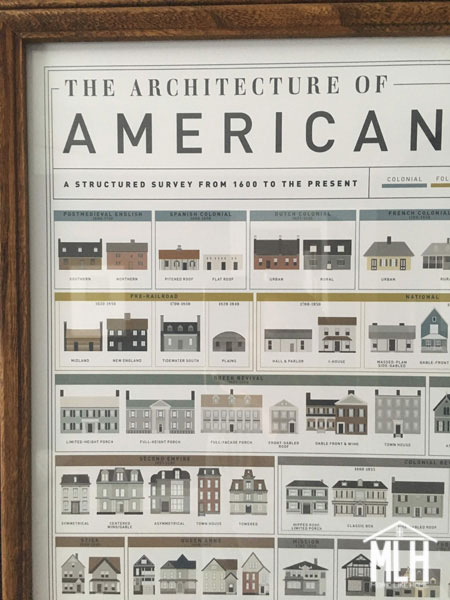
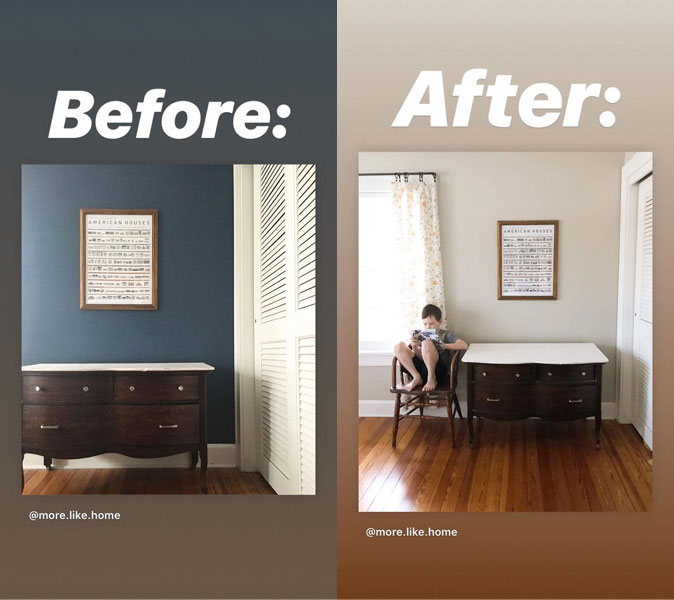
And of course my beloved Pop Chart Lab poster that is hanging above the dresser.
And that's how I made our DIY floorplan art collection.

Playing while I made up the guest beds for visitors a few weeks back. He LOVES these lions. Best Christmas gift he ever got! (you can find them at Michael's or here: lion, lioness, cub)
Confession: I bought wood frames before the walls were gray because I knew they would be painted one day, even though a certain husband wasn't convinced yet. It was the right move, folks. Now that super simple makeover is done, and it had a huge payoff! I hope to share all those details soon. But here's a teaser for now:
Now I'd love to hear from YOU: what artwork would you love to put in your own home? What's a unique piece that would be perfectly at home in YOUR space? I hope you made a list and you have new, exciting ideas!!
My next artwork goal is to get some family photos up around here! You know, once the spending freeze thaws out.
No comments:
Post a Comment