
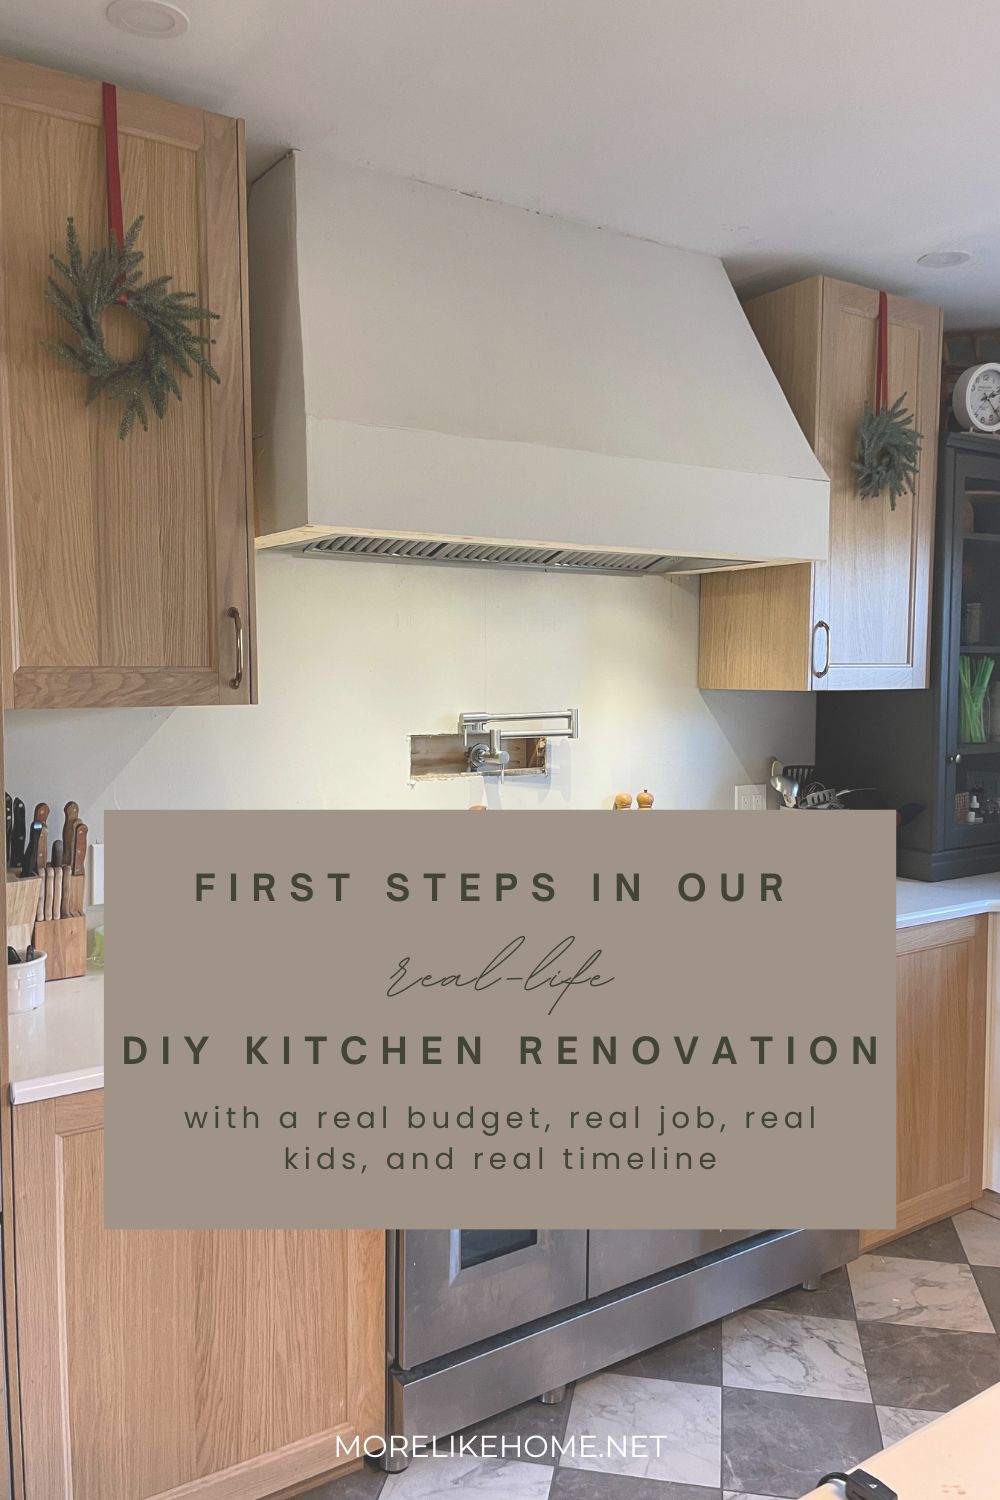
Guys, we're well over a year into our DIY kitchen renovation. Which sounds crazy. But we're DIYing the entire thing (on top of jobs/kids/homeschooling) so it takes as long as it takes. I've been planning to share as many details as I can, but it turns out finding time to both do the DIY and write about the DIY has been difficult has not been something I really wanted to try to do. So. I didn't.
But I think it's time. So today I'm going to kick if off by going back to the beginning to share the first steps we took toward get our dining room ready to convert into a kitchen just in case it would help anyone else planning a similar renovation. Obviously the very first step was a lot of planning, which you can read about here. Then the first actual ax-to-the-grindstone step was getting the bones of the room ready and creating a blank slate.
The "blank slate step" was unusually easy in our case because we were completely relocating our kitchen and swapping rooms with what used to be our dining room. This meant we didn't have to tear out old cabinets or set up a temporary kitchen or anything like that. Doing all this ourselves over the course of a year was made so much easier by the fact we still had our old, fully-functioning kitchen the entire time. But we did still have some work to do before we could start bringing in cabinets:
1. Windows
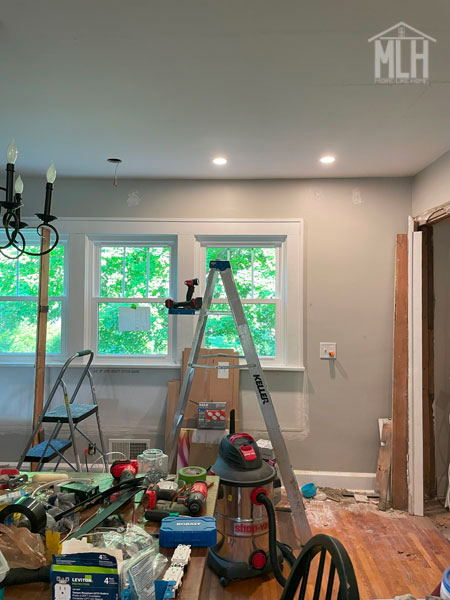
Despite all the ways our renovation was made easier by the fact we were renovating an old dining room, it actually added one extra (unusual) step. We had to move the windows. Those big beautiful windows that I loved. This was the most painful part of the process for me because I loved the light and the view and the memories of little heads peeking over the window sills. But, in order to put cabinets along that wall, we needed to move the windows up to countertop height. So we hired a window company to replace them with slightly shorter windows, re-frame the wall beneath them, and patch up the drywall and siding. We spent around $7000 for that whole process. It was a big chunk of money, but one that we budgeted for and felt would be worth the cost. The window guys were in and out in one day. It would probably have taken us weeks to between doing the work ourselves, and putting in the time to learn how to do it ourselves. While I do believe you can learn almost any skills, including installing windows, we were kind of in crunch-mode. We had cold weather on the way and a baby due, and a hole in the house seemed like a pretty big deal, so we decided to leave this one up to the professionals. They did a great job.
But I still cry when I look back at photos of my kids eating breakfast in front of those big windows.
Here's the thing: we can't have everything, guys. There is no such things as a perfect house. Just like there is no great loss without some small gain, there is also no great gain without some small loss (no matter how silly it may sound). But we're doing the best we can to create a home that serves our family well and that meant giving up bigger windows in favor of a bigger kitchen.
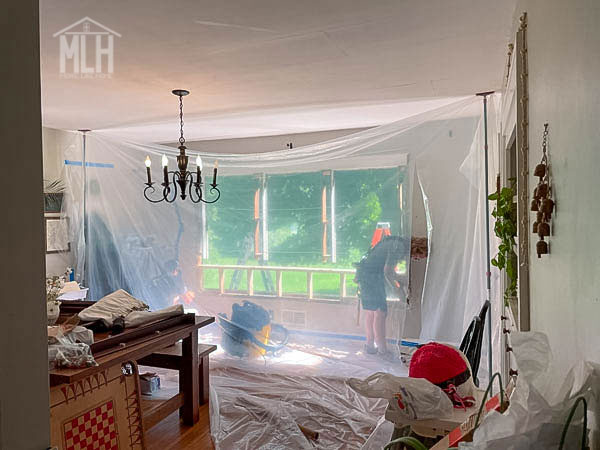 |
| Gaping hole in the morning. |
 |
| New windows by dinner. |
2. Pantry Door
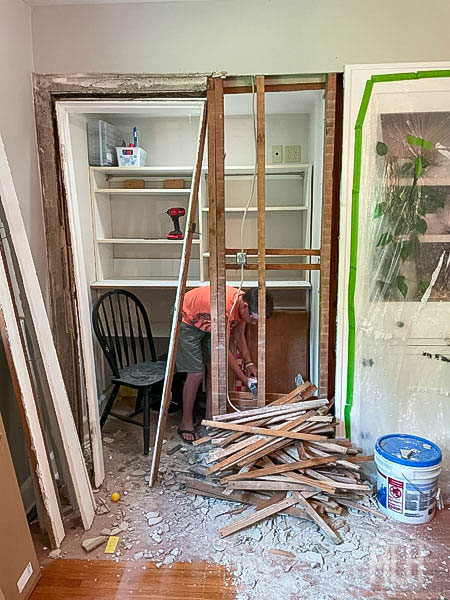
Our next move was to rip out this closet door and move it a few feet to the right. This would allow us to run cabinets all the way to the corner along that wall under the windows while maintaining a functioning closet. And that closet would become my first-ever pantry! We were able to reuse the door, trim, and even the studs out of the wall which all saved money. We did need to buy drywall and all the supplies that go along with that to patch things back up. I don't really have a step-by-step for you. We just ripped the wall open and shuffled everything over. (I don't recommend tearing into walls too much unless you are SURE they are not load-bearing. Always ask a pro if you're unsure!) While this corner was ripped up we also relocated a light switch in the pantry and ran a pot filler in the corner for our Berkey. Now, almost a year later, we're still looking forward to getting the rest of the trim back up. Real life, people.
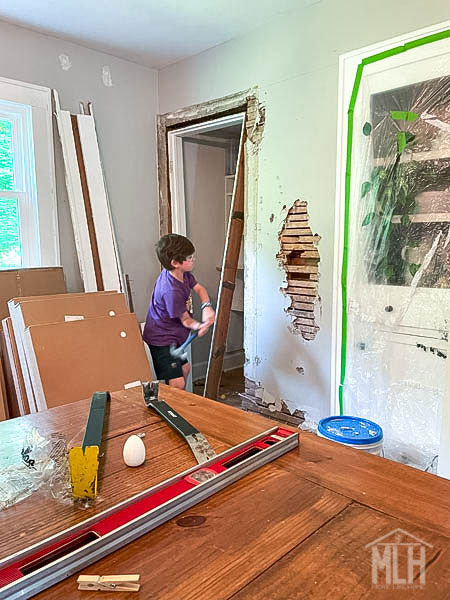 |
| Tearing out the closet wall. You can see the doorway in its original location. |
 |
| Removing the lath. |
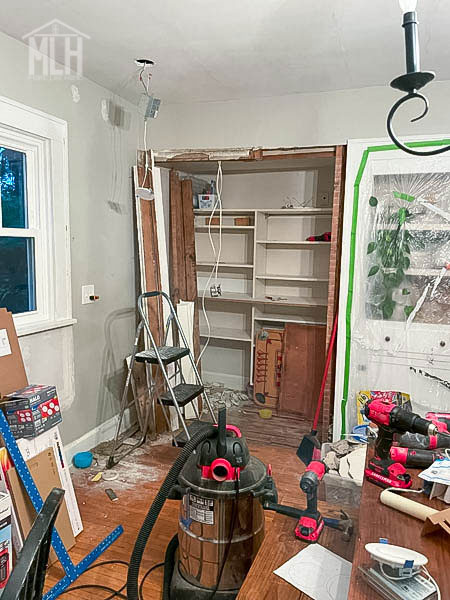 |
| Opened up and ready to re-frame! |
 |
| Door relocated for our "new" pantry. We also re-built and drywalled that gap, but I can't find a photo so this is the best you get today. |
With those two things done, we had our room layout ready!
3. Recessed Lighting + Outlets
Our next move was installing the can lights above where the L-shape countertop will be. I'll do a separate post about what we used and how we decided spacing, etc. because there's a lot to cover if you're interested in adding can lighting yourself.
Then we added outlets above where the countertop would be, installed hookups for all the appliances, and ran electrical to where the island would be (we planned to put outlets in the ends of the island so we could use mixers and things on the island). We honestly flip-flopped a bit on whether we should do all this up front or wait until after the cabinets were in. If we had put cabinets in first, we would have visual confirmation that all these elements were going in the right place. But in the end we decided that running everything without cabinets in the way would be easier (plus I wouldn't have to clean drywall dust out of all the cabinets). So we did a bunch of math, re-checked the numbers twice, and went for it.
And... that's really all the prep we had to do. The room was ready and it was time to start working on the fun things like cabinets and countertops!
But, I mean, don't be fooled when I say "that's all we had to do" because it took us several weeks just to get those few things done. Renovation at the speed of life, friends. We get there when we get there. :)
Let me know if you have any questions or anything I can try to help you with!
No comments:
Post a Comment