I have talked to my husband about getting a camper for YEARS. We've
always loved camping, but we never loved packing up a wet tent at the
end of a trip. And, is it just me, or does it always seem to rain?! I've
dreamed about how a simple little camper could solve that problem. And
I've dreamed about a pop-up camper for literally 20 years. Ever since I
was little. And guys? That dream lives on. Because we still didn't get
one. We may never get one.
BUT we upgraded our family vehicle last year, and it surprised me with a brand new camper-esque opportunity.
Now
let me stop you here for a minute: If you're looking for a beautiful,
Pinterest-worthy camper van - you've come to the wrong place.
This is not that van.
It's nothing like a tiny house. There will be no beautiful interior
shots with built-ins or even with the beds made, for goodness sake. It's
not that kind of camper van.
But it is the kind of camper van that does exactly what we need it to do and takes us to beautiful
Pinterest-worthy places.
So,
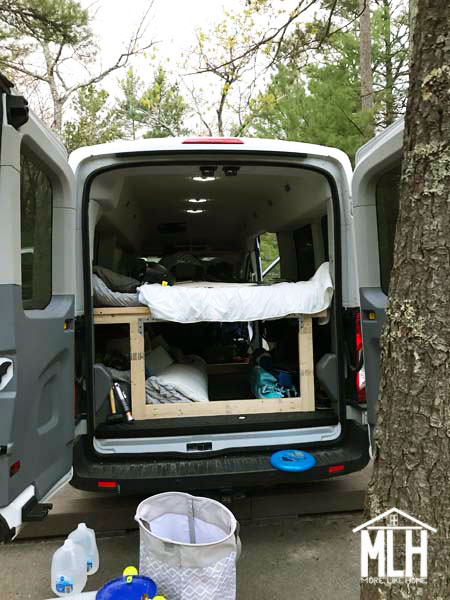
if you're looking for a camper van that can fit four car seats, sleep
two adults and four small children, prevent you from ever having to take down a
wet tent, take you anywhere, and turn back into a regular old van
between camping trips (thanks to a removable bunk system) - THIS IS THE
BLOG FOR YOU.
(You can find all our camper van posts linked here)
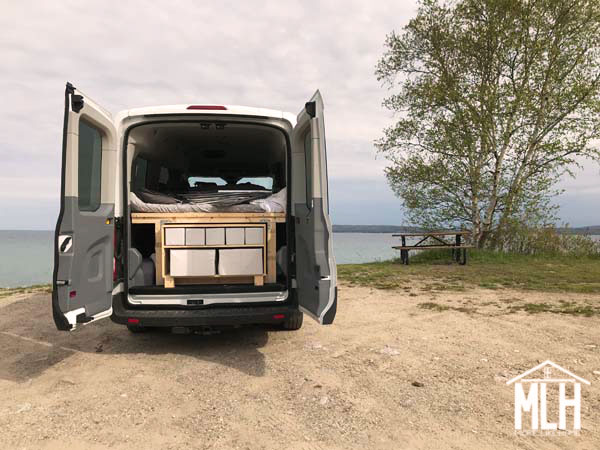
This van is our full-time family vehicle so we definitely didn't want it to
be a permanent camper. We want to put seats in for friends and family,
take them out to haul furniture, and then pop in the bunk beds and go camping again. It's a hard
working, versatile vehicle!
Today I'll share how we made the bunks, then I'll work on separate posts to cover the rest of the details:
- Bottom Bunk Shelving Unit
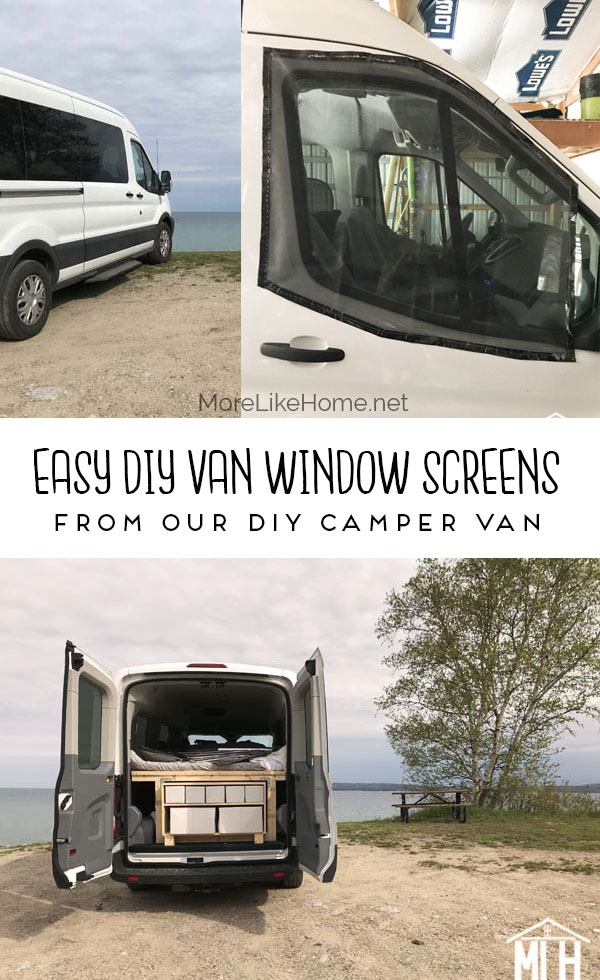
- DIY Insulated Window Shades
- DIY Window and Door Screens
- How we pack and organize our camper van
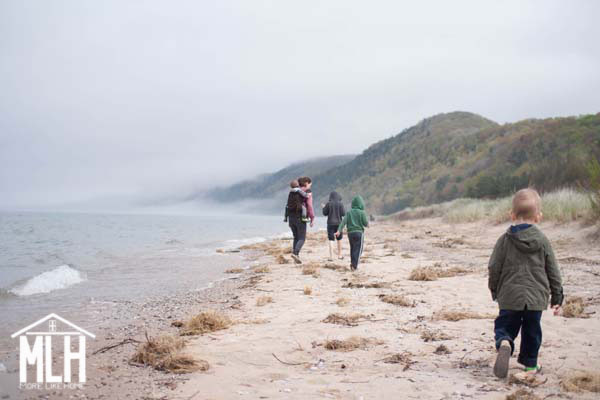
- Camping at Sleeping Bear Dunes + Petoskey
I'm also creating a page with links to all our camper van posts here.
Esch Beach at Sleeping Bear Dunes, MI