Saturday, October 8

Day 8 - Colored Glass Vases

A nice bright, colorful vase can make a big statement in your home. Today we're going to save some money by making our own! And a bonus is that we can make them any color we want to match our houses!


First, you'll need to collect some glass vases to color. Or, if you're like me, you can go the even cheaper route and use any used glass bottles instead of buying actual vases. :) (for this project I'll only be using the clear glass bottles, but I might try it with the green later just to see how it looks)


Once I picked out my bottles, I started by removing the labels. I soaked them in water to remove the paper, then used a little GooGone to get rid of the sticky. Then I poured a little paint inside the bottle (I just used house paint left over from other projects, but you could probably use whatever you have around)


Then I tipped the bottle to spread the paint all around.


Once the whole bottle was coated, I dumped the extra back in the paint can and left the bottle to dry. Yeah, it's that easy.


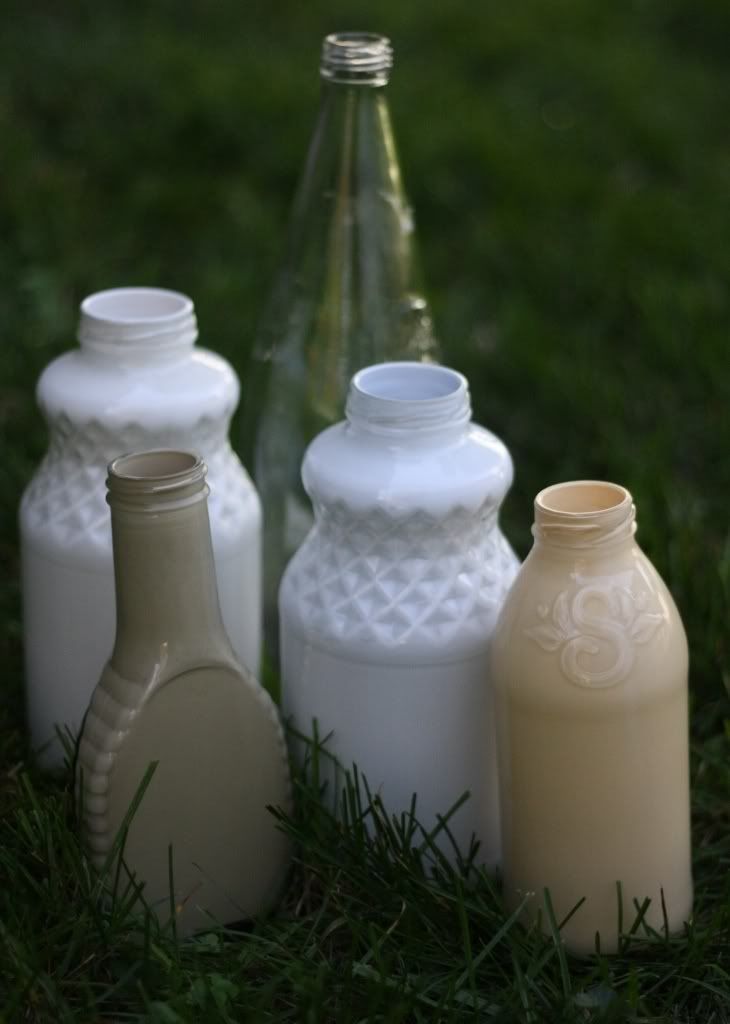
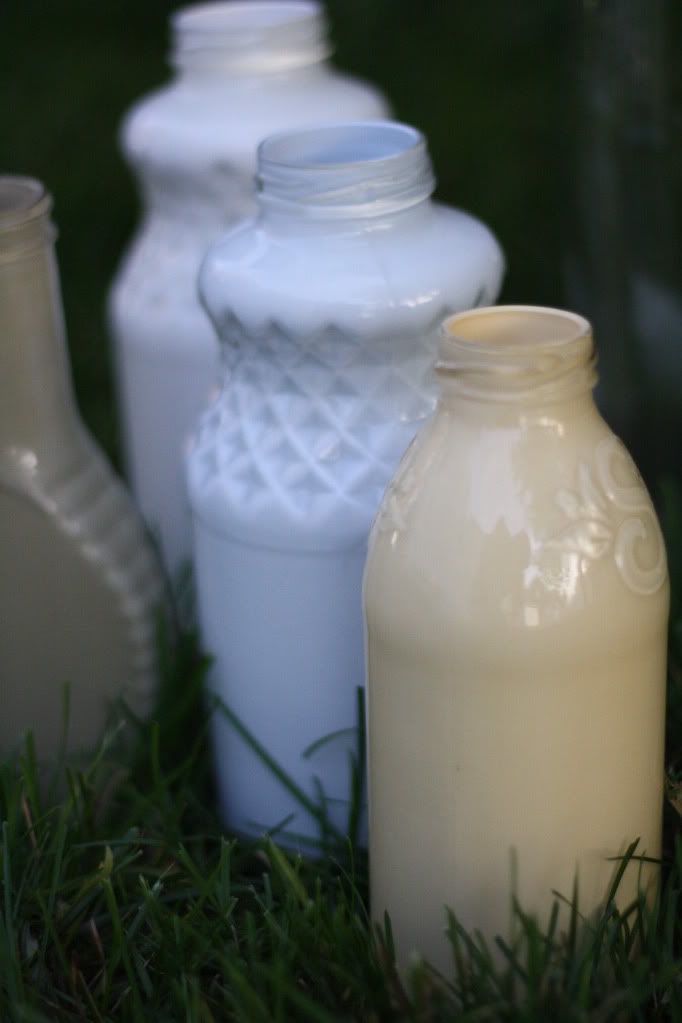
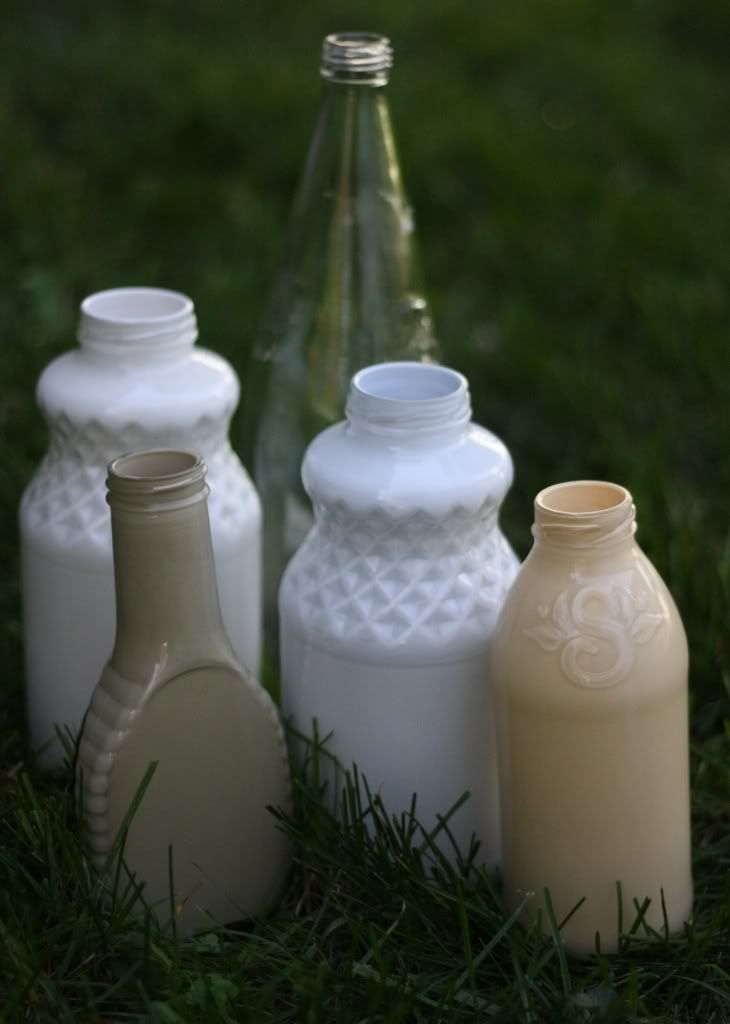
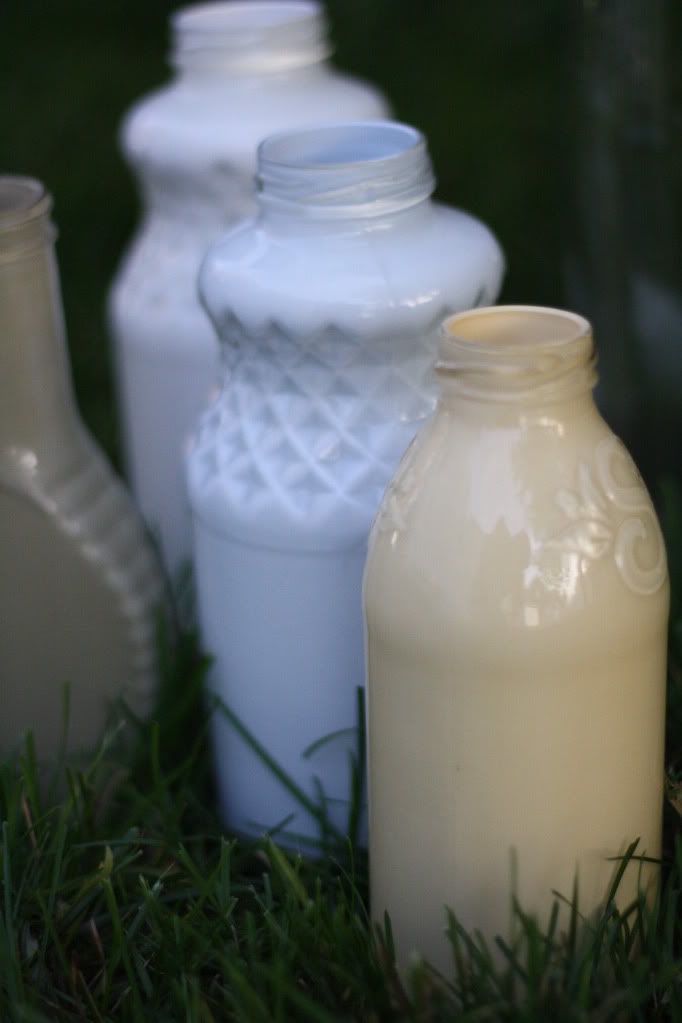
 I experimented with a few different paint colors I had on hand and ended up with these beauties.


I really like the shiny finish that came from putting the paint inside. I kind of makes them look like porcelain or ceramic.
 

 I think my favorites are the fun yellow and crisp, clean white.

 Project Cost Breakdown:
$0 - vases (I used left over food bottles)
$0 - paint (left overs from house painting)
Total: $0

And that's how I made some fun accents totally for free! Here are a few other example I found on pinterest, just in case you need a little more inspiration:


Have you ever found potential in empty bottles or food container? Any other ideas for cheap DIY vases?

NOTE: After some testing I can say these are NOT water safe as I did them. The paint bubbles and peels off when exposed to water. Just so you know. :)

Friday, October 7

Day 7 - Making a Gallery Wall

A whole week done already? That was fast! Today we'll be looking at a cheap way to bring art into your home, and I'll be dressing up the nook at the top of our stairs at the same time.


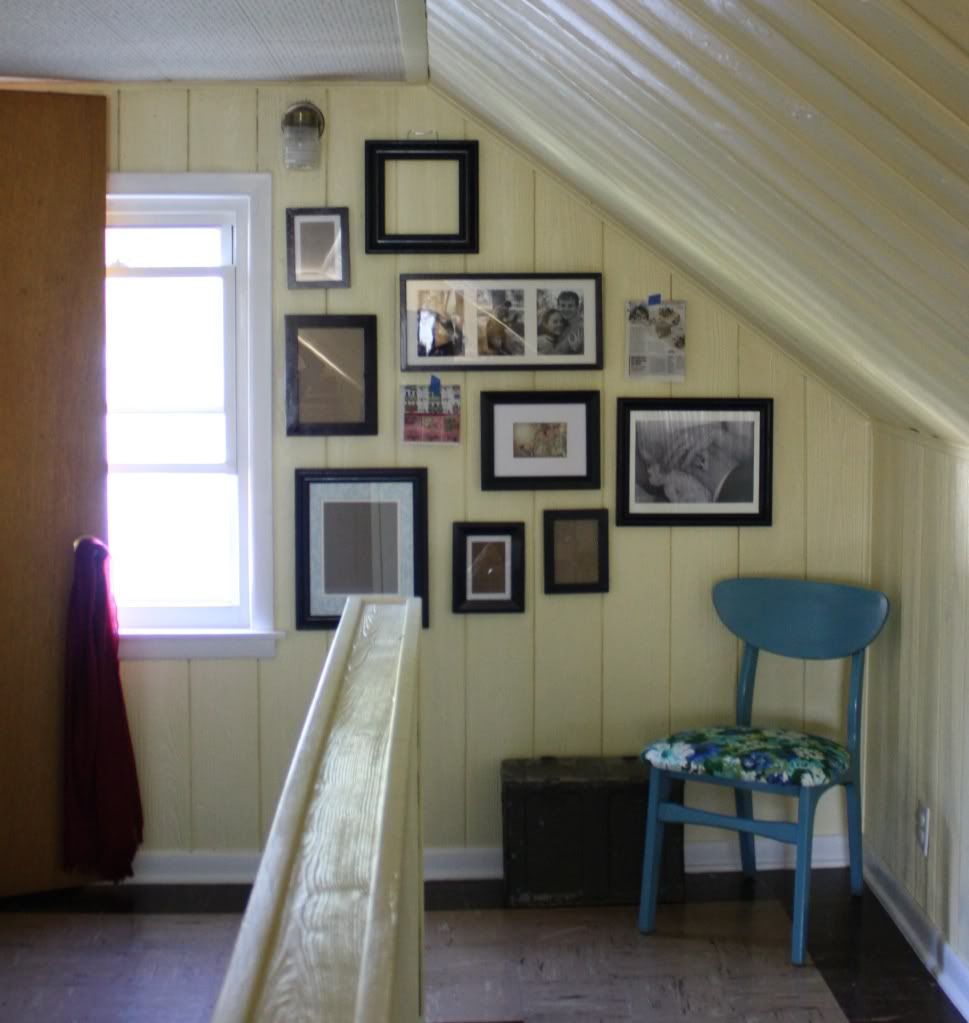
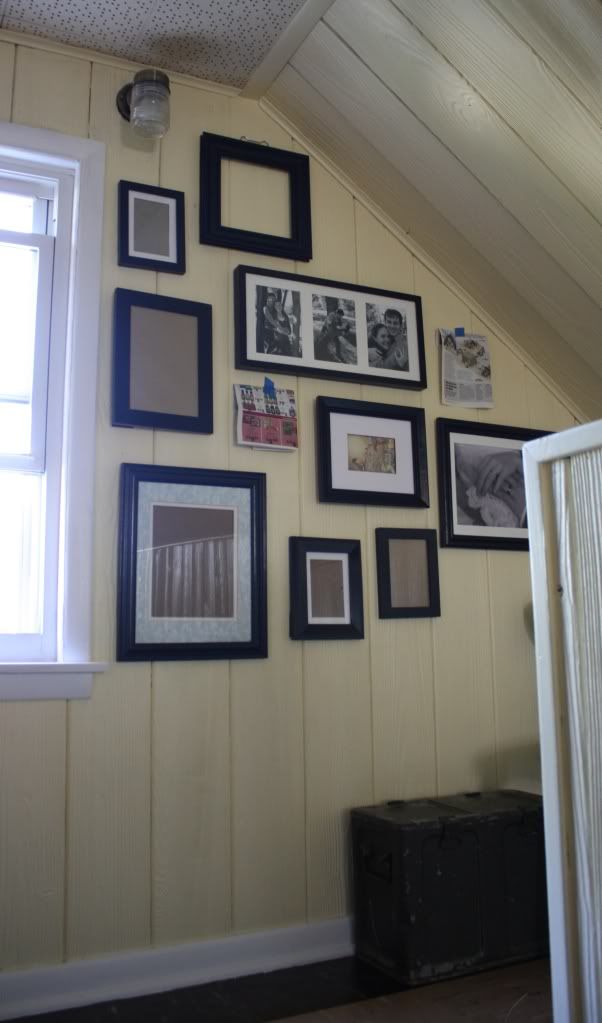
Our master suite upstairs is still very much a work in progress that started when we painted all the dark wood paneling. This is the space at the top of the stairs all painted and fresh, but looking pretty empty.


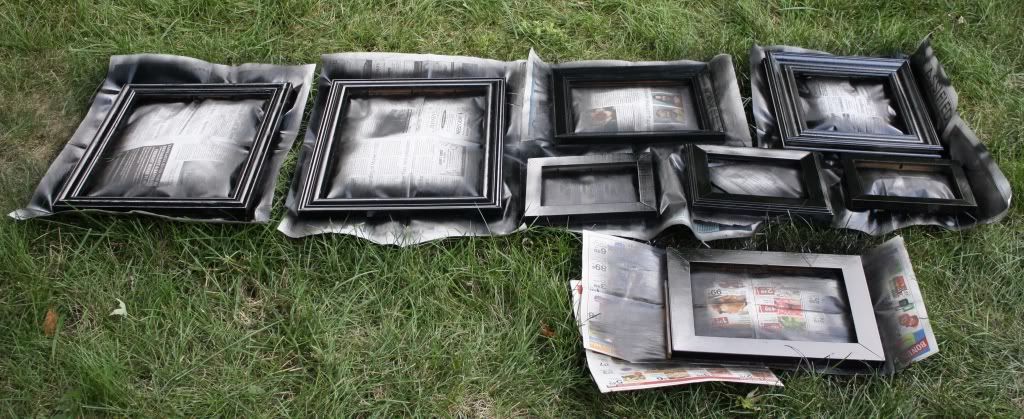
I like the contrast of those black and white pictures against the pale yellow wall, so I decided to try taking it a little further and create a photo gallery wall (See our finished gallery wall here!). I started by collecting an assortment of frames at yard sales earlier this summer. I picked frames of all shapes, sizes, and colors. This is definitely an instance where looking for potential is important. Frames can look all kinds of ugly, but a coat of spray paint can make a world of difference! Once I had enough I painted them all glossy black with spray paint. (I learned in my first gallery wall attempt that spray paint is definitely the way to go!) This time I used the cheap stuff from Lowe's and was surprised at how even the finish was, but let me tell you, it stunk to high heaven. And I feel like the paint rubs off a little, but since these won't be handled (ever) I wasn't too worried about it.


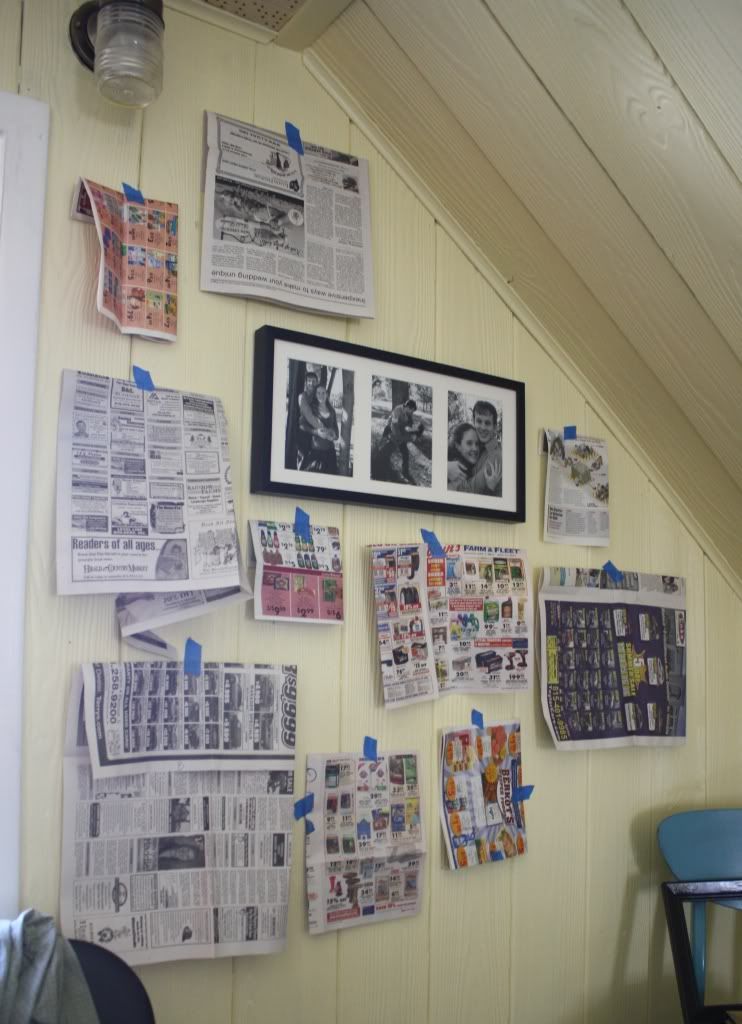
Then I mapped a layout using newspaper and put all my nails up just like I did with the gallery wall in the living room.


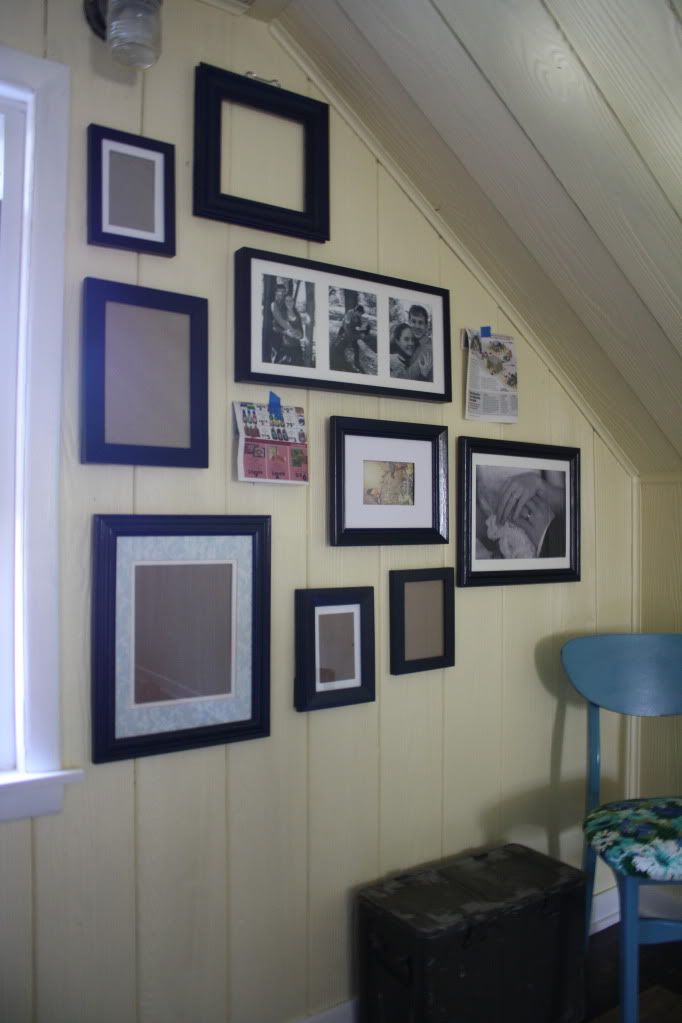
Then all that was left was washing the glass and hanging up my spiffy new frame collection. (Yeah, I somehow missed 2 when I took the rest out to be painted, but they'll be up soon!)


I added mattes to some of the frames to make it look more...official? I don't know, I just think pictures look really good with mattes. :)


Project Cost Breakdown:
$5.00 - frames from yard sales (just an estimate, they were all $0.50 or less)
$1.00 - spray paint
$2.00 - mattes (from Dollar Tree)
$0.50 - picture hanging kit (from Dollar Tree)
Total: $8.50


So that was a pretty cheap way to get a whole wall of art and I love that it welcomes us upstairs, even though the rest of the room isn't finished yet. :) I ordered pictures to fill it in (and some for the downstairs gallery, finally!) So I should have a finished product to share soon!

How about you? Every made a gallery wall? Or do you have another spiffy piece of art that you made on the cheap? Or maybe you made the most of an awkward space in your home? Come on, spill it. What potential have you found today?

Thursday, October 6

Day 6 - It's All Fabric to Me

Today we'll be finding potential to make pretty things for ourselves (instead of for our homes). Let's go!


This story starts with a trip to the thrift store. I was checking out the curtains/tablecloths/blankets section when I found a big brown duvet cover. It was cheap, too, so I pulled it out, gave it a good wash, and put it in my closet for a rainy day....

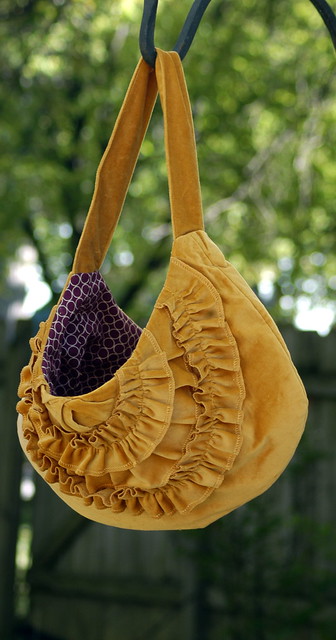
I'm the kind of girl who loves a good bag. I also like to sew, which means I've sewn quite a few bags in my time. I pinned this super cute bag called The Grandview Bag on my pinterest a while back and decided it was time to give it a try.


 But, as is my custom, I wanted to find the cheapest way to make it. So I went hunting in my closet and found that duvet cover I mentioned before. It would make a nice solid color for the outside and I had some scraps from pillow cases left over to use for the lining. 


I didn't have brown thread, so I used a light green that went with the lining. 


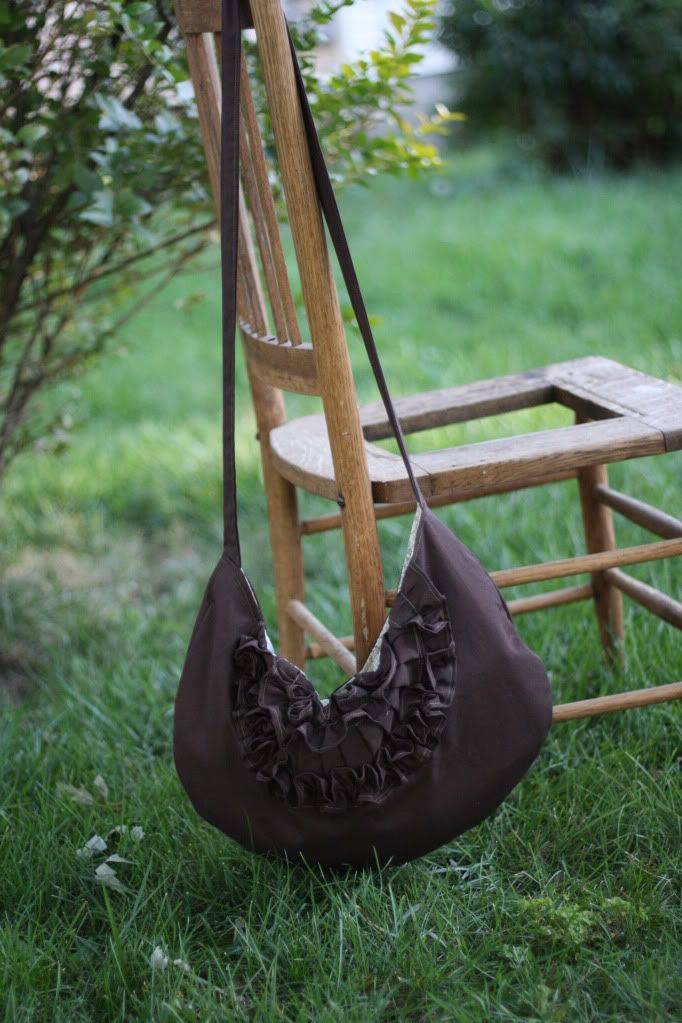
I followed the tutorial to make the bag and ended up with this:


My proportions turned out way different than I expected (based on the original picture) so I'm not sure what happened. I probably did something wrong, but I'm not sure where. For one thing I didn't expect it to be a cross-body bag. 


And it's also bigger than I expected, but it works for the cross-body style it ended up being. Or maybe I made my ruffles too small so the bag looks too big? Anyway, I'm happy with how it turned out even though it's different than I expected.


 And the big size is very handy for this mommy to carry everything I need, while still being super cute!


 Want to know what all I fit in there? My phone, wallet, a book, a cloth diaper, a toy for Baby B, and under all that is my sweater. And there is room to spare! I put one small pocket inside and a magnetic snap to keep the bag closed.


Project Cost Breakdown:
$4.00 - duvet cover (but I have tons left for other projects!)
$0 - lining (left over from my pillow cases)
$0 - thread (already had it)
$0.50 - magnetic snap (I bought them in bulk a while back on ebay)
Total: $4.50


And, because he's so doggone cute, here is Baby B enjoying the chair after my photo shoot. He loved standing up in there with something to hold on to.


The moral of this story is that ANYTHING that is made of fabric can be cut up and used as...fabric! Look through your closet, check the thrift store, check yard sales. There are so many fabric goods with the potential to become something great (and super cute) for you to use!

Now over to you. What unconventional fabric have you used before? What did you make? Want to make your own Grandview Bag? See Part 1 of the tutorial here, and Part 2 here.

Wednesday, October 5

Day 5 - Tray Makeover

Welcome back! Today we are going to do a super quick & easy (and cheap!) project to make the most of the valuable space on the coffee table. 


Our coffee table is pretty much the central hub of our house. It's where we drop things when we come in, where we play games, where we eat (I know, we're bad), and where we put our feet when we kick back & read a book. We built the coffee table last year when we were renting a house and it has served us well ever since (this pic is actually from our old house, I need to get some living room pics of the new place). Since the table is used for so many things, its space is at a premium.


Way back at the beginning of summer I picked up this tray at a yard sale. I had been on the lookout for something like this to corral remotes and such on the coffee table, and when I got this little guy for $0.50 I knew he would be perfect for the job. I also knew he would need a makeover because that rose pattern just wasn't doing anything for me. I like the color of the sides of the tray, so I only had to address the bottom.


I considered using paper or fabric to line the bottom. The tray was wide enough that I would need 2 pieces of paper and have a seam between the pages, so I decided to go with fabric for a more uniform look. I started by making a template of the tray bottom.. I used sheets of paper taped together and folded it to the right size.


Then I used that template to cut out a square from a piece of scrap fabric that went well with the tray color. I couldn't find my fabric scissors so I hacked at it with regular scissors until I finally had decent edges. I would not recommend this approach. Unless you lose your fabric scissors. Then all bets are off.


I applied a thin coat of modpodge to the bottom of the tray.


Next laid in the fabric, smoothing out any bubbles (which was harder than I expected it to be).
Then I let it dry.


Once it was dry, I put another thin coat of modpodge over the fabric to seal it, then let it dry again.


After it dried, the modpodge was really rough so I ran over it with a fine sandpaper to get it nice and smooth.


And that was  it. I'm really happy with how it turned out, and how easy it was! Now I know right where the remotes and coasters are. No more fishing around for them! And it instantly looks tidier than having them spread all around.


Project Cost:
$0.50 - tray from a yard sale
$0 - fabric (leftover from pillow cases)
$0 - Modpodge (leftover from college)
Total - $0.50


Here it is on the shelf of the coffee table.


The only thing I would do differently next time is start with a layer of white fabric before using my patterned fabric. The original design of the tray barely shows through my fabric, and I think a layer of white fabric would have prevented that. But hey, we learn as we go, and I think this went pretty well for a first time. :)

So how about you? What is the most used surface in your home? And how do you make the most of that space?

**One last piece of business - the winner of the red bag giveaway was Auntie J! Congrats, Auntie J, and thanks to all who entered!
Subscribe