Showing posts with label master suite. Show all posts

Thursday, January 9

DIY Easy Headboard Shelf

Remember the $50 low-budget bedroom refresh we did in the fall? I know, it's been awhile. But today we're throwing back to that fun project and showing you how to build that sweet (and super affordable) shelf we installed above the headboard! It's so easy to build and totally makes the space. Plus it's easy to customize to any length you need!


Want more refresh ideas on a super tight budget? Check out these room reveal posts:

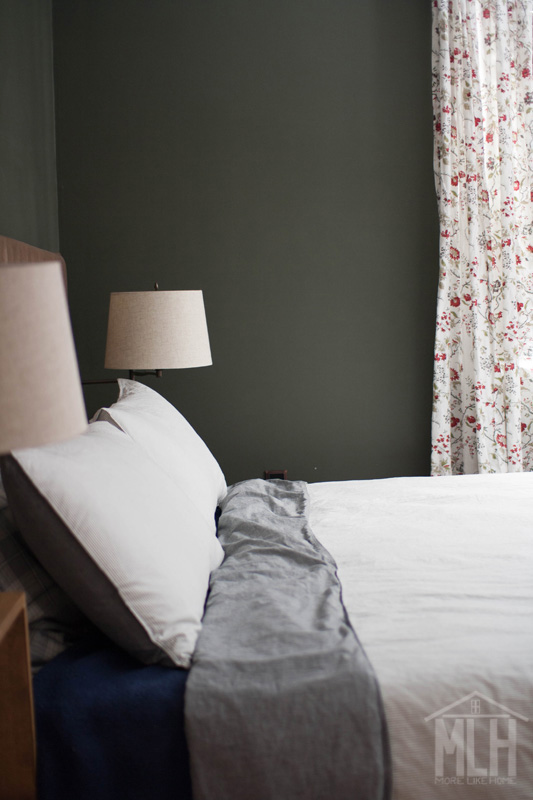
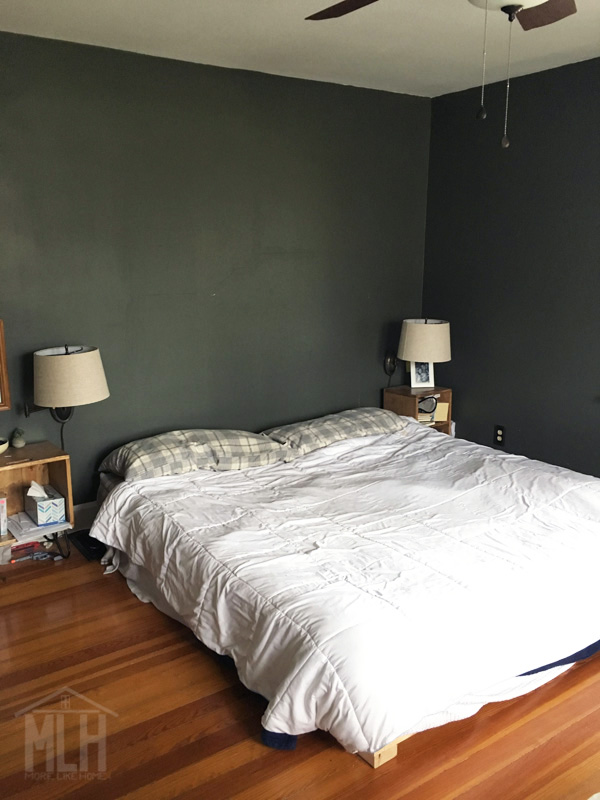
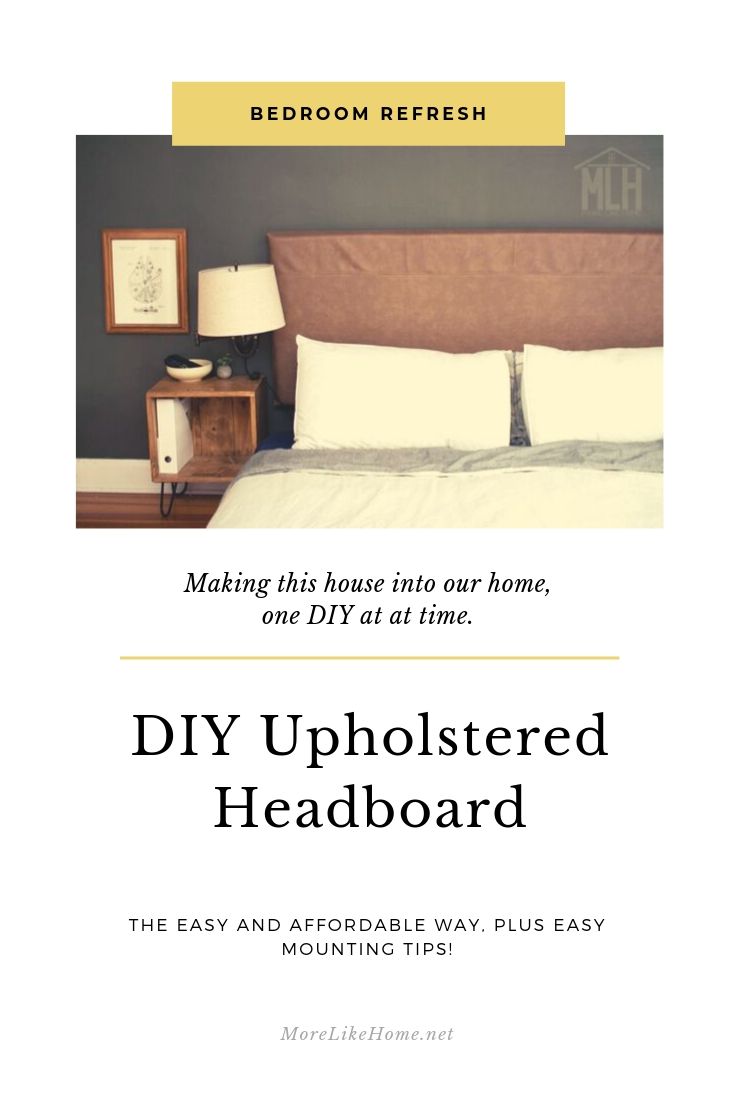
For this refresh, we also DIY'ed the easiest upholstered headboard EVER. You can see how we made it here. Other than that we just tweaked a few details and accessories to totally transform the space! You can check out all the details - the budget, what we bought, what we moved around, etc - in this post.


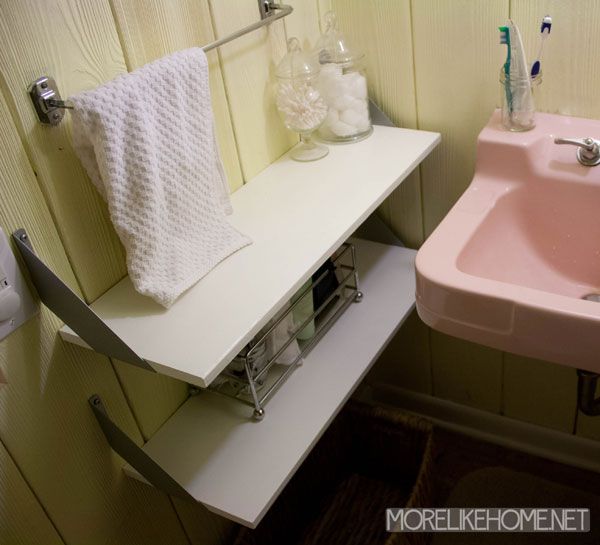
To make your own shelf, this is all you need:
  • 1x8 board for the shelf - the length you want your shelf to be
  • 1x6 board for the back - the length you want your shelf to be
  • 1x4 board for the brackets - scraps or a 4' board would be plenty (you need more brackets for a longer shelf, less for a shorter shelf)
  • 1 1/4" wood screws
  • optional: Kreg Jig + 1 1/4" pocket hole screws (definitely don't need it but I used it so I didn't have any holes to fill) 
  • optional: finishing nails (I just really don't like to fill holes, guys)
  • wood glue
  • wood filler, if needed
  • sandpaper and whatever paint/stain/sealer you want
  • screws for attaching the shelf to the wall (we used 3" screws and drilled directly into studs)
Start by cutting the shelf and back the length you want your shelf to be. I was planning to do my shelf the full width of our King bed (76") but my longest 1x8 board was like 72" and... the budget. I didn't want to spend the money on a new board for an extra 4" so I went with what I had. It's close enough. Just make sure your 1x8 shelf and your 1x6 back board are the same length.

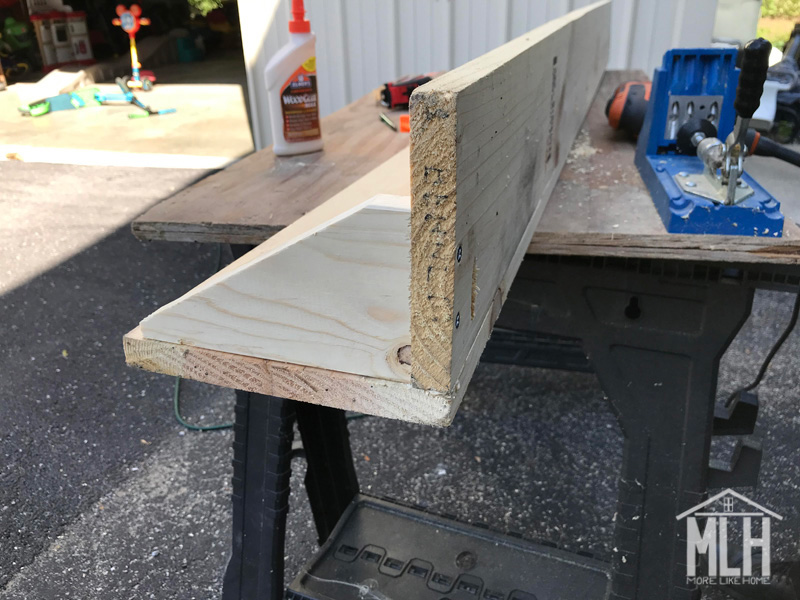
Attach the back board to the shelf board - the shelf should rest on top of the back board, not butt up against the side of the back board. Attach it with wood glue and by drilling down through the top board into the edge of the back board with 1 1/4" wood screws. Or use pocket holes along the back of the back board to attach it - then the holes will be hidden against the wall!

So in this pic, since the whole shelf is upside down right now, the shelf board is laying down and back board resting on top of it and attached with Kreg Jig pocket holes:

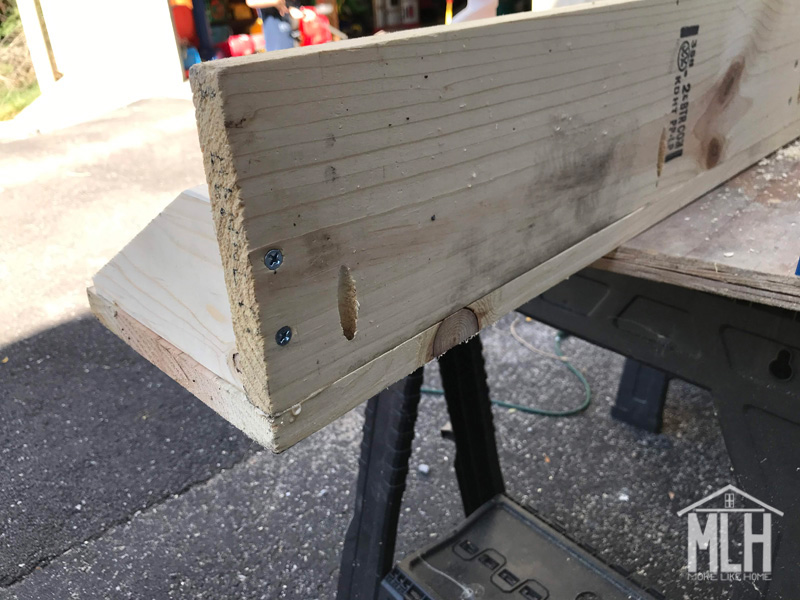
You can see the pocket hole along the bottom edge. Those two screws on the left were used to attach the bracket - we'll get to that later.

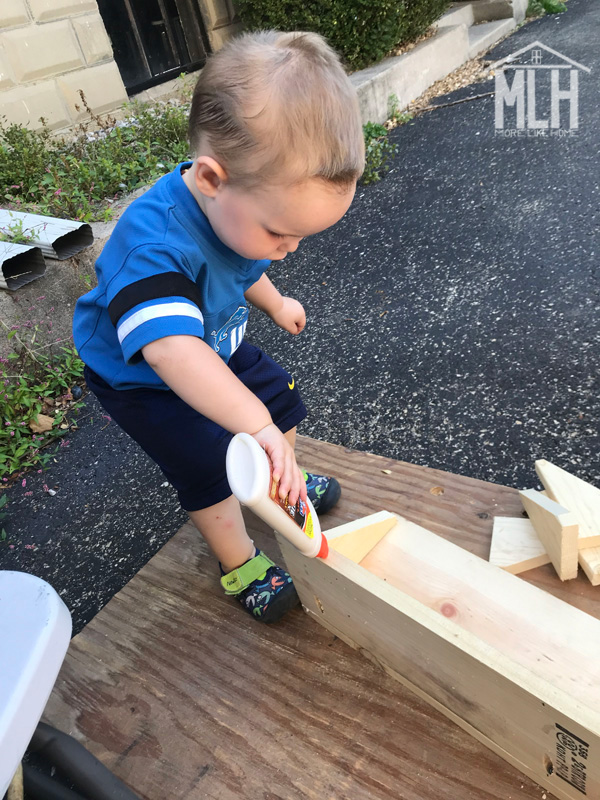
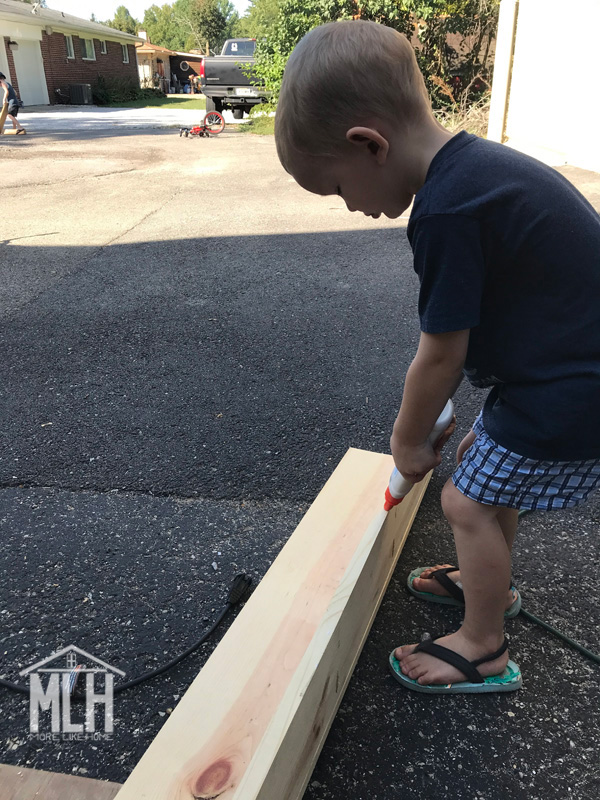
Don't forget the glue.  And don't forget to put the glue up when you're done or a little helper might make himself helpful.

 
 Look at that precision. Totally don't need any glue there, though.

Next you need to make the brackets. Start by cutting pieces of 1x4 that are 6" long. I cut four for this shelf, but you can do more or less as needed for the size of your shelf and to fit the look you want (but remember more is always better if your shelf will be carrying a load!).

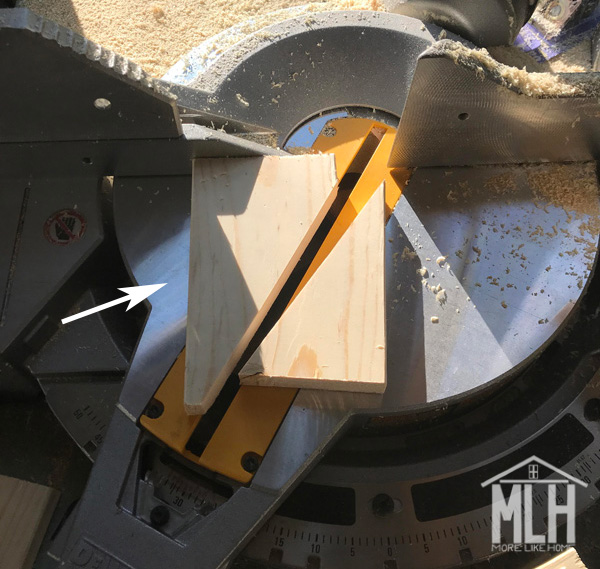
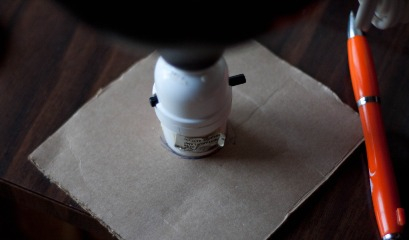
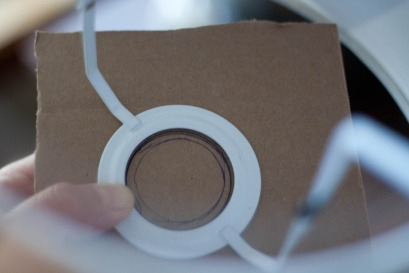
Then you need to cut each of those 6" pieces into the bracket shape. I set my miter saw to a 30 degree angle and cut a practice bracket to make sure I liked the proportions. I'm pointing at a pencil mark. That will be important in a minute.


The piece on the left is the bracket. I cut it so that there was a straight edge left at both the front and back (it doesn't go all the way to a sharp corner like the scrap piece on the right). Once I was satisfied with the bracket shape, I lined it up against the saw blade and used a pencil to mark a line at the edge of the board. That line I was pointing at two pictures back. Then I just had to line up each of the other 6" boards with that mark and knew I was getting perfectly matched brackets. You could also trace your cut bracket onto the top of each piece of wood instead. Whatever floats your boats, peeps.


Go ahead and cut as many brackets as you need. Actually, I think I cut five but when it came time to install them I decided I liked it better with four.

As is always the case, but especially when your miter saw is set to an angle you're not accustomed to... PLEASE DO NOT CUT YOUR FINGER OFF.

K, thanks.

Perfectly matched brackets. Not perfectly stacked brackets.

Now you can install your brackets. The long side of the bracket goes against the shelf (remember that's on the bottom in this pic) and the short end goes against the back board.


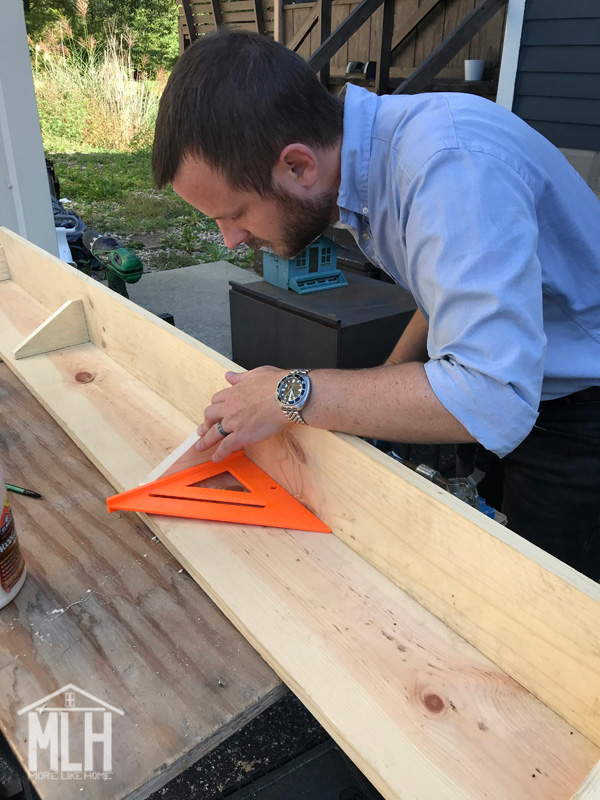
I did one bracket flush at each end, then spaced the other two evenly in between. Use a square to make sure the are straight. 

To attach my brackets - since I don't like to fill holes - I used 1 1/4" wood screws to attach the back side of the bracket by drilling through the back board into the end of the bracket. I wanted to use screws for at least part of it to make sure I got a good, strong hold. Then I flipped the shelf right-side-up and nailed down through the shelf into the top of the bracket with finishing nails. You can attach the top with screws if you don't have finishing nails, or if you want to reinforce the hold a bit more.


*cough*don'tforgettheglue*cough*

Second helper helping. Still don't need glue there, folks.

You're almost done! To finish your shelf, fill any visible holes with wood filler (be sure to get a stainable type if you're using stain instead of paint) then sand everything down really well. This is the most important step for a professional finish! Start with a rough sandpaper, then go over everything with a medium paper, then again with fine paper. Once it's super smooth, finish it with whatever paint or stain and sealer you like.

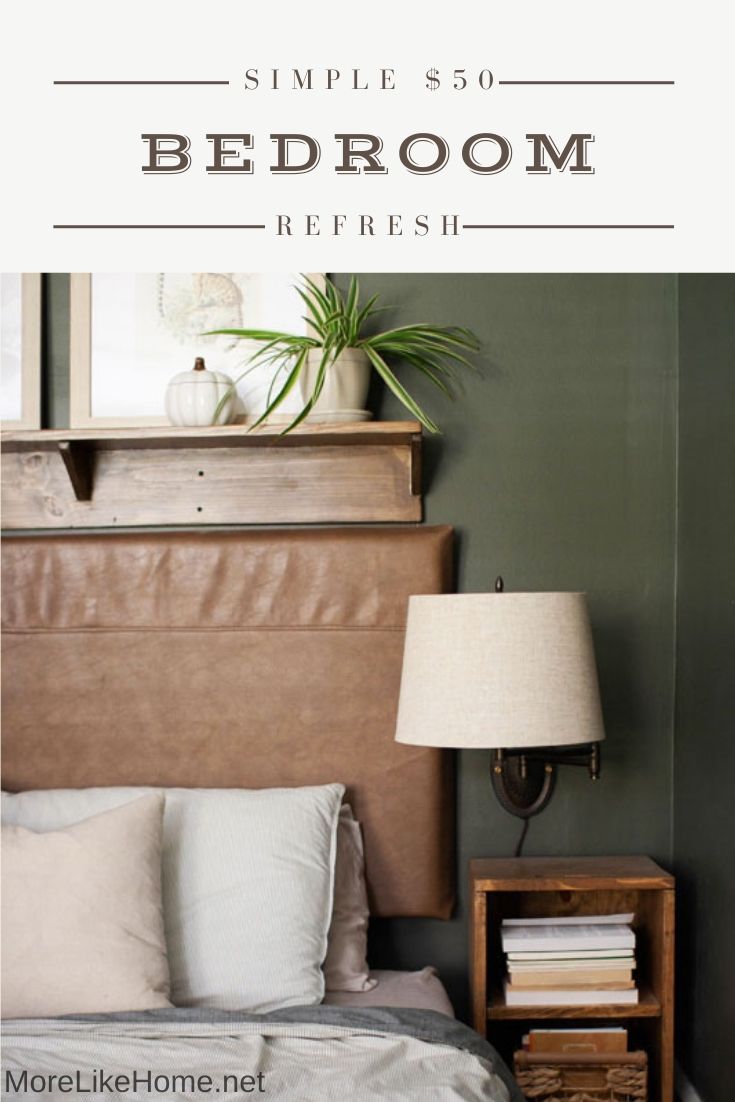
I tried out a few leftover stains on a scrap board to see what would work with my walls and headboard (budget project = no $$ for new stain). I tried Early American, Weathered Oak and Coffee, and decided on a layer of Weathered Oak topped with a layer of Early American. It hit that sweet spot of not-too-gray-but-not-too-brown.


Full disclosure: I used to read about people mixing or layering stains and think it was flat out crazy. Like who has time for that? Just pick a stain already! But here I am. Turns out it was the best way to make the most of what I had.

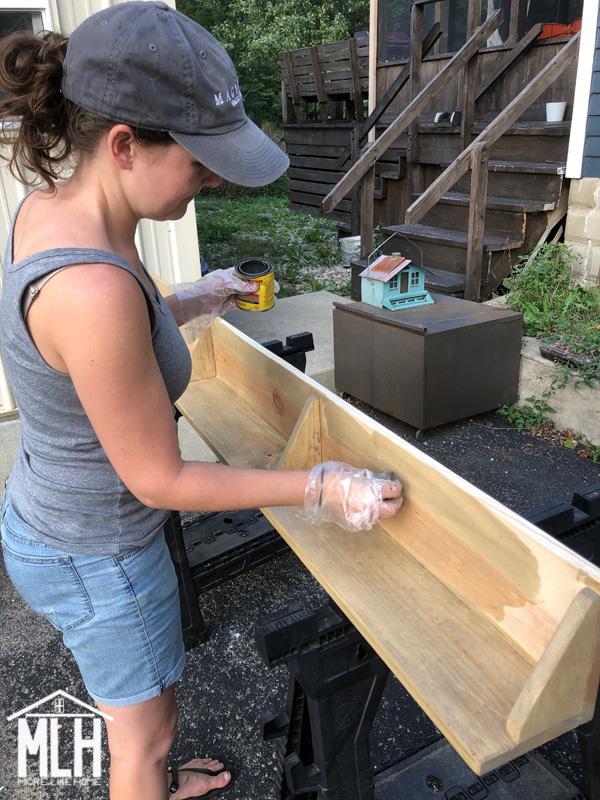
Weathered Oak going on first.

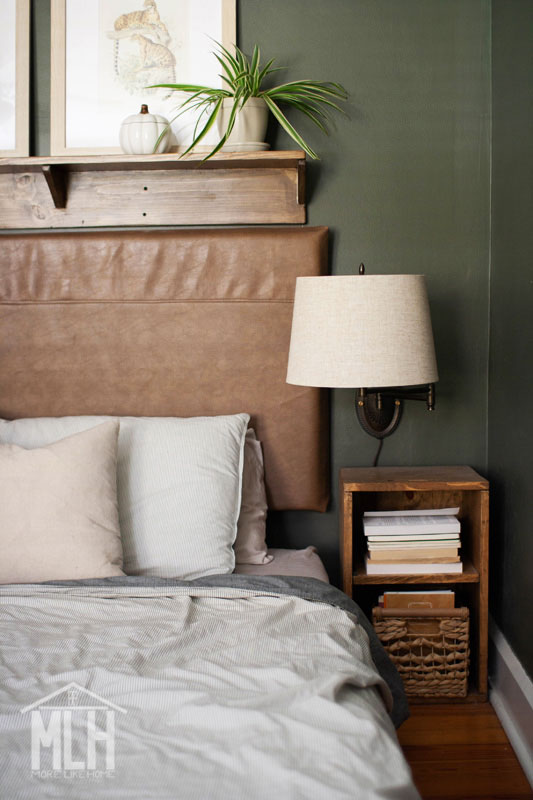
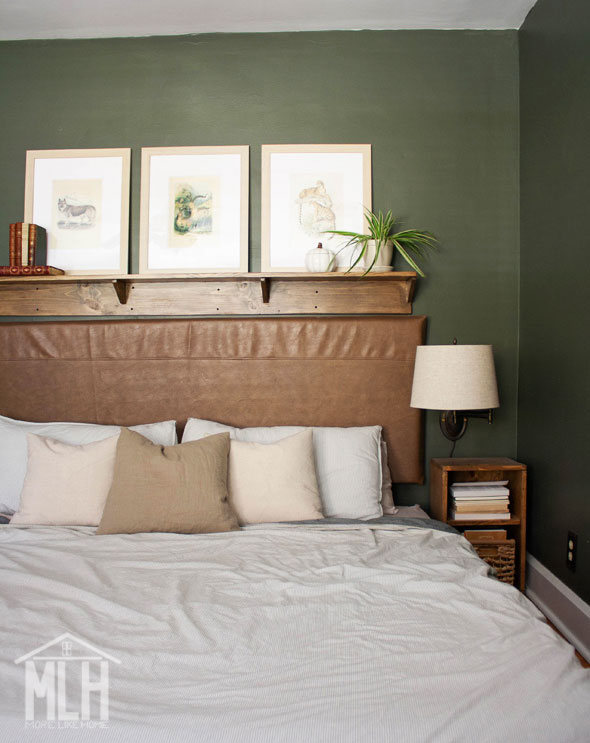
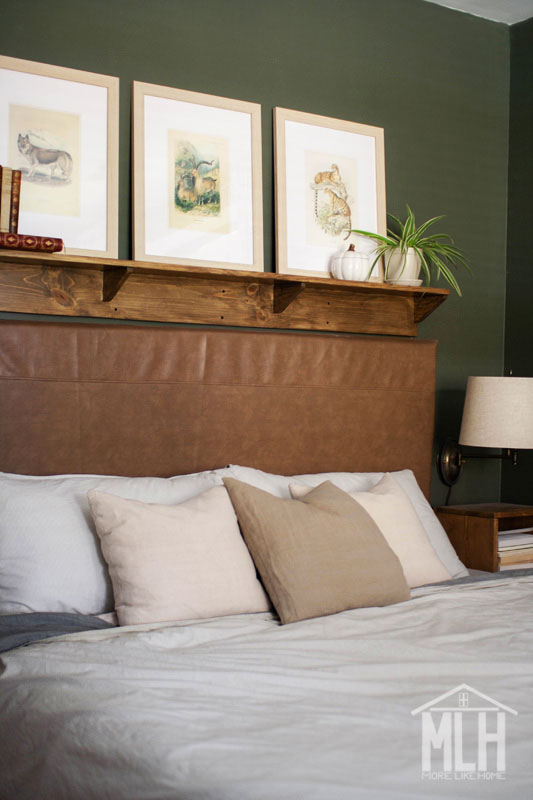
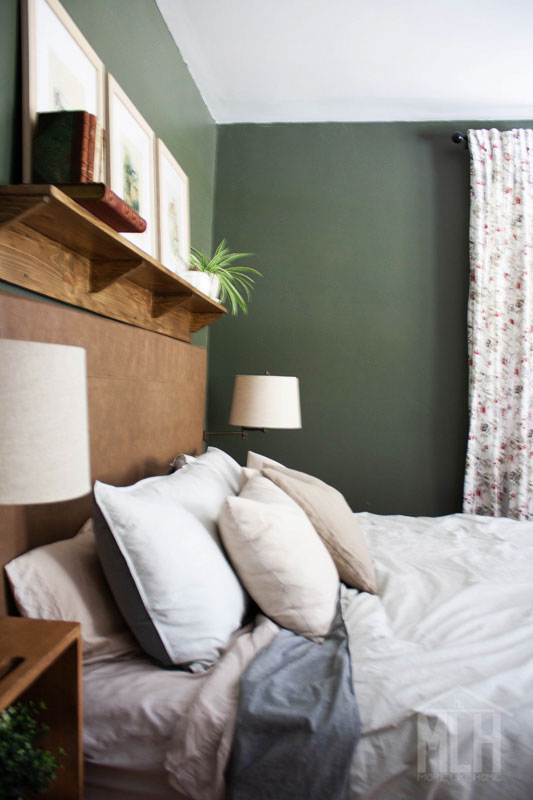
Once it dried we hung it centered above the headboard. We drilled straight through the back board into studs in the wall. Yes, the screws are visible, but we're sleeping with our heads under this thing and didn't want any chance of a shelf-falling wake-up call. We used black 3" drywall screws since we knew the heads would be show (still not super pretty, but better than shiny silver heads!). 
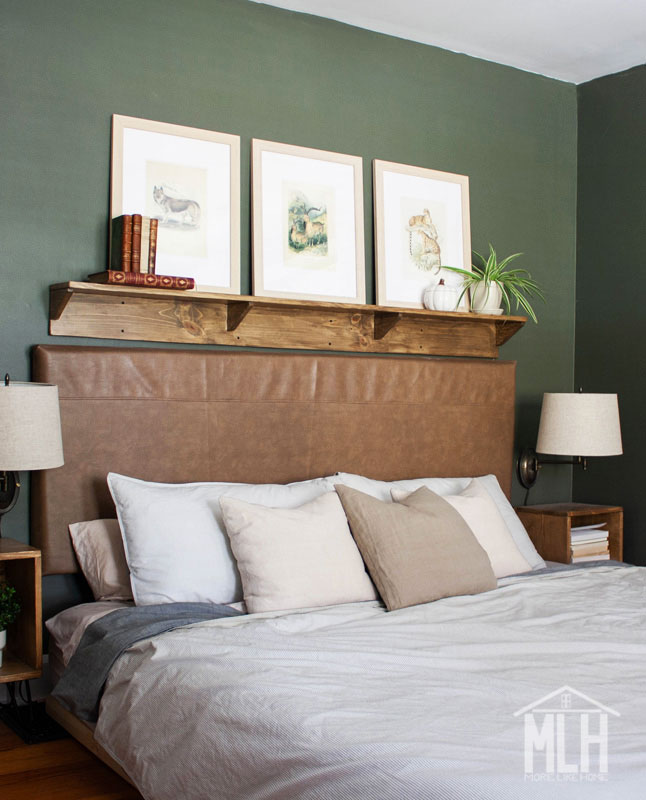

All done!


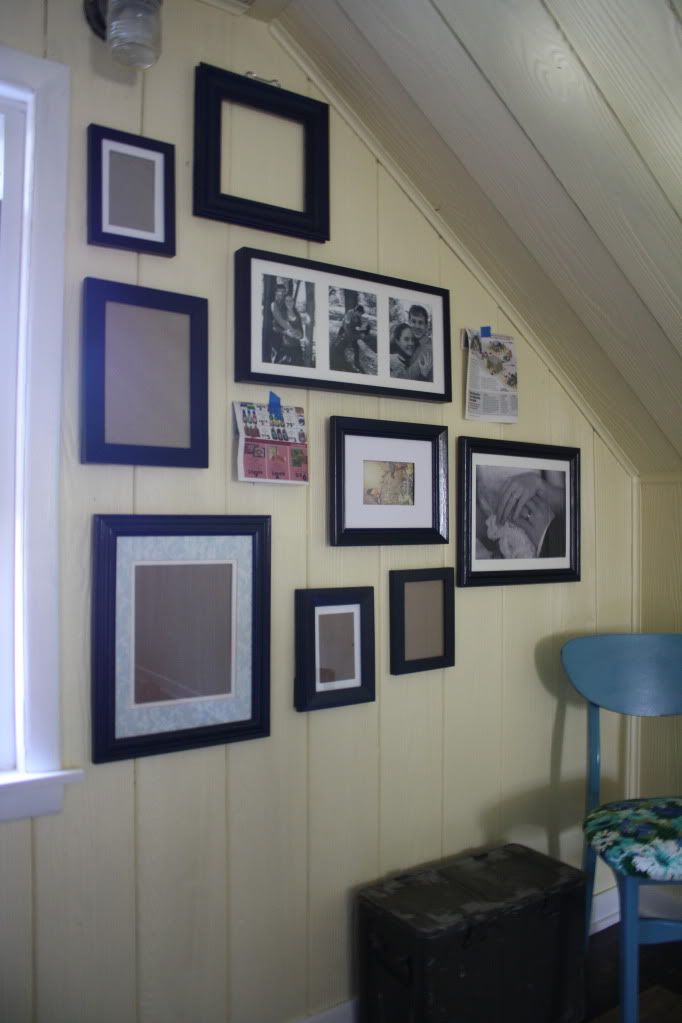
I know I've shared this before, but it's still my favorite side-by-side before + after of the space. What a difference a few simple changes can make!


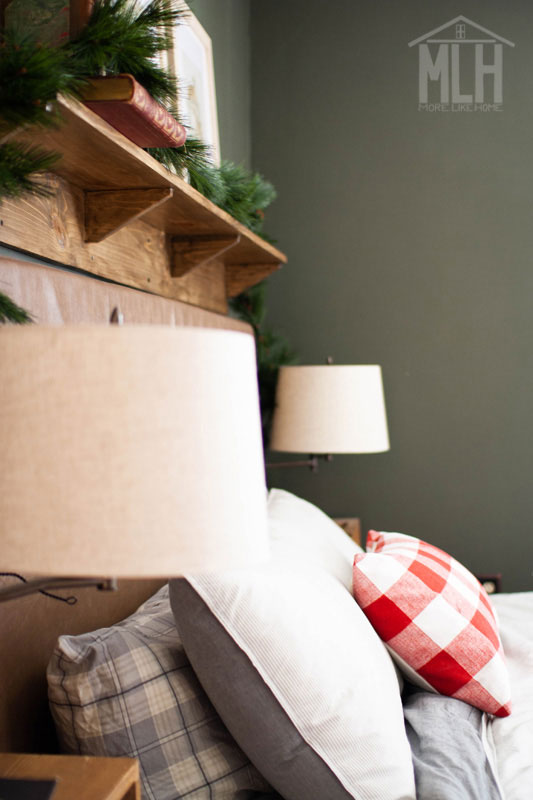
And here's an update with it decked out for Christmas:


Now I'd love to hear - what's your favorite thing about your bedroom? Is it a special piece of decor? The layout or flow? Something you made yourself? Let me know in the comments!

Thursday, October 24

$50 Master Bedroom Refresh (Our Fall Challenge Reveal!)

It's reveal day! Did you join the Budget Refresh Challenge?

Today I'm sharing how we totally refreshed our master bedroom and made it so much cozier for under $50! If you love a good before + after, hold on to your hats. This is your time.


Let's start with the before (you can read more about it here). This picture was take almost two years ago:


Thursday, October 17

Easiest Upholstered Headboard (and the easy way to mount headboard on the wall!)

We're finally giving our master bedroom a little during our Budget Refresh Challenge! (Get all the details here - there's still time to tackle your own space!) 

So today I'm going to show you how we made the easiest upholstered headboard ever!


We have barely touched this space since we moved in. I mean, we've addressed a few functional issues over the years. Two years ago when we upgraded to a king size mattress I had to build a frame for it (check out my posts on why we chose a floor bed and how we built it). Then I built a pair of crate night stands to match our new bed height and added a pair of thrifted sconces so we weren't living in darkness. But after all that it still felt like a bare-bones room!


Monday, April 24

Thrifting for Sconces

Every time I look at this title I see "scones." I wish I saw scones every time I looked in the kitchen.

But back on track: I finally hung the second sconce in our bedroom.


I did the first one a few several weeks ago when I built our new crate nightstands... and it didn't go great. There was trial with too much error, and way too many holes in the wall. All of which I chalked up to a combo of bad planning and user error. My bad, guys. It took me a while to work up to doing the other one. 


But after a few weeks of a lamp sitting on my tiny nightstand while the sconce took up my whole dresser, I was ready.  And this time it went much smoother. So hopefully you can learn from my mistakes from the first time around.


But before we get to all that, let me tell you about these scones. This is the recipe I use: Kevin's Famous Scones. And now for the sconces. I knew I wanted something either wall-mounted or hanging since our nightstands have so little surface area to begin with. I had a vague idea of what I wanted - something with moveable arm that would make it easier to reach from bed - but honestly hadn't even started shopping around. Then one day at goodwill BOOM a pair of sconces for $5 each.


Thursday, February 23

Floor Bed Inspirations (and our Tuft & Needle Mattress)

I've been working on new nightstands (I shared a sneak peek on Instagram and Facebook) because we made a pretty drastic change in the bedroom and our old nightstands were not up to the challenge. We put our mattress on the floor. Okay, it may not be all that drastic. But bear with me, here.


It all started in what the boys call our "tiny house." That's the rental we lived in for a few months at the beginning of last year. We moved suddenly and put most of our belongings in storage, taking only what fit in my parents van. The mattresses came, but the bed frames didn't make the cut. And so we had our first floor bed.


Husband tolerated it to save money on a frame (we had a perfectly good one in storage), but I loved it. Besides the obvious (no monsters under the bed), there were two main reasons I was digging the floor bed:
  1. I don't have to worry about babies falling off. There's actually one napping in that picture. He could probably roll off and not even wake up. the boys have had mattress on the floor for years for this very reason, and as soon as our mattress hit the floor I was all "THIS IS GENIUS." 
  2. I've read several Katy Bowman books about natural movement and adding more movement into your lifestyle. Sleeping on the floor gets your body moving in a whole different way to get up and down. No extra time commitment or reminders to fit it in, it's just part of our day now.
But then we moved to our new house and our bed frame came back. Boo. I think Husband missed it just a little. I mentioned from time to time that I liked when it was on the floor. He wasn't convinced. Then the conversation changed to talk of upgrading to a king-size mattress.Would it take up too much space in our bedroom? Would it be worth it to sleep better when kids are in the bed? The verdict: WORTH IT. We started searching through several mail-order mattress options (the price and convenience were both attractive, but we were wary of a mattress we couldn't even touch before we ordered). Fortunately I had several friends who had tried Tuft and Needle, and the combination of their recommendations plus one of the lowest price points we had seen sealed the deal. A few days later, the rolled up mattress arrived. I pulled off the plastic and it puffed right up. We've been sleeping on it for a few months now, and so far it has been great!

Napping baby approved. You can see our now too-tall nightstands in the corner.

One of the best things about getting a bigger mattress... we didn't have a frame to put it on! So we really had no choice but to leave it on the floor, right? I was crazy excited about it, and Husband noticed and he loves me so he said we can keep it like this. He's a keeper, himself.

Fortunately I'd been pinning a few favorite floor bed inspirations fort his very occasion! One thing I've noticed about floor bed photos is that they tend to feel cozy and super-chill. And I love it. This is one of my favorites with a warm, eclectic style. Even with white walls it feels personalized and inviting, and I love a little greenery to warm up the space. And see that nightstand? That was the main inspiration for our little crate-style nightstands. I can't wait to share those plans with you!

image via pinterest

This image is another favorite for a lot of the same reasons. I love the peaceful white that's warmed up with a little plant life, the cozy bed I just want to melt into, and the rich layered textures. But it's probably worth noting that our bedroom is currently a super dark green. So basically the opposite of these pictures. Hmmm.

Now let's talk headboards for a minute and think about this question: should a floor bed have a headboard? Because most of the ones I've looked at don't. The photo above does, but it's totally not what I'm looking for in a headboard. Which would be something more along these lines:


Upholstered (comfy to lean on), probably tufted (because I like it), and most likely a faux-leather type material (easy to clean because children). But I'm having a lot different feelings about how tall, what shape, color, and whether we should even have a headboard or not!


Choices, choices. Anyway that's where we are. I'd love to hear your thoughts on a headboard - what would you do???

Tuesday, November 11

Putting the Closet to Work

You may have forgotten we have a funky walk-in crawl-in closet in our master bedroom. Yeah, we kind of forgot about it too. And so it turned into the cluttered dumping grounds of everything that is in the way. Behold.


We at least kept this convenient walking crawling path that allowed us to climb into the back recesses of space below the sloped ceiling. I should have taken a picture that showed the back better, it reached back pretty far until the the ceiling meets the floor.


Oh, and all the dump-stuff didn't fit around the crawling path so we spread the dump-zone out into the landing. Oops.


So obviously some serious organizing was in order, but first we needed some storage space! My original idea was to use the same adjustable shelving we put up in the garage, but the detail & leveling needed to navigate that sharp ceiling slope was more than I was up for. So I went with my next best (basically free) option. I took a few of the wooden shelves from that adjustable system and screwed them together into a moveable bookcase thing like. I didn't have to buy any new wood and I used up more of the shelves that were stacked in my garage! This is what I ended up with:


We dragged it upstairs and after a couple hours of sorting & decluttering we were left with this... not so monstrous sight. Huzzah!

Friday, July 19

Black & White Gallery... finally revealed!

You guys love a cliff hanger, right? Turns out I'm VERY good at leaving you hanging with projects. My bad. You probably don't even remember that almost 2 years ago I posted about starting the gallery wall up in our master suite. I left you with a pic of the painted frames up and waiting for pictures that came about a week later. And then I never mentioned it again.


All because of one little thing. See that piece of newspaper hanging in the middle of the collage? I had one little frame that got skipped over in the painting and I didn't want to do a reveal post until it was totally done. Well.... it literally sat on my upstairs railing until I painted it a couple days ago. I don't have a good reason. I'm lazy/forgetful/unmotivated.


But now I can finally say... it's done!!!


And I love it. I love the pictures. I love the black and white against the pale yellow walls.


I love that sweet little boy who sucked his thumb for all of 2 months.

Monday, June 24

Restoring Old Wood... or Maybe Not?

**UPDATE - So... it turns out there's a good reason to not do this. Definitely check out the first comment before you try this on your own furniture!**

My new end table is finally all settled in. Which basically means I moved it to another part of the house and I like it. :) But before I moved it I was still trying to decide if I liked the old finish or not (thanks for the great advice you guys!). So I decided to try restoring just the back side. That way I could see if I liked it better, but could hide it if I didn't.


I tested a trick I found on Facebook and combined 3 parts vegetable oil with 1 part vinegar and rubbed it into the wood with a paper towel. I was definitely skeptical... but it actually worked! See the difference?


Friday, May 31

The Master Bath

Did you know we have a half bath upstairs? I don't know if I've even mentioned it since we first moved in. It's been one of our more neglected room thus far, but we've finally spruced it up a bit. This is how it looked when we first toured the house. Lots of pink and lots of brown!


Until now the only worked we had done in there was painting the paneling and trim when we painted the rest of the master suite (read about that here). And I don't even have a picture of that! Oops. But last weekend with a few babysitters in town I managed to throw things together in there.


It's an improvement, right?  I just re-painted the shelves, hung a picture and added some baskets and glass jars. Just those little things made a pretty big difference! The picture is from Ikea - they don't have it anymore, but they have these in the same style. We had it in the bathroom at our last house.


The shelves were also from Ikea, and also discontinued. Boo. I love the metal brackets. We had these painted black in our old kitchen and when we first moved in I put one up in the bathroom to make up for the lack of counter space. As you can probably imagine, the black looked horrible with the pale yellow walls and pink sink. I brought up the second shelf to add more storage and repainted both with leftover white paint from our kitchen cabinets.


I also brought in a large basket to hold toilet paper, a small mason jar to hold toothbrushes (instead of laying them on the counter, which we've done for over 2 years), and brought in the glass jars of q-tips and cotton balls that had been living on my nightstand right outside the bathroom door. And just like that it's starting to look presentable. And I did it all with things that were sitting around the house! Does that mean I have too many things? Maybe. And while I'm still not crazy about a pink sink, I feel like it kind of fits in now. Or at least doesn't totally stand out like a glaring beacon of the 50's. Maybe it's starting to grow on me.

So that's our little bathroom update. How do you feel about pink sinks? Kind of cool? Or is that just wishful thinking? 

I'll leave you with this pic of our copy cat, reading a bedtime story with aunt Beffy. He picked out hop on pop, got out his "tiny pop pop pop" book to read along, and crossed his little legs. I don't know what we would do without him!

Thursday, January 17

When Your Lampshade is Too Big

Okay, so I just made my lamps all spiffy with some ORB spray paint, and then picked up a couple nice (& cheap) lamp shades at Ikea to finish them off, only to get home and find out..... they don't fit. Wop wop. Don't you hate it when that happens? I just found out, who knew lamps & shades weren't universal?!? Luckily they were not fitting in the too-big-for-the-lamp way and not in the too-small-for-the-lamp way so I found a way to make them work that way easy and totally free! Here's how:

Grab a piece of sturdy cardboard from the recycling bin (don't have any? Ask your friends!) and trace around the top of your lamp.


Next grab the lamp shade and line up the inside ring so it is centered around the circle you just drew. Now trace around the outside of the ring.


Use an exacto knife to cut out the center circle, then the outside circle to make a ring. Slide the ring onto your lamp base (you may need to trim it just a bit more to get a good fit).


Set your lampshade on the ring and center it around the lamp. Use a couple pieces of scotch tape to secure it to the cardboard and keep it from sliding around.


Pretty easy, right? :)


I'm loving how these are turning out! They are a much better size than the old Ikea lamps.


And I feel like they fit our style so much better.


And they look pretty sharp with our new nightstand...


...and antique dresser!


I do think I'll do something with fabric or paint to dress the shades up. I don't think I like how they disappear against the walls. But, you know me, I don't like to rush into things. I like to think about it for a loooong time... and then decide to rush into it. ;)


But in the mean time I'll just make a crib tent with Baby B! Which is a little sad, because I just realized these are his last crib pictures! He's graduated to a toddler bed! Big boy. ;)


He wanted his favorite animal book and just laid in there looking at the pictures. Because he's funny and he can't help it.


Any ideas for spiffing up my lamp shades???
Subscribe