Saturday, October 29

Day 29 - The Cover-up

If you have something that works great but looks terrible, sometimes you just have to cover it up. I'm talking about re-upholstery and slip covers! So that's what we'll take a quick look at today.


You can often have furniture professionally re-upholstered for less than the cost of buying a new piece. But even cheaper is doing it yourself! The closest I've come to re-upholstery so far is recovering the seats of chairs, like this one.


I also just re-covered some floor cushions that I picked up at a yard sale for $1. Auntie I sleeps on them when she comes to visit, and the rest of the time the live in Baby B's room, unless we pull them into the living room to sit on, so I wanted to cover them to fit into his room better.


When I found 4 yards of blue striped fabric at another yard sale for $0.25, I knew it was perfect for the job! Baby B pondered my selection for a moment before he agreed.
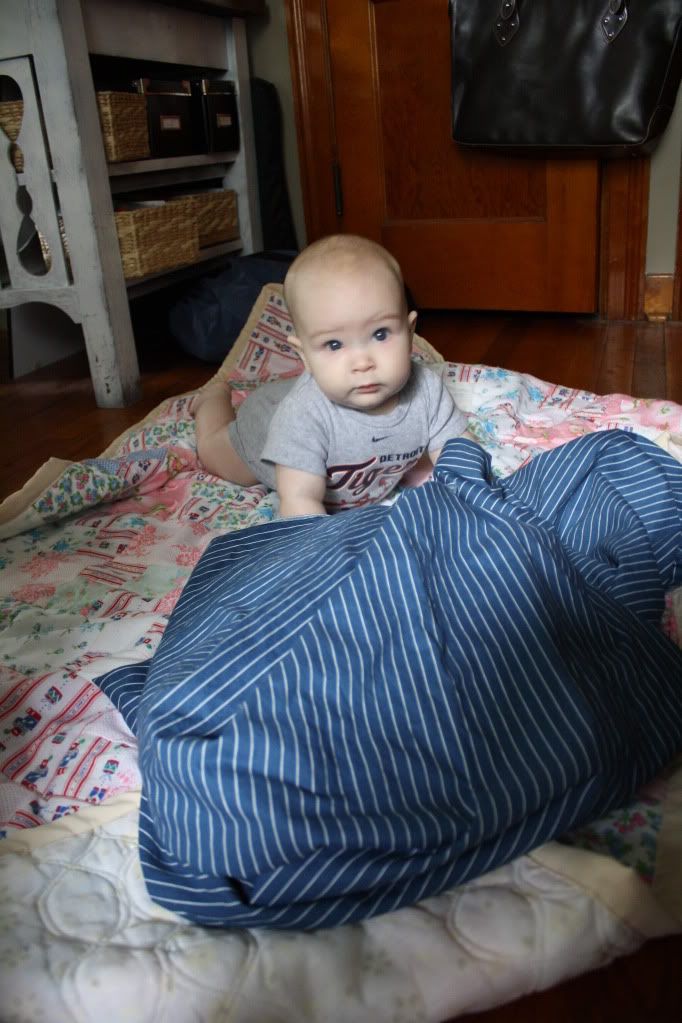

I started by using my seam ripper to take apart the old covers so I could them as a pattern. I paid attention to how the pieces were assembled so I could repeat it with my fabric. I also saved the cording and zippers to re-use on my covers (because I'm cheap thrifty like that).


Using my pattern, I cut out all the pieces. (the dark blue is an sheet from the thrift store for recovering the cording)


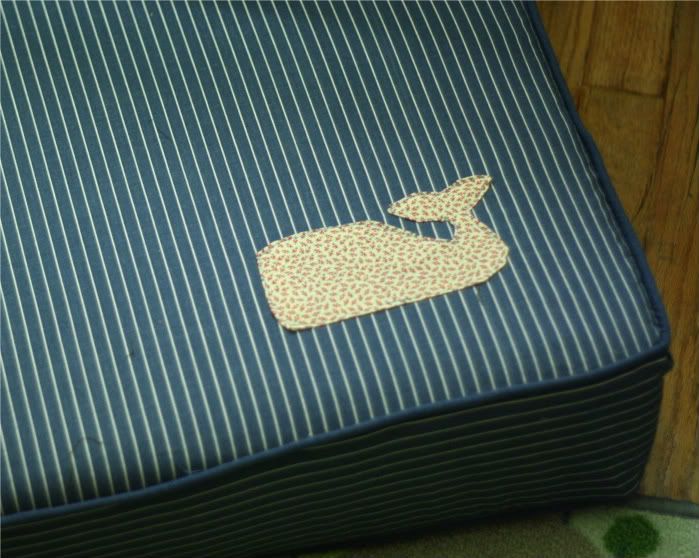
I put on my fancy pants and got ready to dress up the cover a little bit. I've been seeing a lot of whales lately so I decided to hop on board with a little whale applique. Cute.


Then assembled my new cover in the same way as the old covers. I just tried to copy what I had taken apart. I even made my own cording! Cording and zippers have been by nemesis enemies in the past, and proved to be tricky yet again. By the end I was at least starting to get better, I think. :) I also probably shouldn't have used a striped fabric, since I've never worked with one before! It shows off the wonkyness and imperfections more than another fabric would. Anyway, I tackled all these new and tricky obstacles all in one project and didn't shed a single tear. Although there was some frustrated sighing involved. :) And it turned out pretty ugly back there, but it is functional which is more than I can say about my zipper ventures of days past. :) Overall, this cover definitely isn't perfect, but I'm happy with how it turned out and proud of my results for my first attempt! And I think it's much better than the boring old brown cover it replaced. (I haven't tackled the second cushion yet, but I'm confident I can do better the second time around!)


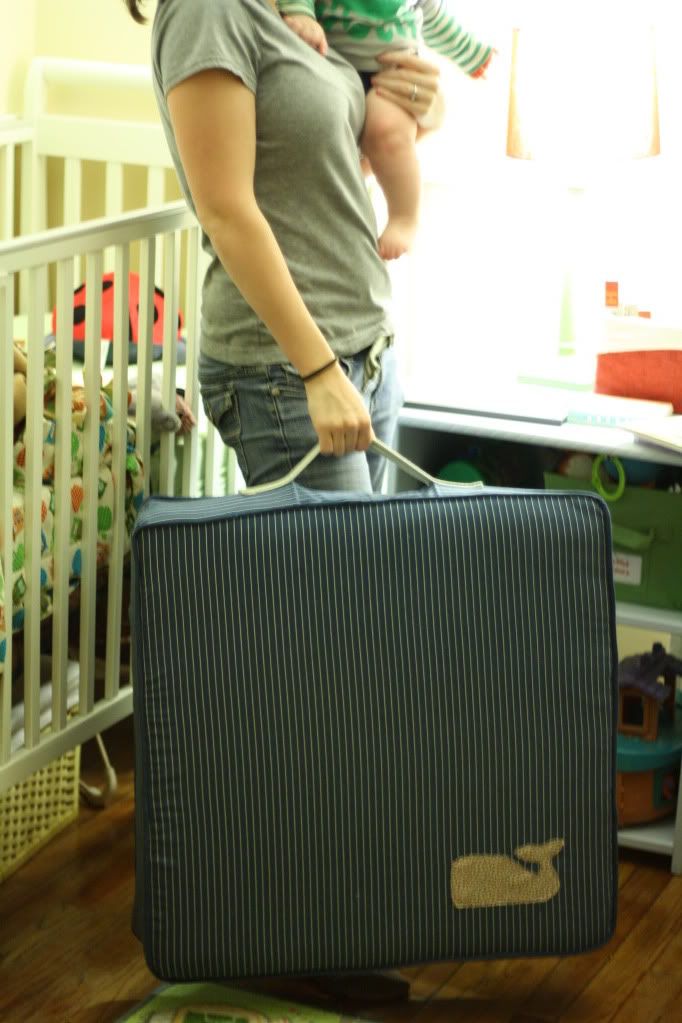
I pinned these children's cushions a while back on pinterest, and decided to use them as inspiration to finish off my cushions. I love the children's fabric, which is why I wanted my cushions to work in Baby B's room. My other favorite thing about these are the handles - perfect for little ones to drag around.


I cut up an old fabric belt to make my own handles. Then all I had to do was fold the ends under and attach them to the sides of the cushions. Now Baby B can drag them around to wherever he wants to play! Perfect.

Project Cost Breakdown:
$1.00 - cushions (from a yard sale)
$0.25 - fabric (from a yard sale)
$0.50 - belt (from thrift store)
$0.50 - extra cording (from Hobby Lobby, to fill in some gaps in my cording fiasco. oops.)
Total: $2.25

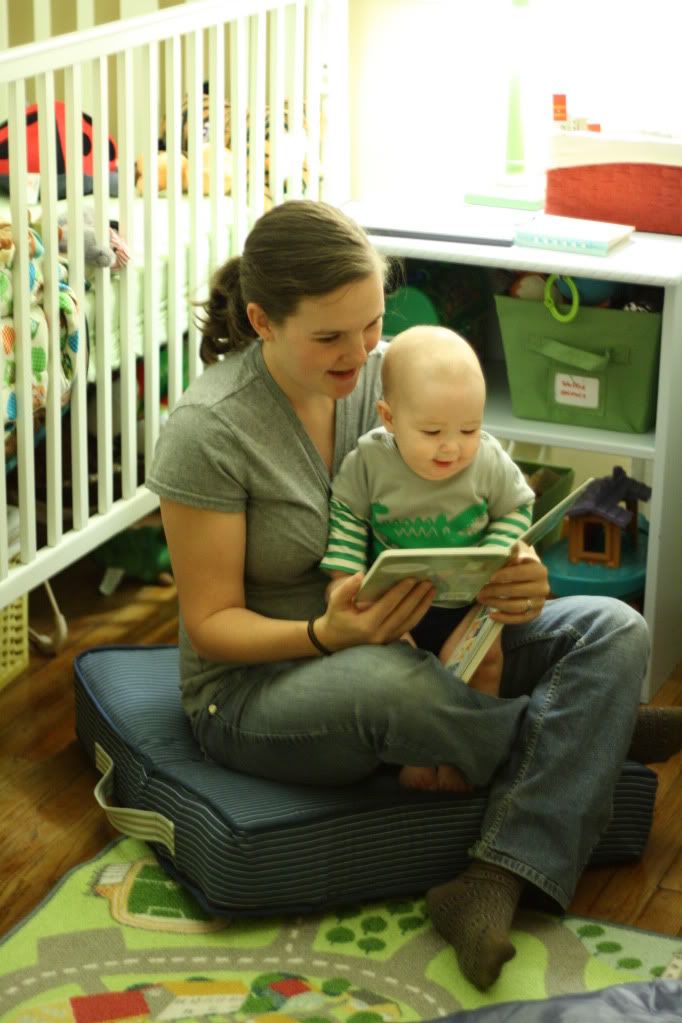
Now that they've had a little makeover, I think these cushions will be great for Baby B to play on or snuggle up on for story time. Not to mention that they will be excellent additions to any fort or tent building adventures we tackle in the future.

That's my experience so far with re-covering, and I think I'm ready to try my hand at re-upholstery. This will be my first real upholstery project, but I am excited to give it a try! My subject: this sleeper sofa I picked up at a yard sale for $10. Yes, $10 for a sleeper sofa. I was giddy. The fabric is worn out, but structurally it's great! So I'm on the hunt for the perfect fabric to get it all spiffed up.


Like I said, this is my first time with upholstery but I'm sure I'll be able to find some tutorials online. And it just so happens another 31 dayer is doing a whole series on upholstery! I will definitely be checking out all the tips Three Boys has to offer. And of course I'll share the details here once I tackle the project.

three boys

And before we wrap up, here is my new favorite picture of Baby B. In full Christmas garb. Oh my goodness. This makes me one happy momma.


So, have you ever made a slip cover or re-upholstered anything? Any advice for me?

Pin It

Friday, October 28

Day 28 - Pinspirations

I have more ideas for our topic than I can fit into 31 days! So today I want to give a shout out to my new favorite thing - pinterest! It is one of the best places for me to find ideas about where to look for potential in my home and ways to make my place beautiful on a budget. And it's keeps track of all the projects I want to try in one handy place, which is becoming a very long list. 


 Here are a few of the ways to find hidden potential I have found through pinterest that didn't fit anywhere else in our series (all via pinterest):


I have dozens of other ideas pinned on my boards as well, so feel free to check them out. How about you? Do you do pinterest? Are you crazy about it like I am? Do you have another place you like to look for ideas for your home?

Thursday, October 27

Day 27 - Flashback

Oh man, today is almost over. So, I'm going to cheat just a little and point you to some already-written posts that pertain to our topic.


To see several of the ways we find beauty in our home on a budget, look up a little (just under the header). I made two new tabs for you to explore!

First is the "Favorite Projects" tab where you can find pictures and links to a few of our personal favorite projects. If you click on a picture it will take you to the post with more information about the project.

Second is the "DIY Guide" tab that is a more inclusive list of the projects we have tackled. No pictures here, but if you click the project title it will take you where you want to go. I haven't added things from this series yet, but they will get up there soon. Did I mention I'm flying by the seat of my pants today? Does it show?

While we're on the subject of new things to click on, on the sidebar I added a link to my pinterest page and a link to the etsy shop my sister and I have (that is currently empty, but we'll work on that). So I hope you enjoy exploring a little while I work on a better post for tomorrow. :)

Wednesday, October 26

Day 26 - Closet Space

I've never heard anyone say they had too much storage. So today we'll look at making the most of the storage space you have.


Like most homes, ours has a closet in each bedroom and since the bedrooms aren't huge the closet has a big job to do for both organization and storage. Here are a couple ways we are trying to get the most out of our closet spaces.

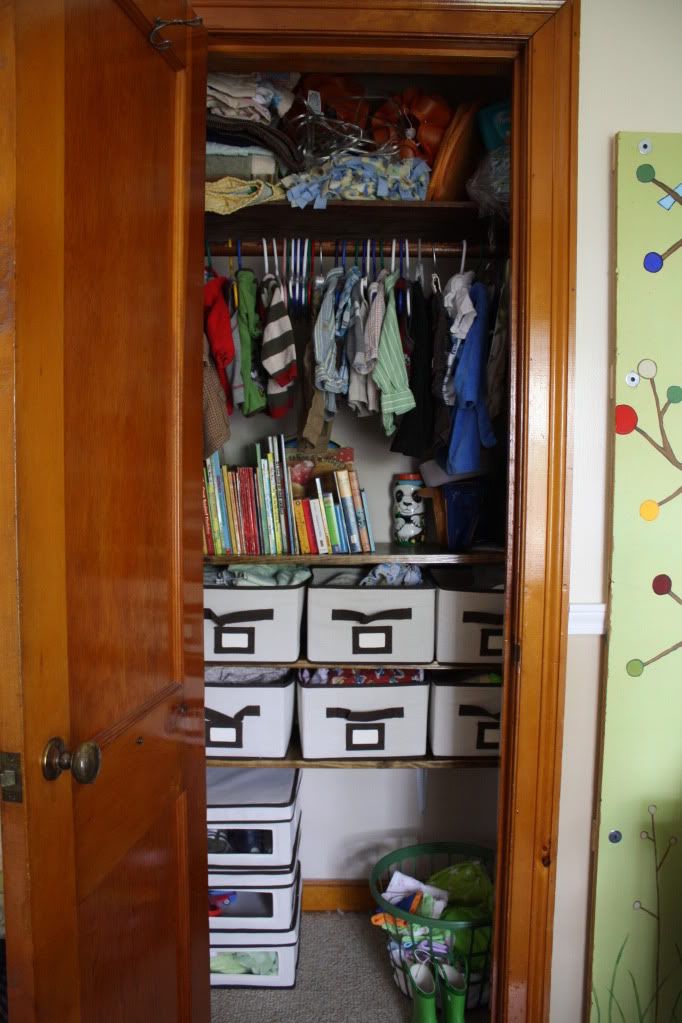
In the nursery we only  have to hang short clothes for the time being, so we installed some simple shelves so we can organize diapers, burp rags, clothes and toys into cloth bins. The shelves can easily be removed  as Baby B grows and his needs change.


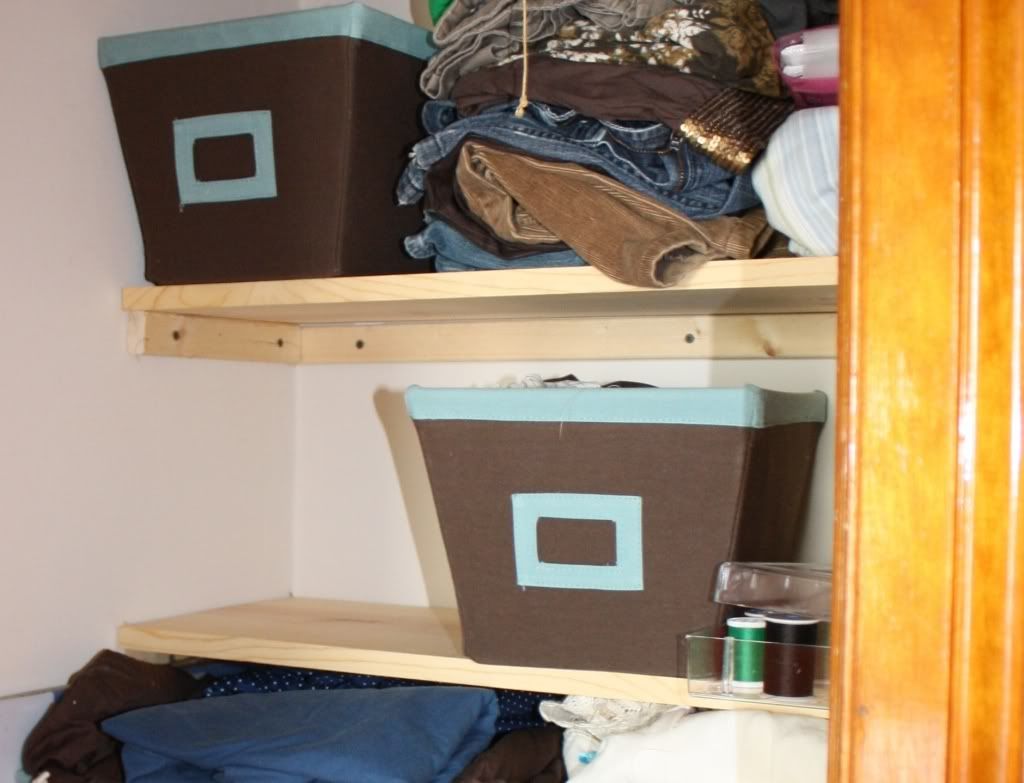
We use a similar set up in the office to organize fabric and craft supplies. You can see how we installed the shelves here. We just ran 1x2s around the walls of the closet as support and laid a 1/12 across them. So easy!


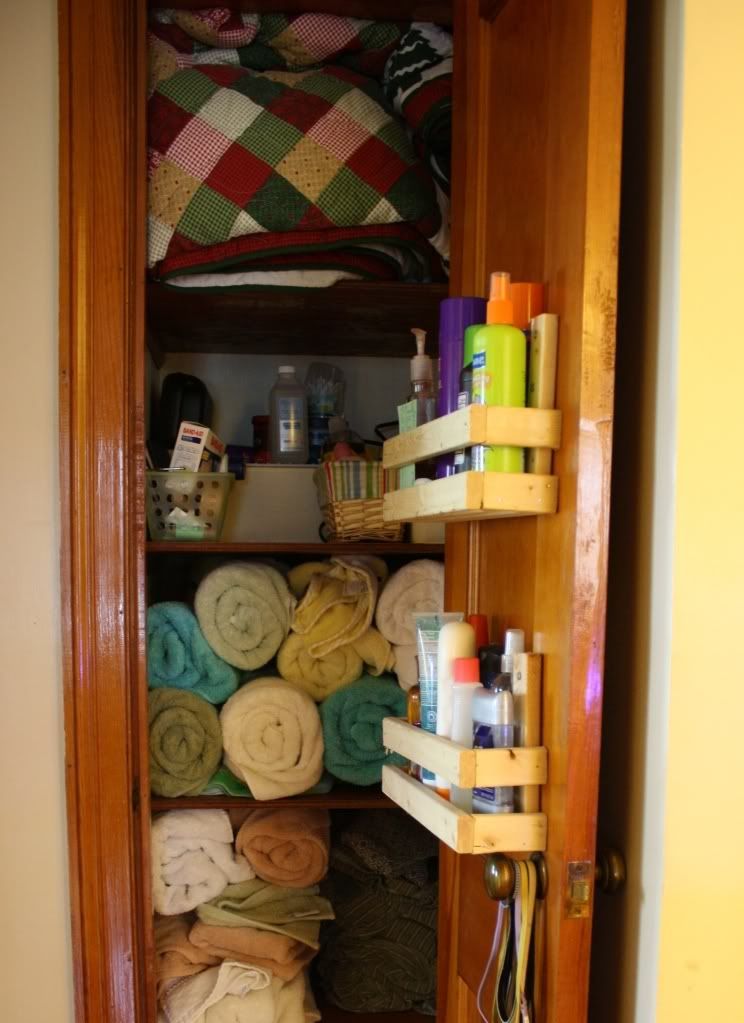
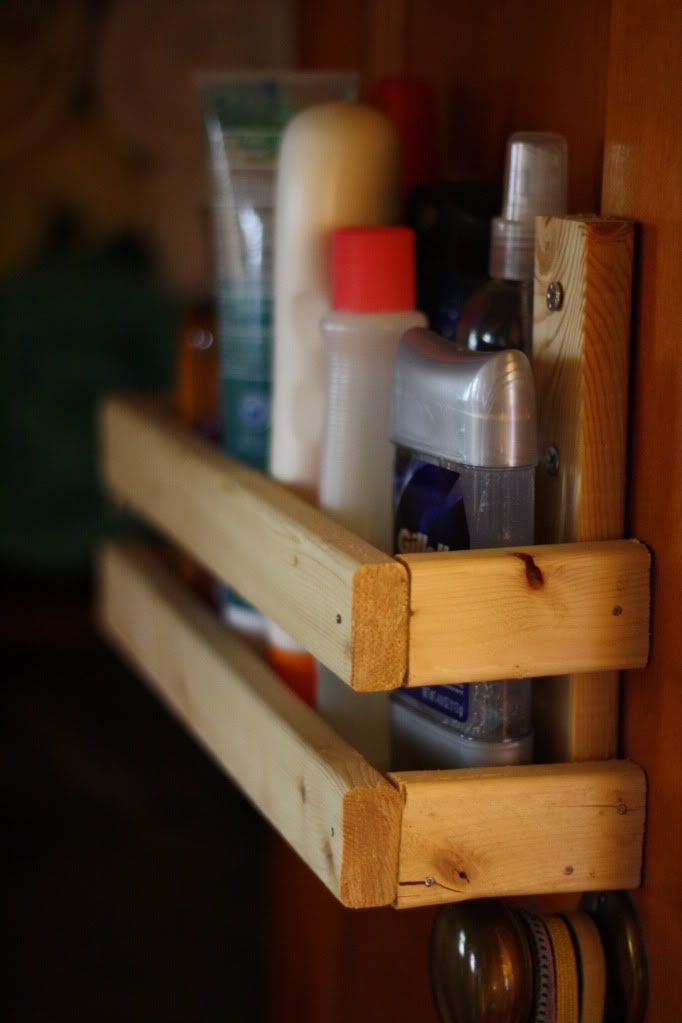
There is a small closet in our hallway that houses towels and extra blankets. I built these small shelves and mounted them on the door to hold things like extra shampoo, lotion, and sunscreen. They turned out a little wonky, but they work great. I built them out of 1x2s with nails and glue, and they cost less than $1 each!


We also have a master closet...which is in no state to make an internet appearance. Sorry. I have to draw the line somewhere, right? It really hasn't gotten any attention yet and is totally unorganized. But it's on the to-do list, so someday you'll get to see it someday. You know you want to. Until then, please feast your eyes on these beautifully organized closets I found on pinterest that give us all somethings to shoot for. I suddenly feel very motivated to tackle our closet. :)


If you are one of those lucky few who have an extra closet sitting around (oh, how I envy you) you could turn it in to a reading nook. I dream of having one of these for Baby B someday....


How do you make the most of your closet's storage potential? Is there a way to make your storage mor functional for your needs? Are your closets as pretty as my inspiration pics? (and if so how do you do it?!?) Or are you hiding your closet behind closed doors like a certain master closet that shall remain nameless?
Subscribe