Tuesday, May 10

The Easiest Intro to a Whole Food Diet

I've spent a couple years (literally. years.) slowly transitioning to a more whole food diet. Change is hard, but easing in one step at a time is so. much. easier. than going all-in right out of the gate. So today I want to share one of my very favorite whole food routines. It's a great way to get lots of nutritious, whole-food goodness going on in you kitchen without investing a lot of time or a lot of money, plus it stretches to cover several meals. And it all starts with a chicken.


I know this is way off our usual path, but let's be honest - I spend a significant amount of time feeding the little boys running all around this place, so the food they eat is something that's on my mind a lot. And I was thinking it might be on yours, too. So here's what we're going to do: cook a chicken, and make some broth. Easy, real food staples to get us going in the right direction.

So let's get started. Step 1: buy a whole chicken. We look for organic chickens and when they go on sale we buy a bunch and stash them in the deep freeze (thaw them before cooking). Open it up and check to see if there is a package of gizzards inside the chicken (you don't want to roast it with the wrapper inside). Don't panic about the gizzards. Move on to step two.

Step 2: Now rub the chicken with a mix of salt and spices (we actually like to do a little allspice, cinnamon and nutmeg inspired by this recipe - don't knock it 'til you try it). Put it in a pot (if you're really feeling brave you can open the gizzards and throw them in the bottom of the pot to roast. They're full of good-for-you nutrients that we can use later. Don't panic about the gizzards. You're a real-food chef now.) and roast it in the oven. This is my go-to method:
  • Preheat the oven to 500 degrees
  • Bake 15 minutes
  • Reduce the temp to 450 and bake 15 more minutes
  • Reduce the tempt to 425 and bake 30 minutes
  • Larger birds might take a little longer too cook, use a thermometer and keep that guy roasting until it's a balmy 180 degrees all the way through. 
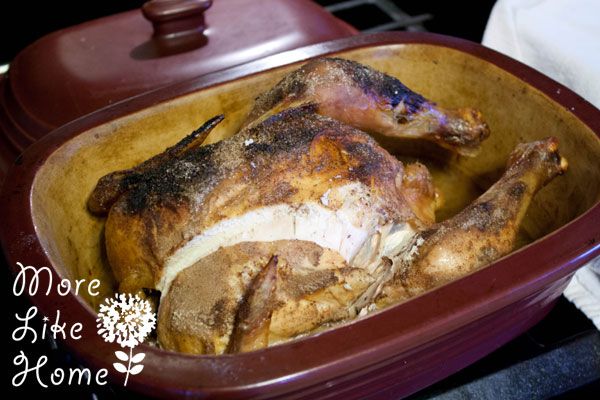
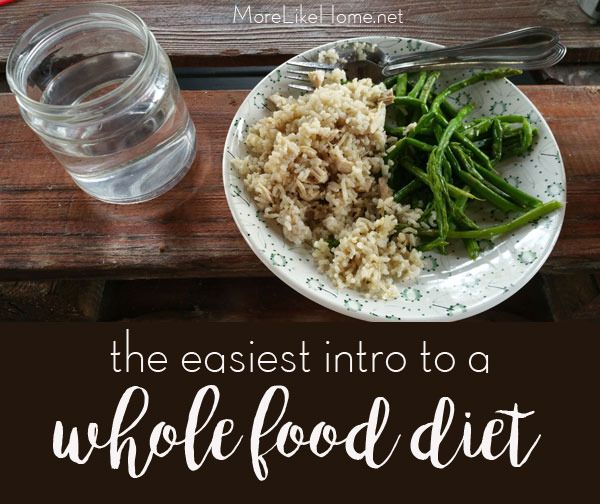
Congrats! You just cooked a whole, real chicken! Add some veggies and you'll have your first whole-food meal on the table.


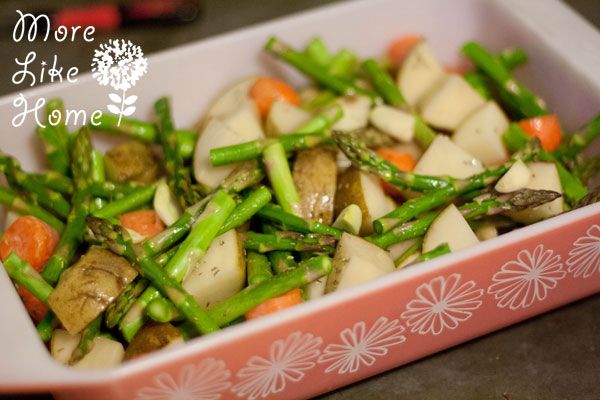
I like to throw carrots and potatoes right in with the chicky while it's roasting, or you can do any veggies you like in a separate roasting dish with some oil and seasonings (wait until the last half hour or so to put them in). And that completes your first whole-food meal. Yum yum!

But wait, We're not done with that chicken!

Friday, May 6

Chunky Modular Coffee Table {Welcome to Friday Hacks!}

As the world goes digital, I'm one of those girls who's still holding on. Holding on with a "you can have it when I'm dead" kind of grip. I still prefer the feel of real paper pages in my hands, and my beloved magazines are no exception. No amount of pinterest can replace the satisfaction of tearing out my favorites and stuffing them in a folder for a rainy day (my folder = pinterest before pinterest cool).

But as my folder fills up, there aren't a lot of ideas I've actually implemented. And the same goes for my Pinterest boards. So I have a fun new idea I'm calling Friday Hacks. The plan is to dedicate any Friday posts to some of my favorite ideas from magazine pages (or pinterest) and ways to DIY hack them on the cheap!


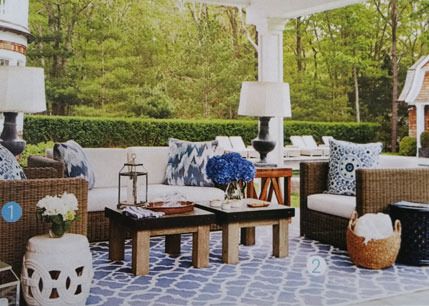
So today we kick of the Friday Hack series with this page pulled from an issue of House Beautiful earlier this year. A fresh, beautiful outdoor living space anchored by some sweet, chunky modular coffee table units. Know what guys? We can totally make those. And it might be the easiest thing you ever build.


Here's all you need to build one coffee table (The modular design makes them super versatile - pair two together for a larger table, or try individual units as end tables!):
  • 1 - 4x4 @ 6'
  • 2 - 2x4 @ 8'
  • 1 - plywood project panel 3/4" thick (or a scrap at least 24 x 24")
  • 1 1/4" screws OR 3/4" Kreg Jig screws (and a Kreg Jig)
  • 2" screws OR finishing nails
  • 4" screws OR 2 1/2" Kreg Jig screws (and a Kreg Jig)
  • wood glue 
  • optional 2" bolts with nuts (check out the table finishing for this option)


Tuesday, May 3

How to Plan a Garden with an Architect's Scale {Garden 2016...ish}

I've spent the last few weeks working on a plan for our new garden space. I've been leaning toward raised beds and finally realized the best way to decide what layout I like (and estimate the cost to build it) was to go ahead and draw it up. I usually hop on SketchUp to draw floor plans and layouts, but today I wanted to do something quick and tech-free while the kids were eating breakfast, so I pulled out a piece of paper and my architect's scale. This is my favorite low-tech tool for making scaled drawings, and it's fun to boot! I'll share a few easy tips to get started with one, but first let's start with our garden plan.


I'll tell you now, I don't know if we'll actually pull off much gardening this year. Considering it's already May and we have yet to break ground (or... add ground?) My hopes aren't too high to actually get plants in, but we should at least be able to get it ready for next year. I started with a little brainstorming of what we're looking for in our garden:
  • easy maintenance
  • high enough fence to keep deer out (we have deer now!)
  • space for both annuals and perennials
  • fruit bushes (or maybe plant these outside the fence)
  • improved drainage
This landed us in the world of raised beds with high enclosures. Then I was off to pinterest to search for ideas. I loved this simple enclosure/raised bed combo by Clover and Thyme.

https://cloverandthyme.com/2013/04/01/diy-garden-enclosure/

And who doesn't love a little Joanna Gaines' charm? I love the style of this one, but I'm not as crazy about the huge garden beds. Part of the point of raised beds is staying off the dirt so it doesn't get compacted and that is lost on this layout, plus it means more area for weeds to pop up. But still... it's oh so pretty.

http://www.countryliving.com/home-design/house-tours/g2546/chip-joanna-gaines-farmhouse-tour/


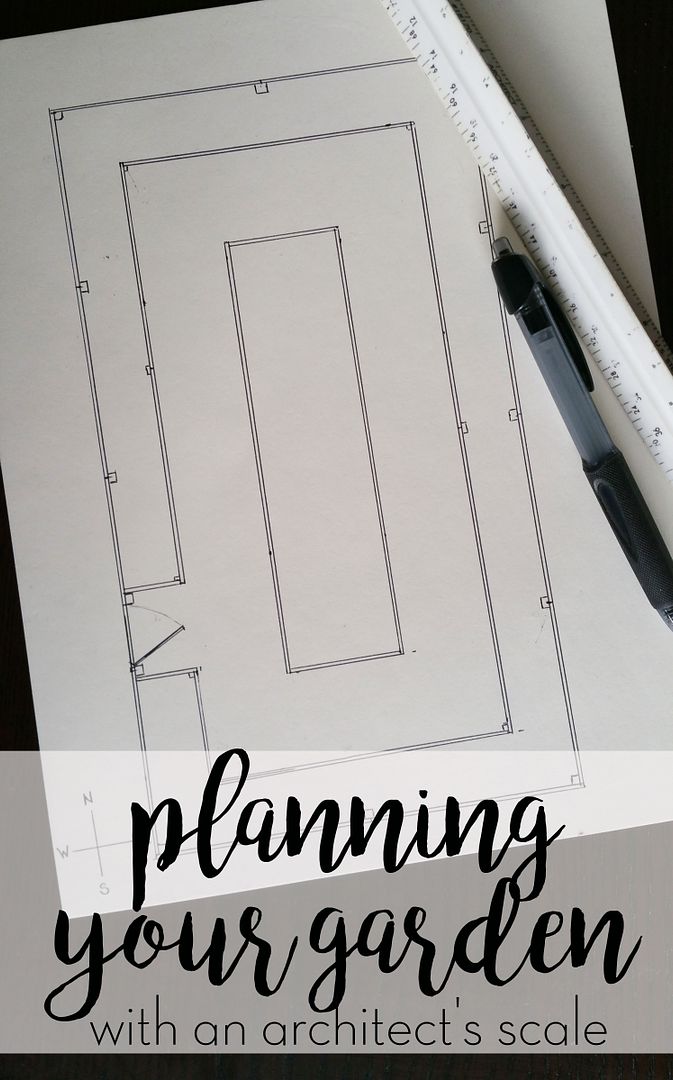
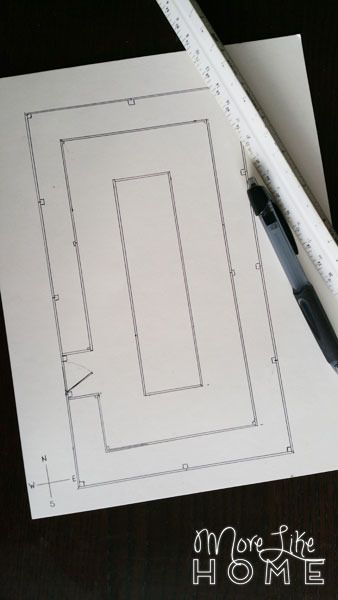
Then it was time to start working on my garden layout. Our new yard came with a pretty big garden already in place so I'm just working with that space. I started by measuring the existing garden. It was 14' x 25' so I drew a box that size on my paper, then got to work hashing out the raised bed layout. I decided on 2' deep beds around the perimeter (I should be able to reach things in the back easily), and a 4' deep bed in the center with a 3' pathway all around. These wide pathways are important if I do grass instead of gravel pathways because I want to be able to get the lawnmower in there! Grass saves a lot of money over adding gravel, plus I'd rather kneel on grass while I'm working. I also figured things like fence posts and a doorway into my drawing. This plan should roughly double the growing space of our last garden!


Tuesday, April 26

There and Back Again: Our Tale of Minimal Living

So we moved. Again. We're tired and digging our way out of boxes, but we are so. happy. to be here. I'll have plenty to say about our new place in the next few weeks, but for tonight I'm going to catch my breath with a few pics from our time in the rental. With 90% of our stuff in storage for the last three months, we had a fun little taste of the minimalist trend. Here's what did we learn in the process.

Trying to keep my poor plants alive in a sunny window. I think I forgot to pack a green thumb. 

There were a few things here and there we actually had to go out and buy once we realized we really did need them (like hangers. I didn't bring any hangers. Oops.) but for the most part, we didn't really miss all that stuff. I actually enjoyed the "stuff silence." Less clutter = less clutter noise. (Trust me. It's a thing.) Whew. Plus it was the easiest it's ever been for me to keep the house looking decent, keep the dishes washed, and get toys picked up. And if that's not enough reason to want to pare-down permanently, I came across a post by Embracing Simple about 11 Reasons to Own Less Stuff, and I have to say it sounds pretty appealing. Especially since we already found several of the reasons to be true in just the last couple months.


Everything we brought fit in our minivan and my parents cargo van - mattresses, dishes, clothes, bikes, everything. Including a small deep freeze. I had put a lot of good food in there and I wasn't about to lose it, okay? We weren't able to bring any other large furniture, so once we got there we picked up a cheap futon and rug (because good grief that floor was cold in February). I'll be the first to say it - hasty decisions were made. But the price was right and they fit in the van so ding ding we had a winner! We brought a folding table and chairs that could get us by, but my sis-in-law offered us a real table and chairs they weren't using in the interim, plus a coffee table we used as a tv stand.


Subscribe