

The first step is to clear all of that stuff out of there. This is also a great opportunity to sort through your medicines and throw away anything that's expired (which was about half of what we had...oops).

I also removed the shelves and wiped everything down. Now we have a nice clean slate to work with.

The only thing I needed for this project was a pair of scissors and some contact paper. I found this pretty green paper at a yard sale last summer for $0.25 per roll. Of course, since it was green, I couldn't pass it up. I knew I would find somewhere to use it! If you haven't been so lucky at a yard sale, you can find this paper (and several other designs) at Dollar Tree.

I measured the inside of the medicine cabinet and cut a piece of contact paper big enough to cover the back & bottom of the cabinet. Then I slowly applied it to the back of the cabinet starting at the top and peeling off the backing a couple inches at a time (to make sure it didn't stick before I was ready). I just used my hand to smooth out any bubbles, but I think next time I'll use something flat like my library card. It worked using my hand, but I think a card would be easier.

Then I put the newly cleaned shelves back in. Oooo, pretty!

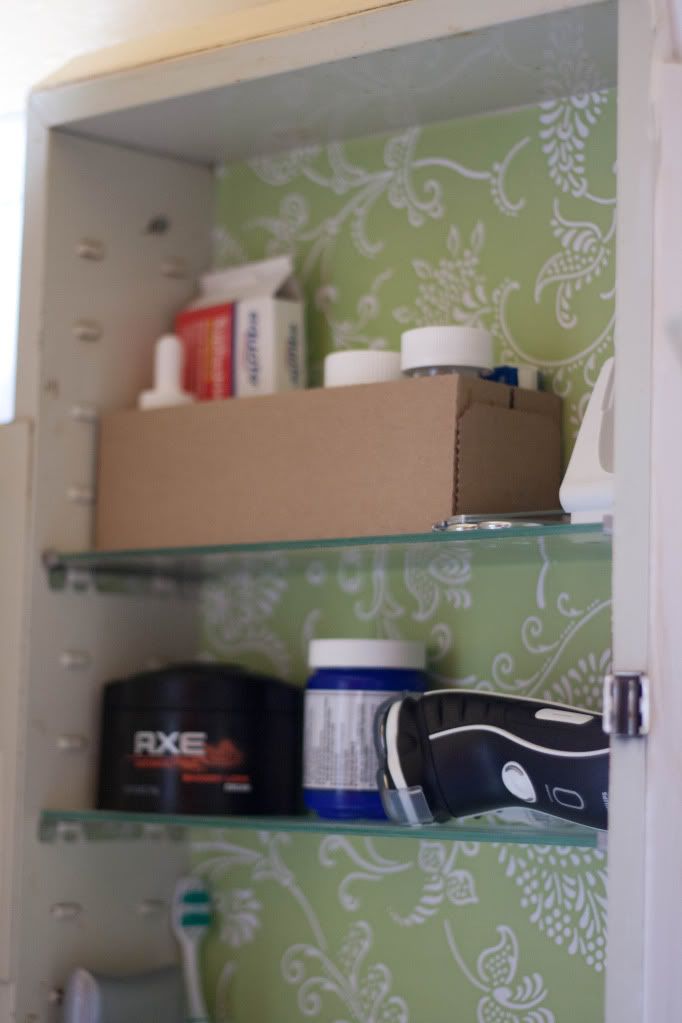
And then I just piled our stuff back in, after decluttering a little and tossing anything expired.

Wasn't that easy? This makes me want to brush my teeth all the time, just so I have a reason to open the cabinet. :)

Oh, I also tidied up our medicine section a little but putting all the jars in one box. This is just the cardboard box that velveeta cheese comes in. I thought about covering it with fabric, but I liked the brown with the green background (fun fact: my wedding was green & brown. it's one of my favorite combos!). It works great for what we have now, but there isn't room to add anything new. I'm hoping to find something a little deeper to use instead, but this will do the trick for now.
So that was my little 10 minute, $0.25 project for today. I know most people will never see it, but sometimes it's good to do a little something just for ourselves. Baby B agrees. Although he'll be disappointed when he finds out he can't eat popcorn yet. :)

Have you done any quick & easy updates lately? Do you have any surprise designs hidden around your house? When was the last time you fixed something up just for you?
P.S. The winner of my travel shopping bag giveaway is Anna! Congrats, Anna, and thanks to all who entered!
Pin It
Love the print of the contact paper! A great way to freshen up cabinets! I should do that in my kitchen cabinets. They have the origional contact paper from the 70s so a facelift inside would be nice since the cabinets are now painted :)
ReplyDeleteAnd it doesn't hurt that it's green! :) That is a great idea! I still haven't even painted mine yet. Maybe I'll just add some contact paper inside so I'll feel like I've accomplished something. :) Can't wait to see your kitchen!
Delete