Showing posts with label bathroom. Show all posts

Wednesday, February 19

$100 Bathroom Makeover - Going Green!


Lest you think this is about "going green" in the trendy environmental way - no. 
As my husband likes to say: "Why do you paint everything green?" 
And, as Harriet the Spy says: "I can't help it if I know what I like."

So. If you want to watch me literally turn my bathroom green for almost $0? Keep reading. 

If you want tips on going environmentally green? I mean, we still make castile hand soap, we clean chemical-free with e-cloth, and... not showering everyday saves water? There you go. 

On to today's project. Here's the before:

Saturday, March 14

DIY Macrame Hanging Planter (30 minute project!)

We've been talking about plants quite a bit lately, so today I'm going to share one of my favorite ways to display my little plant babies - in a sweet macrame plant hanger! And I'll even teach you how to make your own in 30 minutes for just a few dollars.

Check out my favorite (easy) houseplants here.
And how I propagate those plants to get more plants for free here.


Check out more DIY decor ideas here!

Macrame is making a comeback, and it just shines in hanging planters. And it turns out macrame is a super-fun craft! There's something peaceful and therapeutic about the steady repetition of tying knots. And that's basically all macrame is. If you can measure and tie knots, you can make this planter! It's an easy hobby to pick up and creates a beautiful end results (you might just end up making them for all your friends this Christmas!).


Today we'll be making a basic macrame plant hanger, and I'll give you a couple easy options to customize the style. You can stick with spiral knots like the one above, or use square knots like the planter below. I even added wood beads to this one and I love how it turned out!


Thursday, October 10

Low-Budget Bathroom Update (during our spending freeze!)

Today I want to share a little inspiration for anyone taking on the Fall Budget Refresh Challenge - so I'm going to show you how we totally refreshed our second bathroom during our spending freeze and spent (almost) nothing. It's a tale of thrifty updates, leftover paint, and a broken toilet seat. You have been warned.

Are you joining the Budget Refresh Challenge this fall? There are still two weeks left to work all kinds of thrifty magic! Let us know in the comments or tag us on Instagram or Facebook!


Monday, April 8

DIY Natural Foaming Hand Soap

This is so easy it almost doesn't even deserve to be called DIY. Like, if you can open a bottle you can do it. But if you're looking for an all natural hand soap that's more cost effective with less waste, look no further!

I've tried other DIY hand soaps in the past in the past and I've learned a few things:
  1. Most take a lot of work (grating bar soap, boiling, etc.)
  2. They end up with a weird goopy texture
  3. My kids wash way better with foaming soap anyway
This soap is no work, no weird texture, and allllll foamy goodness. It's a win win win.

Tuesday, April 2

Bathroom Design for the Whole Family

Over the last few years I've learned a lot about balancing kid needs with adult needs, and kid style with adult style. I guess that comes naturally when you have a little flock of children in the house! It all comes down to balance and creating beautiful spaces that work for the whole family. I talked recently about a few functional updates that made our bathroom work so much better, so today I wanted to touch on bathroom design from an aesthetic standpoint and how we turned our shared bathroom into a space we all enjoy. Even though this space is for the kids, it's also for us. My beauty-loving brain needed to find the balance between something for the kids that was still grown-up-ish enough for my eyes. I am what I am. And I'm a momma who likes peaceful surroundings behind all the chaos of four boys.


Tuesday, March 12

Functional Bathroom Updates (on a low-budget!)

Today we're talking bathrooms! And specifically three functional changes that have made a huge difference in how our bathroom works for us. There isn't a huge reno involved but just a few small, inexpensive updates that can help in just about any bathroom!


But first you need to know: the one big sacrifice we made when we bought this house was a master bathroom. *gasp* And yes, we lived to tell the tale of a shared bathroom. It's fine, guys. But that means this bathroom has a big job since it's the main bathroom for our entire family. All six of us.


Friday, June 10

Modern Wall Vanity - Friday Hack

Today we're hacking a modern vanity that will span the whole wall. It would also make a sweet modern desk in an office or homework space. This is different than things I've hacked before, it's more of a built-in than a piece of furniture, but these vanities have caught my interest a few times so I figured it was worth a hack!

https://www.pinterest.com/pin/23714335515492744/
image via pinterest

This tutorial will work a little differently than the ones I've done in the past because this vanity will be super space-specific. I can't tell you how long to to cut the boards because it will depend on your space. But I can tell you exactly how to figure out what size you need, and how to put it all together (which is easier than you might think). So let's get started!


What you need:
  • 2x4s
  • 1x6
  • plywood OR 1x8s
  • 2"screws
  • 3-4" screws
  • Kreg Jig with 1 1/4" pocket screws OR 1 1/4" screws
  • finishing nails
Before you do any building, you need to measure your space. This vanity needs to run from wall-to-wall (or have a leg at the other end to support it), so it's great to tuck in an alcove. So start by measuring the width where you want it to fit. For this example, its 5' long. So cut two 2x4s 5' long.  This will be the front and back of your frame.


Monday, March 4

Our Shower's Dirty Litle Secret

We have a problem in our shower. I'll warn you now, it's gross. And yes, we probably shouldn't have let it get this bad before we did something about it. But we're fixing it now, so no worries. So if you're ready for this, I give you... the caulk around the tub.


Happy Monday!!! When we moved in almost 2 years ago, the caulk was so old it was falling off so we cleaned it up and re-caulked it then, but cheap caulk + a super sloppy job = we're almost back where started. It was cracking in places and all the nooks & crannies collected mildew. Gross.


The biggest problem was definitely the cracks in the caulk. Turns out those tiny little cracks were enough for water to seep through and start leaking into the basement! What?! I'll give that a double-yikes.


So it was clearly past time to clean things up in there. It took me a couple tools to find what worked best for me. I started with a plastic scraper that did a whole lot of nothing. Boo. But I ended up using a combination of a screwdriver, putty knife, and jewelry pliers (I was too lazy to go back to the basement for real pliers) to get the job done.


Oh, and I had an excellent helper. This is his "I get to use tools?!?" face. He would poke at the bathtub with whatever tool I put down. He had a really hard time putting them down long enough for me to take that last picture. ;)


Back to the nitty gritty...

Sunday, January 29

Simple Sanity

Do you ever have little things that just grate on you day, after day, after day, after day? Sometimes I'm so used to something annoying me that I don't even realize it is any more. I just grumble and move on without trying to find a way to fix it. But I've found that sometimes a really simple change can make things better.

One example was deciding to keep the diapers in the laundry basket instead of putting them in a drawer. Seriously, I got so annoyed that I had to open the drawer to get a diaper. It was so simple to decide to keep them in the basket when they come out of the dryer, and it saves a few drops of my sanity every single day.

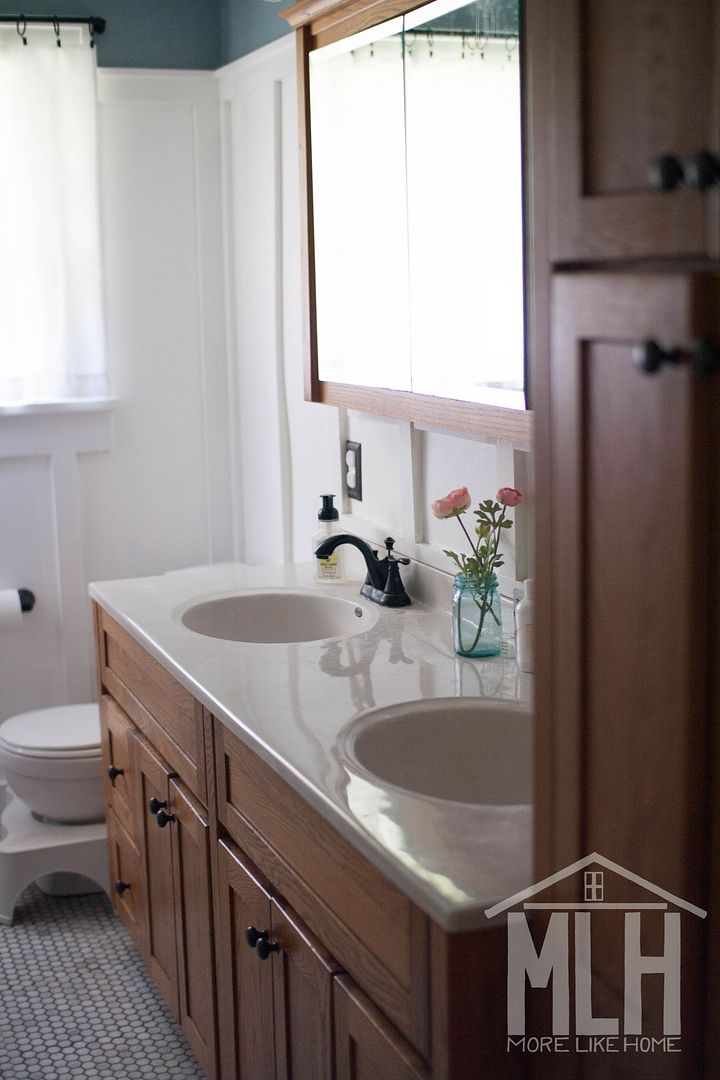
We just recently made a few simple changes in the bathroom to save our sanity. I will say, it took us over a year of living here to realize how easy it would be fix these things. What can I say? We're just on the ball sometimes. Here are a few things we did:

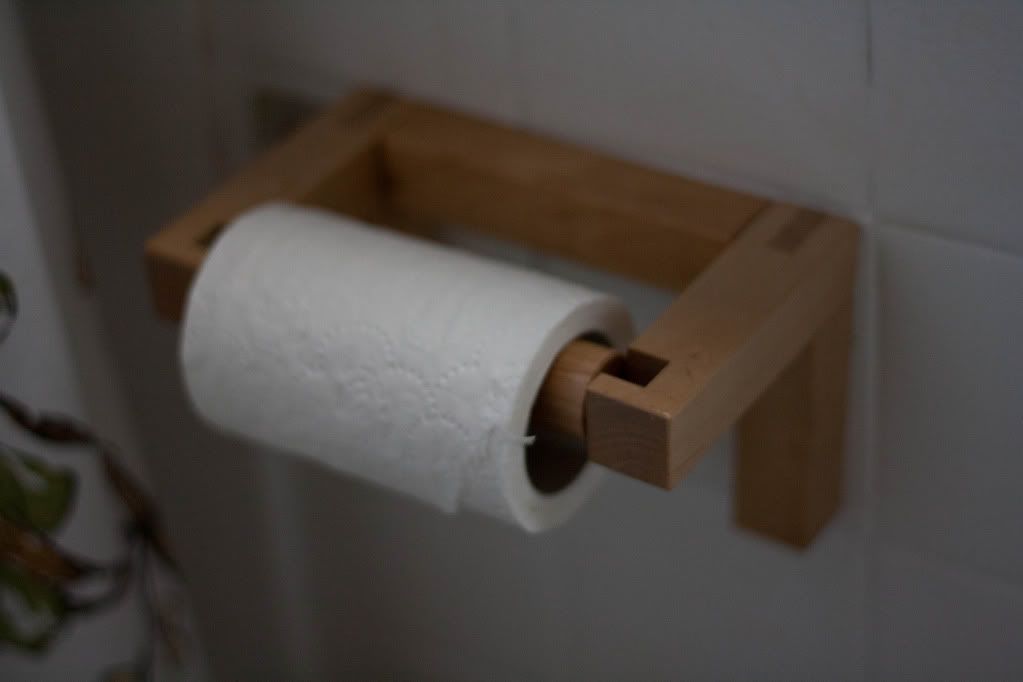
1. Replace the toilet paper holder thingy ma-gig  -
When we bought this house we inherited two bad toilet paper holders. The one in the downstairs bathroom was broken so that if you pulled too hard it would fall off the wall in three separate pieces. We looked at replacements a while ago but were too stubborn to spend $30 on one. So instead I just worked on my unrolling skillz so that it worked okay most of the time, but it wasn't a foolproof technique so I was still unnecessarily frustrated on occasions. The upstairs bathroom had a holder that squealed so loud when you rolled it that it woke the baby. Literally. Enough said. That one came off the wall within a week of Baby B coming home and we just went with the super classy "toilet paper sitting on the back of the toilet" approach. Then one day we stumbled across this little guy at Ikea. For $4. What?! Um, I'll take two please! Both problems solved, just like that.


2. Replace the bins by the door -
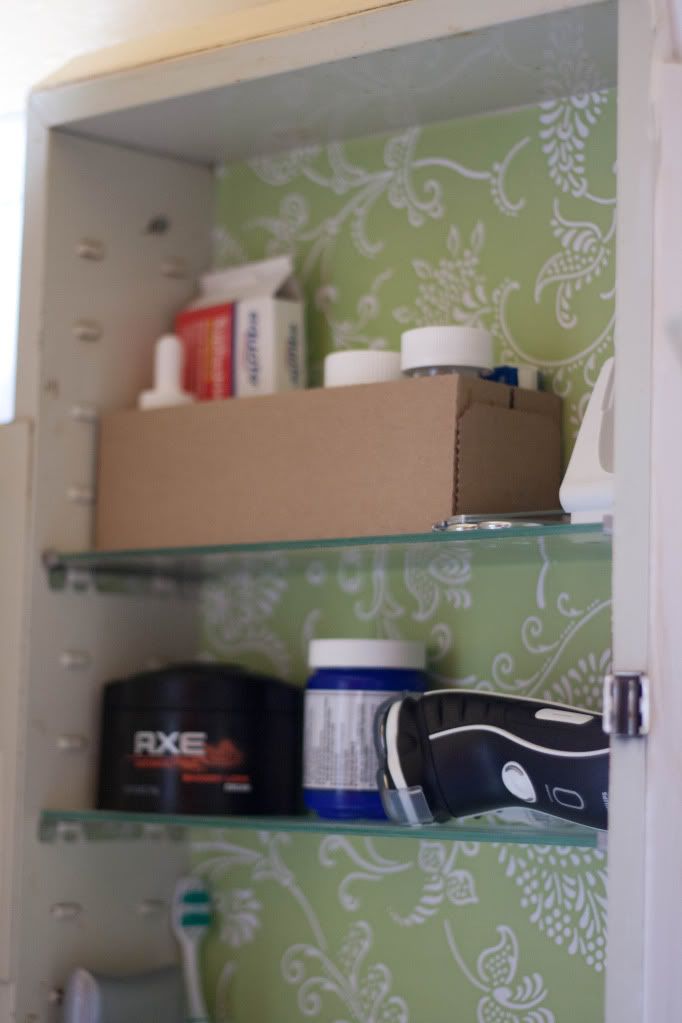
We have very little storage in the bathroom. Just a medicine cabinet, the sink cabinet, and this shelf by the door. I had put these bins there when we moved in to organize things a little, but they stuck out too far (yes, for a whole year). Not a big deal aesthetically, but if you don't push them in just right they are actually in the way of the door. The door will somehow close just fine, but they totally block it from opening back up. Which happened twice in the last week while I was outside the bathroom (we have to keep the door closed. you'll see why.) Obnoxious. But as usual I was too cheap to spring for something new so I just bided my time...

...until I found these babies in the Lowe's Clearance sections. $3 for the pack. Sold.
I actually bought two packs so I still have two baskets left over. See how much farther back the sit? Problem solved. I also like that I can organize things better with these by dividing into four smaller containers. Things just got jumbled together in the bigger bins I had before. Now I'm thinking it would be nice to tuck another shelf in between the layers so I don't have to move the top baskets to see in the bottom ones. But that's an idea for another day. :)

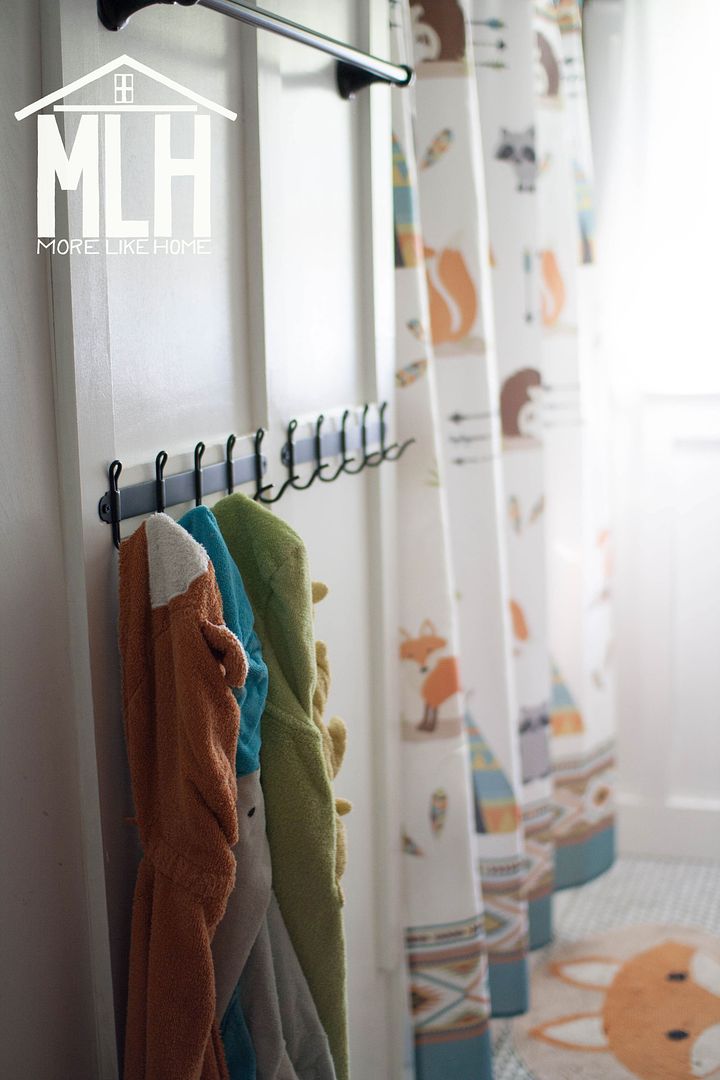
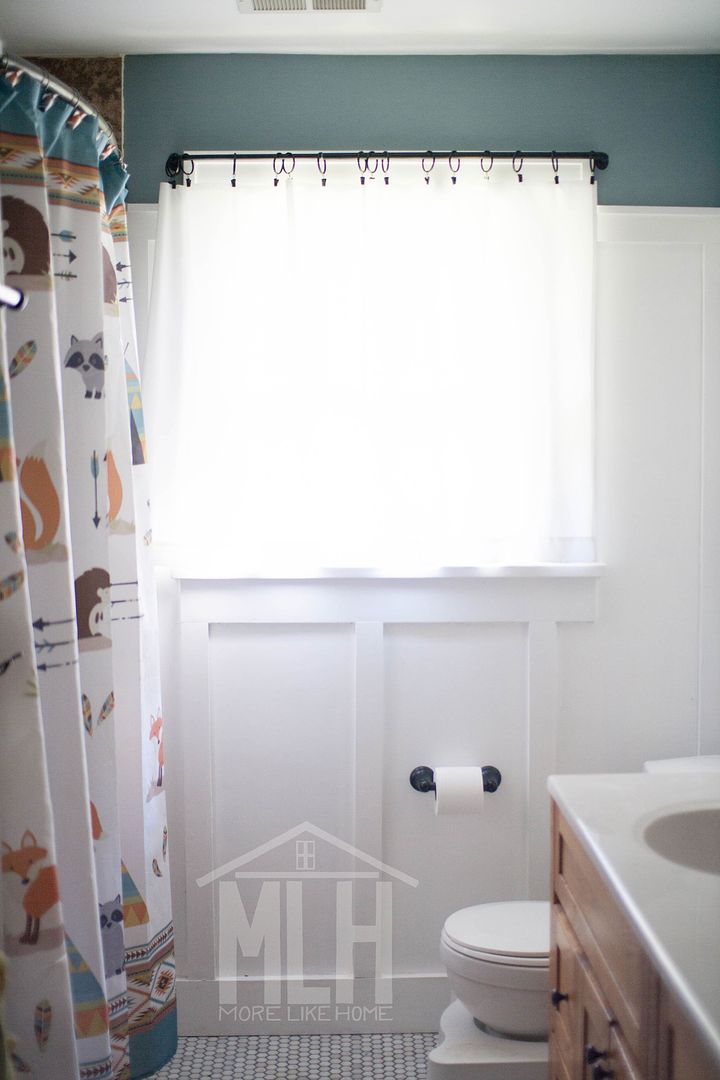
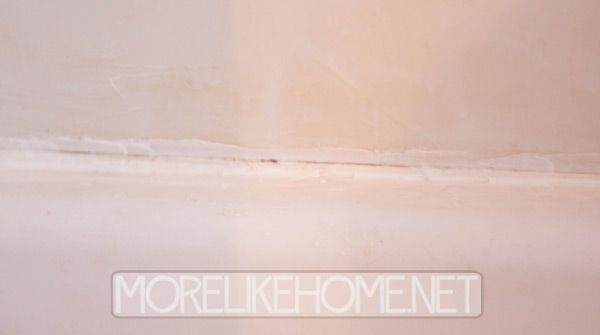
3. Install a permanent curtain rod -
When we moved in we took out the glass doors (best choice we've made in the bathroom) and hung a tension pole. It fell down. A lot. Sometimes when we pulled the curtain open, sometimes when we hung towels over it to dry. And when it fell, it scratched the paint off the walls. This was so easy - we just bought these metal brackets from the closet section at Lowe's and used them with the rod we already had. I think it was like $4. Problem solved.


And while were talking about the bathroom, my mom got me this for my birthday. You know you want to use it.

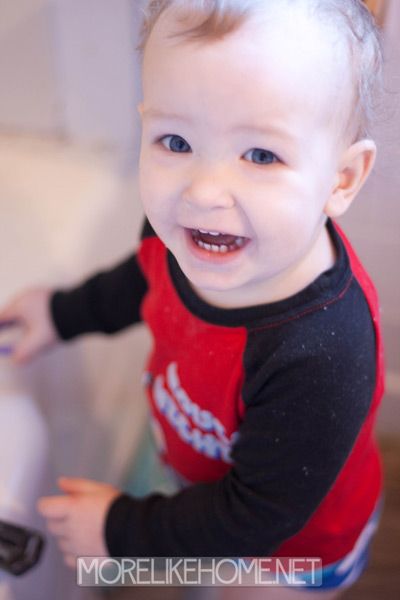
Note to self:  Keep the bathroom door closed. Why? For one thing, I found out Baby B can open the toilet lid. And here's his other favorite past time....


Sigh. Such a funny boy. :)

Have you done anything to make life a little easier lately? Any time saving or stress relieving tips to share?

Wednesday, January 18

Medicine Cabinet Face Lift

Well, technically not a "face" lift because I dressed up the inside of my medicine cabinet a little! I've been seeing some pictures on pinterest of cabinets and things that are dressed up for a nice surprise when you open them, and decided my plain, boring old medicine cabinet was the perfect place to give it a try! This little project took about 10 minutes, including a good clean out and wipe down of the cabinet. So here is the before:


The first step is to clear all of that stuff out of there. This is also a great opportunity to sort through your medicines and throw away anything that's expired (which was about half of what we had...oops).


I also removed the shelves and wiped everything down. Now we have a nice clean slate to work with.


The only thing I needed for this project was a pair of scissors and some contact paper. I found this pretty green paper at a yard sale last summer for $0.25 per roll. Of course, since it was green, I couldn't pass it up. I knew I would find somewhere to use it! If you haven't been so lucky at a yard sale, you can find this paper (and several other designs) at Dollar Tree.


I measured the inside of the medicine cabinet and cut a piece of contact paper big enough to cover the back & bottom of the cabinet. Then I slowly applied it to the back of the cabinet starting at the top and peeling off the backing a couple inches at a time (to make sure it didn't stick before I was ready). I just used my hand to smooth out any bubbles, but I think next time I'll use something flat like my library card. It worked using my hand, but I think a card would be easier.


Then I put the newly cleaned shelves back in. Oooo, pretty!


And then I just piled our stuff back in, after decluttering a little and tossing anything expired.


Wasn't that easy? This makes me want to brush my teeth all the time, just so I have a reason to open the cabinet. :)


Oh, I also tidied up our medicine section a little but putting all the jars in one box. This is just the cardboard box that velveeta cheese comes in. I thought about covering it with fabric, but I liked the brown with the green background (fun fact: my wedding was green & brown. it's one of my favorite combos!). It works great for what we have now, but there isn't room to add anything new. I'm hoping to find something a little deeper to use instead, but this will do the trick for now.


So that was my little 10 minute, $0.25 project for today. I know most people will never see it, but sometimes it's good to do a little something just for ourselves. Baby B agrees. Although he'll be disappointed when he finds out he can't eat popcorn yet. :)


Have you done any quick & easy updates lately? Do you have any surprise designs hidden around your house? When was the last time you fixed something up just for you?

P.S. The winner of my travel shopping bag giveaway is Anna! Congrats, Anna, and thanks to all who entered!
Pin It

Friday, September 16

A Little Bathroom Love

Even though we moved in almost 11 months ago, our bathroom still hasn't had much attention. Here it is when we moved in:


And here it is after the mini makeover where we removed the shower doors, painted the mirror, and used some left over blue paint for the walls. Better than it was, but still not good. There were a lot of things that I didn't like at all/were totally gross.


After we put in the new vent, we had to repaint the ceiling anyway so we decided to make the most of the opportunity and try to salvage what little hope the bathroom had. We just wanted something halfway decent to last until we could do a major renovation. So what did we do? We painted the ceiling yellow...


painted the tile & vanity fresh white, and added new hardware to the cabinet (don't panic, the tile is plastic and was already painted when we moved in)...


pulled up the carpet (how sad is it when the last carpet to be removed is in the bathroom? Gross!)....


(you know you want to know what was under it. brace yourself.)...


Now we understand why there was carpet there, so we got some new vinyl flooring...


and used the old carpet as a template to cut it out...


replaced the shower curtain.....


added some accessories.....


and called it a day! Well, more like 2 days. Paint has to dry, you know.


I think my jaw hit the floor when this all came together. It totally took the bathroom  from "this is horrible I hope we can make it decent enough to live with until our first opportunity to demolish it and start over" to "wow. this is actually really pretty. and totally livable. maybe we'll remodel in a few years if we have to." Music to my hubby's ears. :)


And for a total cost breakdown of the project:
  • $23 - yellow paint (but there is lots left over that we plan to use in the kitchen)
  • $0 - white paint (left over from painting the master bedroom)
  • $2 - new hardware for the vanity
  • $13 - vinyl flooring
  • $20 - new shower curtain (the splurge of the makeover!)
  • $0 - accessories (we already had everything, I just brought it into the bathroom)
Total: $58

Seriously. For a totally awesome bathroom makeover. I love it!

The only things that will probably be replaced more short term (aka less than a few years) are the lights. As you can see, they are still pretty bad, but we took the wooden poles off the bottom and that helped. But their days are still numbered. I don't know what the number is, but I'll keep you posted. :)


Were you ever surprised by how easy a dramatic transformation was?
Subscribe