
This is (I think!) the last of my birthday related posts for this year! About time, right? :) I wanted to make Baby B a tent that we could use in the backyard or around the house that was easy to put up and easy to store. I needed it to be cheap to build, as well. And I think I pulled all of those things off pretty well! This is how I did it....

Supplies:
- 2 - 8' long 1x3 boards
- 1 - 3/4" diameter PVC pipe
- 2 - 3/4" PVC pipe caps
- 2 - 3/4" PVC pipe connector-type pieces
- 2 - 2" long screws with nuts
- fabric - a flat sheet, table cloth, or a few yards of lightweight fabric
- ribbon - I used about 60" total

Step 2: (optional) Use a miter saw to cut one end of each leg at a 22 degree angle. This will make the top of your tent legs line up when the tent is open (you can see this in step 5). If you don't have a miter saw, you can skip this step and it will still turn out great!

Step 3: Mark a spot 3" down from the highest point, centered on the board (1.25" in should be the middle).

Step 4: Drill a hole centered on the marked spot. We found a 3/4" hole to be too snug and couldn't get the pole in, so we did a 1" hole instead and that turned out bigger than I would like. Ha ha, oops. So if you have something slightly bigger than 3/4" (like 7/8" maybe?) that would be ideal.

Step 5: Decide how long you want your tent to be, and cut your pipe to that length (a hack saw worked great for me!) I made my pole 5' long, but you can do whatever fits your space/taste. Although I probably wouldn't go any longer than 6' because I think the pipe would sag. Then slide your pipe through the holes in the legs, arranging them as shown below

Step 6: Put the caps on the end to keep the legs from sliding off. I found that (because my holes were too big, I think) my legs also slid in toward the middle pretty badly so I searched the plumbing section of Lowe's until I found these snap-on connectors that I put on the inside of the legs to keep them in place. Problem solved.

This is your tent frame! It is good for outside like as-is, but I found that inside on the slippery floor the legs would slide open way too far. So....

Step 7: I used 2" screws with washers through each set of legs to lock them into place. That way they wouldn't move even on slippery surfaces.

Step 8: Make a cover for your tent! I used a tablecloth from the thrift store, but you could use any large piece of fabric like a sheet or curtain, or just new fabric from the bolt!

Time-out to watch Baby B play in the dirt with a fork....

And streak by with a big stick....

Depending on your fabric, you may not need to do as much sewing as me. Basically you just need to get all your edges finished so they won't unravel. To do that I draped my fabric over the frame to see how wide to make it. I marked the width then cut off the extra leaving 1" to finish my edge (I folded it over 1/2" then 1/2" again and sewed close to the folded edge). Then I draped it over again and marked where the bottom edges needed to end. I finished it the same as the sides (leave 1" extra on each end, fold it 1/2" then 1/2" again, sew along the folded edge).

Step 9: Next attach some pieces of ribbon or string for tying on your tent cover. I put one on each corner and halfway up each side, as shown below. My ribbons were about 20" long.

All done! Put on your tent cover and tie all the ribbons to attach it to the frame.

It's ready for all kinds of camping adventures!

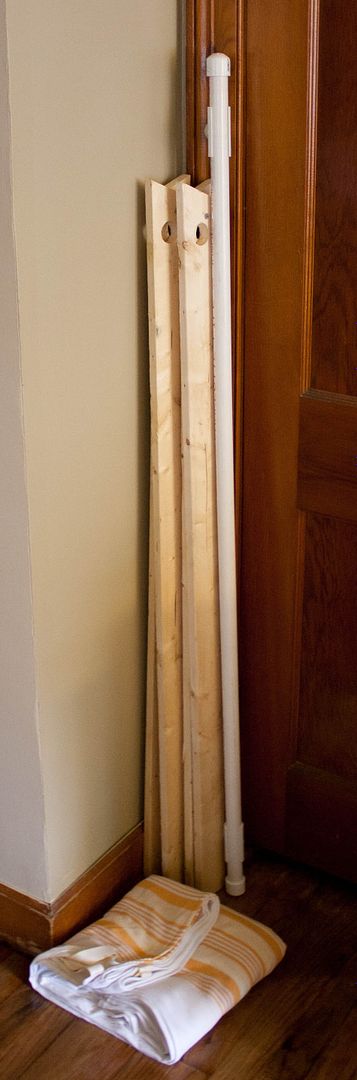
P.S. When you're not using it, it comes apart for easy storage! We just stash it in Baby B's closet until we need it again.
Then just wait for a certain little boy to stumble upon it....
"Mom, what is this thing?"

"Ooooo, it's neat!"


That campfire was Baby B's other Birthday gift. I hand-sewed the entire. thing. The things I do for Baby B! The pattern came from the book Big Little Felt Universe and I'm really happy with how it turned out (fyi, it has great projects for little boys!)! I want to make him more pieces for the camping set (and even bought the felt for it!) but this was all the hand-sewing I could take for now. :) The book recommends a wool blend felt, but to buy what I needed for the camping set it was going to cost at least $30. Yikes. So instead I went to Hobby Lobby and spent about $3 on plain old craft felt. I don't know how well it will hold up in the long run, but so far it's going strong. I just made sure not to sew to close to the edges. :)

Have you made any sweet birthday gifts lately? I'd love to hear any gift ideas, especially for little boys!
I LOVE the campfire. I am sure your little one has so much fun with that :)
ReplyDeleteThis isn't a birthday gift, but your post reminds me of a fort that I made for my daughter. It's my version of Snow White's cottage...
http://mysticmandy.blogspot.com/2012/04/snow-whites-cottage.html
That is so cute! Thanks for sharing the link!
DeleteThis is such an INCREDIBLE gift! I would have loved to get that when I was little. The first looks amazing :)
ReplyDeleteadorable!
ReplyDelete