Sunday, September 30

31 Days of 2x4 Projects


Happy October! Let's just cut right to the chase today. Last year I participated in a huge link-up at The Nesting Place by hosting a series called 31 Days of Hidden Potential  and this year I'm joining in again with a whole new series!


My most popular post ever (by far!) is the outdoor sectional we built entirely of 2x4s for a fraction of the cost of buying one - only $130. It has been pinned on Pinterest over 560,000 times! The popularity of that post was my inspiration for this series. I'm devoting the next 31 days to projects made almost entirely of 2x4s! If you can't wait to dig into the 2x4 goodies, go ahead and check out my outdoor sectional! There's still time to get it built and enjoy some nice cool nights on the patio before winter hits. :) But for the rest of today's intro we're just going to cover a few details for the series.

31 Day Giveaway

*Update: Winners posted here.

Tomorrow is a big day for my little blog. Well, kind of. Mostly just a big commitment for my little blog. :) I'm kicking off another 31 day series hosted by The Nester, which means I'll be posting every. single. day. during the month of October (what?! October already?!), all relating to my theme:


I'm super excited to share a new project everyday made (almost) entirely of 2x4s. Why 2x4s? I'm glad you asked. One of my favorite projects has been the outdoor sectional we built last summer. When we built it, we modified the original plans (by Ana White) to use 2x4s instead of other lumber because we found out how much cheaper those boards are. So that got me wondering, what other awesome things could we make using this cheapest form of lumber? And so was born my theme for the month. But I'll have more details about that tomorrow when we kick things off. Today I just want to talk about this little giveaway....


I'm hoping by the end of this series some of you will be inspired to actually DIY some of these projects yourselves. And because I am an enabler, I've decided to enable two lucky readers with a giveaway! At the end of my 31 days, I will be giving away TWO gift cards that you can put toward 2x4s to tackle any project from my series (but no hard feelings if you would rather put it toward a new roof or a dishwasher or paint for your cabinets). But not just any giftcards. Two $100 giftcards. That's right.

Plus, just by entering the giveaway you can help children in need. More about that after the contest details.


Here are the details:

Saturday, September 29

DIY Concrete Countertops - The Tutorial!

Woohoo! The moment you've all been waiting for! Let's make a countertop!


Alternately titled - Learn From My Mistakes. Ha ha. Before we jump in, let's talk about concrete for a minute. And some important things we learned along the way. :)
  • Concrete seems like great countertop material to me. It's solid and durable, and functionally it seems similar to granite for a fraction of the price.
  • Concrete is heavy. Seriously. With 6 people, we barely got our 6' piece in the house. So get lots of help!
  • Concrete is imperfect. I think that is just its nature. Our finished tops have different shades and markings but that is what adds to the industrial charm of concrete. If you are a perfectionist or want your tops to look exactly a certain way, concrete is probably not for you.
So let's get started! Here is what you will need to pour your own concrete countertops:

Thursday, September 27

Baby Legs Tutorial

It's fall. I want to be in denial, but let's face - the temperature has dropped like a rock. So when we stumbled across some warm winter accessories at Dollar Tree it was a pretty easy decision to go ahead and stock up on a few things for Baby B. And did I mention they were $1 each? Yeah, that helped too.


Shazzam! Cuteness attack!


I'm not entirely sure that "shazzam" is a word. Spell check doesn't seem to think so. But I think we can all agree that the above cuteness is off. the. charts. Here's what Mr Cuteness and I picked up at Dollar Tree:


The scarf and two hats I picked just because they were SUPER cute for Baby B, and they looked so fun and little-boy-ish. They were the only ones like them so I wanted to snatch them up fast - shopping early may not be a bad thing. :) The socks I picked up to try making some baby legs for baby B. Have you seen baby legs? They're essentially little leg warmers for babies so they can just run in a diaper and leg warmers around the house so they are warm and mom has easy access to diaper changes. Handy. But they don't tend to be cheap, or very boy-ish. So I thought these athletic tube socks would be perfect for my little guy! Here's how I made them into baby legs:

Baby Legs Tutorial

Start by cutting up each sock like this: first cut the foot off at the heel (the leg will make up most of you baby legs), then cut out the straight middle section of the foot to use as the cuff for your baby legs.


Fold the cuff piece in half (right sides out) like this:


Now slide the cuff piece over the raw end of the sock (where you cut off the foot) and line up all the raw edges like this:


Stitch around the opening through all three layers with about a 1/8" seam allowance. Then flip the cuff right side out.


Repeat with the rest of the socks to make some super cute baby legs!


But wait, there's more. I made some more super cheap baby legs out of the sleeves of old shirts! Here's how....


Cut the sleeve off an old shirt and turn it right side out. Use a baby leg (or a sock!) as a pattern to cut out your baby legs. Line the sock up with one folded edge of the sleeve and one end even with the cuff of the sleeve. Cut around the sock, leaving the folded edge intact. In hind sight... leave a little extra space for the seams. :)


Also cut a piece the width of the sock and a couple inches tall to use as a cuff.


With right sides still together, sew the long edges of the leg pieces and cuff pieces closed with a 1/8" seam allowance.


Fold the cuff in half with right sides facing out.


Slide the cuff over the raw end of the leg piece and line up the raw edges.


Sew around the opening with a 1/8" seam allowance. Then turn the cuff right side out. Done!


Now just repeat that to use up any extra sleeve you have. :)


These are so easy you can get a whole stash of them made up before the cold really hits! And no, the pink ones are not for Baby B. :)


Now we just need a Baby B to test these out. Oh look! Here's one now!


And stretch...2...3...4....


And because there is no such thing as too much Baby B, here are a few more. You're welcome.


Have you made baby legs? What's your favorite way to get ready for cooler weather?

Tuesday, September 25

Custom and Two-Domain Pin It Buttons

This post was written by my husband, N. I hope you find it useful! -Georgia

This post has been pinned (loading...) times.

I know this is a bit of a diversion from what Georgia usually writes about, so regular readers will probably just skip over this post. That's ok! This post is for bloggers (or website owners) who want to do something special with the "Pin It" button from Pinterest. Just think of it as a different kind of DIY....

Lately, Pinterest has been our top source of traffic. As I'm writing this, the most-pinned post on MoreLikeHome.net is the Outdoor Sectional. As of RIGHT NOW, it has been pinned 65,000 times. Pretty cool, right? For two reasons...first of all, because that's a lot of pins, secondly because that number is dynamic. Go ahead, refresh the page and see if it changes (it may take a few minutes for another person to pin it, or you could pin it yourself).

I've come up with a way to customize the output of the Pin It button in a few ways. First, as you saw above, it can output as simple text. You can insert this text anywhere, opening the possibility of making any kind of custom button you can think of with the number attached. Second, the number of pins can output as a complete number instead of the classic "65k+" output that is the only option Pinterest gives. (The "Vertical" layout is fixed-width, so it shows the full number until it passes 99,999, then it reverts to 100K+)

The number of pins in any post on MoreLikeHome.net is actually a composite of two numbers...pins from www.morelikehome.net and pins from morelikehome.blogspot.com. As the blog grew, we decided it would look more professional to have a custom domain, and changing domains meant losing all those pins. If we wanted the Pin It button to show the full count of pins, we would have to do something like this, showing both:

when I want it to say the total 

Another problem with the standard pin it button is it doesn't combine the pin counts associated with your site WITH and WITHOUT the leading "www". As an example, I checked one of our favorite blogs, ana-white.com, because they have a pin it button that says 47K+.  When I tested it both ways I found:

         ana-white.com/ - 47,767 pins
www.ana-white.com/ - 595 pins

It's not a lot, but the button should say 48K+.

Pinterest doesn't offer a solution for either of these problems, and they have no meaningful customer service, so I came up with a solution myself. And you're welcome to use it!  Here's how:

Monday, September 24

Floating Shelves

If you remember the kitchen sneak peek I gave a few weeks ago, you probably saw a glimpse of the new floating shelves we put in. 


We had a kind of awkward little space between the upper cabinets and window and finally decided that some simple floating shelves would make the best use of the space. Easier and cheaper than a narrow cabinet and cleaner lines than a shelf with brackets. Once the cabinets are painted white everything should blend together pretty seamlessly. 


Once we decided on floating shelves we planned to build our own (plans here), but then I found these little guys at Ikea that were the perfect size for only $7 each. I don't see this small size online, but the larger version of the same shelf is here.


Baby steps, right? :) Little baby steps = more time for playing with the hose.


Baby B finally learned how to work the sprayer. He couldn't be more thrilled.

 He promptly turned his new-found skills against me. He's trying to spray me while I hide behind a tree. Stinker.

B loves bike rides in his cart. And he loves his new helmet. And he loves when I wear my helmet. He's pointing at my head so I'll put it on. :)

Hope you all are enjoying these last warm days!

Saturday, September 22

Freezer Pleaser

Happy Saturday friends! I hope you are NOT spending your Saturday organizing your freezer (get outside before winter gets here and ruins everything!) but if you are here's a quick little freezer facelift I tackled last week. First, the before (a.k.a the villain):


Dun dun dunnnn. A little scary, right? The biggest problem here is that I honestly had no. idea. what was in there. I pull things from the front but never dig to the back. I figured this was kind of wasteful - obviously having plenty of food in there but not using it because I don't know it's there. It seems more budget-conscious to know what's there and make good use of it. So that was my goal: find out what's in there, and figure out how to find it again when I want it. Also, to stop storing food in the ice bin. We finally got the water line hooked up for the ice maker, so that box should be full of ice. Not waffles.


Enter the Hero. Being the somewhat cheapskate that I am, I definitely did not want to spend an arm and a leg to organize my freezer of all things. So, I headed to Dollar Tree to see if there was anything there to help me out. Now, I shop at Dollar Tree enough to know that things don't always work this way. Sometimes they have what you need, sometimes they don't. But on this particular day they had the. perfect. thing. In the basket section (my personal favorite section) they had these wide, shallow plastic baskets that are the perfect size for my freezer! (I've never seen them there before. It was basket destiny. Or freezer destiny. It's hard to be sure...). I picked up some blue ones, then on the way out of the aisle spotted four white ones - even better! So for just $4 I brought all 4 of them home. I only expected to need three, but I would rather buy and extra for $1 than not buy it and wish I had.


Then I put them to work. Okay, I realize this is no jaw dropping before & after, but functionally it is a huge difference! I started by pulling everything out (and working fast, these are frozens after all!) to see what I had. Then I divided the food among my baskets. Here's how it worked out: 
  • top left - ice. only ice. no waffles
  • top middle - ice cream. not to be confused with "ice." (helpful hint - buy ice cream by the bucket. it's a much better deal and then you ALWAYS have ice cream in the house. win win)
  • top right - staple type foods (bread, tortillas, yeast, waffles, etc. a.k.a. the carb basket)
  • bottom left - easy meals (ravioli, orange chicken, etc.)
  • bottom middle - meat. this is one of those good reasons to organize your freezer. I had a whole basket of meat in there and had no idea.
  • bottom right - vegetables. including no less than 3 bags of green beans. note to self: stop buying green beans. you have enough.
The baskets reach right to the back of the freezer so I don't have to wonder what is behind the meat in front - I know it's just more meat! So hopefully this helps me use what we have before I buy more (think green beans).


And let's not forget the door. I designated it into a few (unmarked) territories:
  • top left - frozen berries & fruits. while I have 3 bags of green beans, I have only 1 bag of berries. Note to self: buy berries. 
  • top right - frozen bananas (my ice cream when I'm feeling healthy)
  • bottom left - chocolate chips (it's perfectly normal to have a chocolate chips section)
  • bottom right - broth and cheese. I may need to expand my cheese section.

So now I know what's in there and where everything is. We also have a small chest freezer in the basement, but that's an adventure for another day. :) If you need a few minutes of peace to organize your freezer without everything melting, I recommend a yogurt distraction. If you baby is anything like Baby B, he will only accept this distraction if he's allowed to work the spoon. So be prepared for bath time afterwards. :)

 "Uh-oh!"

Apparently the only way to eat yogurt is by dipping crackers in it. Now you know.

Anybody else organized a freezer lately? What tricks do you have? Any tips for organizing a deep freeze? Would you like a cracker with that yogurt?

Wednesday, September 19

Twice is Nice


Remember when I made this super cute dinosaur diaper? Good. You may also remember I based my diaper on the Cloth Revolution pattern, but modified it to be one size and snap on the front (instead of on the sides). Well, after using it for a while I found a few more areas I though I could improve, so I altered my pattern some more. The biggest change was definitely the wings. I switched to a singe row of snaps instead of a double (I didn't feel like the double was doing anything a single couldn't do, plus it allowed me to add a second snap closer to the hip to keep things snug for a smaller baby). A single row also meant I could make crossover tabs!


The main benefit of crossover tabs is that it lets you make the waist of the diaper even smaller. The pic below shows both diapers on their smallest waist setting. See how much tighter the green one gets? If you remember Baby B trying on the dino diaper, I was worried that he was only on the second smallest size setting (meaning it wouldn't work for babies much smaller than him, although he had plenty of room to grow!) and this totally fixed that issue.


The other pattern change was just making it a little trimmer and narrower through... the.... crotch. *shudder* Does anyone else feel embarrassed saying that word? No? Me neither. Okay, that was a lie. If you know an alternative title I would very happily hear it. Anyway.... I just thought trimming things down a little would give Baby B a better fit, and especially any babies smaller than him that would have been swimming in the original size. And so far I am really happy with this new style and plan to stick with it a while unless any other problems show up. :)


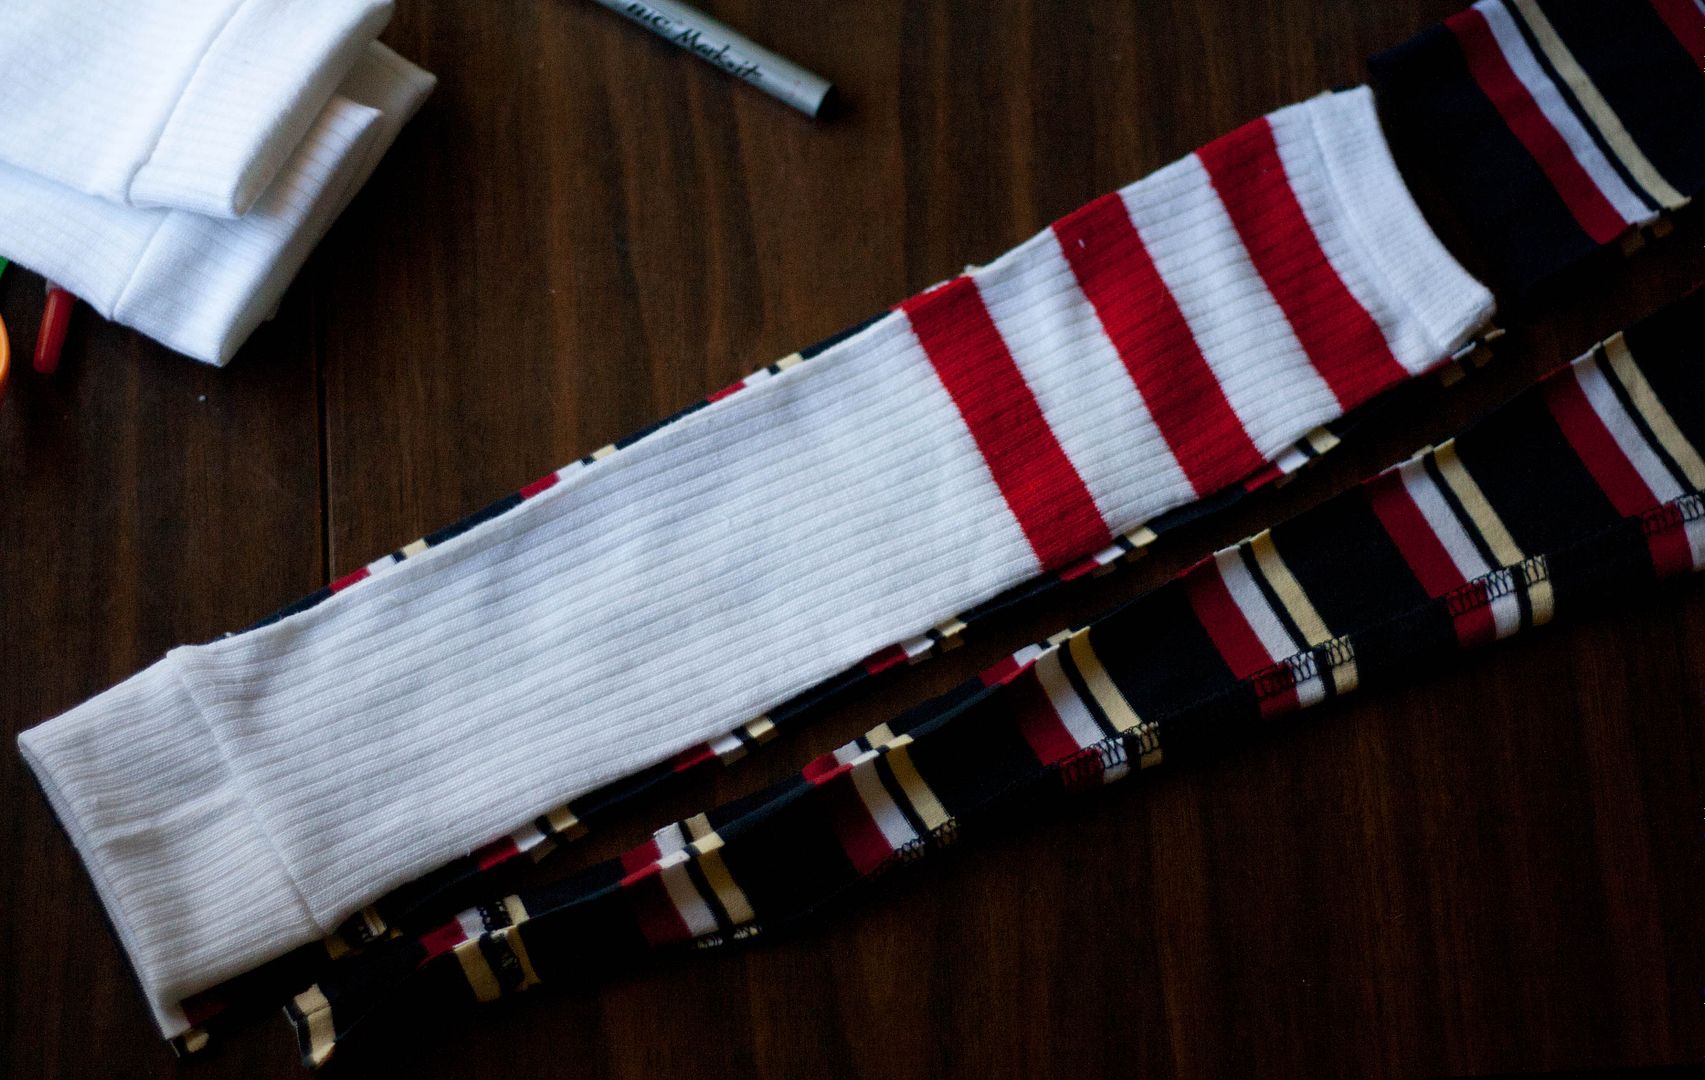
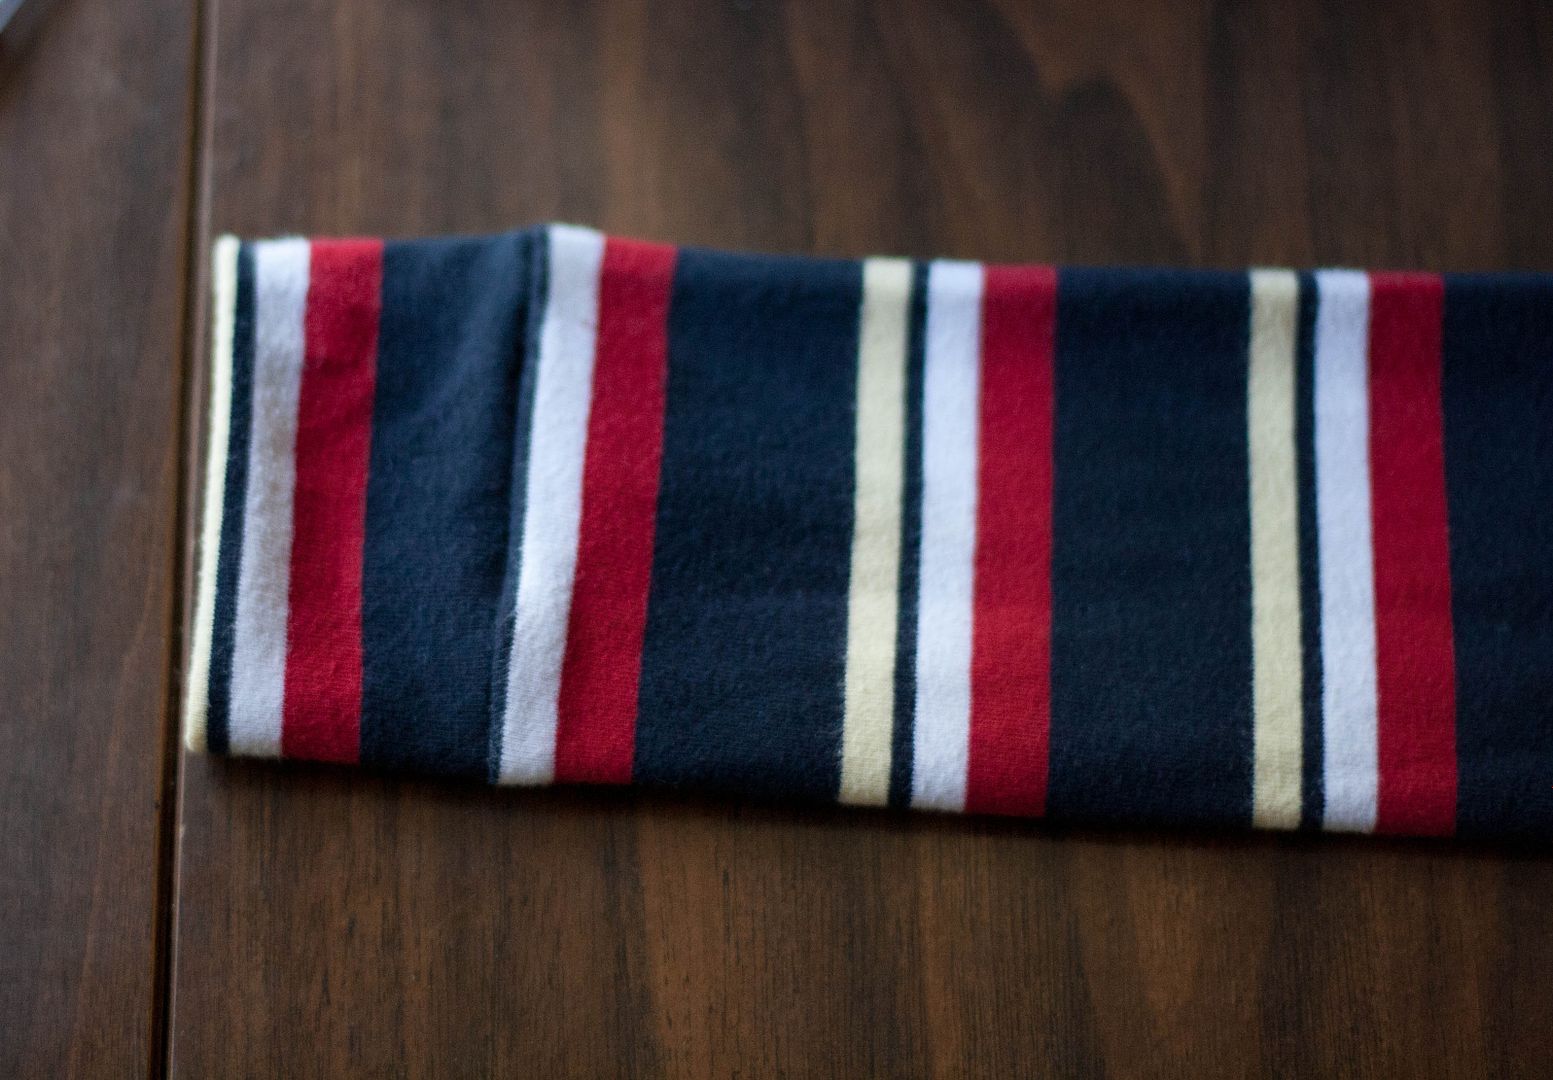
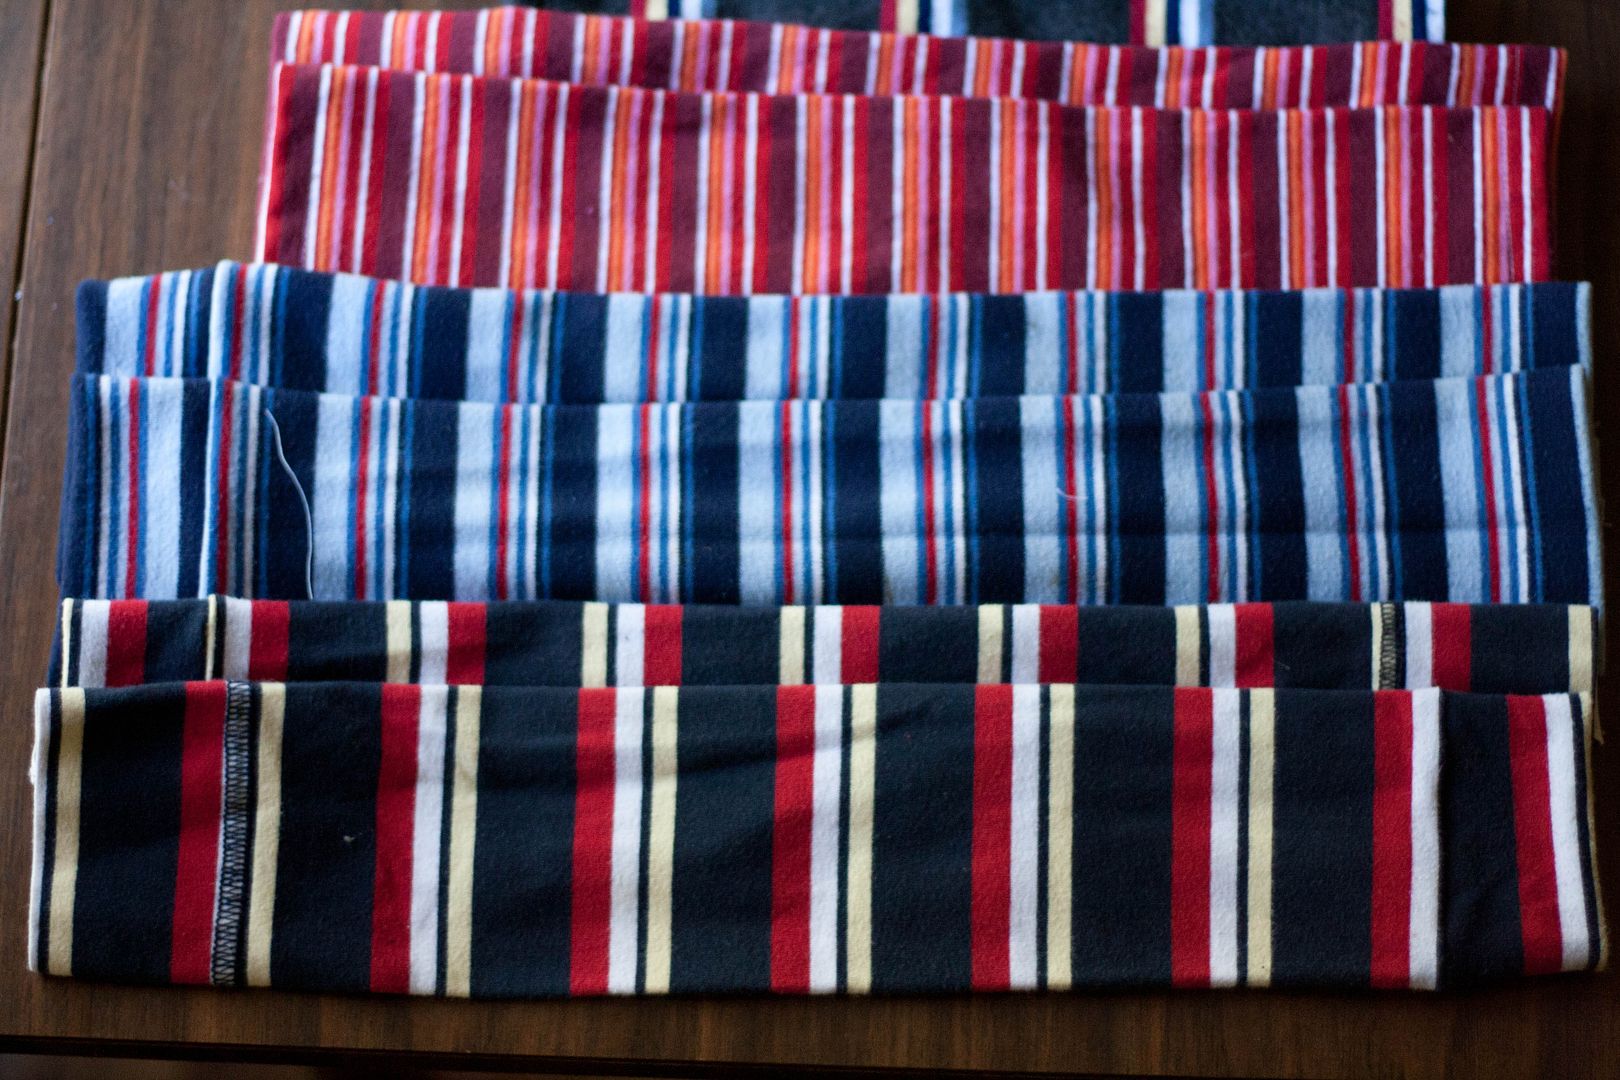
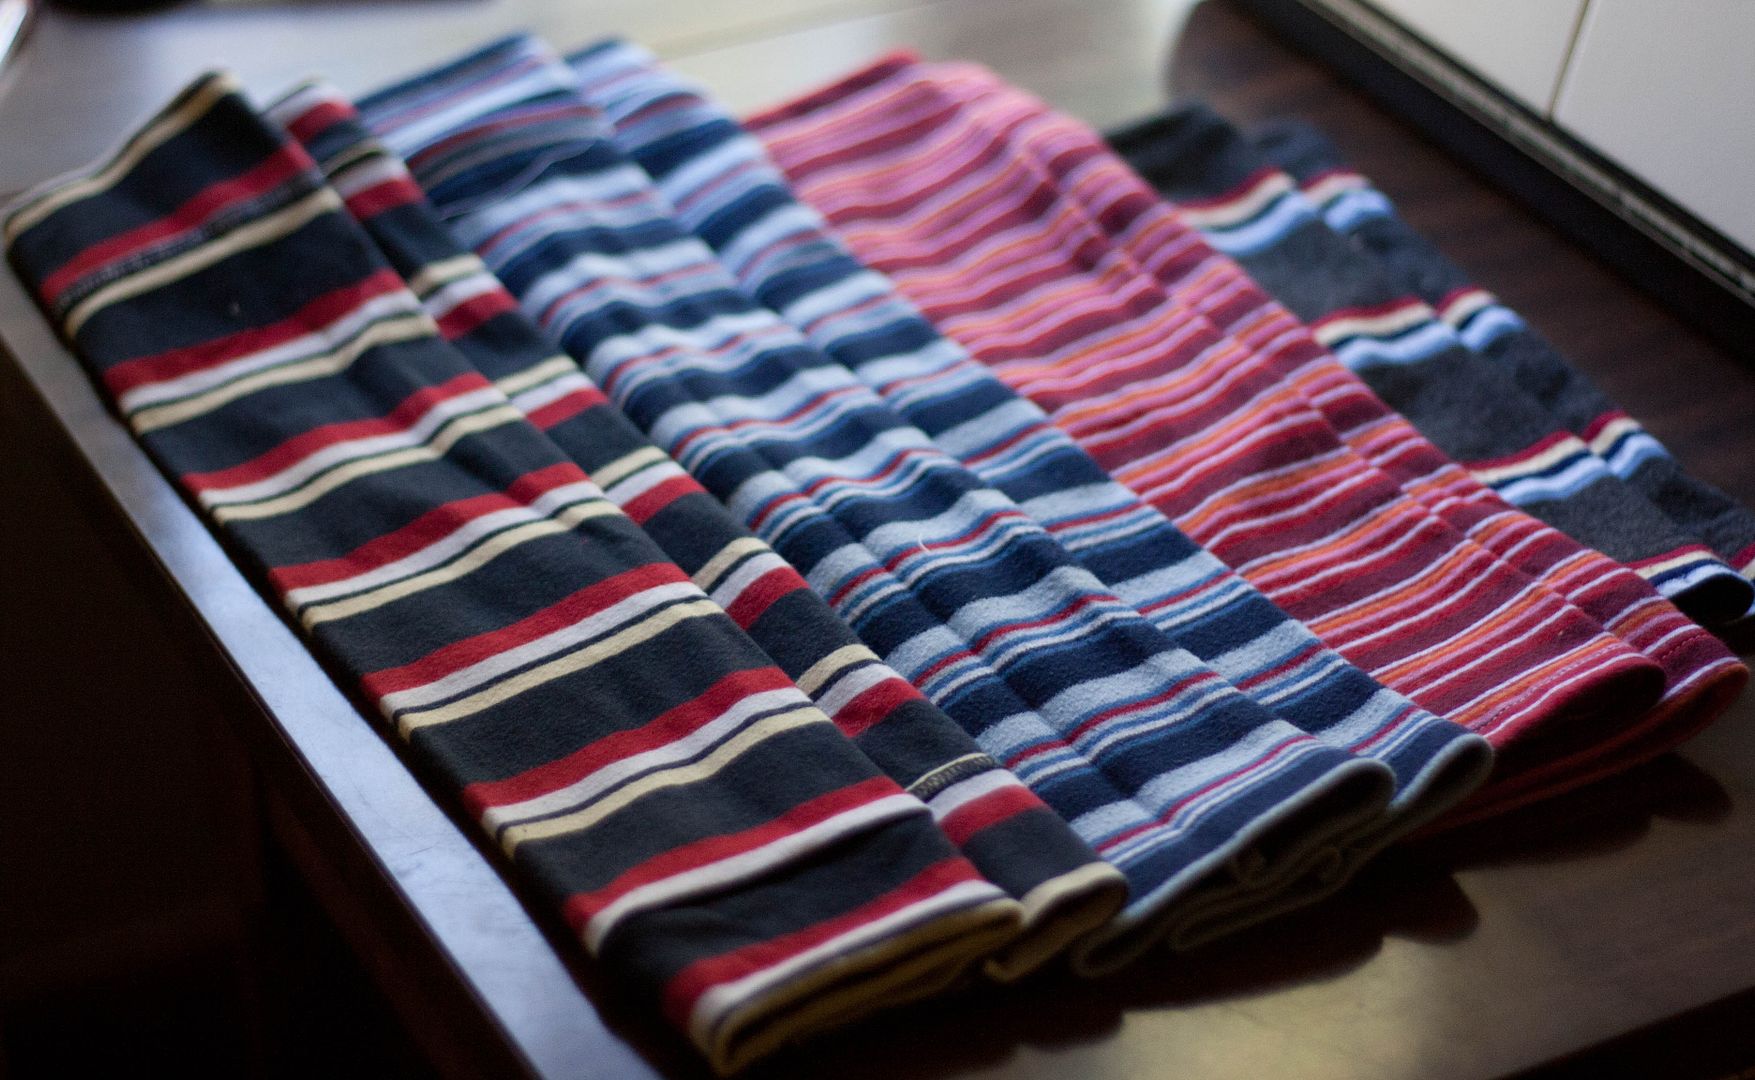
But I didn't stop there! Well, I did with that diaper pattern. But you may remember this sneak peek from a couple weeks ago - pretty new fabric, pretty new snaps....


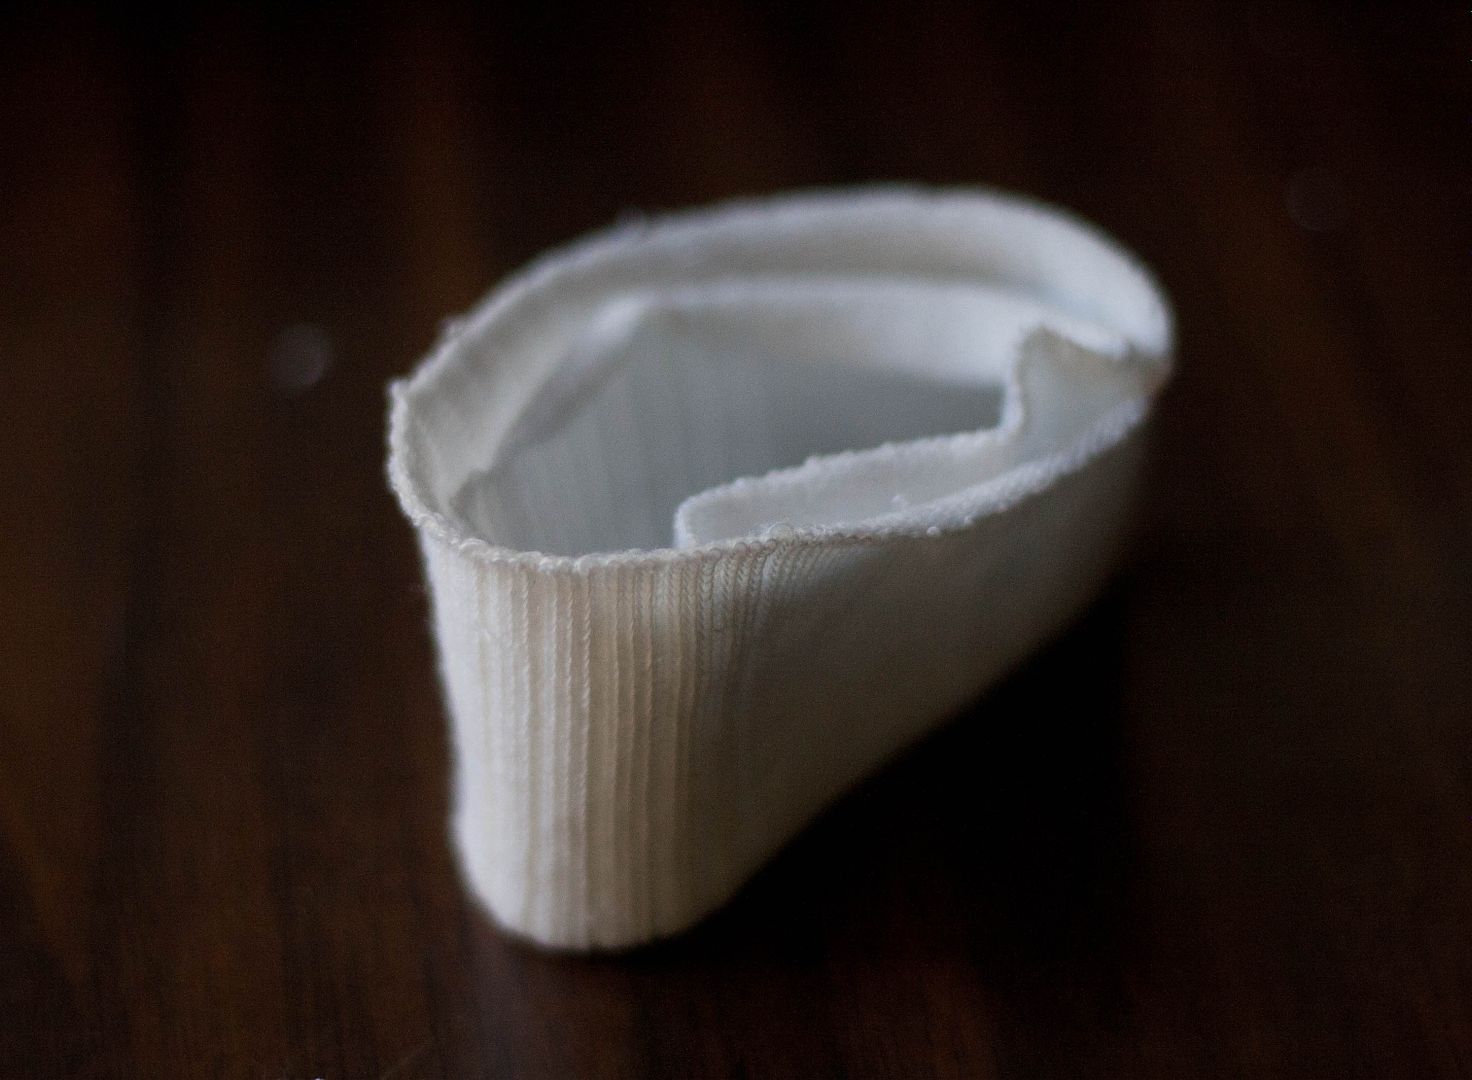
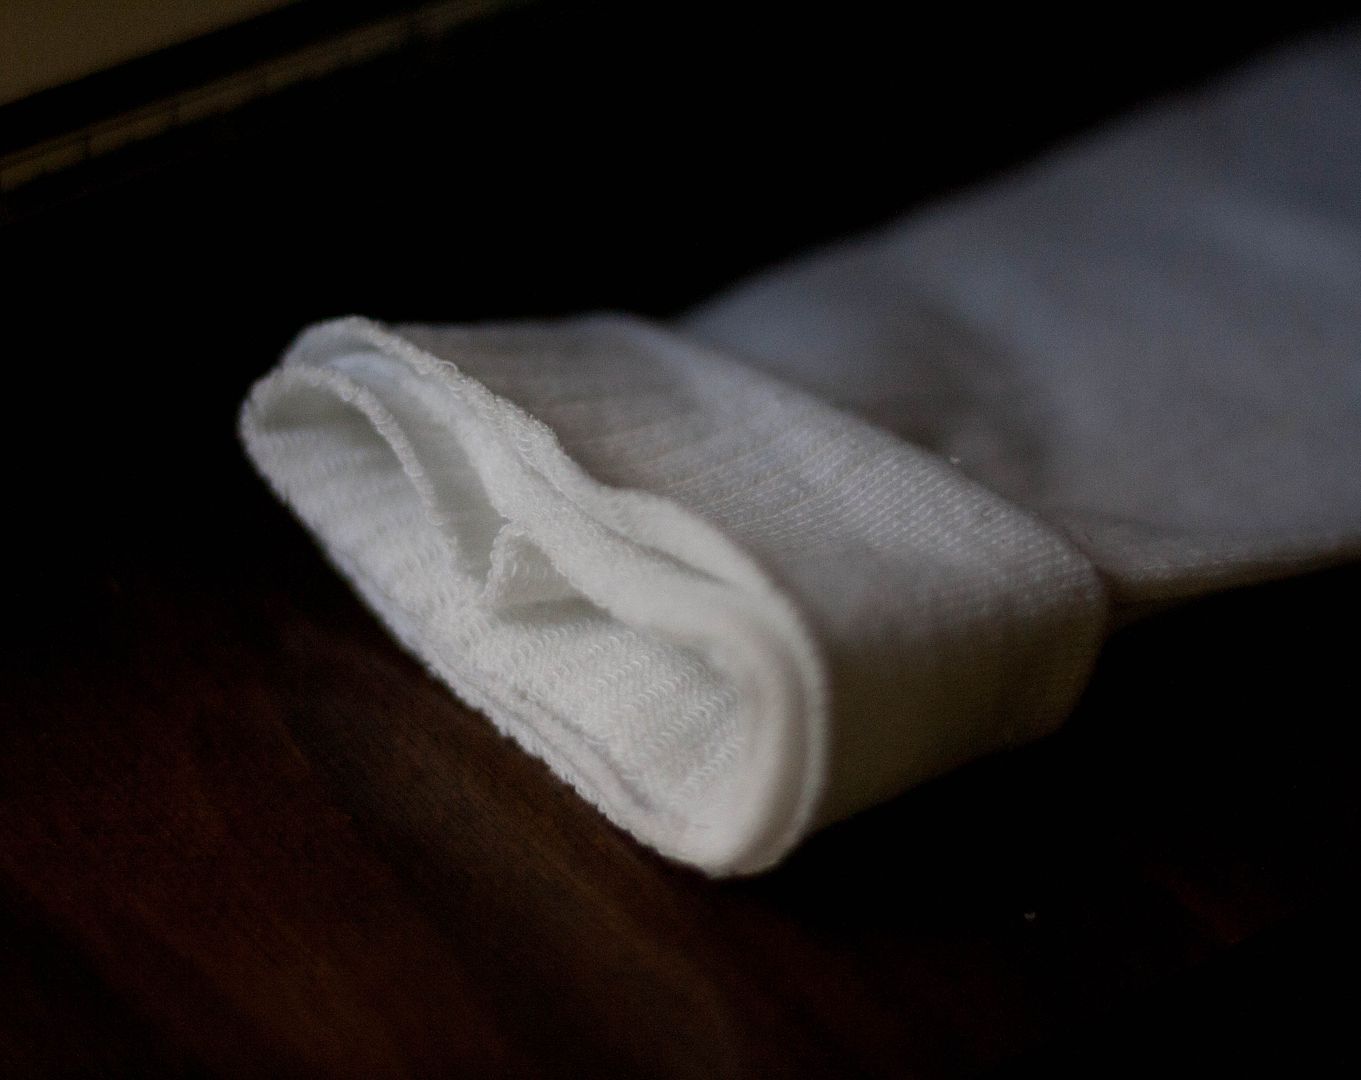
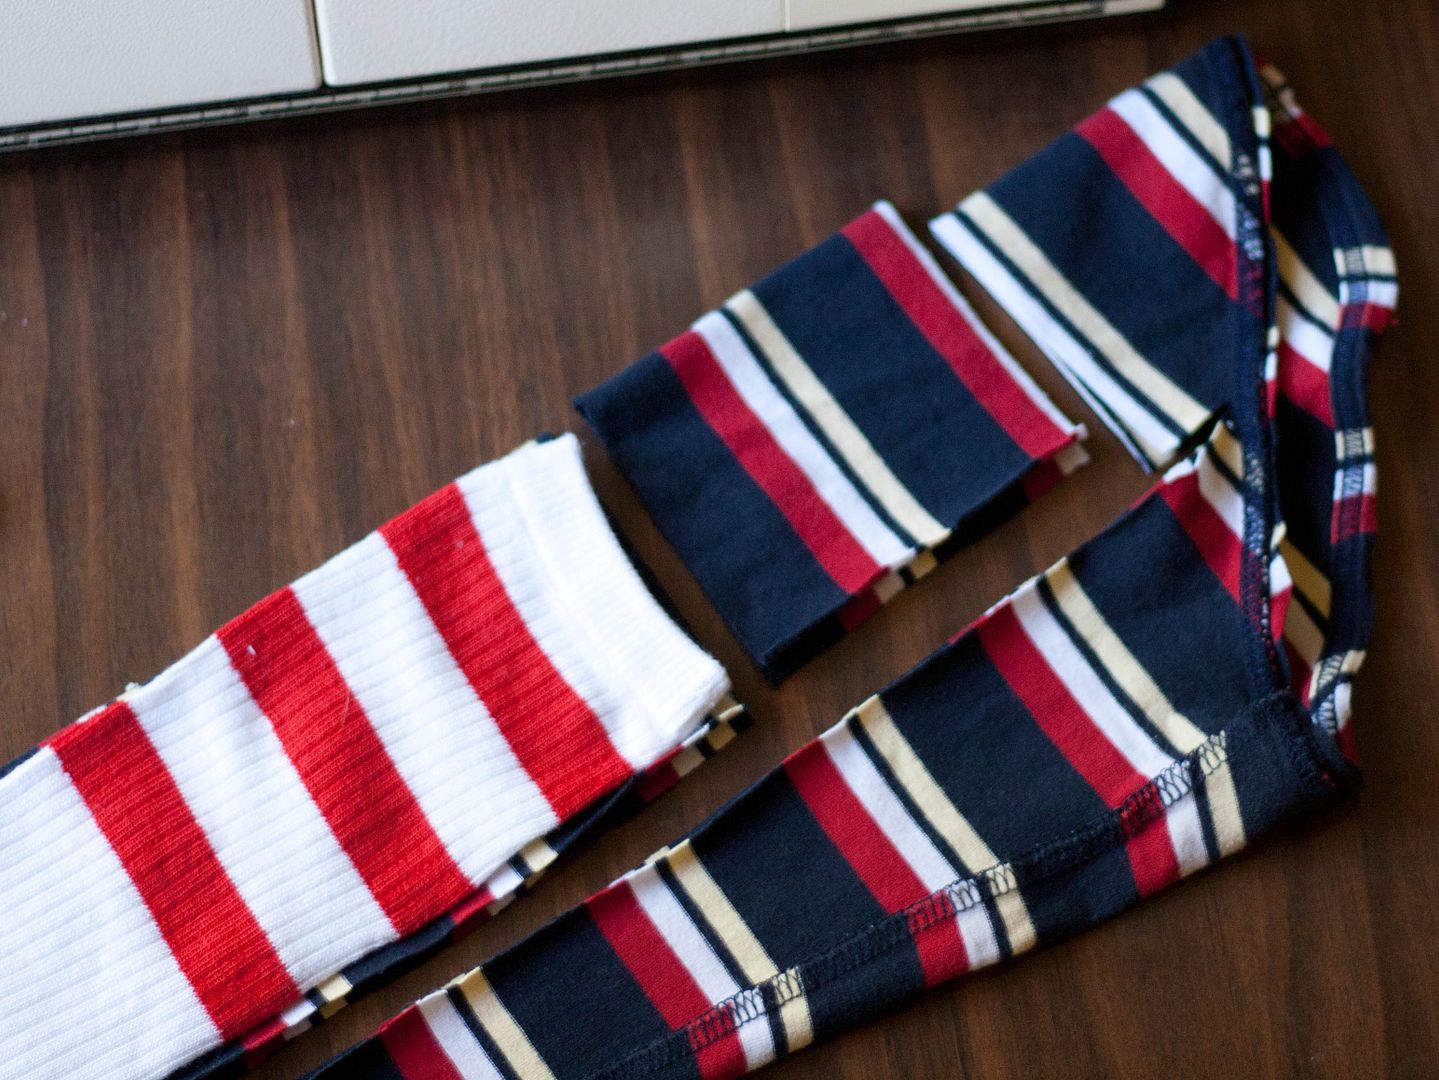
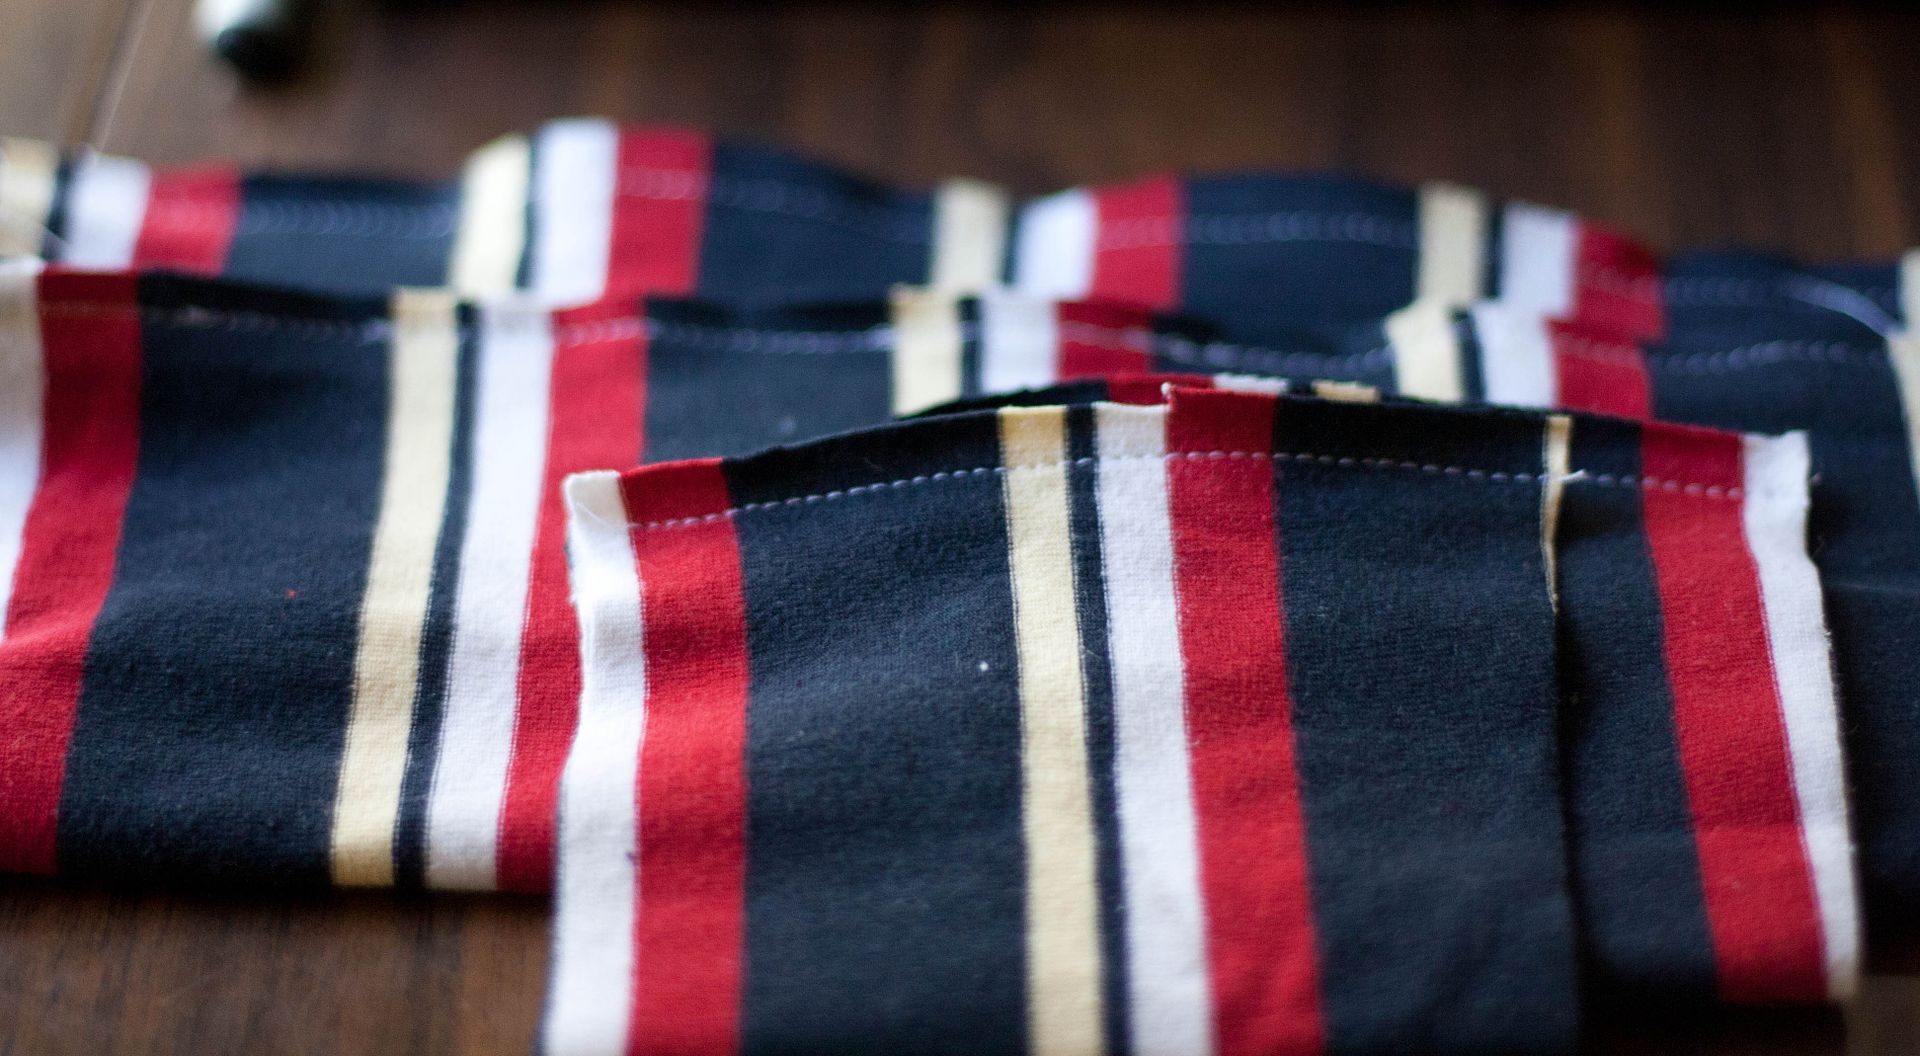
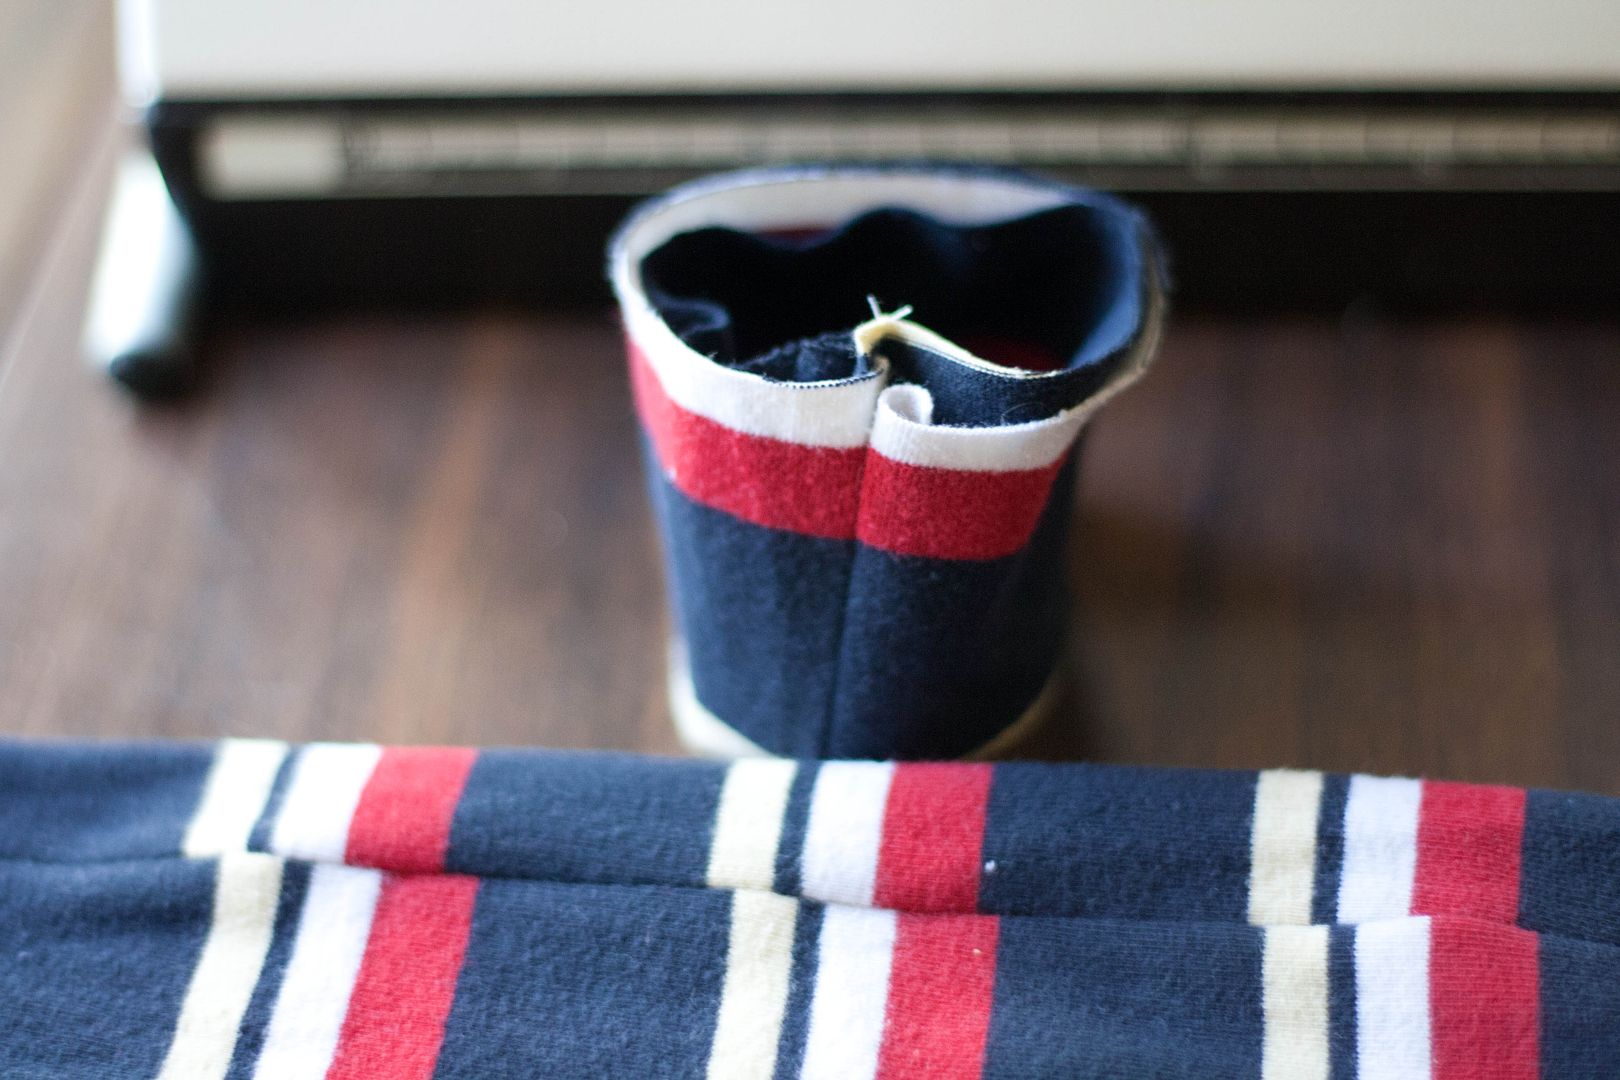
Ta-da! I've also been practicing with my newborn fitted diaper pattern (the Darling Diaper pattern). And I'm LOVING how these ones turned out. So cute and fluffy! The only thing I'm still working on (for both these and the one-size diapers) is making lay-in-soakers. I have the supplies, but I cannot for the life of me figure out the tension settings on my new/first ever serger. I think a long and intense you-tube session is in order. Or maybe a trip to grandma's to see if she can help me. :)


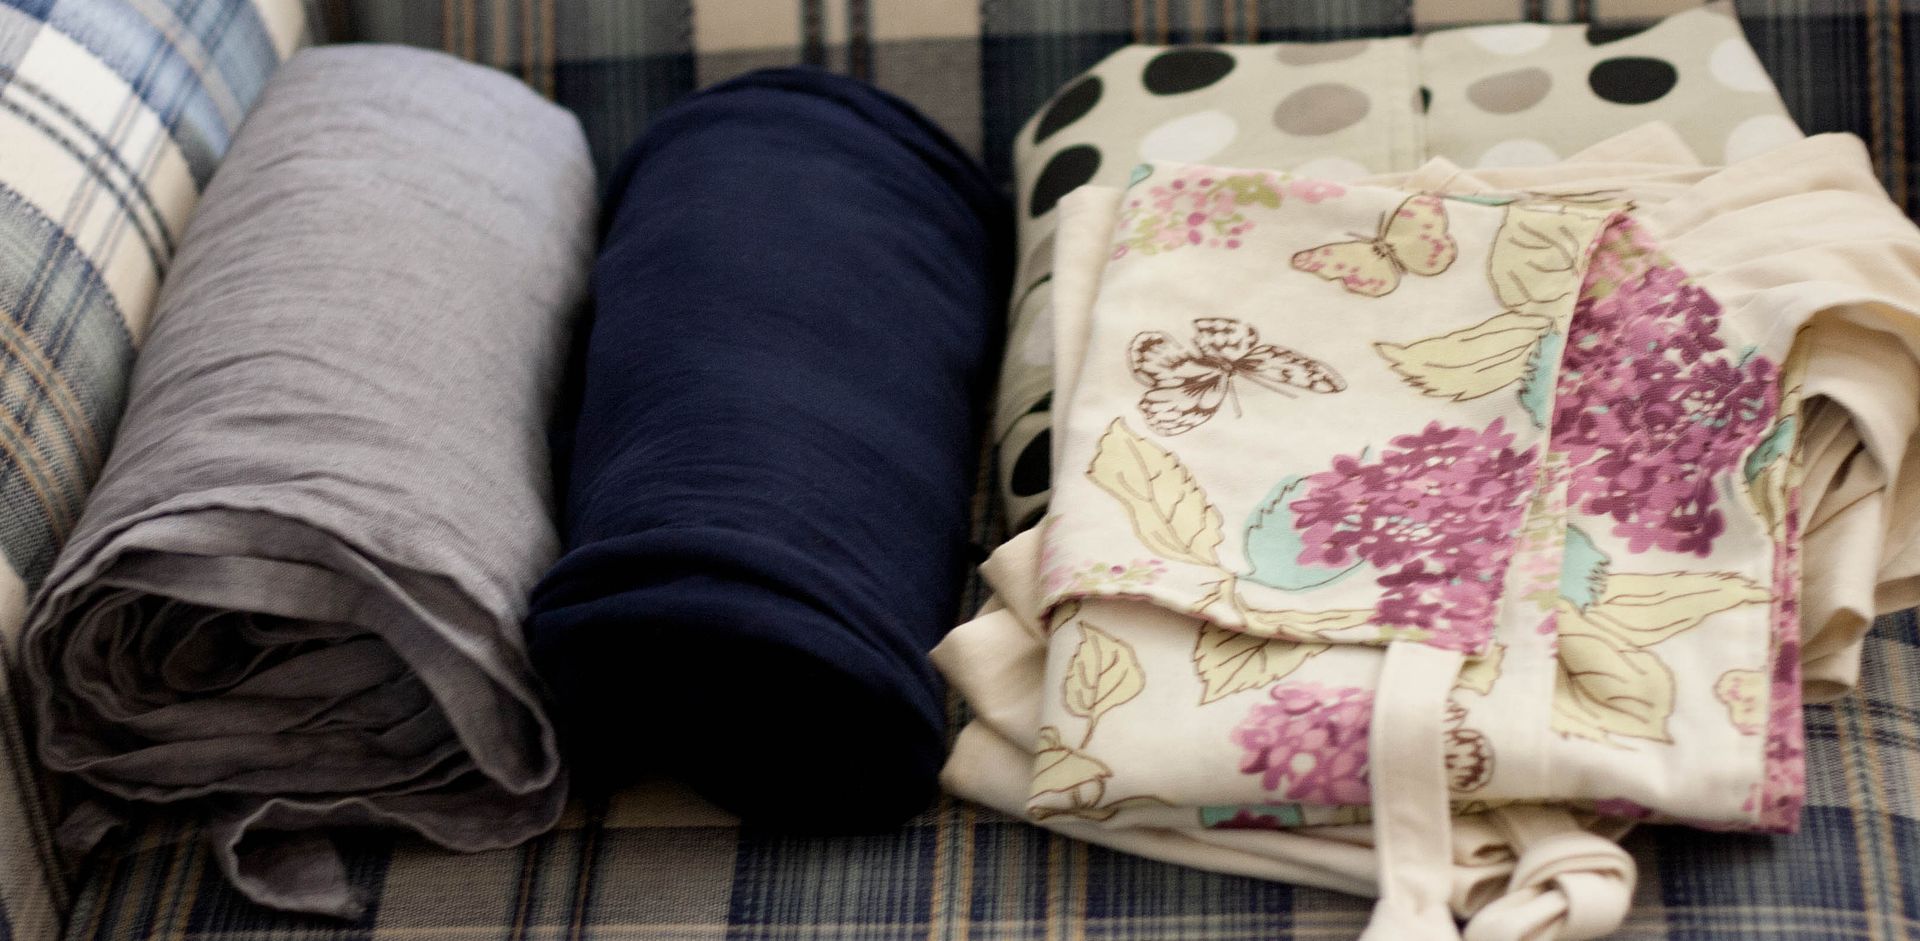
And on the subject of baby related sewing.... I've been making more baby carriers! Okay, they aren't in the picture. But the two Mei Tais I've made for myself are on the right. I also have some fabric to try making a stretchy wrap (like the one in the middle) and I'm looking for fabric to try a woven like the one on the left.


So yes, I'm making several things I don't need - but I actually have a reason this time! Due to a surprising number of fees (this was the big one, we weren't selling enough to make all the fees worth it), lack of visibility, and general over-crowdedness, my sister and I bid Etsy farewell a few months ago in favor of a new store front. And after some sewing, jewelry making, and general craftiness, we are proud to present....


Twice is Nice! Our new headquarters on on HyenaCart, a site dedicate to unique handmade and eco friendly shopping. The store is still a little bare, but we're hoping to get some more items up soon. It's a work in progress. But we are too excited to wait any longer! :) For now we have put a lot of our old merchandise into a clearance section and marked it WAY down. Everything is at least 50% off! Check it out!

The End.

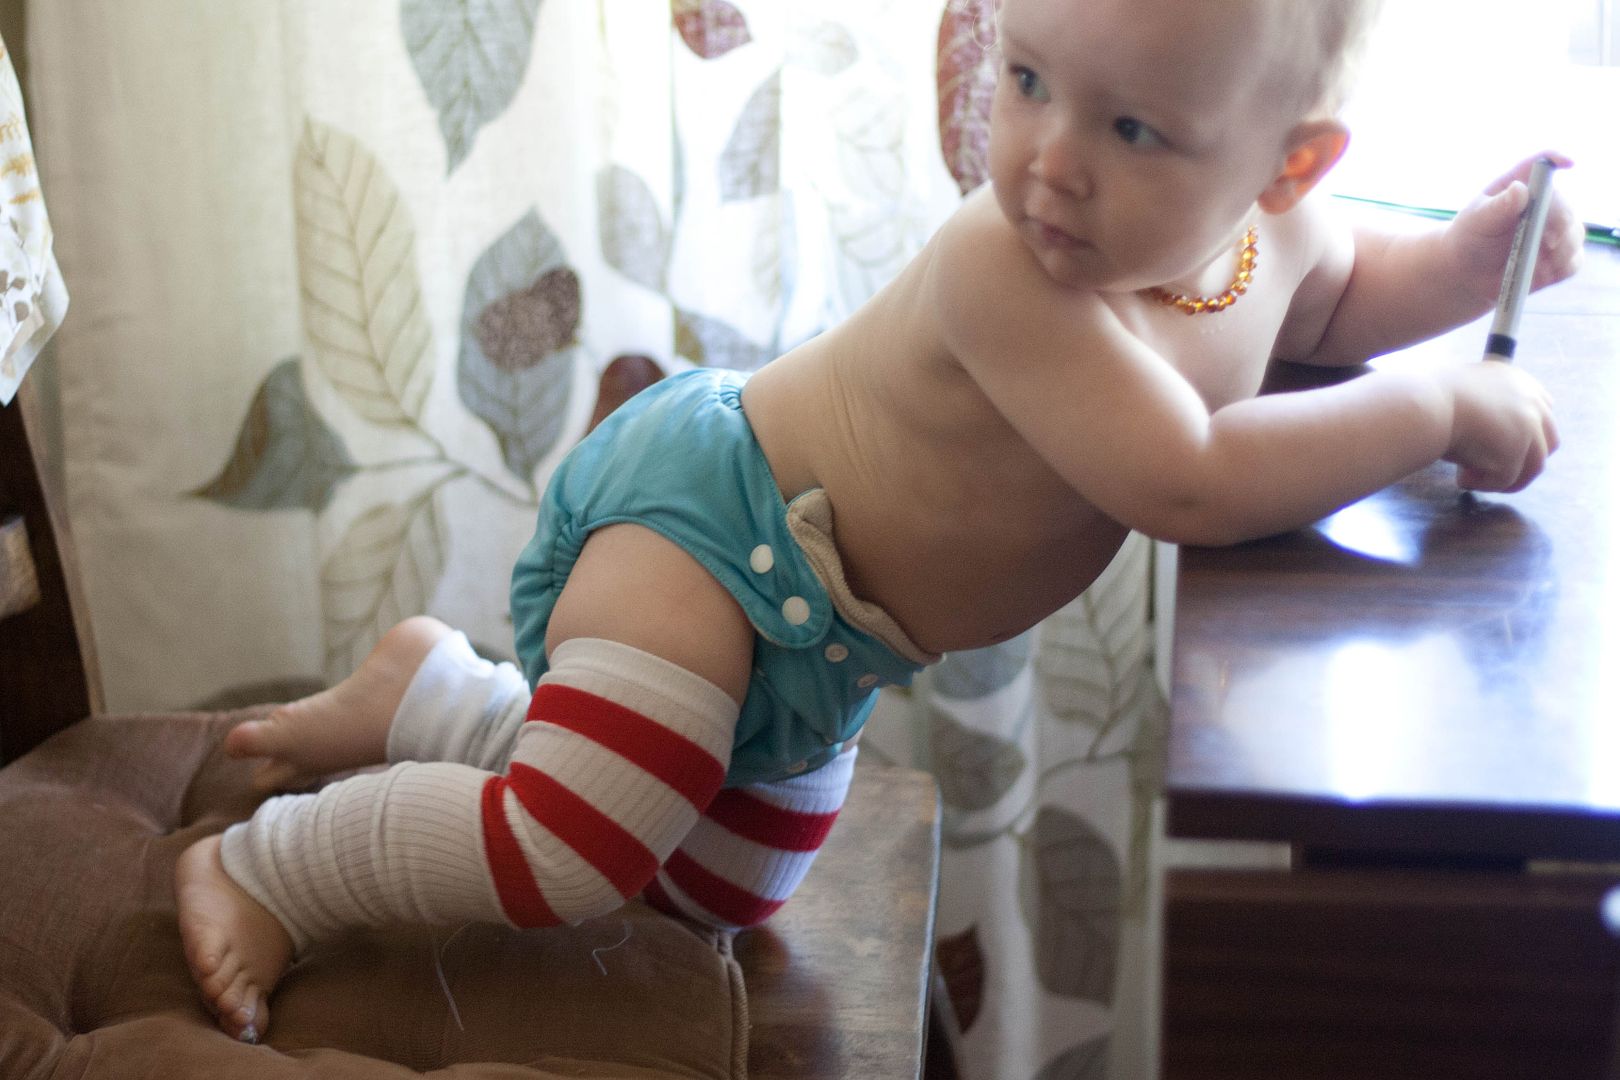
But not really, because if you made it this far you will be rewarded with... more Baby B! First, a background story for these pics. I bought a Little's CarryAll from 31 Bags for Baby B thinking it would be nice for little toys and a sippy cup to keep him entertained in the car. But I underestimated how much he would like it. As soon as we got it I showed him how to put his sippy in and he started carrying it around... and getting our shoes out. Apparently he's realized when we pack our bags we go places. So he packed his up, got out shoes for everyone, and headed for the door.

 He is appalled that I stopped to take pictures when we are supposed to be going outside. Come on, mom. Stay focused.

Annnndddd... he's outta here.

Anything you'd love to see in our new store?
Subscribe