Monday, November 26

My First ORB


I finally did it. I bought into all Pinterest hype and bought my first can of ORB spray paint. That's pinterest-talk for Oil Rubbed Bronze. Just in case you're as far behind the trend as I seem to be. :) Anywho, I finally found the perfect project to try it out on. You may remember that I found new lamps for our bedroom when I raided the thrift store... um... three months ago? Yes, they've been sitting unfinished and unused that long. BUT they are finally about to live up to their potential!


I started by covering all the parts I didn't want to paint. I used painters tape to cover the tops... and ran out of tape. So I just grabbed some aluminum foil to wrap up the cords. If I did it again I would get a little more tape to secure the foil to the cord right at the base of the lamp because the foil shifted a little as I moved the lamps around. Then I was ready to paint! This paint has a built in primer so I just dove right in. I did about 3-4 thin, even coats to get complete coverage. I started setting the lamps on an old box, but I found I had better luck getting even coverage on the curves by holding each lamp by the top and rotating them all around while I sprayed.

Ignore the white things. They're for later. :)

I only had to wait about a minute between coats so this really was a fast & easy makeover! After the final coat, I carefully took them in the garage to cure and air out for a couple days before removing the tape and hauling them up to the bedroom.


I have to say, I totally get why this paint is so popular. Holy cow. It is so rich and shimmery and actually looks like metal! I think I love it.


I love the metal texture it adds to our room! And it loos really sharp against our pale yellow walls, and works really well with the wood tones too. 


I'll share some better pics when I get the lamps shades on and... you know... the bed made. :)


Anybody else hopping on the ORB train? Anything you would LOVE to ORB? I have a whole list of things to try it on now :)

And because we all love him - a Baby B snippet. He discovered footie jammies and LOVES them. So much so that he insists on wearing pants OVER the jammies just so he doesn't have to take them off. He's a keeper. 

Wednesday, November 21

Drop Cloth Tree Skirt DIY


I've struggled with tree skirts in the past. I've settled for ones that weren't really my style (because they were on super sale), waged war against a glittery beast that left my whole house sparkling, and last year just bought a big drop cloth to wrap around the base of the tree. The drop cloth was by far my favorite to date because it was simple and neutral and really fit my Christmas decorating style.


But this year we made a sad decision. Our super-hugenormous tree just isn't in the cards (or our space) this year. *cry* So we are opting for one of our smaller trees instead. But smaller tree means a smaller tree skirt space and I was worried my drop cloth would drown the tree. But I also really like that tree skirt. And then I had one of those "oh. duh." moments. Why not just make the drop cloth into a spiffy new smaller tree skirt??


This design is based on Amy Butler's free tree skirt, but I've had a hard time with her patterns in the past (user error? Likely.) so I just kind of winged it to make a similar skirt. I also made mine smaller to fit my tree better. This tutorial is for a 36" round tree skirt, but really you could follow the step with any size tree skirt! Ready to get started? Full tutorial below!

Saturday, November 17

Christmas Mini Buntings

Let's get started on some Christmas projects! Woohoo! I have a couple fun projects planned for this year, so just keep your eye out for my Christmas series banner:


Anyone who knows me knows that I have a thing for garlands. I'll put them all over my house for any reason... or no reason at all. And ever since I discovered mini buntings, they have been my go-to garland! So of course I want to make some for Christmas. And why make just one when you can make all different kinds?


These are so easy and so cheap to make. I was able to make all of these essentially for free using card stock and string I already had in the closet. If you're like me, it's hard to know exactly what colors you want to use before you actually see it come together. So hopefully this will help you get started! Here are a few of my favorite color combos for this Christmas...

Thursday, November 15

Drop Cloth Bunting

I know. I have a problem. Half my posts are about buntings and garlands. So I'll keep this one short. :)


I was using a drop cloth for a few fun projects (coming soon!) and I was left with a pile of scrap pieces. So I made a mini bunting!


I made these just like my mini book bunting, it's just little pennant flags hot glued on a string. You can also check out Baby B's birthday bunting to see a different flag shape.


Nice and neutral and perfect for everyday! And the fabric has a great texture that you just don't get with paper buntings.


Obviously, I haven't decided where to hang it yet. :) I'm working on it.


Anybody else love a good garland? What kind of garland should I try next? (Seriously. Before my husband goes bunting-crazy.)

P.S. Don't forget to enter my Shaklee review & giveaway!

Kindles for Africa


I just read about Worldreader, a non-profit that's giving Kindles filled with books to kids in Africa, kids who otherwise would have little or no access to literature. Click the banner above to find out more about this unique educational initiative and learn how you can help!

Wednesday, November 14

Craft Show Apron Tutorial

My sister has a big craft show coming up this weekend for Twice is Nice (we're debuting our new bag designs - they'll be in the shop soon!). I'm sad that I can't be there for this one. :( But that doesn't mean I can't look out for Sister a little, right? I figured since she would be working with one set of hands instead of two, a bunch of handy pockets were in order to keep her organized - and, you know, make sure she doesn't walk away from the money. :) So I whipped up this handy craft show apron!


I've seen versions of this all over Etsy, but I knew it would be pretty easy to make one for much less. My version has two rows of pockets, ties long enough to wrap around and tie in front, and mixes lots of fun prints. It doesn't take much fabric so I actually made it with scraps leftover from other projects - it was practically free! Not into craft shows? No problem! This apron is also great for sewing, art, gardening, or anything you want to keep handy! And it would be a great, easy gift idea this Christmas.


Want to make your own? Get the full tutorial below...

Monday, November 12

Shaklee Review & Giveaway!!!

We all want to make healthy choices for our families, and you guys know one way I do that is by using natural, chemical-free products as much as possible. This is especially true when it comes to things that can be especially dangerous - like cleaning supplies. That's why I'm SO EXCITED about today's post! 
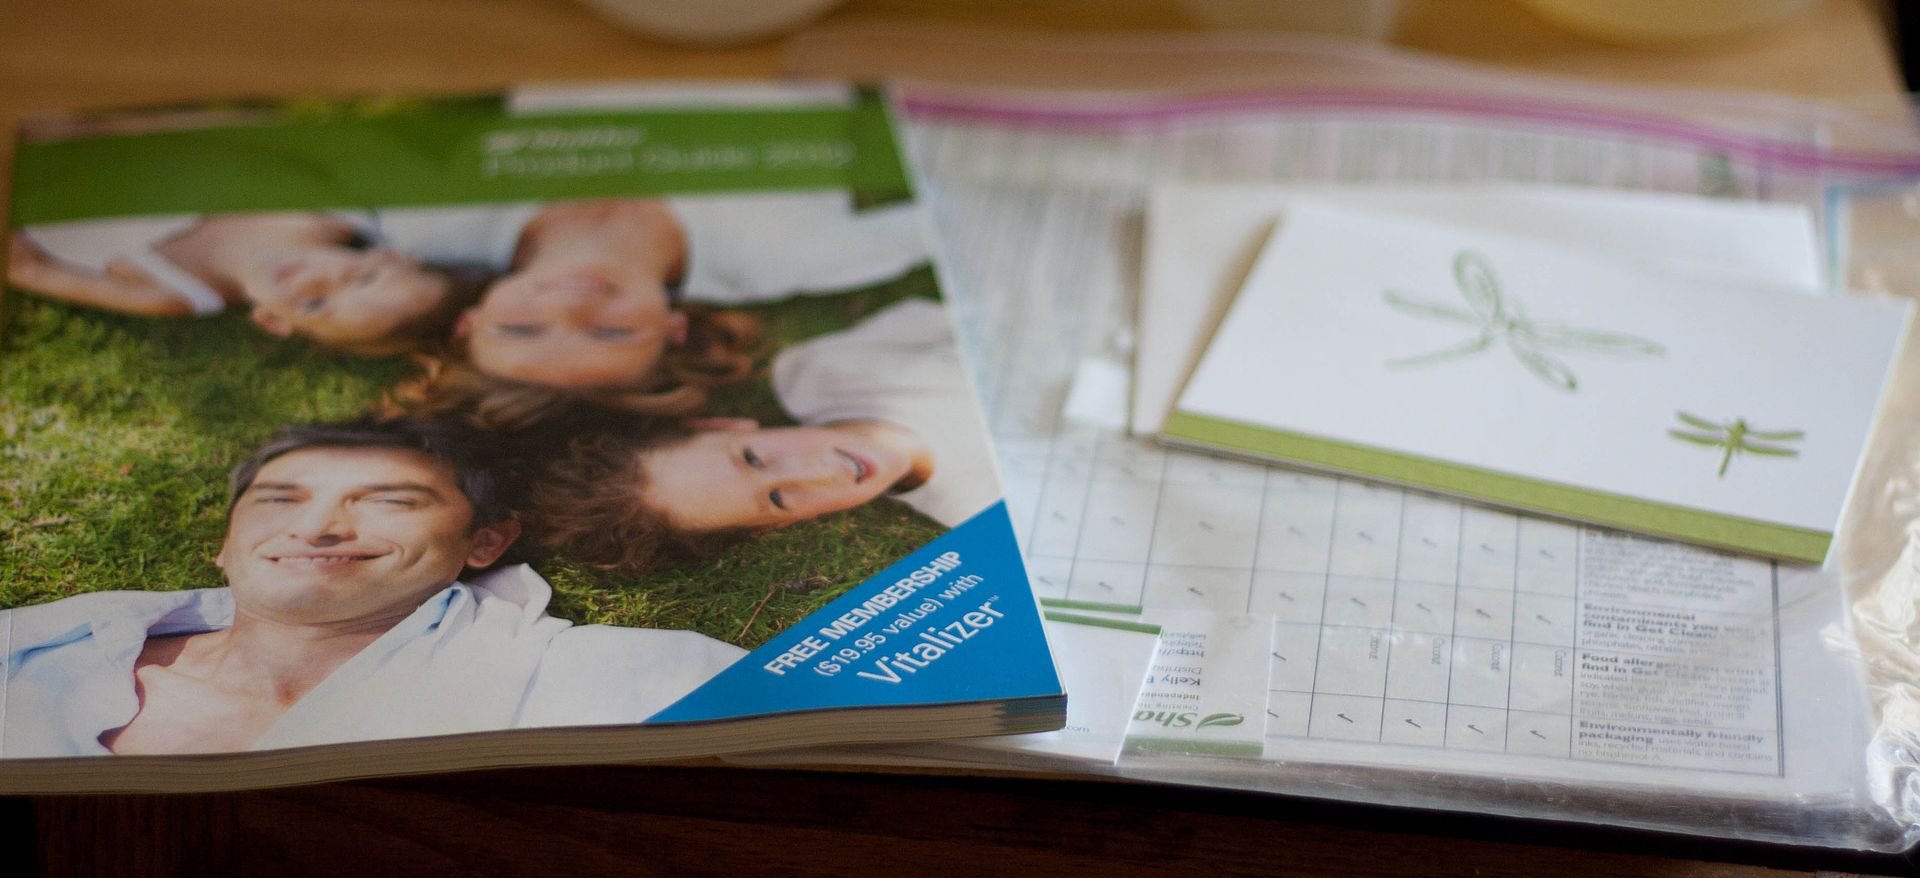
Kelly contacted me a while ago about doing a review and giveaway of some of Shaklee's natural cleaning products and, seriously, I couldn't say no to that! She selected a few favorite products and then this great box of goodies showed up at my door!


But before we get into that, what is Shaklee? Honestly before talking with Kelly I had never heard of the company before. But now the more I find out about it, the more I love it! In addition to the products themselves being natural and safe, the company as a whole is environmentally responsible! They were the first company to be certified Climate Neutral by completely offsetting their CO2 emissions. Here is some more great info I found on the company (source):
A big selling point and advantage Shaklee have over their rivals is that they steer clear of harsh, abrasive chemicals, sticking to natural ingredients. They only source their ingredients from sustainable sources. When natural or naturally derived ingredients are not available, Shaklee must use scientifically formulated alternatives. These are subject to strict tests to ensure they bioavailability, purity and potency- i.e. to ensure they are as green as can be. Unlike other natural companies, Shaklee are upfront and honest with all of their ingredients and processes. Some natural companies do not reveal their entire ingredients lists, and so their credibilty is somewhat doubted. Their products are concentrated where possible, reducing the amount of water, packaging and energy used per unit, and ensure their packaging is recyclable where possible. Shaklee have won several awards for their commitment to improving the environment, such as the 2007 Global Green USA’s Organizational Design Award and the 2008 Stevie Award for Best Corporate Environmental Responsibility Program. Do Shaklee products live up to their environmentally friendly hype? Absolutely.
Pretty cool, huh?

But you're probably still wondering.... do the products work? Let's take a look!

Basic H2
We'll go ahead and start with one of my favorites! The Shaklee Basic H2 is pretty fantastic. Here's how it works:


The Basic H2 is a concentrated all purpose cleaner. One bottle of the concentrate and the set of spray bottles that go with it are all I need for MOST of my cleaning jobs! The spray bottles have directions for mixing three different types of cleaners - Degreaser, All-Purpose Cleaner, and Window Cleaner - all made with the same concentrate! I LOVE that I can buy one bottle of concentrate and use it to make all the cleaners I need. Plus it only takes a tiny amount to mix up each cleaner so the concentrate will last a long time! I also love that it has no scent - my house doesn't smell like chemicals or flowers or lemons, it just smells like nothing! Great for anyone who is sensitive to smells!


All Purpose Cleaner - kitchens, appliances, bathrooms, furniture, fixtures, walls, stainless steel, sealed granite, marble, & woodwork.

Window Cleaner - windows & mirrors.

Degreaser - ovens, microwaves, stove pans, grills, (I also used this on a nasty mess in the fridge).


And there are SO many more uses for the H2 Concentrate. Kelly sent me a list of dozens of cleaning recipes! It can even be used as a wash for fruits and veggies! That's right, it's so safe you can use it to clean dirt and pesticides of your food. Gotta love that. I feel totally safe using this in the kitchen and even around Baby B.


I'm still finding new ways to use it, but here are a few things I've done with it so far...

  • The first thing I did was use the All-Purpose Cleaner to wipe out my stinky diaper pail. I thought that stink would be a good first test, so I wiped it down, stuck my nose in, and.... it didn't smell at all. Wowza.
  • Deep cleaning my kitchen and bathrooms
  • Everyday wipe-downs of kitchen counters, tables, & highchairs
  • Cleaning the floors - both tile and hard wood
  • Windows & mirrors

I've been using it for all my cleaning, and have been so impressed with it! This might be my very favorite product from the set!!


Scour Off
This is another favorite of mine! The Shaklee Scour Off is a super tough paste that is great for stuck on messes on things like sinks, tile, grout, ovens, ovenproof glass, stovetops, ceramic tiles, porcelain sinks, and baked enamel. (And it's surprisingly colorful! I don't want to ruin any surprises... so I'll just say it's not white!) I've cleaned things with the Scour Off that I had totally given up on before. Want some examples? Just promise not to judge...


This pot is a prime example. I had tried everything to get the burn stains off, even steel wool and scotch brite pads! So I assumed this was as clean as it could get and (I'm a little embarrassed to say) just kept cooking with it. Then I gave the Scour Off a try, and a couple minutes later....


Um... ok. I think I'll be keeping this thankyouverymuch. After working a miracle on my pots, I started reaching for it every time some was stuck on or stained beyond hope. It's taken coffee stains out of mugs, removed a rust stain that was on my sink for months after letting a pan soak too long, another rust stain from when I did the same thing on the countertop (oops), and I even used it to scrub down my bathtub! Not to mention all the spills it's taken off my stovetop. Am I a messy cook? Maybe.


Fresh Laundry Detergent - Unscented
This is the first all natural laundry detergent I've ever tried, and so far I really like it! It can also be used as a spot treatment, and it works in both standard and HE machines. I love that it's unscented (have I mentioned that I don't like smells? The unscented is great!!), hypoallergenic, and chlorine free. And this one small bottle can do 32 loads! It does still cost a little more than the Sun Free & Clear that I've been using, but for an all natural detergent it is a great deal, and I think worth a little extra. And I think my clothes are coming out softer than before (I don't use fabric softeners, so it's all from the detergent).

Nature Bright Laundry Booster and Stain Remover
This is a super powerful stain remover great for everything from clothing and upholstery to lawn furniture. This is the only product that I haven't been totally in love with yet, but I don't think it's had as good of a chance. I've had a harder time finding things to use it on. I started just using it as a laundry booster, but didn't notice a big difference there. But after talking more with Kelly I realized its real power is as a multi-surface stain remover! Kelly says she loves it most for things like mud and grass stains on her boys' pants... like everyday! Just soak them over night & rub the fabric together as it soaks for really tough stains (I haven't had any grass stains to try this on yet). Also for cleaning the toilet by pouring in a couple teaspoons and swishing it around - which may be my favorite idea for this product!! She also says it's great for getting rid of occasional musty smells from things like the washing machine.  So, pretty much I need to find some good stains and give it another go. :)


Overall, I am loving the products so far. They are a fantastic alternative to my homemade cleaners, much safer than traditional products, and cheaper than commercial natural cleaners! If you're like me, one of the first things you wonder about things like this is "But HOW MUCH does it cost?!" Well, Kelly included a price breakdown for a bunch of Shaklee products! Here are how a few of the cleaners I tried compare:

All Purpose Cleaner: $0.22/gallon (compare to 7th Generation @ $20/gallon)
Window Cleaner: $0.01/gallon (compare to 7th Generation @ $16/gallon)
Nature Bright: $2.29/gallon (compare to Shout Stain Remover @ $20/gallon)


So that's pretty much my experience with Shaklee thus far. They have TONS of other products I want to try as well, starting with the dish soap and dishwasher detergent. And besides cleaning supplies they have lots of other natural products too - everything from vitamins & supplements to skin care to baby wash to water purifiers! If you're looking to try natural products around your home, this is a GREAT place to start!!

But wait. There's more! Kelly has so generously offered to do a giveaway for More Like Home readers! That's right, one lucky reader will be walking away with a set of Shaklee Products, including:

  • Basic H Concentrate
  • Basic H Spray Bottles
  • Scour Off
  • Nature Bright Laundry Booster & Stain Remover

It's an amazing set to start with! Use the Rafflecopter to enter, and be sure to give Kelly a big "thank you" for such a wonderful giveaway!

For those of you who can't wait to jump into some safer, healthier cleaning products, Kelly is offering FREE reimbursement shipping for all order over $50 now through November 15, 2012 and Shaklee is offering FREE shipping on all orders over $200 through Novmber 18, 2012! Check out her website to order, just let her know More Like Home sent you. :)

a Rafflecopter giveaway

Thanks so much Kelly for introducing me to these awesome products! I'm hooked! For anyone interested in more info, check out Kelly's Shaklee page here, and her blog here. Happy cleaning!

Thursday, November 8

Winner Winner!

Thanks to everyone who followed my October series and entered our big giveaway! If you missed any posts in the series, you can check them all out here.


We had 568 entries (so if you used all your entries your odds were pretty good!). But before we get to the winners, one more shout out to Compassion International! It's never to late to change the life of a sweet little girl or boy! Sponsor a child here.


For anyone who followed our giveaway, you know that two lucky readers are about to get a free $100 Lowe's gift card in the mail - perfect for tackling your favorite 2x4 project!


So, ready to see who won? Click "read more" to find out!

Tuesday, November 6

Free Printable Alphabet Banners

Have you seen the printable alphabet banners by Shanty 2 Chic? They are really cool (I'm using them to print some Christmas banners!) but apart from making fancy Christmassy things the font is a bit to formal for me. So I made my own version with a more fun, everyday font!


And not just any font, it's one of my very favorite fonts - Skinny Jeans! (you can download the Skinny Jeans font for free here) I've even made banners for both versions of the font so you can print either solid letters (like I did) or print the original style hollow letters. You can use my banner downloads to print whatever letters you need to make any banner for any occasion!


Just open the letters you need, print them out (I like to print on cardstock), and cut them out. After that I put mine together Shanty2Chic style - I matted them with another color of cardstock and used clothespins to hang the pennants on a string.


Want to print your own? Just follow these links to get the letters you need:

Monday, November 5

Mini Book Bunting

Remember when I made a fun garland for Baby B's birthday party? You know, back in April? Well, I took it down yesterday. It was time. Mostly because it was time to start thinking about Christmas decorations! Don't panic, they aren't up yet, but I'm clearing space to just get ready and make a plan. That's half the fun after all! As soon as I took the birthday garland down I knew I wanted to make another one - something a little simpler and more neutral that would work with my home during the holidays and even after. And so the Mini Book Bunting was born!


I used pages from an old book (Reader's Digests are at almost every yard sale and thrift store!) that I cut into strips just like with my birthday bunting. The only difference was that instead of cutting the two-point flag shape I used before, I cut each flag into a pennant shape with a single point.


Then I used a little hot glue to put them on a string. All done! The book pages are great because they are nice a neutral, but the text gives them more interest and texture than a plain paper. Plus there's just something comfortable and cozy about about printed words. It's like being curled up with a good book all the time. I'm thinking this will look great on my entertainment center alongside my finger knitting garland year round! It would also be cool to make this with sheet music or handwritten notes or pages from a copy of your favorite book. Have fun with it!


You can see all the details on making a mini bunting garland here.

Friday, November 2

It's Fall. Eat Pumpkin Bread.


Hello November! While I had fun with my 31 day series last month, I'm glad to be back to our regularly scheduled sporadic-at-best posting. :) If you haven't entered our $100 Lowe's gift card giveaway, it's not too late - the drawing closes November 7th! Anyway, now that the crazy is over we're chillaxin' and enjoy some fall goodness. One of our favorite ways to ring in the season is with one of N's favorite family recipes - pumpkin bread!


Pumpkin Bread
4 1/2 cup sugar
1 1/2 cup oil
6 eggs
1 can pumkin
1 cup water
5 1/4 cup flour
3 teaspoons baking soda
1 1/2 teaspoons cloves
1 1/2 teaspoons cinnamon
1 1/2 teaspoons allspice
3/4 teaspoon salt
3/4 teaspoon baking powder
1 1/2 cups nuts, raisins or chocolate chips (chocolate chips are our fave!)
  1. Beat together sugar, oil, and eggs.
  2. Stir in pumpkin and water.
  3. Add remaining ingredients and mix well.
  4. Turn into a greased loaf pan. (I used four bread pans, but my MIL uses lots of small pans. Great for gifting!)
  5. Bake at 350 degrees 1 hour or longer until it tests done.

I'm testing out some changes to make it a little more health-friendly. Just because, you know, healthier bread = I can eat more without feeling guilty. :) I'll let you know how it goes. In the meantime, anybody want trick-or-treat pictures of Baby B???

"Hurry mother you must! Trick-or-treating time it is!"

Pondering the force... and how to use it to get more candy!

But first, his robes!

Doing the "hurry daddy hurry!" dance.

"Longer I cannot wait! Run I must!"

He didn't forget his trick-or-treat bag from Grandma.

Going, going,....

...aaaaaand gone.

He has to hold his hands up because he sleeves are to long. It is NOT cool to have sleeves over your hands. Now you know. Once he found out we were actually going up to the houses he was SUPER excited... until strangers opened the doors. Then he tried to back down the stairs unseen. 

About 10 minutes in this was the only face he was giving. I think he was cold. And trying to figure out exactly what was going on. ;)

To the victor go the spoils. He gave his first candy 3 good licks. Then he gave up and moved on to the goldfish crackers.

What is your favorite fall recipe? Did you have any sweet costumes this year?
Subscribe