
My sister has a big craft show coming up this weekend for Twice is Nice (we're debuting our new bag designs - they'll be in the shop soon!). I'm sad that I can't be there for this one. :( But that doesn't mean I can't look out for Sister a little, right? I figured since she would be working with one set of hands instead of two, a bunch of handy pockets were in order to keep her organized - and, you know, make sure she doesn't walk away from the money. :) So I whipped up this handy craft show apron!
I've seen versions of this all over Etsy, but I knew it would be pretty easy to make one for much less. My version has two rows of pockets, ties long enough to wrap around and tie in front, and mixes lots of fun prints. It doesn't take much fabric so I actually made it with scraps leftover from other projects - it was practically free! Not into craft shows? No problem! This apron is also great for sewing, art, gardening, or anything you want to keep handy! And it would be a great, easy gift idea this Christmas.
Want to make your own? Get the full tutorial below...
Want to make your own? Get the full tutorial below...
The Pattern
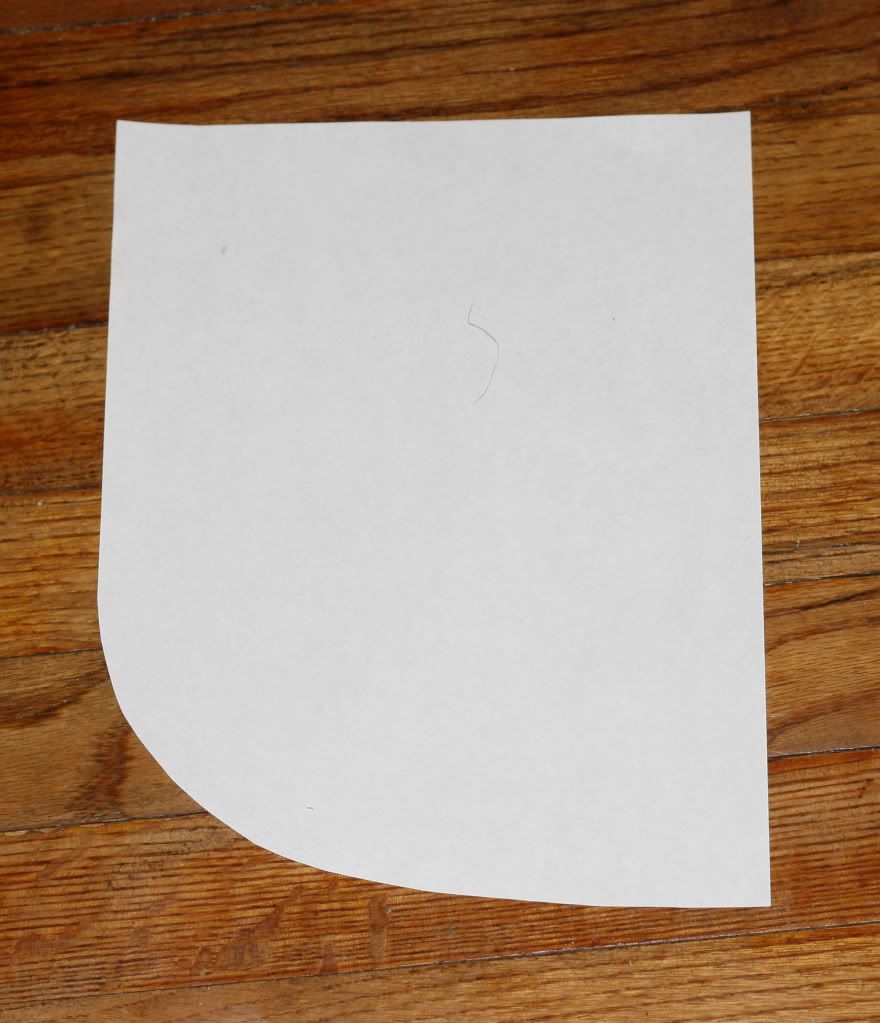
Start by making a pattern for the body of your apron. I used a 8.5x11" sheet of paper and rounded one corner like this (the long edge will go on the fold for all cuts):
The Fabric
You can use just about any fabric you want to make your apron! I used a combination of quilting cotton and duck cloth in my apron. Have fun with colors and patterns - don't be afraid to mix and match! When you're looking for fabrics, you'll want to find these: main body (first main color), top pocket (an accent color), bottom pocket (second main color), ties (another accent color), backing color, and some support fabric. We'll look at each of these closer in the cut list below. Let's start by cutting out all the body pieces. Using the pattern you just made cut out these pieces:
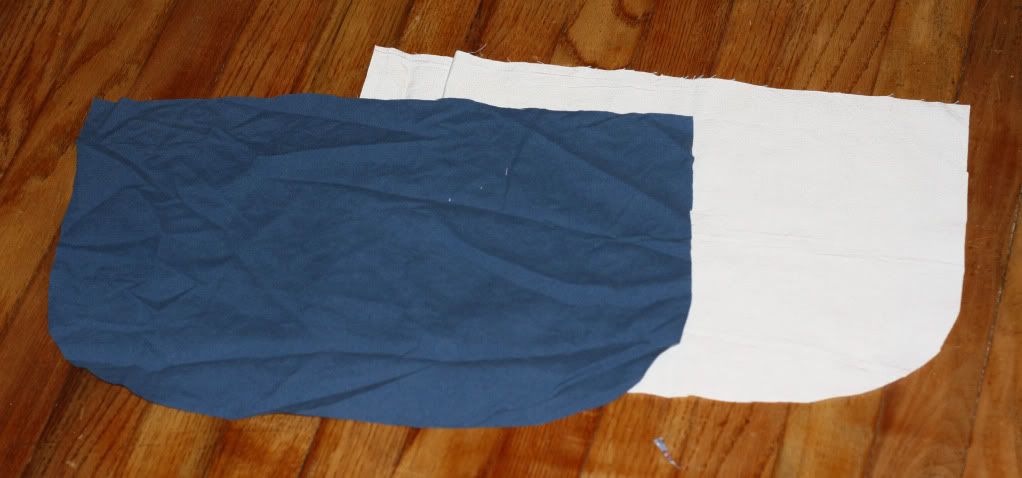
- The Body (blue stripes) - place your pattern on the fabric fold and cut out one main body piece.
- Top Pockets (yellow pattern) - fold the top edge of the pattern piece down to make the pattern about 6" tall, then place the pattern piece on the fold and cut out one top pocket piece.
- Bottom Pockets (blue pattern) - fold the top edge of the pattern piece down again to make the pattern about 4" tall, then place the pattern piece on the fold of your fabric and cut out one bottom pocket piece.
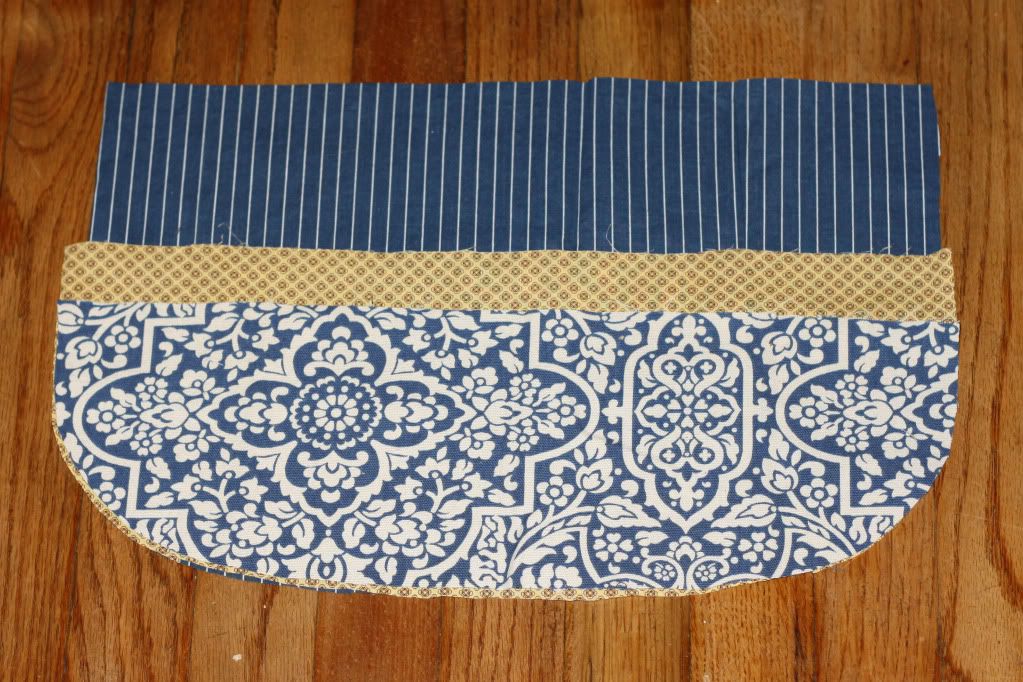
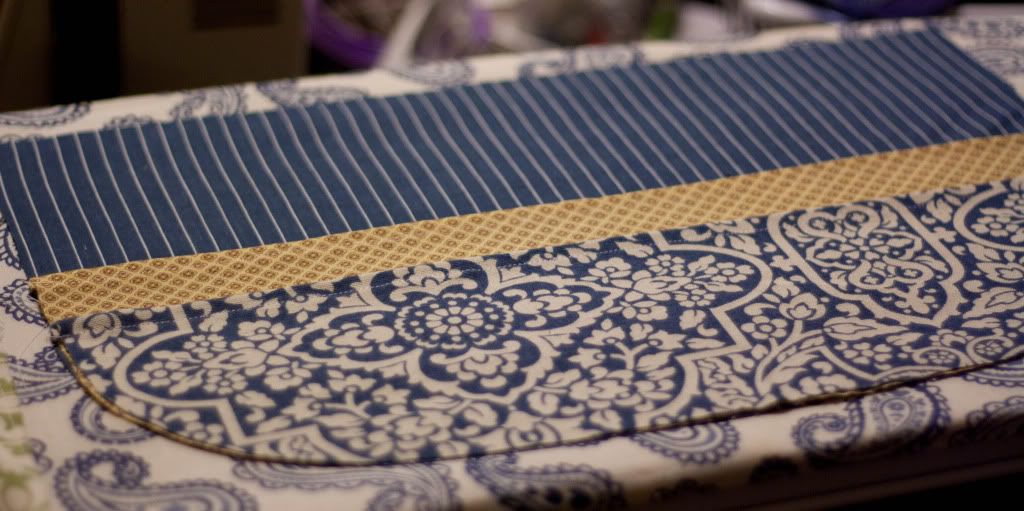
After you cut out the body & pocket pieces, you can stack them up to check what your final apron will look like! When the bottom curves are lined up, your apron should look like this.
- Backing (solid blue) - open the pattern piece back up to it's full size and place it on the fabric fold to cut out one backing piece.
- Support fabric (white) - this is a hidden layer to make your apron a little sturdier. If you use all duck cloth you may not need any reinforcement, but since I used mostly quilting cotton I wanted something to give it a little more body. You can use interfacing, a layer of duck cloth, or (like me) just an extra piece of any fabric you have laying around! Use the full size pattern to cut one support piece on the fold of your fabric.
- The Ties (yellow, not pictured) - the ties are quilting cotton so they are easy to tie and not too stiff. There is no pattern for the ties. You need to cut several 4" strips diagonally on the fabric (essentially making a bias tape). We'll look at this closer later.
Time to Sew!
Start by finishing the top edge of the top pocket. Fold the top edge in 1/4" and press, then fold in 1/4" again and press. Repeat for the top edge of the bottom pocket.
Start by finishing the top edge of the top pocket. Fold the top edge in 1/4" and press, then fold in 1/4" again and press. Repeat for the top edge of the bottom pocket.

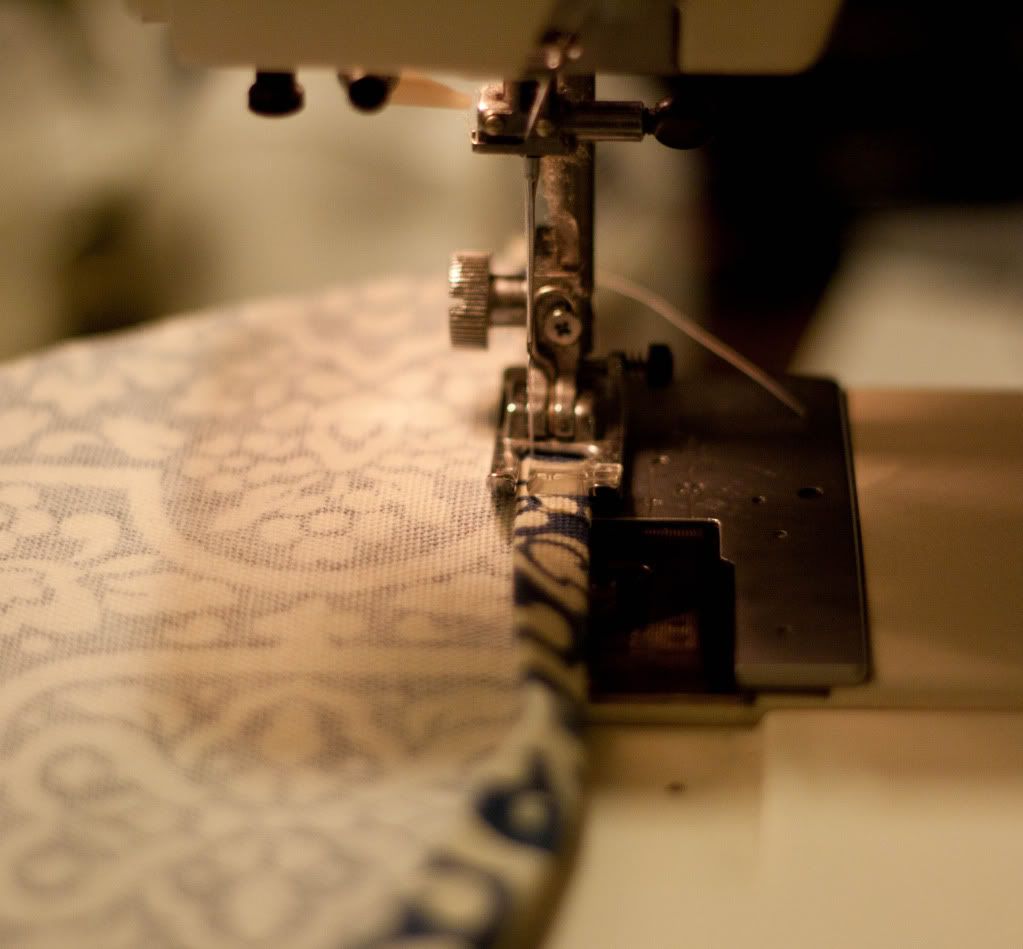
Then sew along the folded edges of each pocket.
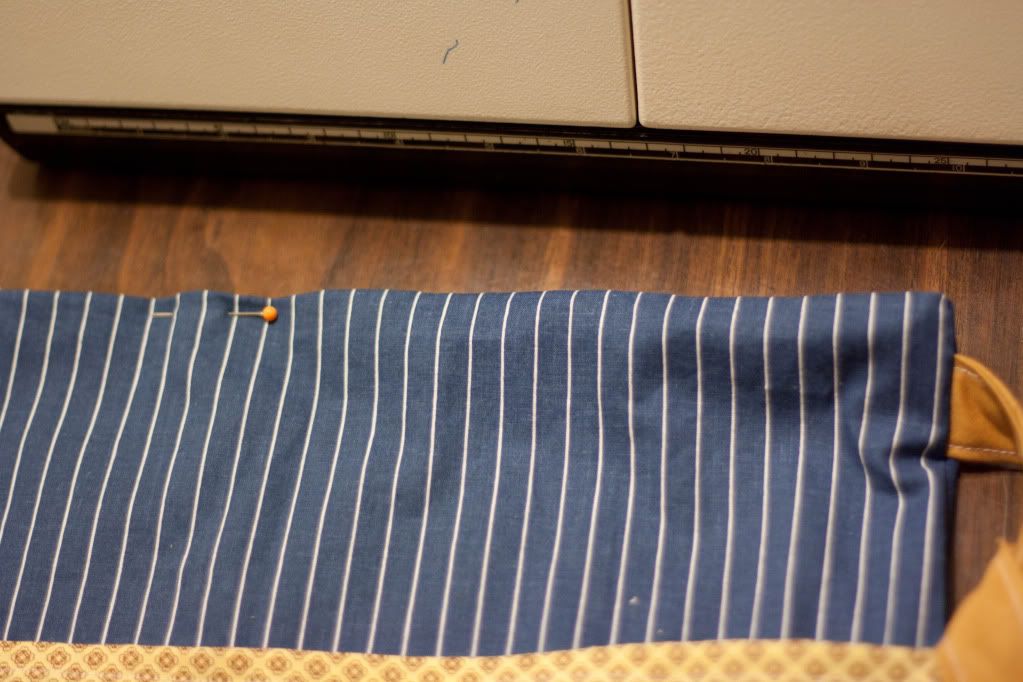
Once the top edges of the pockets are folded and sewn, lay them out on the main body piece lining up the bottom and curved edges. Pin the layers together.
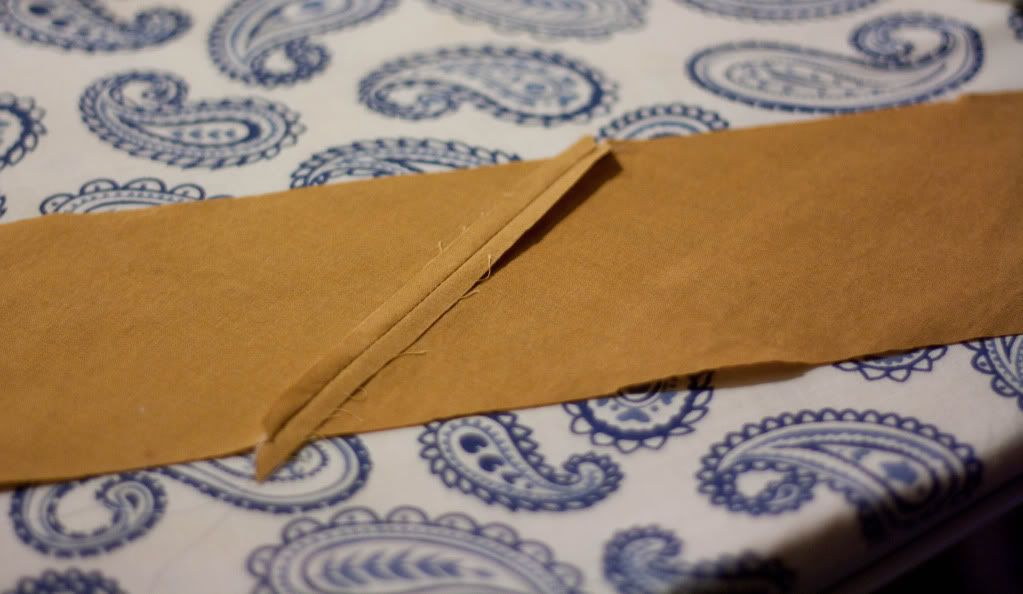
Now we're going to make the ties. Start by cutting some 4" wide strips of fabric diagonally on the fabric (there are good illustrations on how to do that here). You need about 80" of strips total to make the two straps. Once your strips are cut out, you need to sew them together end-to-end to make on long strip. Overlap the pieces (with right-sides together) like this:
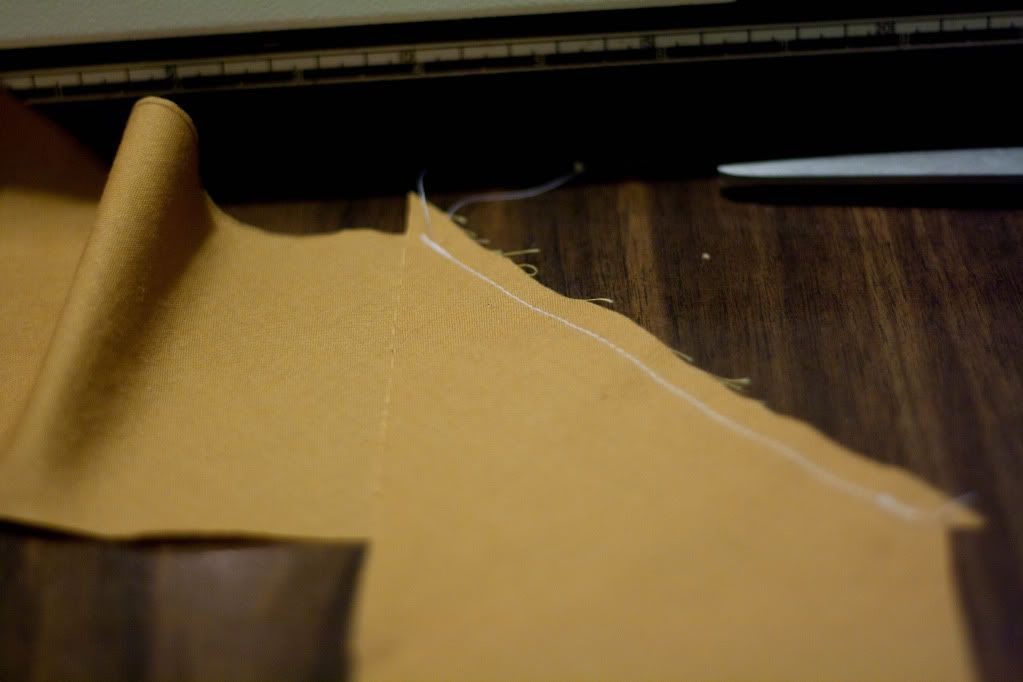
You want the tips of each strip to over hang about 1/4" so your strips will line up right later. Now sew a 1/4" seam along the overlapped ends. Then open the strap up and press the seam open. Repeat until you have and 80" strip.
Now fold the strip in half length-wise and press. Then open it back up and fold each side in to the center fold and press.

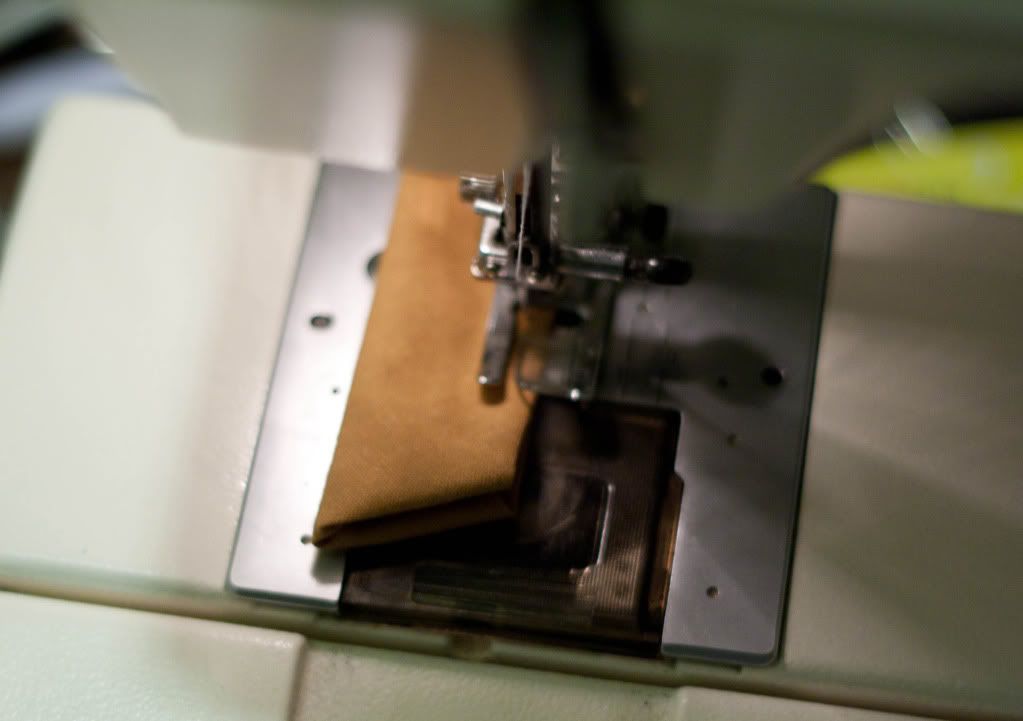
Then fold the strip in on the center seam again. Now cut your two ties from the long strip. I just cut mine in half to make two 36" ties and I kind of wish I had made them a little shorter! Now top stitch along the folded edges of one strap. When you get near the end, tuck it under at a slight angle as shown below. Continue top stitching around the end and back up the other side of the tie. Repeat with the second tie.
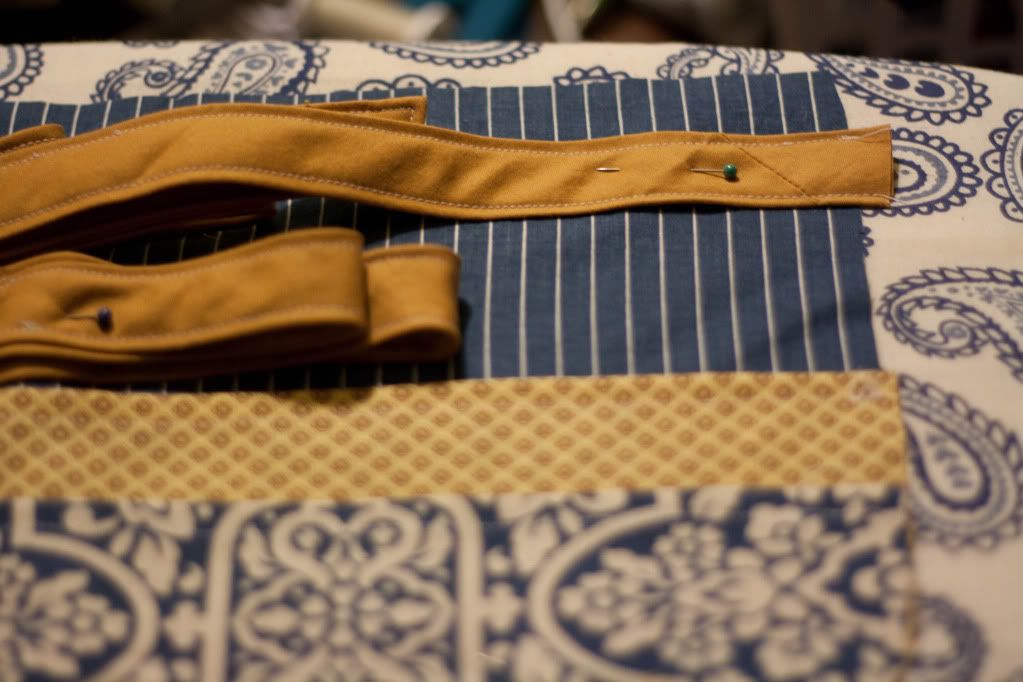
Now pin the straps in place on the main body. The straps should point in, with the unfinished ends overhanging the outside edge of the apron slightly. I set my straps down 1" from the top edge. Fold up and pin the finished ends of the straps so they won't get in the way when you sew the edges of the apron
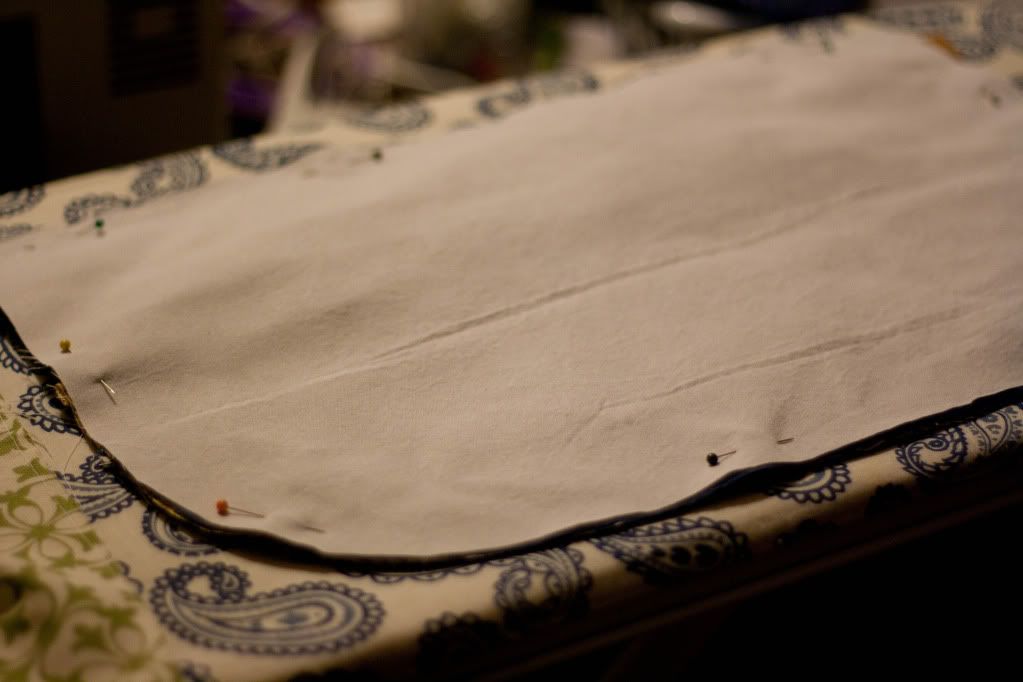
Now, on top of the body pieces and ties, lay the backing fabric face-down, then the stabilizing fabric on top of that. Pin around the edges. Then sew along the edges with a 1/2" seam allowance, leaving a couple inches of opening at the top for turning.
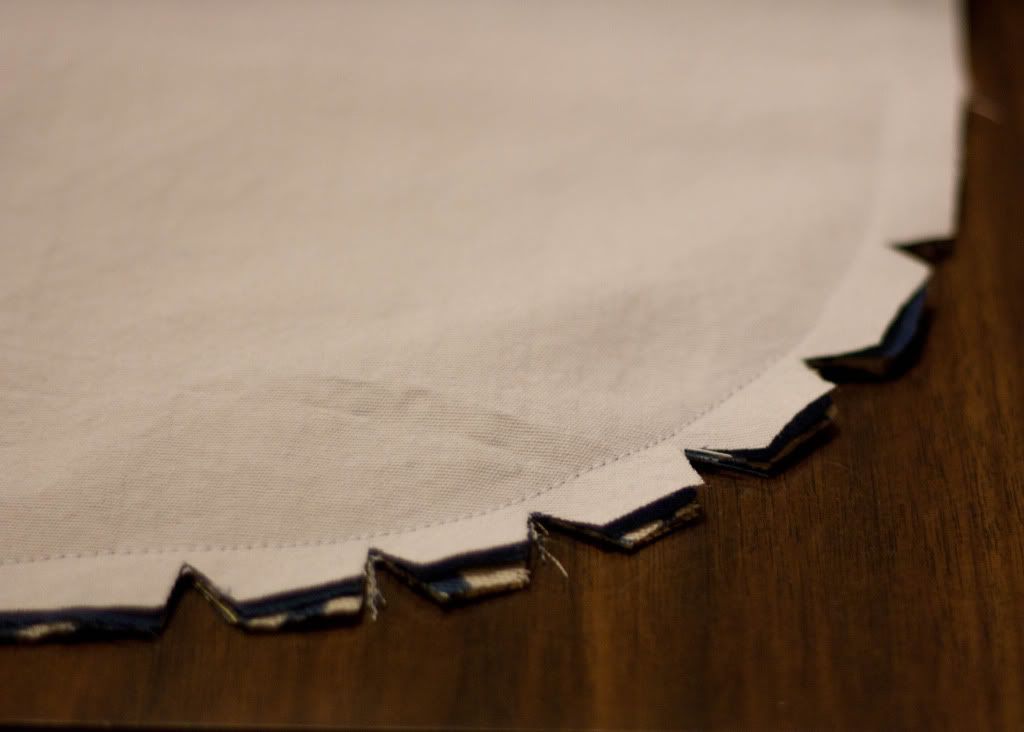
Clip the top corners.

And clip around the curves.
Turn the bag right-side out through the opening at the top of the bag. Push out the corners and the curves. Fold under the raw edges of the opening and pin it closed. Iron everything nice and flat and tidy. Then top stitch all around the edges of the apron with a 1/4" seam allowance.
Now we can divide the pockets. I split mine into four sections of different sizes. On the back you can see what sizes they are. I didn't measure or anything - I just did what seemed like it would work well. :)

To sew the dividers I just started at the bottom edge of the apron and stitched a line straight up to the top of the pockets through all the layers, back stitching at each end.

All done! That wasn't so hard, was it? Hopefully it all made sense. Let me know if you have any questions!
You can see here how the two rows of pockets work. Handy, no? The little narrower pockets are perfect for scissors or pens, the bigger ones can hold change, and the middle sized ones will be great for business cards or tape.
With Christmas right around the corner, this would make a GREAT homemade gift for all the crafty people on your list! Whether it's an artist, gardener, or seamstress, you can personalize the perfect apron!

Baby B wished he could go make one now.


Handy apron and I love the colors and patterns you chose! BTW, you should come to a craft show up north in Rockford...I know a place you could stay :)
ReplyDeleteYes please!!! Let me know if you hear of any. ;)
DeleteHow much of each fabric do you need?
ReplyDeleteI would get 1/2 yard for the body and straps and 1/4 yard for the pockets, just to be safe. You'll have some left over, but at least you won't run out. :)
DeleteThanks. That helps a lot.
DeleteId really like to make an apron like this but I'm confused on the patter?
ReplyDeleteHi! Which part is confusing?
DeleteI'm getting ready to sew up the folds of the tie but realize that after i sew up both side it will be open in the back. I folded in both side to the center but on the underside of the tie will be two raw edges loose. What am I doing wrong
ReplyDeleteYou fold the “bias” tape on itself & topstitch both side to finish ties before adding them to the apron. There will be no raw edges except on the very ends and that is sewn into the apron.
ReplyDeleteBest instructions yet and I'm a 74 yr. old sewperson. Thank you!
ReplyDelete