Showing posts with label crafting. Show all posts

Wednesday, December 20

Custom Keepsake Ornament Hack

Every Christmas we love to give each of our kids a new Christmas ornament to commemorate something from the year - a favorite toy, favorite activity, funny memory, etc. It's so fun to pull them out every year to reminisce! I know a lot of families enjoy a similar tradition, but today I wanted to share a simple little twist that can save time and money as you hunt down your own special ornaments.


So what's the twist? It's just this: you can make your own one-of-a-kind ornaments for next to nothing! Rather than trying to hunt down a mass-produced, overpriced keepsake, let me show you a few shortcuts to try first. You'll probably need a few simple supplies like eye hooks, ribbon, and glue depending on the ornament you are making. 

Monday, December 18

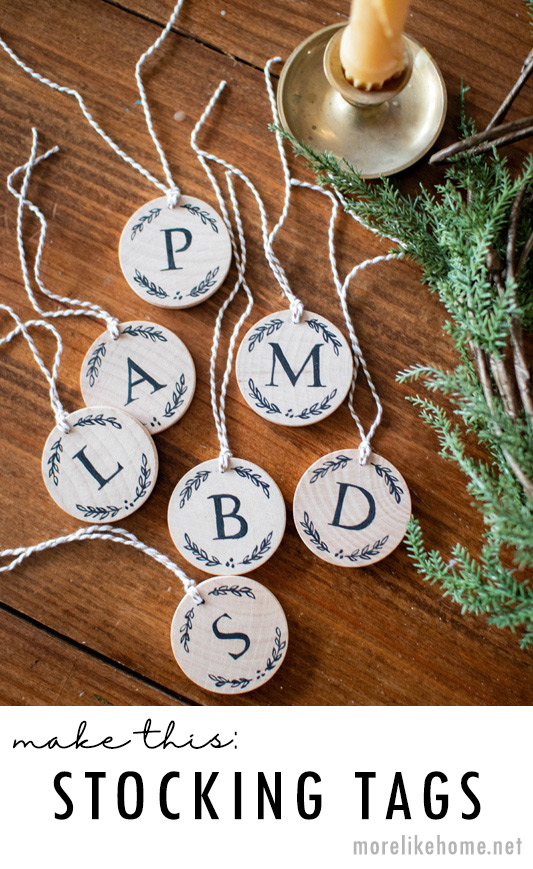
DIY Wooden Stocking Tags

I know, I know. I'm changing up the stockings again. Turns out I have a have a restless spirit when it comes to stockings - which you've probably noticed if you've followed me for more than one Christmas (you can read all about it and see my long stocking history here, if you're curious). But I would like to say, for the record, that this year I only added tags to the new stockings I made last year. So. That's something. 

Friday, December 15

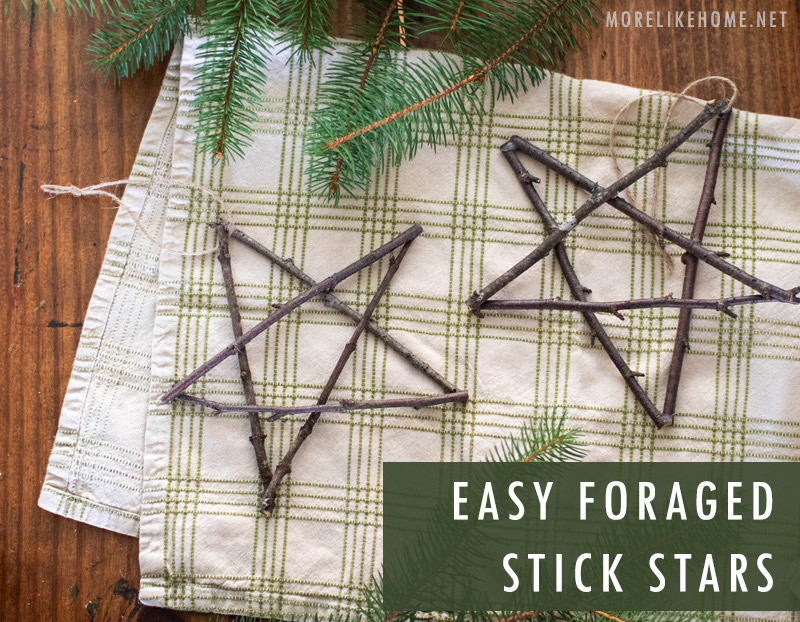
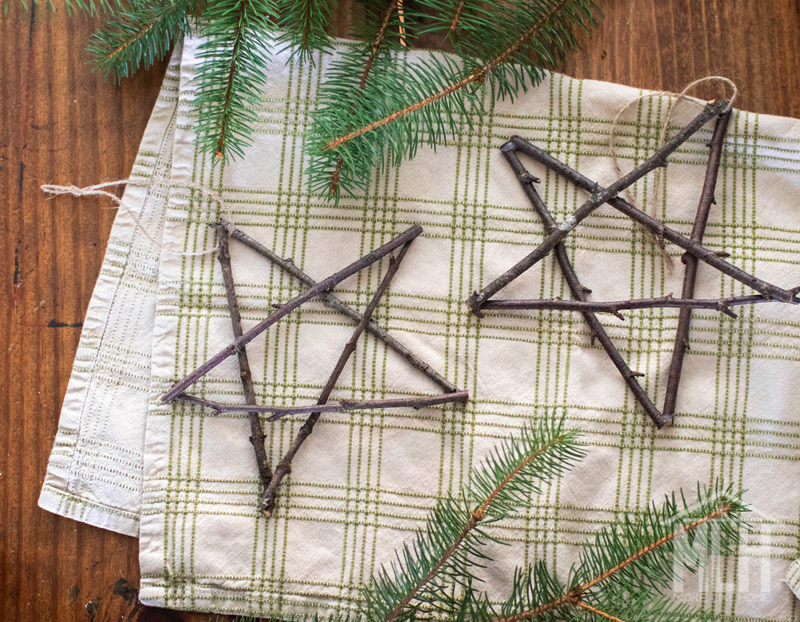
Foraged Stick Stars

This Christmas project is almost too easy to post. But it's a fun one that's super simple and cheap, plus collecting the sticks can be a lot of fun with the kids!

Wednesday, December 13

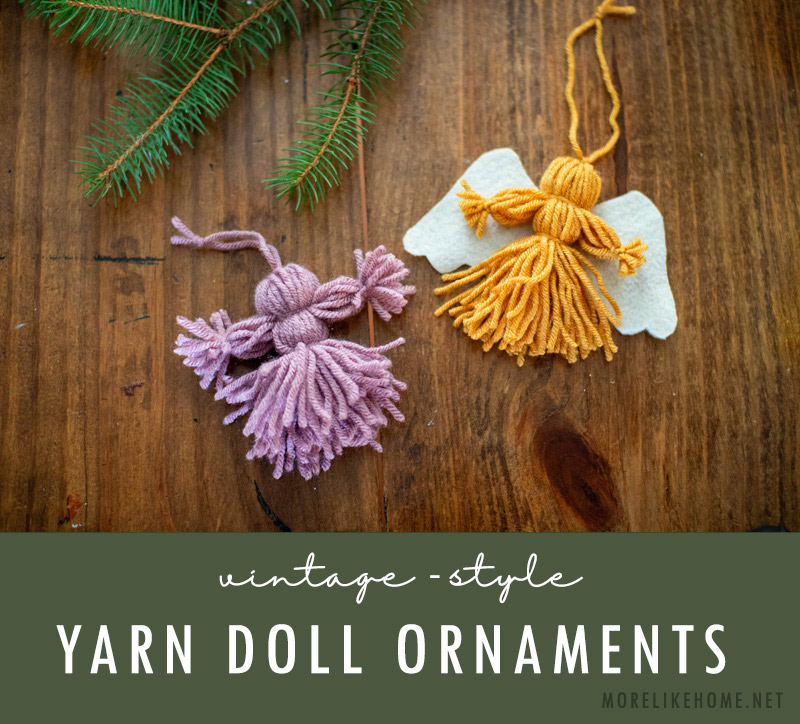
Vintage Inspired Yarn Doll Ornaments

This is easily my very favorite Christmas project this year. These little yarn dolls are the sweetest, and are a great way to share memories that will last a lifetime. And I love that they are ornaments the kids can actually touch and play with without hurting them. Anyone with small children knows the value of an unbreakable ornament!


But first, let me explain what I mean by memories that last a lifetime. Beyond the memories you will make with your kids that they will get to enjoy year after year. I remember visiting an older woman in a nursing home when I was very young, and when we visited she would give my sister and me yarn doll ornaments just like these. I don't know when it was or who she was, but that memory has stuck with me my whole life. In a similar way, I have an older, very dear friend who makes little angel ornaments that are crochet instead of yarn. She gave me one when I was younger, then surprised me with a second one when my oldest son was born. They are some of my most treasured ornaments. 

I say all of that to help us remember - little gestures can make a huge impact. And in this busy season it's good to remember to look out and see how we can be a blessing to others (it's so easy to forget that in all the holiday hustle and bustle). The smallest thing can make someone feel remembered and loved. Last year I asked my friend for a copy of her crochet pattern. Then I did a little digging to figure out how to make these yarn dolls. I hope to be the next generation ornament giver. To continue the traditions those ladies started. To give a tangible reminder to friends and family that they are loved and thought of. And I hope to bring my kids along with me. 

Friday, December 8

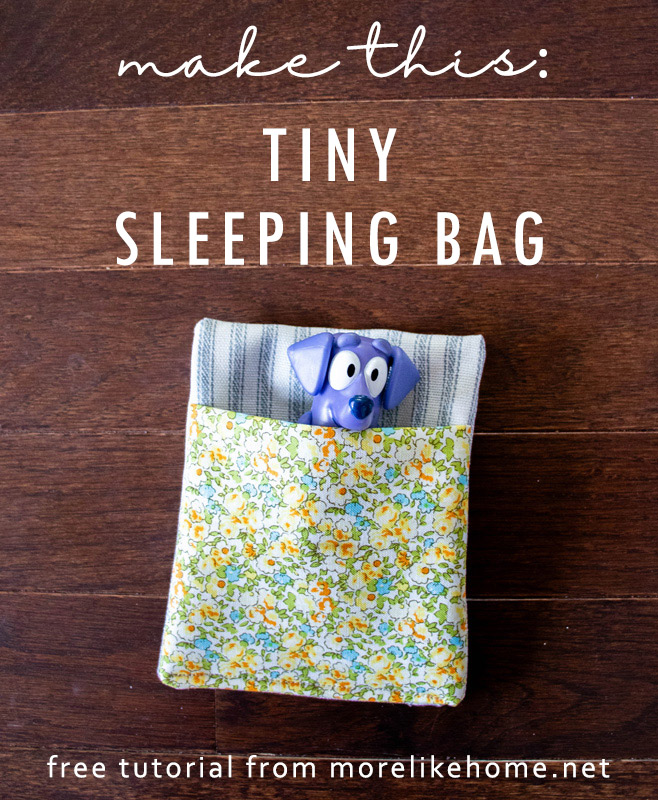
Tiny Sleeping Bag Tutorial (great stocking stuffer!)

Need a quick handmade gift that only takes a few scraps of fabric? I've got you covered! You can whip up a whole campground worth of these tiny sleeping bags in no time. And the small size = perfect stocking stuffer!

Tuesday, December 5

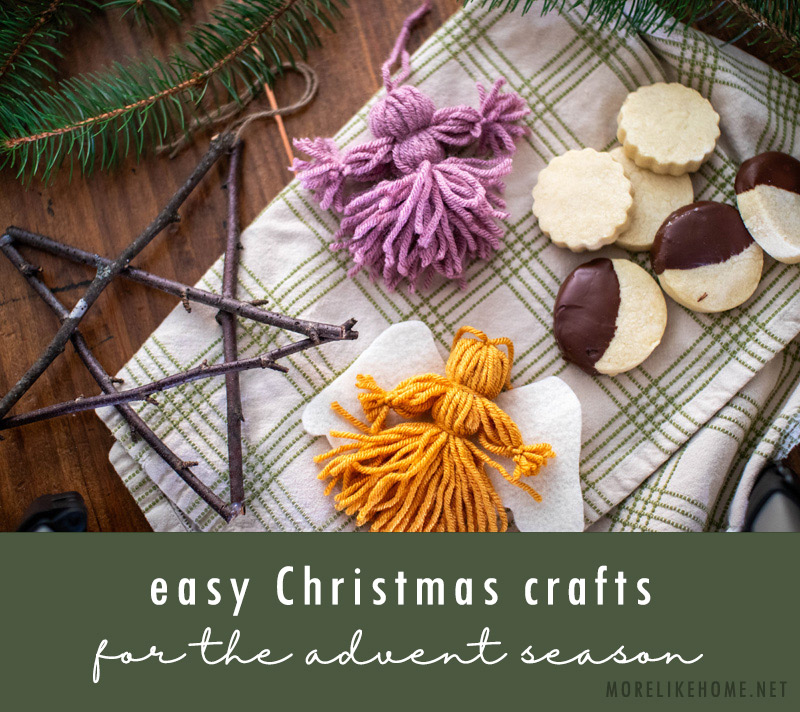
Easy Christmas Crafts for the Advent Season

Happy Advent season, friends! 

I’m always looking for ways to savor this season with my kids, strengthen family bonds, and ultimately point our children toward Christ. But for all the well-intentioned family advent plans out there, I can't for the life of me make it through one of them. Because here's the thing: I can't deal with anything complicated right now. Like, at all. I can't follow an extra advent schedule with projects and crafts and recipes every day. I can't spend time hunting down special ingredients or searching for unique craft pieces.  

But guess what? We don't need a fancy, fully scheduled plan to make the most of this season. We can fly by the seat of our pants and make the season magical and memorable for our kids in ways that work with our unique schedules and lifestyles, using simple items and ingredients we probably already have at home. And that's my goal with this little series. It's not a fully guided advent plan by any stretch, but it is a collection of projects and recipes that are simple, low commitment, and fun, that can be enjoyed with your family. Feel free to use them as you see fit - whenever you find a pocket of time and want to fit in a little Christmas magic. 


As you complete these projects with your family, please don't overlook the most important part of any advent celebration: Christ. There is no project on this list that is more important than teaching your children (or grandchildren) the true meaning of the season, the gospel, and all Christ has done for us. If you have time for only one advent "project," make it reading the Bible with your children. There are all kinds of advent reading plans out there, but, again, it doesn't have to be complicated. A great option is just reading the book of Luke. It has 24 chapters so it works out perfectly to read a chapter per day throughout December leading up to Christmas. Or, if you have younger kids, you can grab a reliable Children's bible and start reading through the New Testament passages with them (but don't ever discount the importance of reading from the actual Bible or be afraid to do it with younger kids - they understand far more than we give them credit for). 

With that said, many of these projects can work really well hand-in-hand with your scripture reading to make a pretty complete (but very chill and super flexible) advent "plan." I recommend starting with the playdough because you'll be able to use it all season! It's great for keeping little hands busy while you read, and older kids might enjoy sculpting what you are reading about. The recipes can be used in a similar way - enjoy making them with the kids, then sit down and read to them while they enjoy the treat. (It's so much easier for them to sit and listen when they have cookies to nibble or cocoa to sip! A warm cup of tea works in a pinch, too!). If you have bigger kids, they can work on the crafts or recipes while you read to them. And the yarn doll ornaments can be especially fun - they can double as, well, yarn dolls that the kids can actually play with while you read. Have fun with it, and remember that nothing will go perfectly and it's ok!

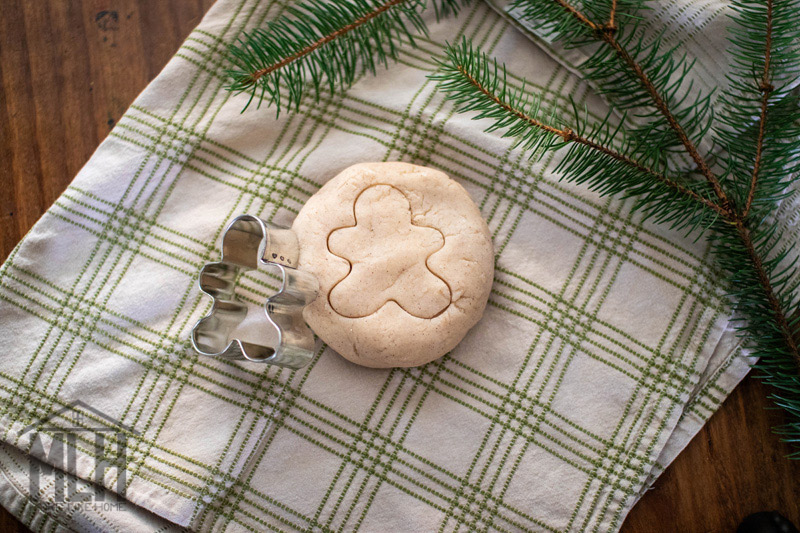
Gingerbread Playdough

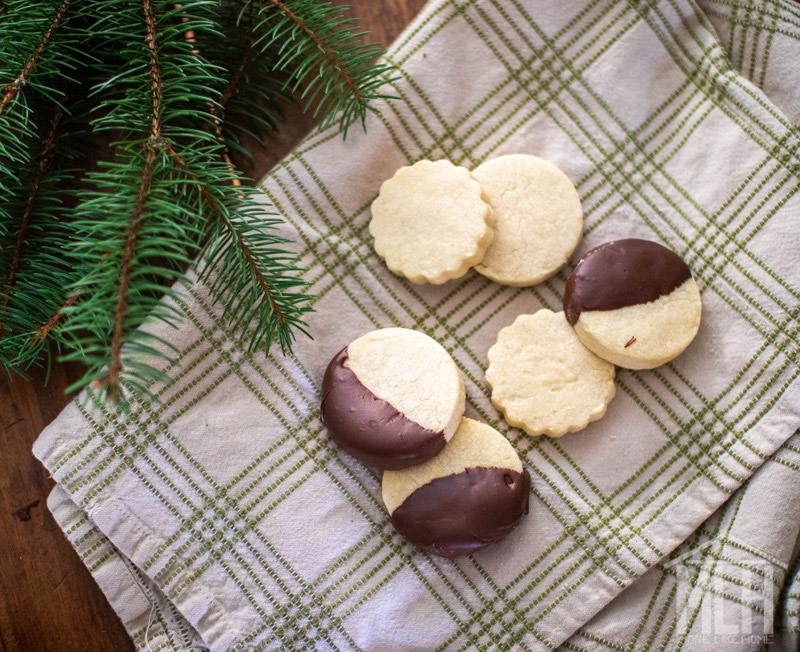
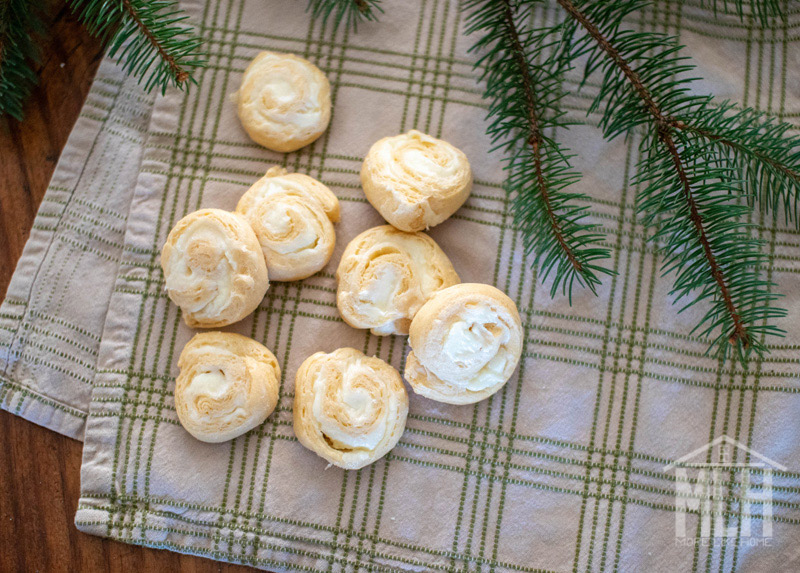
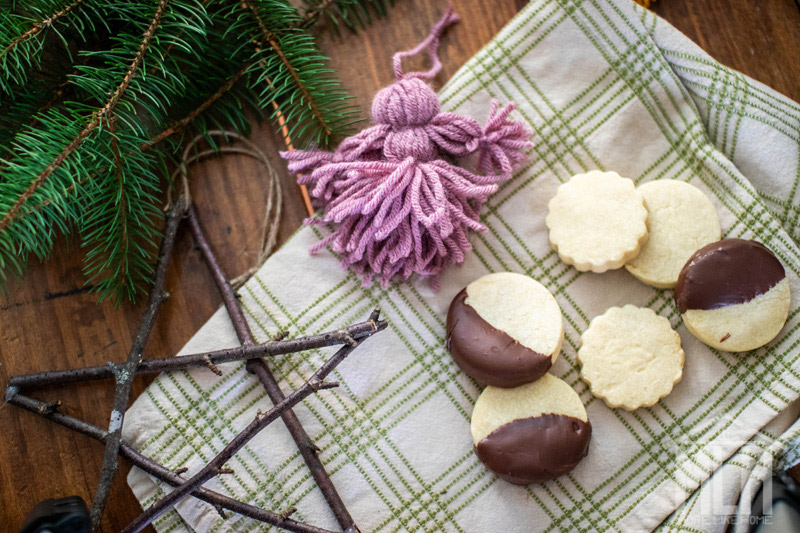
3 Ingredient Shortbread Cookie

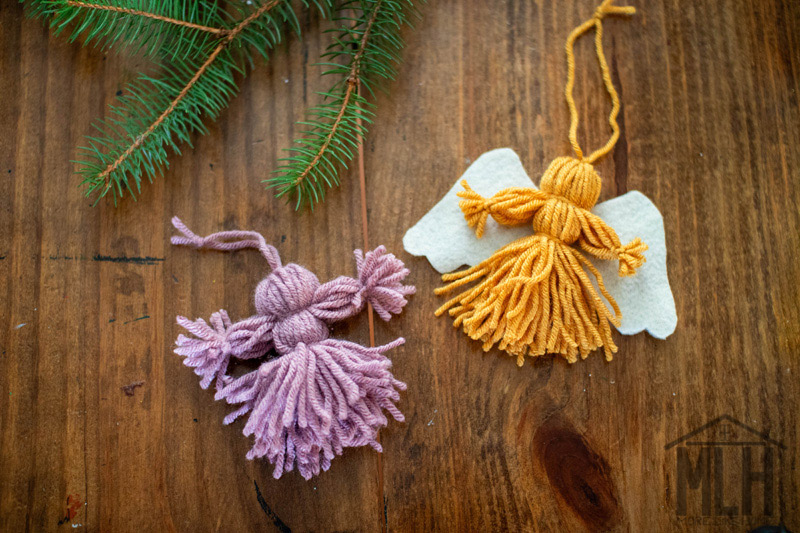
Vintage Style Yarn Doll Ornaments


Check back soon - I'll add more projects as I get them posted!

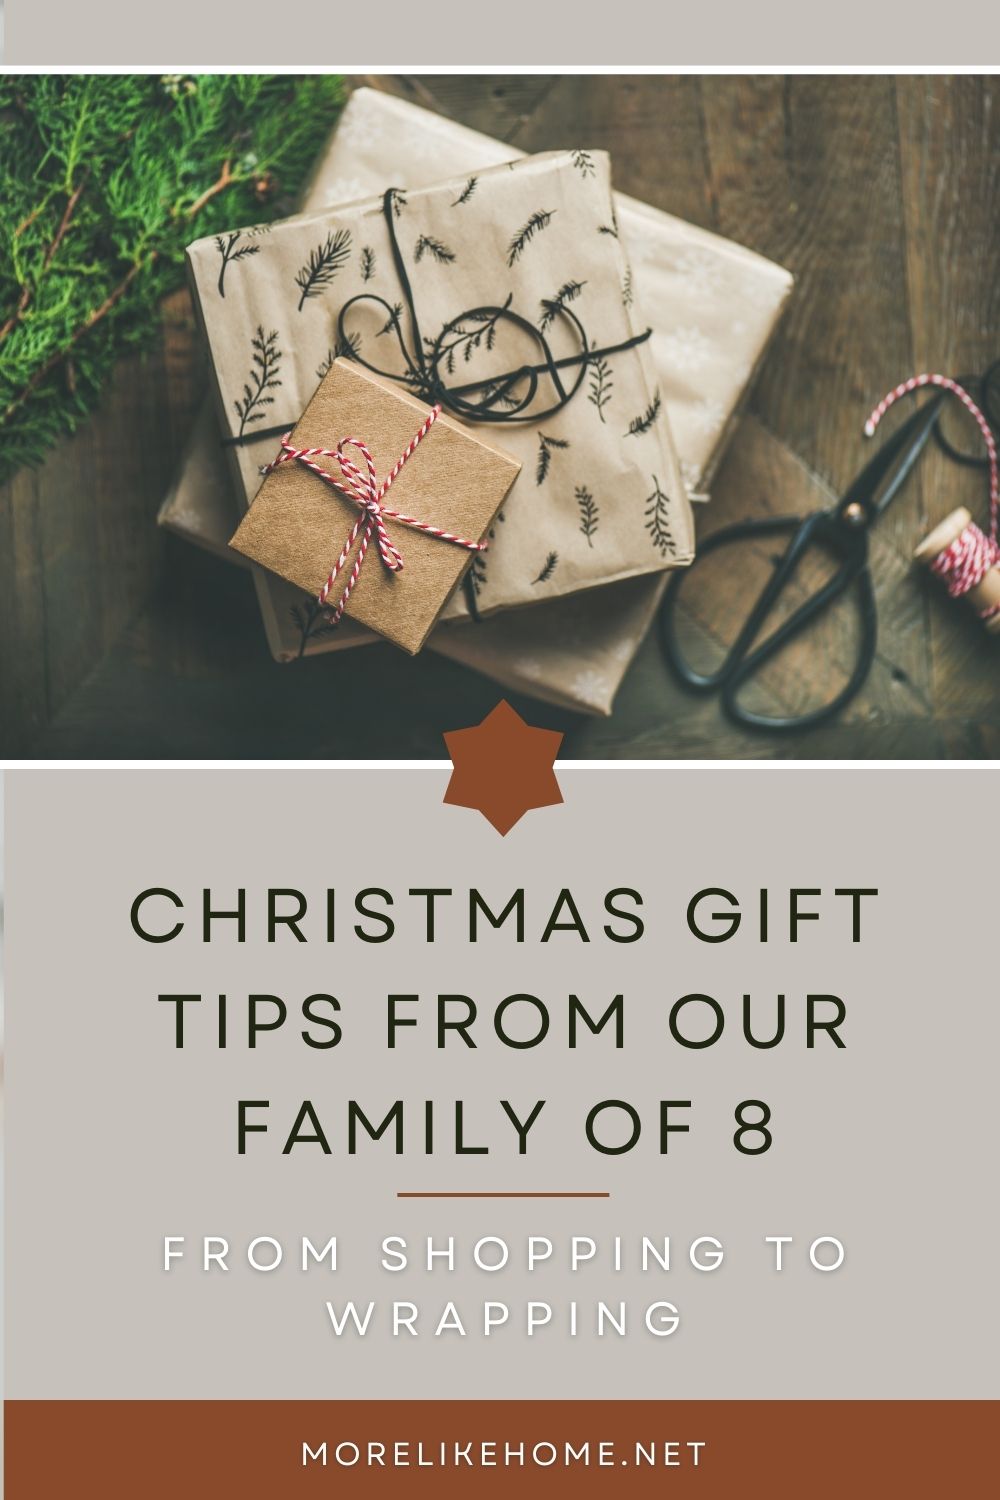
For more Christmas tips, check out the post below with all the info about how our family of 8 does Christmas gifts: how we plan, sibling gifts, a fun wrapping hack, what we actually bought for the boys last year, and more!


I'd love to hear your favorite advent crafts, recipes, or traditions!

Monday, September 20

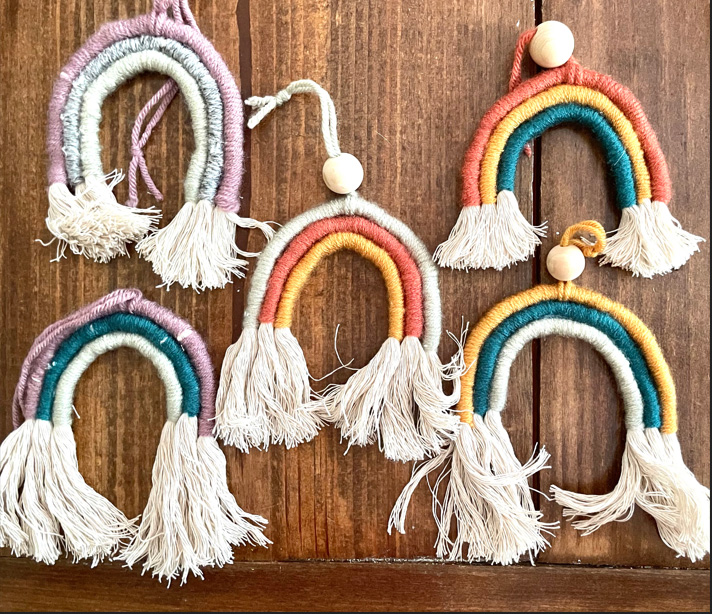
Macrame Rainbow Tutorial

My sister and I put together some fun little macrame rainbow kits for a local craft fair, and I thought I'd share the instructional video with you guys, too, so you can make your own! 

You may not have a kit, but you only need a few simple supplies to make your own at home - and you can make it any size you want, with as many colors as you want! Get creative and have fun!

Here's all you need to make your own:

  • soft rope that frays easily (I love the "nautical rope" from Dollar Tree)
  • 3 colors of yarn (or more if you want more bands on your rainbow!)
  • a wooden bead (optional)
  • hot glue gun
  • scissors
  • ruler
  • fork
And here's the video instructions:


If you follow the instructions exactly, you'll end up with the cutest little ornament-sized rainbows that will make sweet little Christmas gifts! Yep, I said it. #itsnevertooearlyforchristmas 

Have fun, and let me know if you give it a try! :)

Monday, December 21

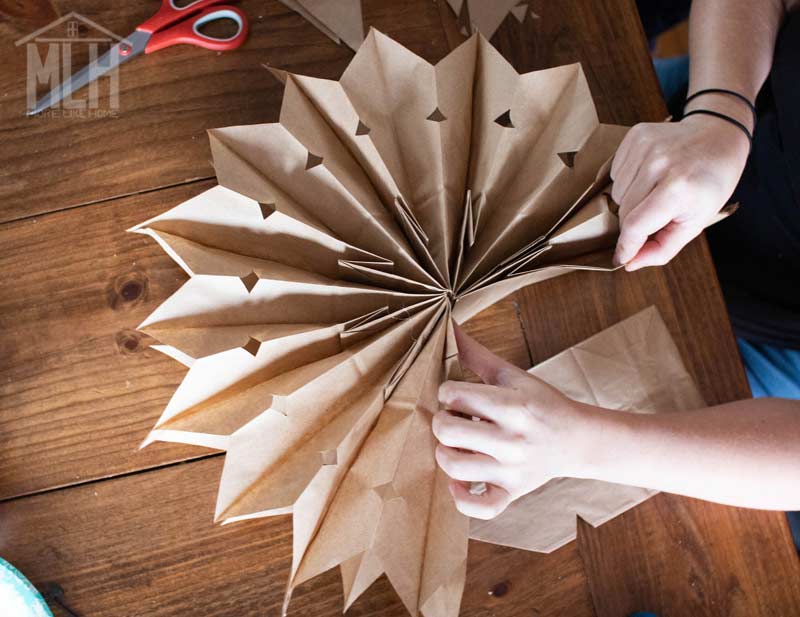
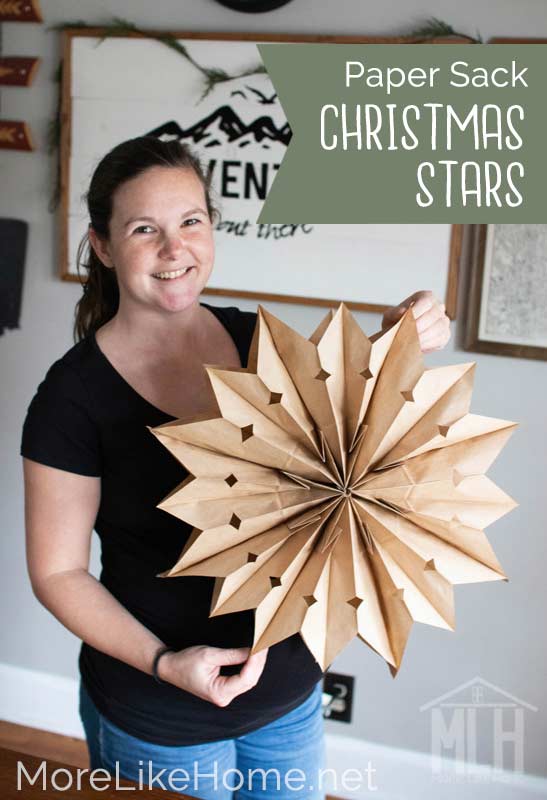
DIY Paper Sack Christmas Stars

Hey peeps, I've got a super easy Christmas craft for you today! We're going to make these giant paper Christmas stars: 


And the best part? This project only takes about 10 minutes and costs only $1.00! It's a great way to make a big impact with limited time and budget, and it's super fun to do with any kids who are able to use scissors on their own. We've been hanging these all over our house this week!

Here's all you need to make your own:

  • 7-8 paper lunch sacks (you can usually get a pack of 40 at Dollar Tree!)
  • scissors
  • hot glue gun
  • string or yarn (you might be able to find string at Dollar Tree, too!)

Thursday, December 10

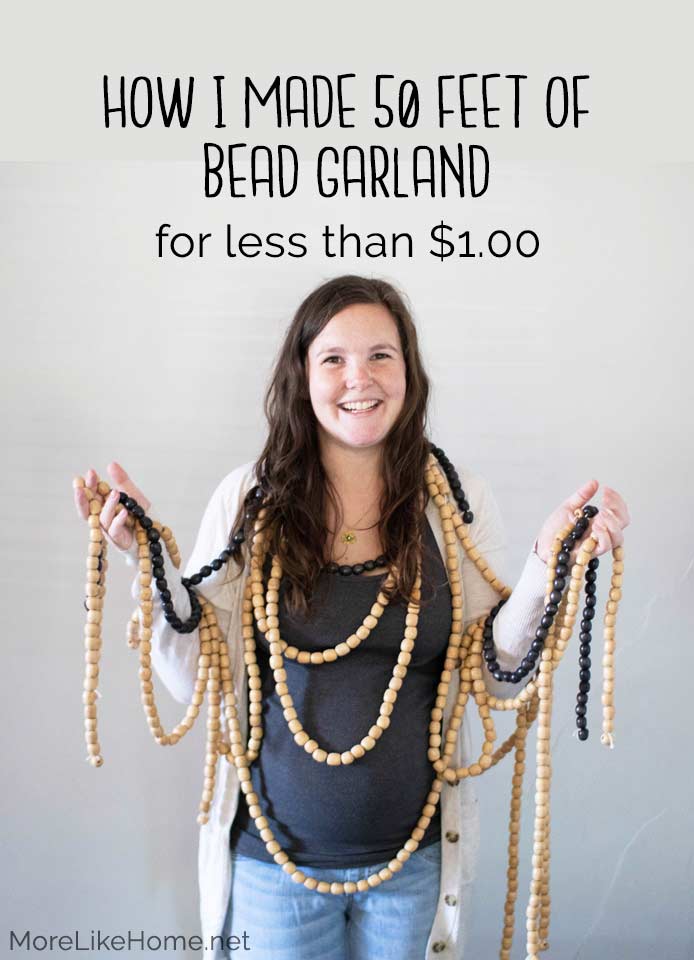
How I Made 50' of Beaded Garland for Under $1!

Bead garland is one of my staple Christmas decorations. I can't get enough! But I know it can be pricey to buy up enough of it to really make an impact, let alone cover a single tree. In fact I spent several years slowly building a collection of red beads by purchasing a strand or two at a time during after-Christmas clearance sales. I even looked into buying beads to make my own garlands and couldn't find a way to do it that was cheaper than the Christmas clearance bins... until this summer when I stumbled across what might be the greatest bead garland hack of all time. 

It's true, guys - I made over 50' of DIY bead garland and spent less than $1.00 on the whole lot. Thanks to the magic of yard sales and a little creativity! 

Saturday, March 14

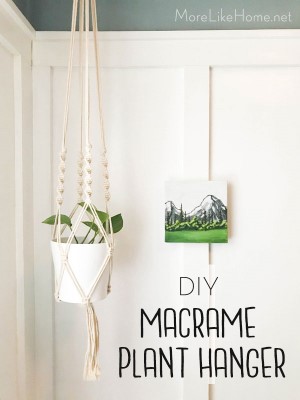
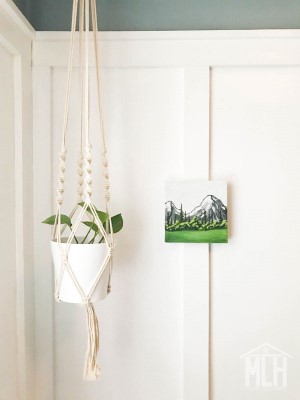
DIY Macrame Hanging Planter (30 minute project!)

We've been talking about plants quite a bit lately, so today I'm going to share one of my favorite ways to display my little plant babies - in a sweet macrame plant hanger! And I'll even teach you how to make your own in 30 minutes for just a few dollars.

Check out my favorite (easy) houseplants here.
And how I propagate those plants to get more plants for free here.


Check out more DIY decor ideas here!

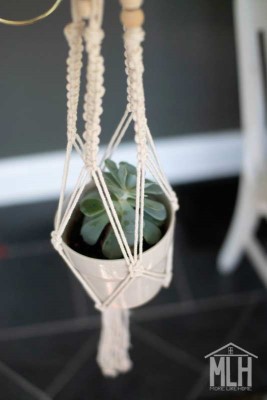
Macrame is making a comeback, and it just shines in hanging planters. And it turns out macrame is a super-fun craft! There's something peaceful and therapeutic about the steady repetition of tying knots. And that's basically all macrame is. If you can measure and tie knots, you can make this planter! It's an easy hobby to pick up and creates a beautiful end results (you might just end up making them for all your friends this Christmas!).


Today we'll be making a basic macrame plant hanger, and I'll give you a couple easy options to customize the style. You can stick with spiral knots like the one above, or use square knots like the planter below. I even added wood beads to this one and I love how it turned out!


Sunday, January 26

Planning DIY Built-Ins

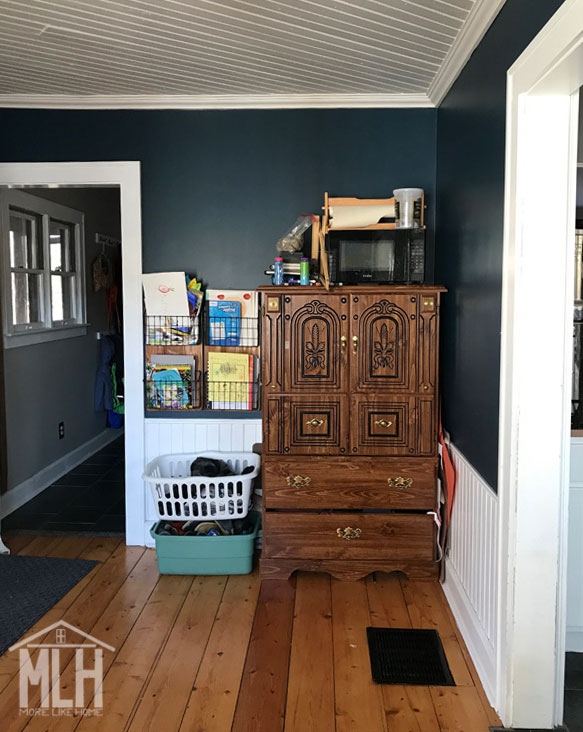
Our first project of 2020 is all about bringing more storage and better organization to one of the most under-used spaces in our home. Because the best way to turn your house into your home is to make it work for your family - and this room definitely isn't doing that. Yet.

We have this little nook of our kitchen - it's probably supposed to be a breakfast room or something fancy like that. But, alas, we are not fancy folks. And I have no interest in a breakfast nook, because we eat breakfast at our big farmhouse table. So I toyed with a few other ideas for the space: a playroom (but we don't have that many toys and don't need another room for them), a homeschool room (I actually set it up for this for awhile, but we always end up in our cozy library/office for homework), and a craft room for the kids. So far, the craft room is the thing that seemed to stick. I'm a crafty mom and I have so far produced three crafty kids (and I expect the fourth will follow his brothers), so we have no shortage of art supplies and half-completed projects. But we do have a shortage of storage space and organizational genius to corral those things. Hence our first project of the year:

We're building DIY built-ins!

Storage that's not working for us.

Thursday, November 21

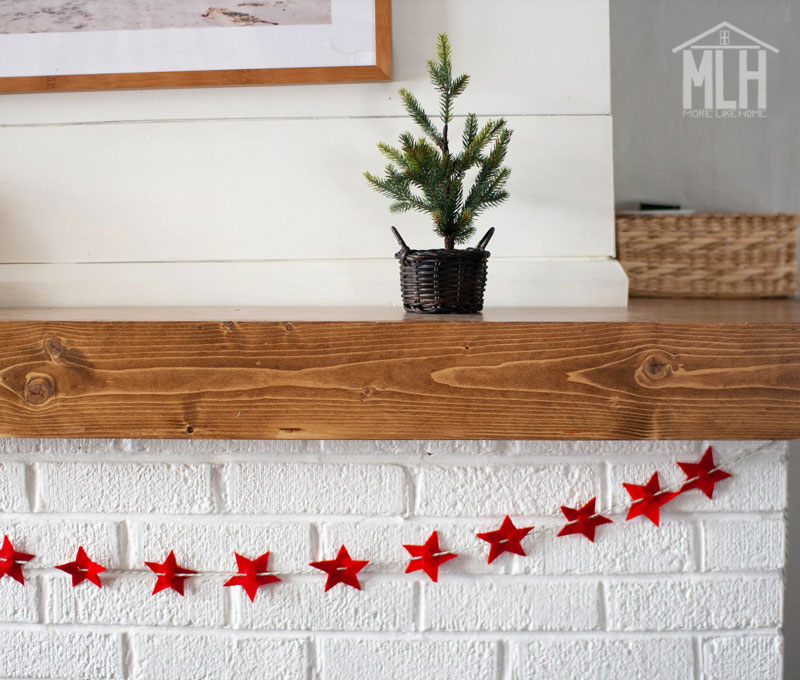
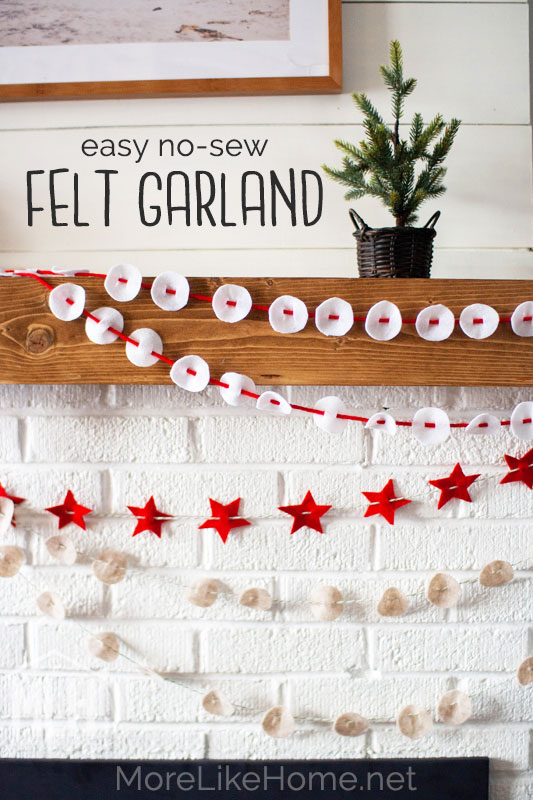
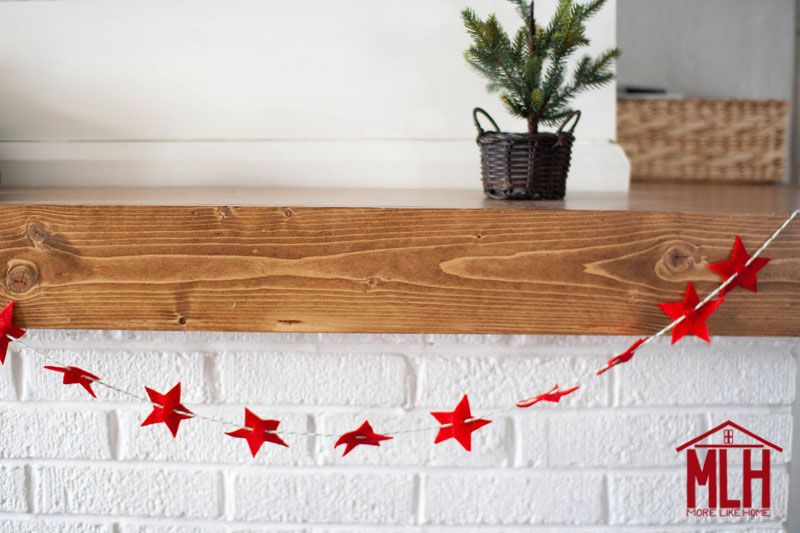
No-Sew Felt Garland

There's something about Christmas that brings up nostalgia in all of us. We look to our traditions and savor the memories of each Christmas treasure as we pull them from their boxes. And there's something even more special about the handmade Christmas things! So today I'm sharing a project that will bring out the very best parts of Christmas . You'll be making your own Christmas treasure that your family will treasure year after year. It's a cozy handmade felt garland, and it's so easy you can even make with the kids!


My sister taught me to make these garlands last summer on our family vacation and now I can't-stop-won't-stop. They are so easy easy to make because they require absolutely no sewing!


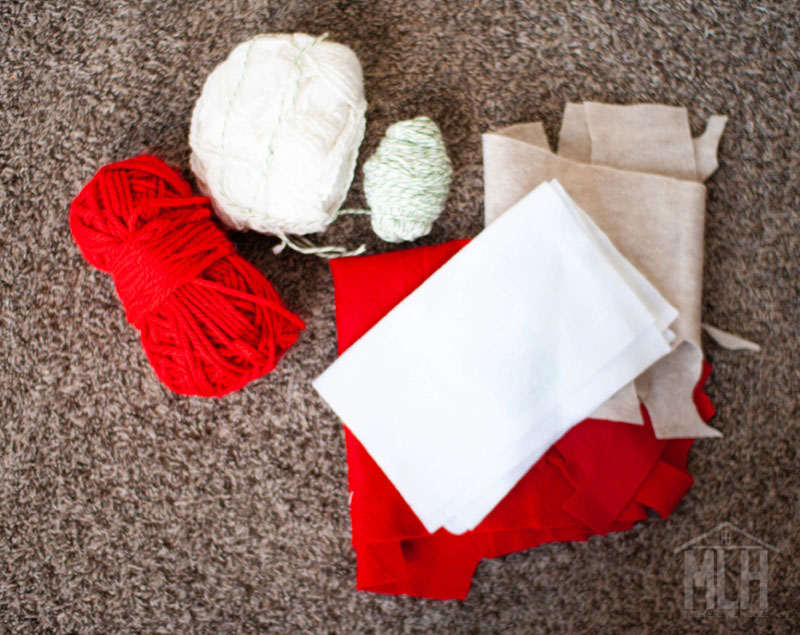
Here's all you need to get started on your own:
  • felt
  • yarn
  • fabric scissors
Seriously, that's it. I used mostly reds and whites to make Christmas garland, but you can use any colors you like! Ready for the super easy steps?


Thursday, November 14

Easiest DIY Pillow Covers

Today we're going to look at a super quick and easy way to refresh a space... that also happens to be a great way to increase your holiday cheer factor. I'm talking about swapping out your pillow covers! And today I'll even show you the easiest way to make your own.


Pillow covers are one of my favorite ways to refresh a room, but did you know they're also one of the best secret weapons in seasonal decor?
  • They take minimal effort to switch out, but make a huge impact.
  • They take almost no space to store in the off-season.
  • They are easy and affordable to make!

Thursday, November 7

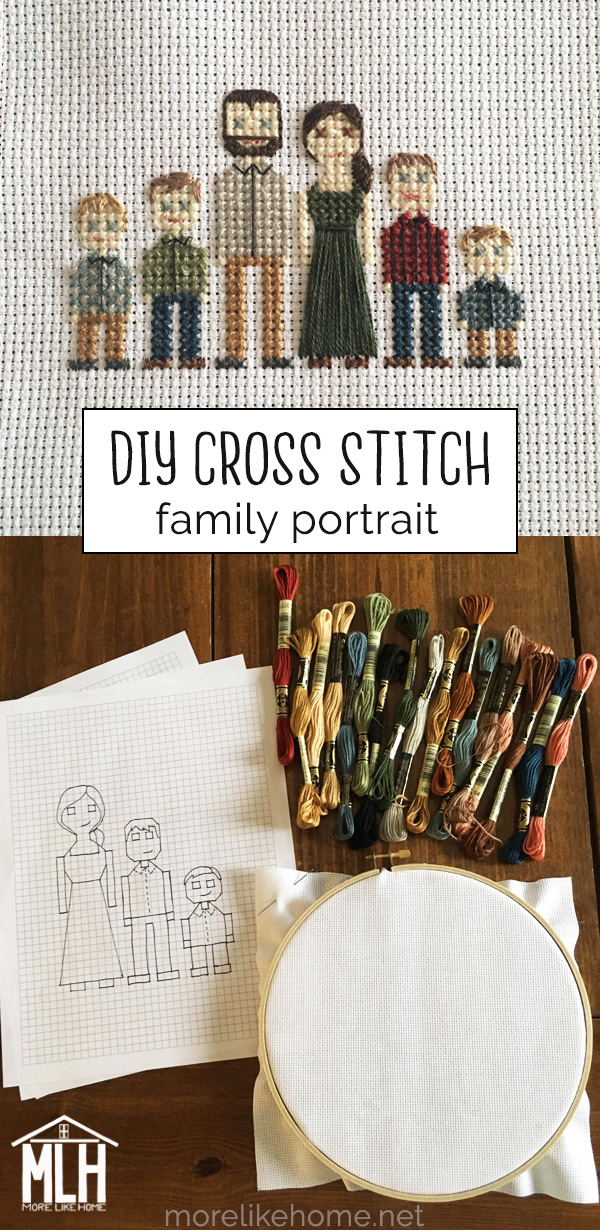
Cross-Stitch Family Portrait Tutorial

It's been a long time coming, but I'm finally putting together a tutorial for the cross stitch family portrait I shared on Instagram! If you've never tried cross stitch before, you're in luck. It's just about the easiest needlecraft out there. Seriously, my 8-year-old can do it. It's a perfect way to snuggle up and relax on a chilly evening, and make something beautiful at the same time.


These family portraits are easy to make and easy to customize for your own family! And they are officially the first post in my 2019 Christmas Series because they make such amazing gifts for friends and family. (I just saw a cross-stitch house and I'm planning to give that a try next that would also make a great gift!).


You only need a few simple supplies to get started with cross stitch, so it's a great hobby if you have limited storage space. Here's all you need (all from the same aisle at your fave craft store):
  • an embroidery hoop (The size depends on the size of your project. I used a 6" hoop for this portrait but could have gone smaller.)
  • cross-stitch fabric (I buy the rolls and cut it up for multiple projects)
  • an embroidery needle (larger than a standard sewing needle)
  • embroidery thread (whatever colors you need for your project)
  • a pattern (you can download my family portrait patterns, buy patterns in-store or on etsy, find free patterns on pinterest, or draw your own!)

Sunday, August 19

DIY Pinata - Our Birthday Tradition

If you read our post last week about how we do birthdays, you know that we love a good pinata in this house. And by that I mean a free, amazing, whatever they come up with pinata. So today I just wanted to give you a basic idea of how we make them, so you can go forth and make whatever your kids dream up.


Did you guys do paper mache growing up? Because that's all this is! All you need are balloons (or thin cardboard from a cereal box if you need square shapes), newspaper, flour, and water. Plus any paints and decorations you want.

Start by making your pinata form with balloons or cereal boxes. Don't use anything thicker than that or you won't be able to break the pinata when you are finished! Just do your best to make the basic shape of your item. Here are some examples:
  • Death Star - one large punching balloon (easy!)
  • Ninja - two regular balloons taped together with one blown up slightly less for the head (construction paper arms and legs added at the end)
  • Long Neck Dino - two regular balloons taped side by side for a long body, a small balloon for the head, and a paper towel roll for the neck (we added construction paper legs when it was done)
Tape a loop of string to the form that you can use for hanging it when you are done. If you can loop it all the way around to the bottom that will give you the best hold.

Tuesday, November 21

Wooden Peg Nativity {Chrsitmas Crafting Party}

Our Joseph had a little mishap last year that ended with a missing hand... and a realization that the ceramic nativity set needed to be farther out of reach. So I knew this year we would need a nativity that could safely be in reach of all those little fingers. Something they could play with (and drop) all day long without broken pieces and sharp edges.


Our boys loved the peg camping set I made a few years ago (and it's held up great all this time), so it seemed like the perfect place to start our new nativity.


I wanted all the parts of the Christmas story, so I made a set that includes Joseph, Mary, baby Jesus, their donkey, an angel, stable animals, shepherds with sheep, and wisemen with a camel.


I even found this perfect little wooden box at Michaels that stores all the pegs and doubles as the stable when you're ready to play!

http://www.morelikehome.net/search/label/Christmas

Monday, April 17

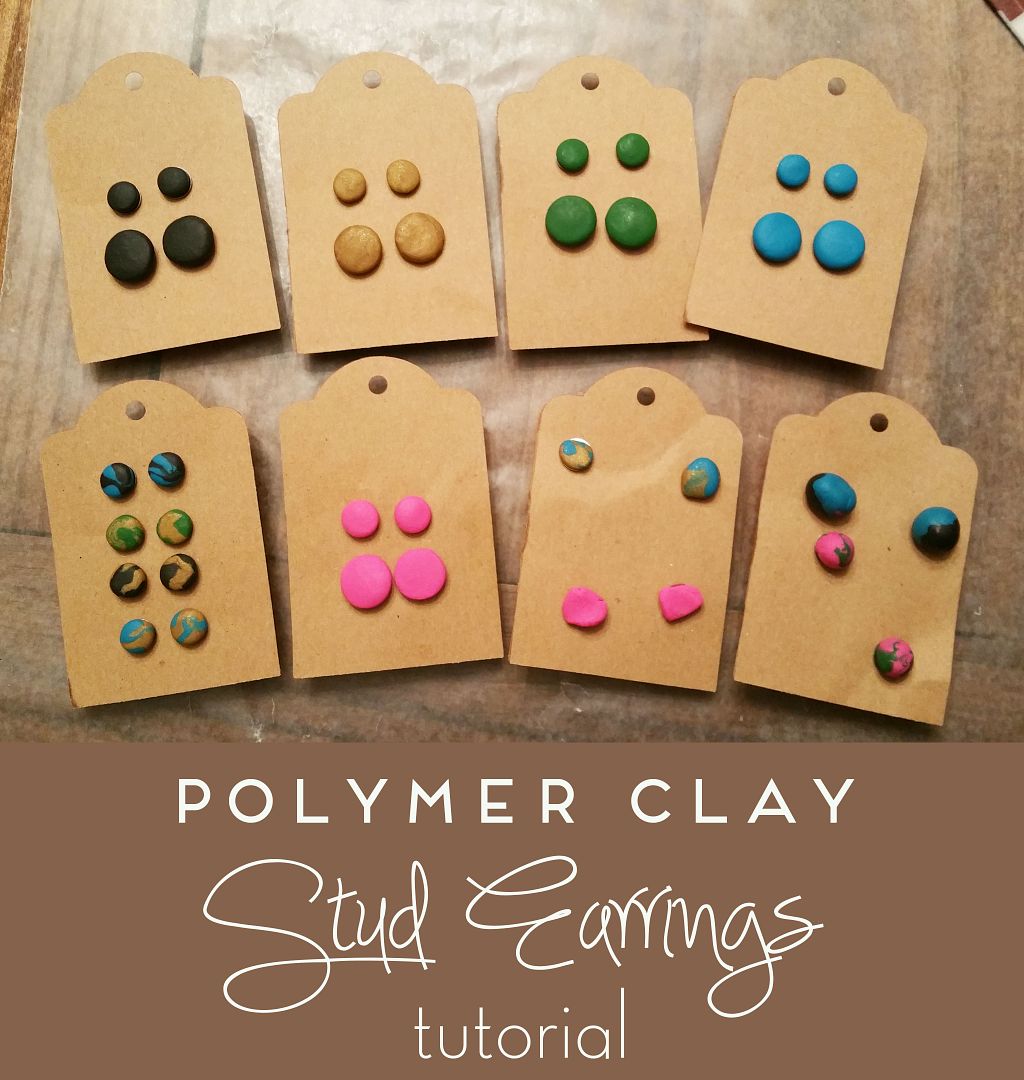
Polymer Clay Stud Earring Tutorial

Flashback to last Christmas: I'm hunched over my laptop, scouring the interwebs for a pair of "solid color flat circle earrings." It's my sister's Christmas list request. And for the life of me I can't find a pair under $25. As I sat there searching, all I could think was, "There has to be a way to make these."


And sure enough, there is way. It's much cheaper than $25.


These are so easy to make. This is all you need:
  • polymer clay - we used black, gold, green, teal, and pink (you can get them for about $1 at craft stores with a coupon, or order a multi-pack of 24 colors for $10 on Amazon)
  • super glue
  • earring studs and backs (I order them from Crafty Mountain on Etsy)
I used brown cardstock and a tag punch to make display-style cards for earrings, but it's definitely not necessary.


Wednesday, March 8

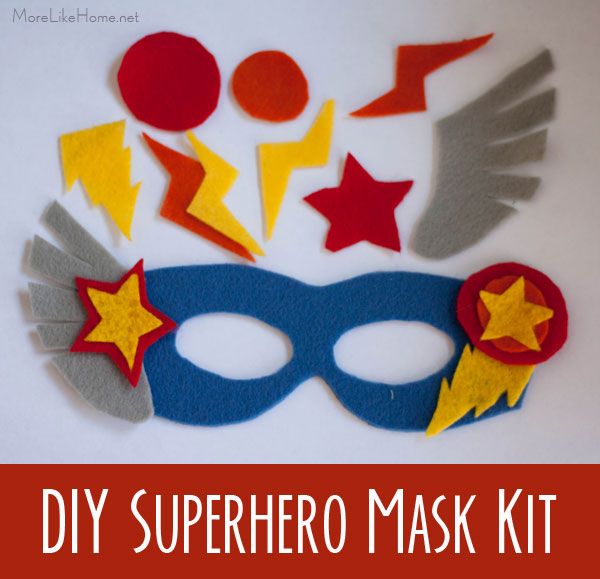
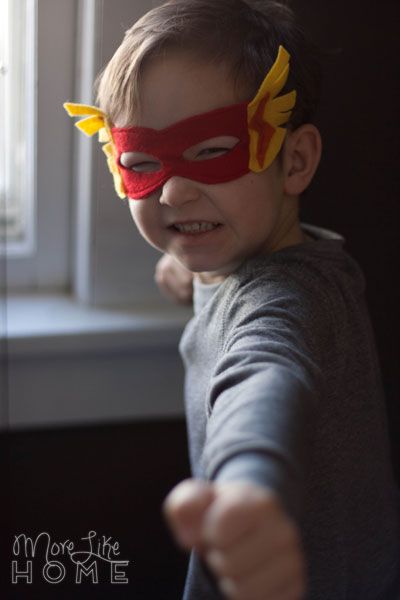
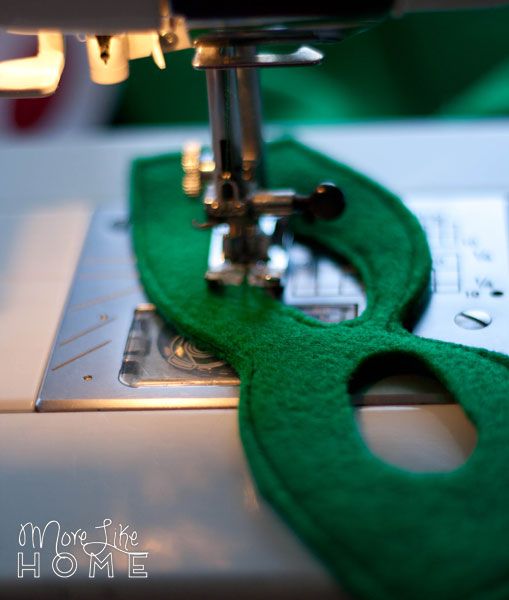
DIY Superhero Mask Kit (and princess mask kit)

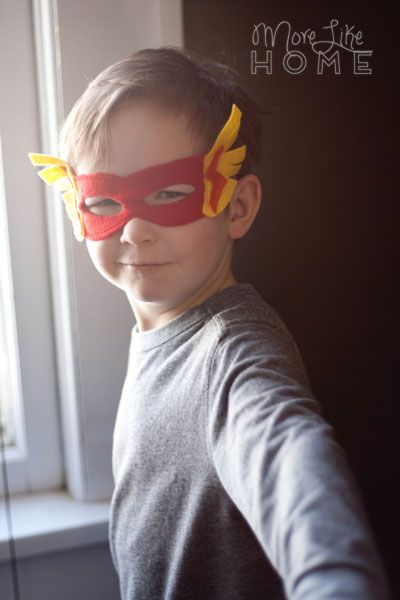
It's been a mild winter, but a winter nonetheless. And winter is the best time for cozy indoor projects with the kids. Especially projects that use creativity, and that they can play with for hours afterward. Like a DIY superhero mask kit. Last Christmas we were looking at craft kits to give as gifts to a few kids on our shopping list when I came across a line of mask kits (superhero masks, princess masks, and animal masks). They were perfect for the kids we were shopping for... but they were $20 each. And I had a whole box of felt scraps in the closet. 


So I pulled up a mask tutorial I'd found on pinterest, and with my box of felt and a pair of fabric scissors I whipped up our own little mask kits! Our little superheroes were thrilled. (we also made a princess kit for the girls)


Here's what you need to make a mask kit:
  • the mask pattern
  • felt in a few coordinating colors
  • 12-14" of 1/4" wide elastic (12" worked for my 3-year-old, but it was a bit snug for the 5-year-old's high-percentile head size. It pulls the eye holes a little flat and makes them harder to see out of.)
  • fabric glue
  • glitter glue (optional)
Start by making the basic mask. Cut out two matching mask pieces (you can download the superhero mask and princess mask patterns here) from your main felt color. Stack the pieces on top of each other and sew around the outside edges and the eye openings. This makes a sturdier mask than a single layer.


Wednesday, March 2

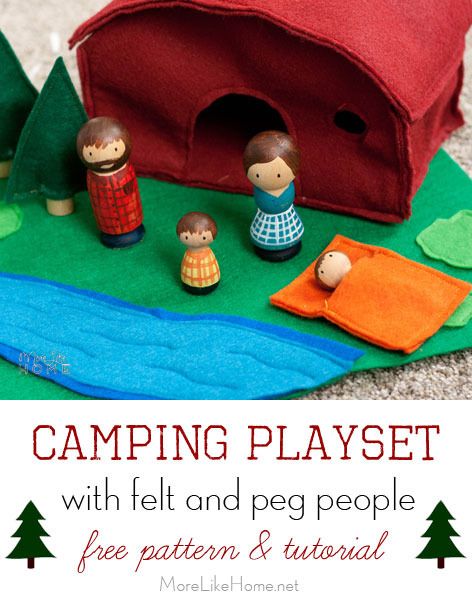
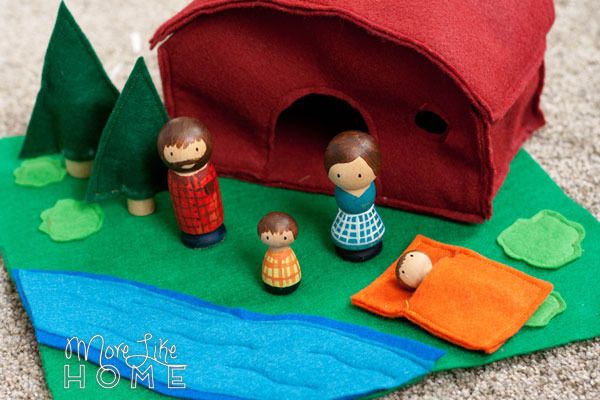
Camping Playset with Felt and Peg People {pattern & tutorial}

At Christmas I made a cute little camping set for one of our stockings, but I was just thinking it would also be a great little homemade goodie for an Easter basket! So let's make one! All you need are some peg figures, felt, and a little paint. (I also made a raccoon peg doll playset and a peg nativity!)


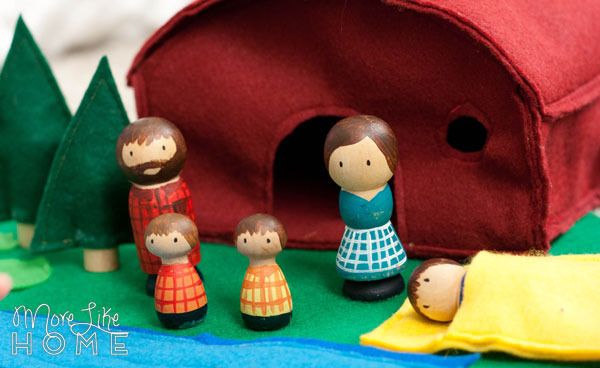
We'll be making a cute little peg family. We made a set to match our family with parents and three little boys, but you can do any family combo you like! We found all the pieces we needed at Hobby Lobby, but Etsy has tons more options in a variety of sizes if you're looking for something really specific. 


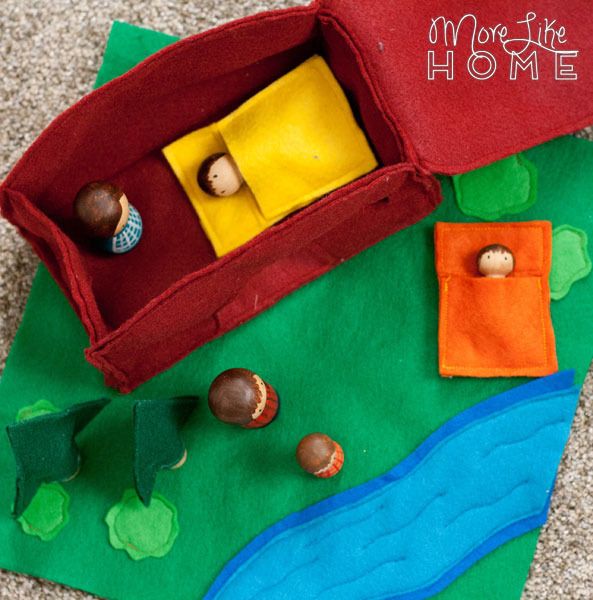
We'll also be making a complete camping scenery with a grassy mat, peg & felt trees, plus a big family-size tent. 


The top of the tent opens for easy playing!


Ready to get started? Here's what you need:

Felt (here's what I used but you can use whatever you like!)
     medium green for the grass (I bought 1/2 yard from the roll so I could make a nice big mat)
     light green for bushes
     dark green for trees
     two shades of blue for the river
     teal, orange, and yellow for sleeping bags
     deep red for the tent (1/4 yard)

Matching Thread
Peg People
     whatever you need for your camping family (more details on ours below)
     a few regular, straight peg people to use for trees
Acrylic Paints
The Pattern (download it here)

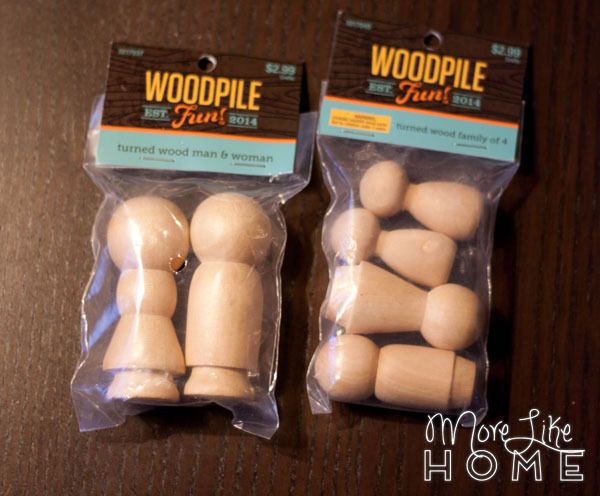
At Hobby Lobby we found these two sets that were perfect for us with parents in one, and three little boys in the other (any left over pegs can be used for trees, too. It was about $6 total for both sets without a coupon.

Monday, August 18

Octopus Birthday Crown {free pattern}

Baby Brother turned one a couple weeks ago (and yes, he's totally still a baby). I still can't believe it. We marked his big day with a simple, low-key celebration of his first year in the big, wide world. A trip to the zoo, pancakes, and all the cheese and blueberries his little heart desired. He also got a special birthday crown (similar to the dinosaur crown I made for Big Brother's birthday) but this time the theme was... octopuses! Octopi? No. We're going with octopuses.


It was the first thing my tired brain thought of that I could make with the felt colors I had on hand. And so and octopus crown it was.


Here's how it went down: at 10pm on Birth Eve (as per usual) I sit down and I say to myself "what is the most complicated animal I could pick with the most small parts to have to sew down?" Answer = octopus. Duh. That's called a "midnight win," right there. And so I spent the night sewing down 14 little octopus legs. 14. Because my octopuses have seven legs each. Double win.


But really I love doing this kind of crown because they are pretty easy to make and the designs are SO flexible. You can really make any kind of crown you can imagine (or at least cut out of felt).


Here's all you need to make your own octopus birthday crown:
Subscribe