

It's day two of baby week today, and we're going to be making a hanging wetbag!
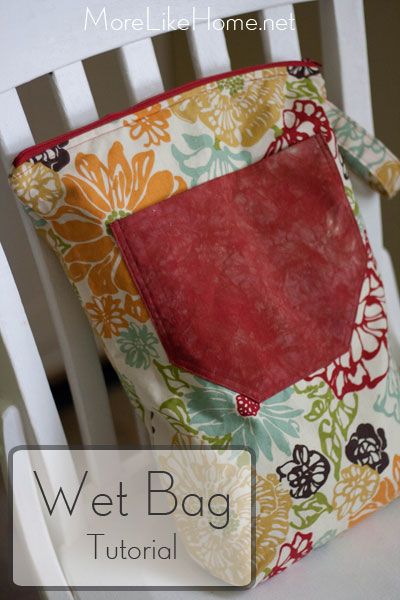
These bags are great for everything from dirty cloth diapers to wet swim suits! The waterproof lining keeps all the yucky inside!
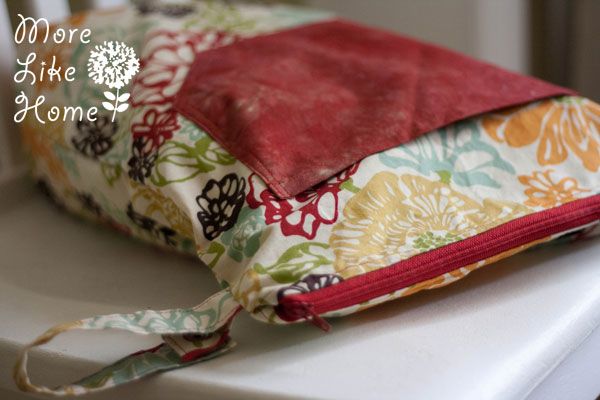
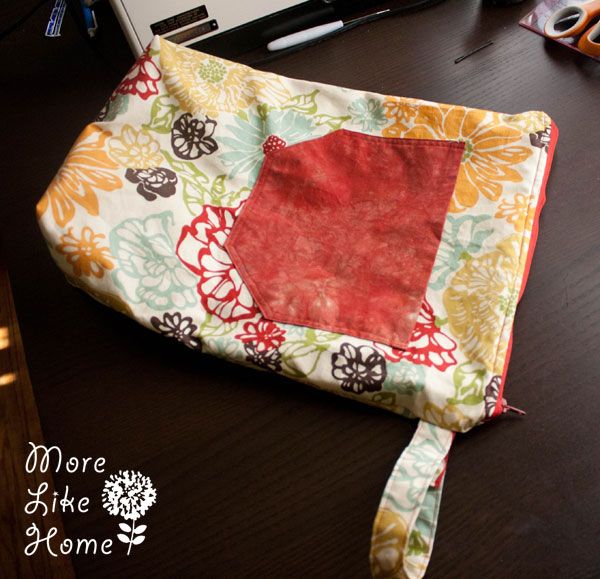
The bag we're making today has a zipper closure and an extra pocket on the outside. Gussets in the bottom make it nice and roomy, perfect for a day trip! (finished size is about 12 x 15" with a 4" gusset)
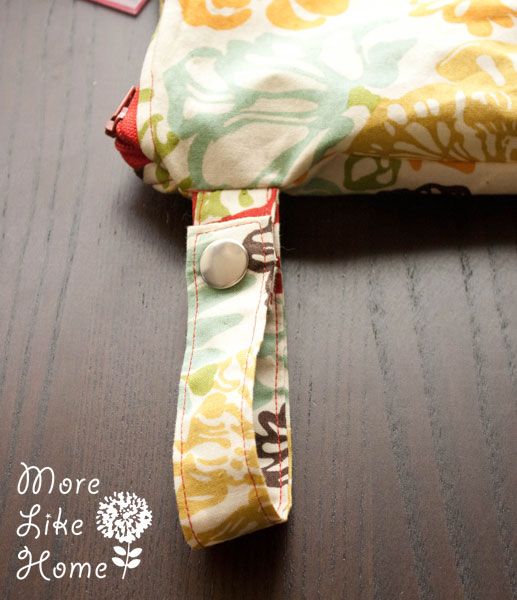
The wrist strap is perfect for hanging your bag on a doorknob, and with the snap you can even hang it from the handlebar of your favorite stroller!
Here's what you need to make your own:
- 1/2 yard cotton fabric
- 1/2 yard coordinating cotton fabric for pocket (you only need a 9x8" piece so it's a great way to use scraps!)
- 1/2 yard PUL (we have it at Hobby Lobby, sometimes Joann Fabric carries it too)
- 12" zipper
- heavy duty metal snap
- thread
Start by pre-washing and drying your fabrics. Then you can cut out these pieces:
from outer cotton
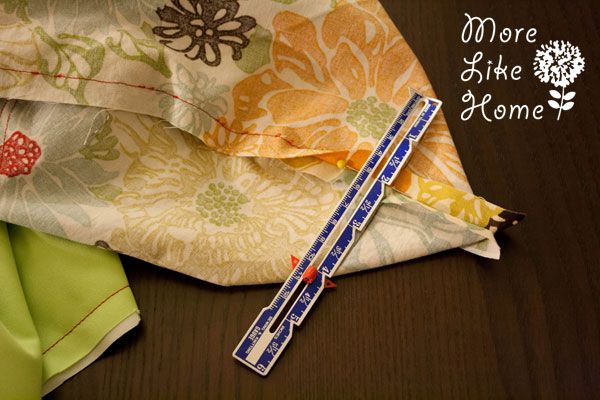
- 2 body pieces 17x13"
- 1 strap 4 x 10"
- 1 strap tab 4 x 2.5"
- 2 body pieces 17 x 13"
- 1 pocket 9 x 8"

Let's start by making the wrist strap. Fold the strap and the tab pieces in half length-wise and press.
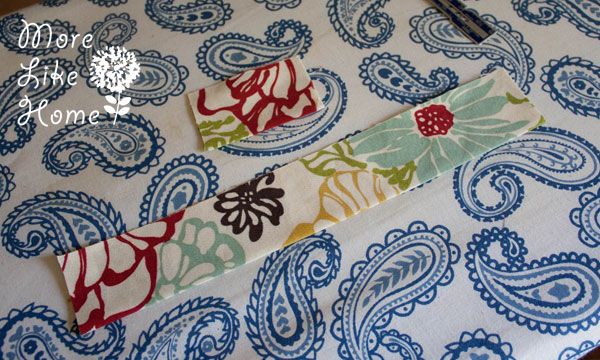
Open up the pieces and fold both long edges in toward the middle crease like this. Press.
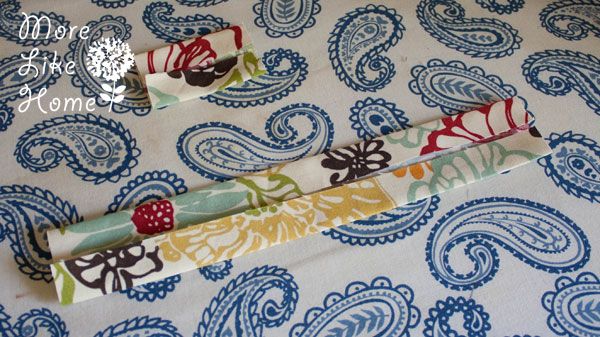
On one end of each piece, press the end in 1/2".
Fold the pieces again along the center crease. Press and pin.
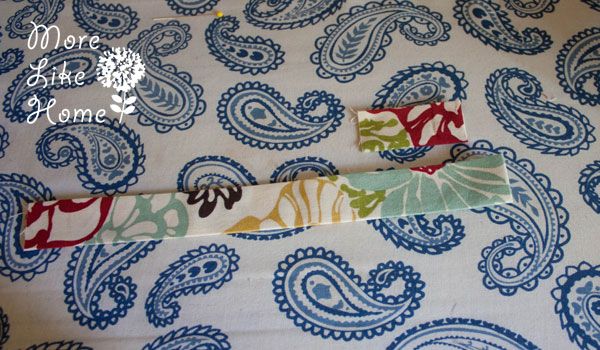
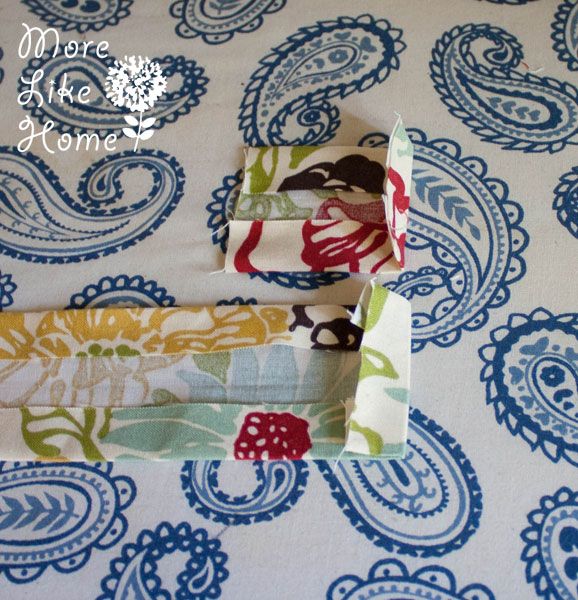
On both pieces start stitching right along one of the long edges, turn the corner to stitch across the folded end, and turn the corner again to stitch down the other long edge.

Now get the pocket ready. Start with a basic rolled hem on the top edge (one of the 9" edges). Fold under 1/4" and press, then another 1/4" and press.
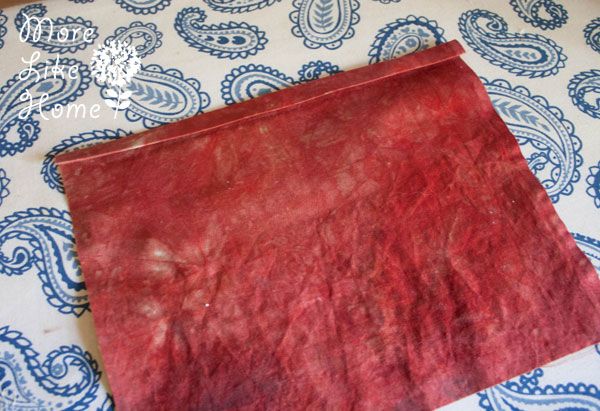
Stitch right along the folded edge.

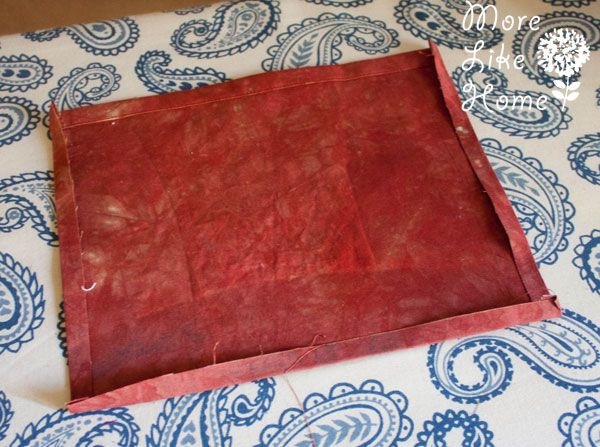
Then press the other three edges under 1/8-1/4".
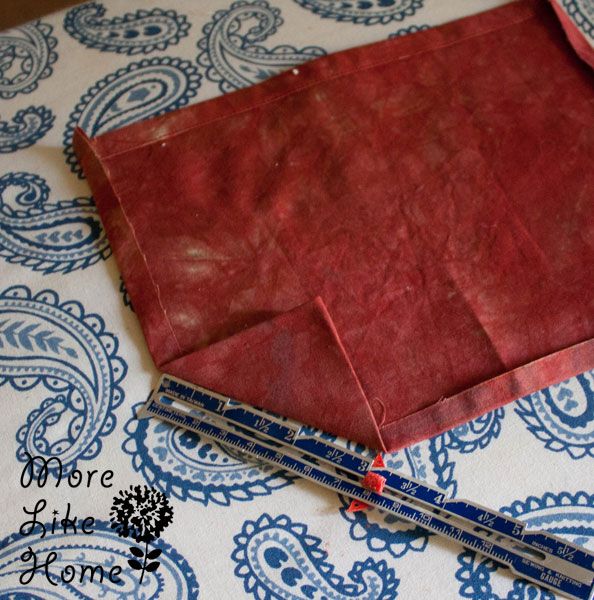
If you want the cute angled corners, go ahead and press the corner up until the angled section is 3" long (see pic below). Press.
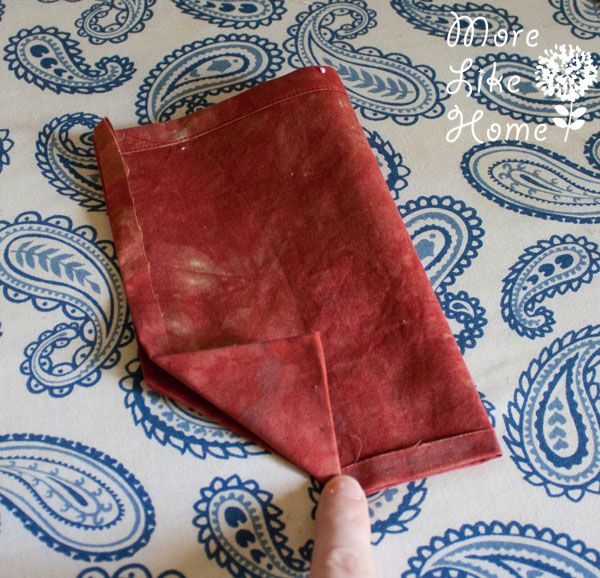
Fold the pocket in half and line up the other corner at the same angle to make sure they match perfectly. Press again. Then go ahead and clip off the extra fabric, leaving 1/8 - 1/4" of seam allowance along the angled corner.
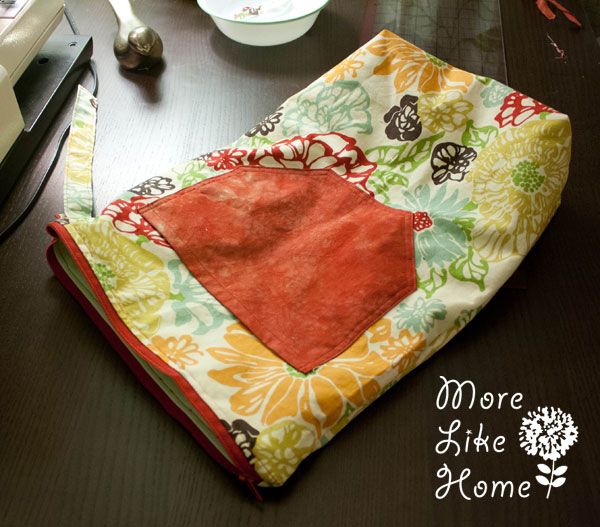
Pin the pocket to the front of your outer fabric. I set my down 3" from the top and centered it across the width of the bag. Pin the pocket in place.

Stitch right around the sides and bottom of the pocket, right along the edge.
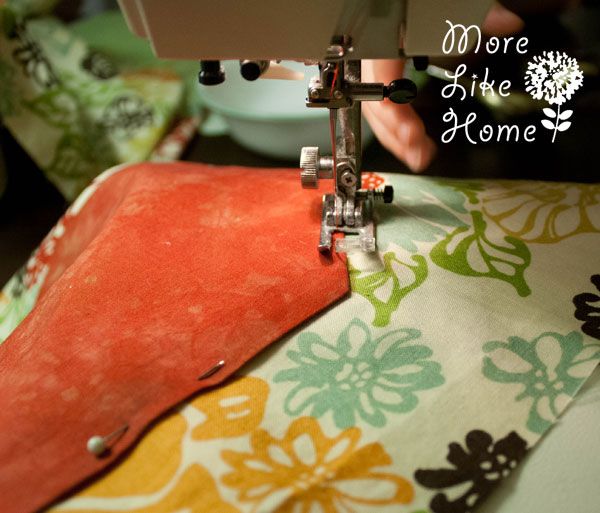
I like to go back and add another line of stitching about 1/4" in to try to catch any loose fabric inside the pocket.
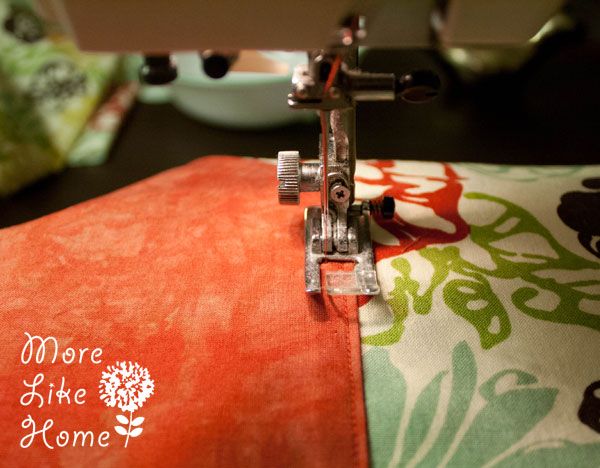
So you'll have two lines around the pocket when you're done.

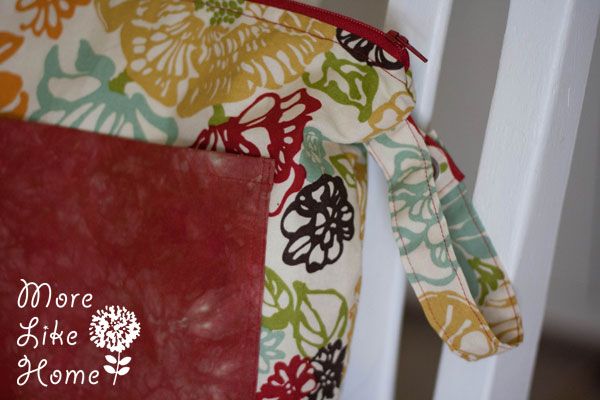
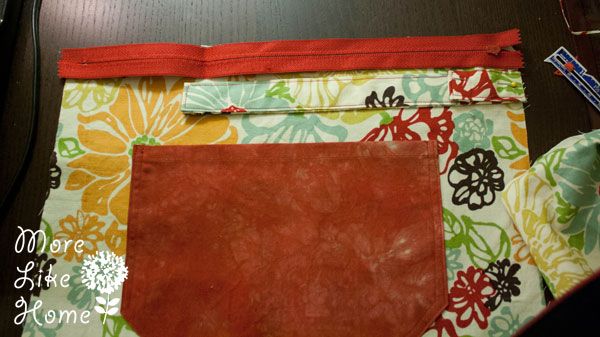
Now you can pin the wrist strap in place. Stack the tab piece on top of the wrist strap piece, lining up the raw ends. Lay the stack on the outer fabric about 1" down from the top edge of the bag and with the raw ends lined up with the right edge of the bag fabric. Pin them in place.

Now let's install the zipper. Start by placing the zipper face down and lining it up along the top edge of the bag.
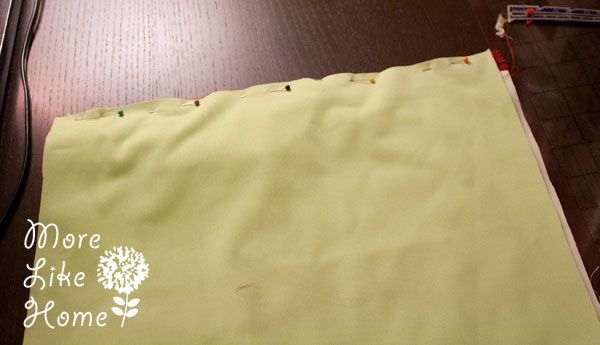
Then lay a piece of PUL on top with the slippery side down, sandwiching the zipper in between. Make sure all the top edges are lined up and pin them together.

Stitch along the top edge with a 1/4" seam allowance. It helps to open the zipper pull halfway, stitch up to that point, put the needle down and lift the foot, then slide the pull out of the way before you finish stitching.
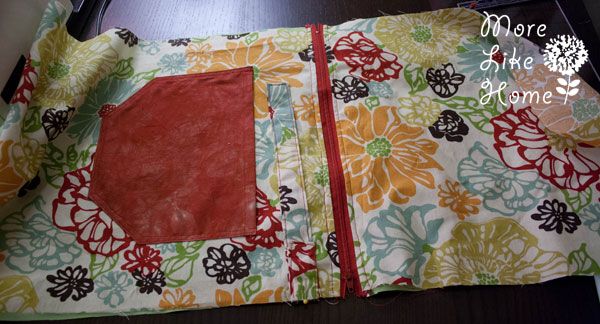
Flip the pieces right side out so you see the zipper (like in the pic below). Top stitch along the top edge of the fabric.

Now we can attach the other side of the bag. Lay your other pieces of outer fabric face up, then lay the zipper (attached to the first side) face down on it, lining up the top edges.

Lay the remaining piece of PUL slipper side down on top of the stack. Make sure the top edges are all lined up and pin them together. Stitch along the top edge with a 1/4" seam allowance.
Flip it open so you see the zipper again (it will look like the pic below) and topstitch along the top edge of fabric again.
Now fold the bag so the outer fabric pieces are right sides together on one side of the zipper, and the PUL pieces are slippery sides together on the other (see below). Line up the edges of the fabric and pin them together (make sure the zipper is folded in toward the PUL side. it will also help to have the zipper open at least halfway).
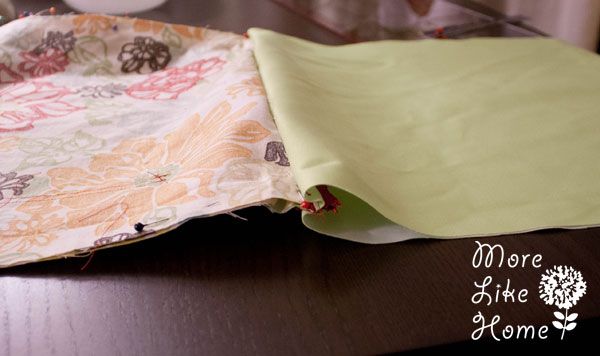
It should look like this:

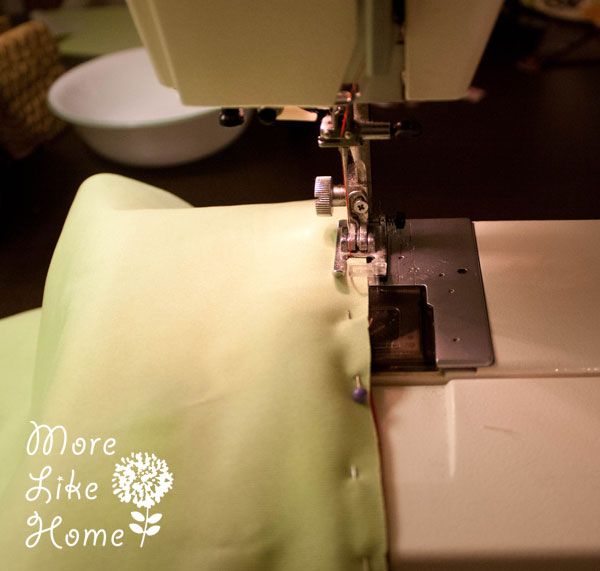
Stitch all around the edges of the bag with a 1/2" seam allowance, leaving a 4" gap in the bottom edge of the PUL for turning.
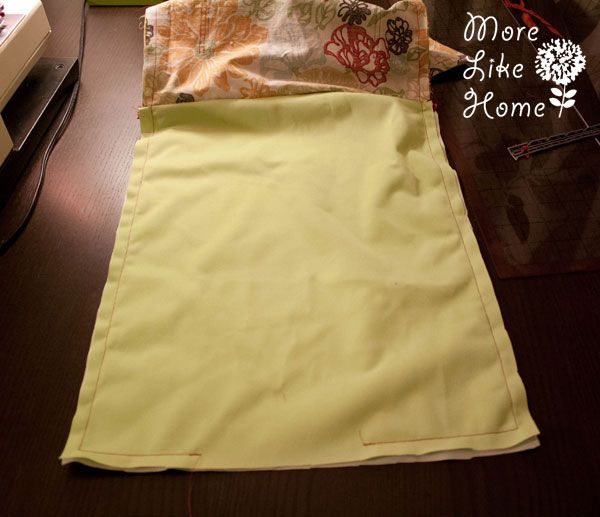
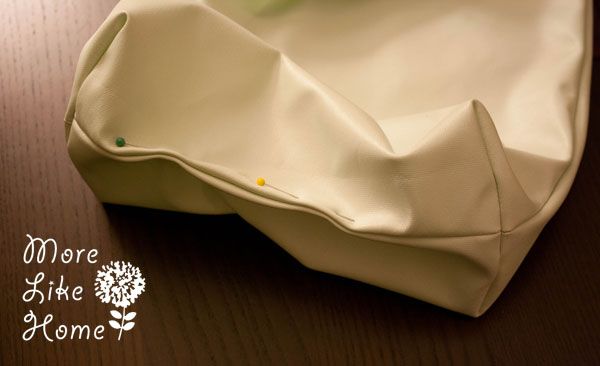
Now we can do the gussets. Fold each corner flat like in the pic below, lining up the seams on top and bottom. Mark a line across the corner that is 4" long.
Stitch along the line, then trim the extra to leave a 1/2" seam allowance. Repeat for the other corner of the outer fabric and both corners of the PUL.

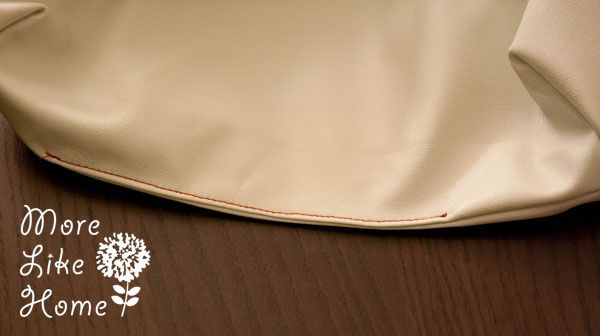
Flip the bag right side out through the hole in the PUL. Tuck the edges of the opening under and pin them opening closed.
Stitch right along the edge to close the opening.
Tuck the lining into the bag.
And the last step is attaching the snap. Just follow the directions on the snap packet to apply one side of the snap to the strap and the other side to the tab.
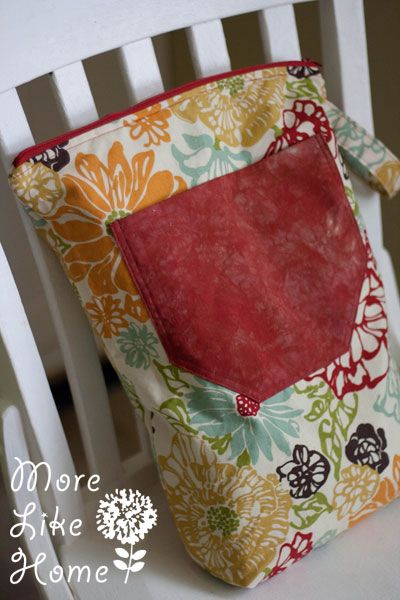
You're done!
Now you're ready to throw it in your diaper bag, stroller, or beach bag!
Here's what it cost me to make this spiffy little wet bag:
$3.75 - outer cotton on sale for 25% off
$4.00 - PUL with a 40% off coupon
$0.00 - pocket fabric (from my scrap basket)
$2.00 - zipper
$0.00 - snap (left over from another project)
$1.80 - thread, on sale
Total: $11.55
You can easily get two wet bags out of this amount of fabric, three if you use something else for the strap! If you do that it would even out to just about $5 per bag. Not a bad deal, huh?

You can really customize this to fit whatever you need. It still looks pretty without a pocket and you can adjust the measurements to make the bag any size you want! A smaller bag is great for quick outings and a bigger bag could hold beach towels or store cloth diapers between washings.

I'll go ahead and warn you guys... most of my posts will probably end with pictures of little boys. They make me laugh so much! So today's story... every time I use the tripod B wants to have a turn. So I let him click away for a minute while I try to keep the pictures interesting. He laughs so funny when I make faces and poses.
But this was the first time he followed up by asking me to take pictures of him... and he started making faces! He was being SO serious about it though. I almost cried, I was laughing so hard! Here are my favorites:

Oh, these boys. Anyway, have fun making a wet bag or two and be sure to come back tomorrow because we'll be making some fluffy and adorable bibs!

Thank you so very much for this wonderful tutorial! This is the only one I've found with the gusset at the bottom and that dear ol' gusset makes the wet bag that much better! I'm a grandma-to-be who is sewing like crazy and your wet bag is next on my list. BTW, I could look at pics of "B" any day. He is adorable!
ReplyDeleteI'm glad you like it! And I completely agree about the gusset. Have fun sewing for your grandbaby-on-the-way! :)
DeleteGreat tutorial. I was looking for something a bit bigger than my other bags that I've made. I need something for my swimsuit LOL!
ReplyDelete