
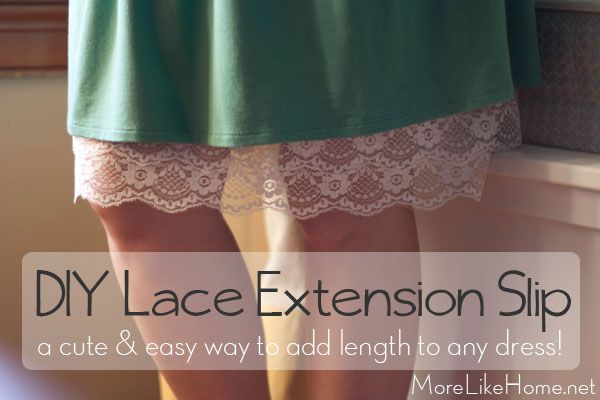
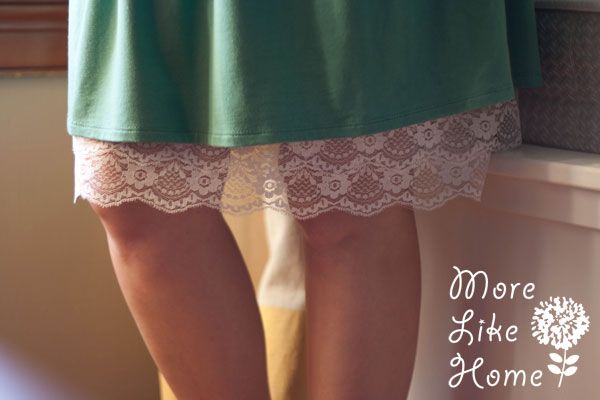
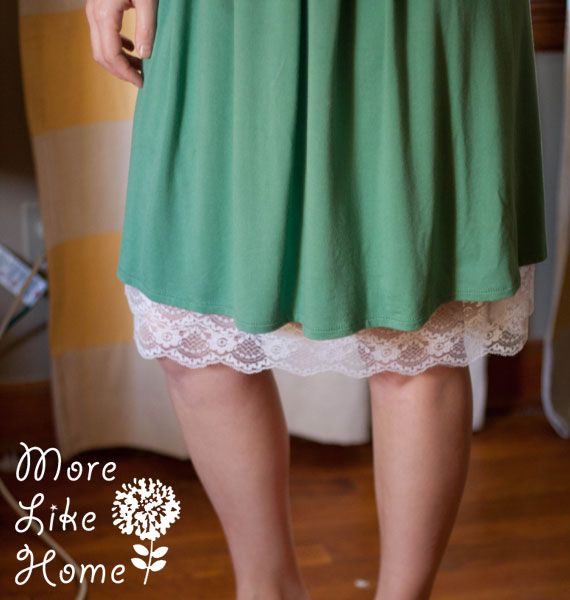
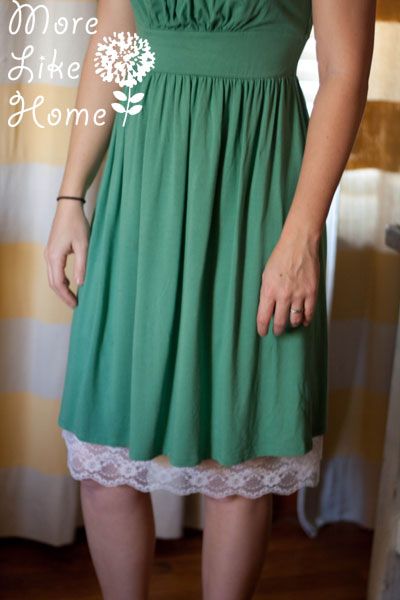
Not only was is it easy, it was cheap, too! She had an extra slip already so we just had to buy the lace for the bottom. It adds a pretty detail and decent amount of length to a skirt that may be a bit short.

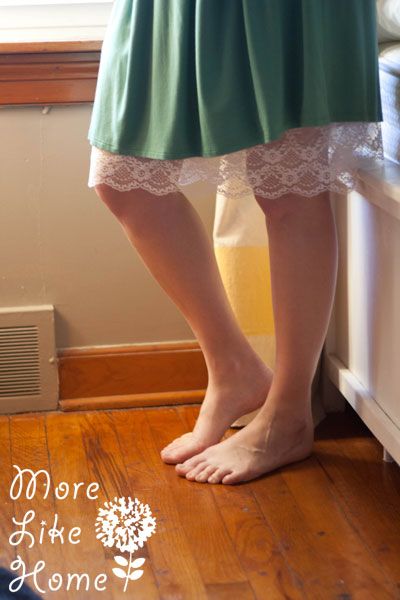
Ok, I don't actually have any skirts this short. I made her hike it up for dramatic effect. Full disclosure. ;)
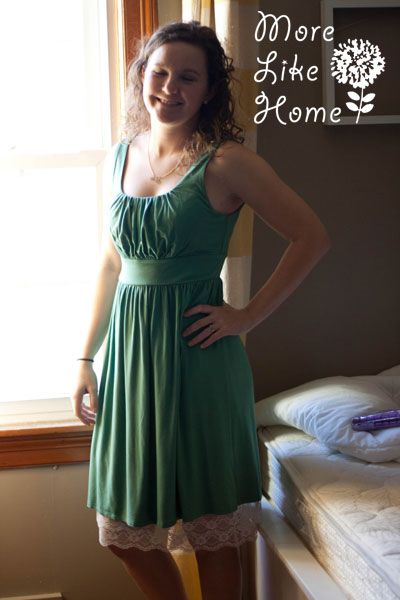
I especially liked how it looked under the softer, flowy dresses. They looked so pretty with a little lace detail around the bottom. So, want to make your own?

Here's all you need to make one:
- a slip (we used one that was long enough to wear on the hips for longer skirts, but could be pulled up to the waist for shorter skirts)
- 3 yards of 6" wide lace (or more or less depending on your size. Measure around the bottom of your slip and get enough to go around twice plus 2" for seams)
- thread
Start by measuring around the bottom of your slip. Add 1" for seams and cut a piece of lace that long. Cut a second piece the same length. Fold the first piece in half (with right sides together if your lace has a right side) and line up the cut ends. Sew along the end with a 1/2" seam allowance. This will make the lace into a large loop that you will attach around the base of the slip. Repeat for the second piece of lace.
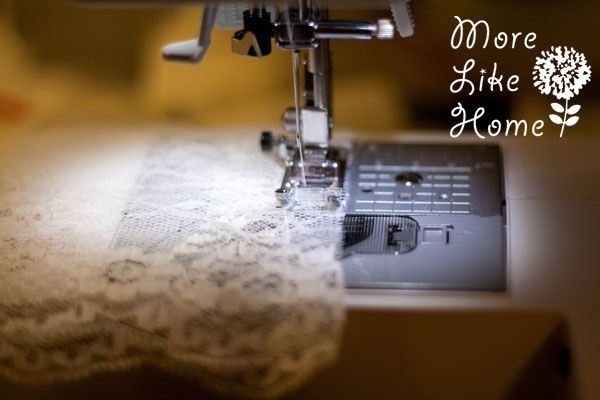
With the slip right-side out, pin the first piece of lace around the bottom edge of the slip (on the outside of the slip, so it doesn't feel scratchy on your legs). I overlapped the lace about 1" over the bottom edge of the skirt (see the pic below). Sew along the bottom edge of the skirt to attach the lace, remembering to backstitch at the beginning and end.

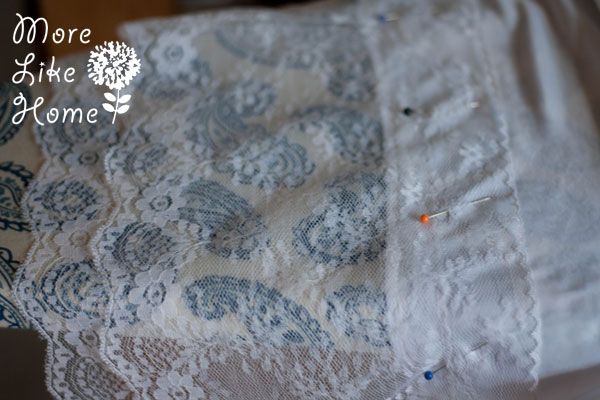
Lay the next piece of lace on top of the first piece. Slide it up a bit higher so it looks good and pin it in place. I put it high enough to show the pretty scallops on the first piece like this:
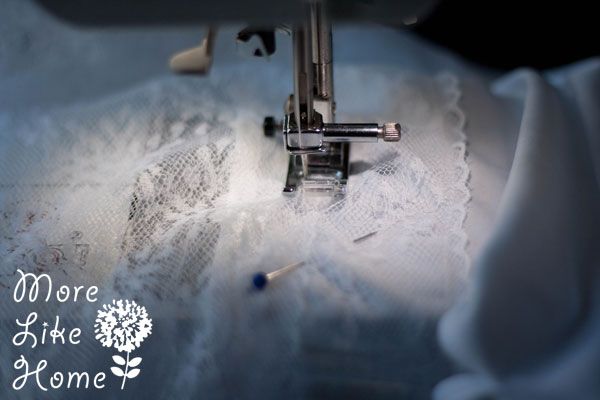
When I attached this piece I started by sewing near the bottom edge of the slip so I could catch the the top edge of the first piece of lace, just to reinforce it a bit. Then I stitched another line around the top edge of the lace.
Then, as Big Brother likes to say, "Boom, baby!" You're done! Grab your favorite dress and try it out!
Like I said, we only had to buy the lace for this project and with a 40% off coupon it was only $2.40/yard. So we only spent $7.20 on it! And by "we" I mean "she." Just so we're clear. Lace isn't super cheap, but a similar slip costs $25-35 on Etsy so we still saved quite a bit!
I also had an idea that if you have a certain skirt that need an extension, you could also add the lace right to the bottom of the skirt. Not as versatile as a slip, but if less hassle if it's something you wear a lot!

Now let's talk about why most of these pictures are so terrible. I seriously could not figure out the lighting/angles for this. So just know it looks even better in person. Also a certain sister kept closing her eyes. On purpose. As if I wasn't struggling enough already.
Add that to bad angles weird lighting and it was all kinds of hot mess in here. Now you may be asking yourself "why didn't she just put the dress on herself and have her photographer sister take the pictures?" My question would be "Um, hello sister? WHY DIDN'T YOU THINK OF THAT?"
But you at least get the idea, right? It's a really fun way to mix up your wardrobe, and you could even make a few with different styles and colors of lace.
So the big question: are skirts getting shorter or are we getting taller? :)

Cute idea!
ReplyDelete