
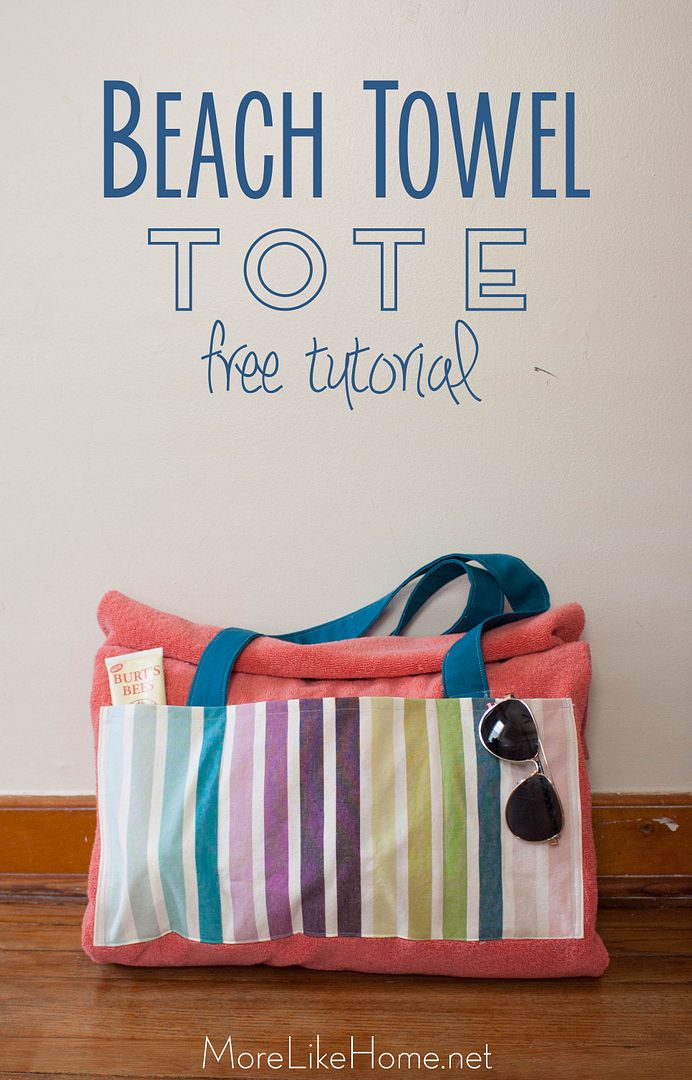
It rolls up for easy travel with several pockets on the outside for sunscreen, water bottles, or sunglasses.
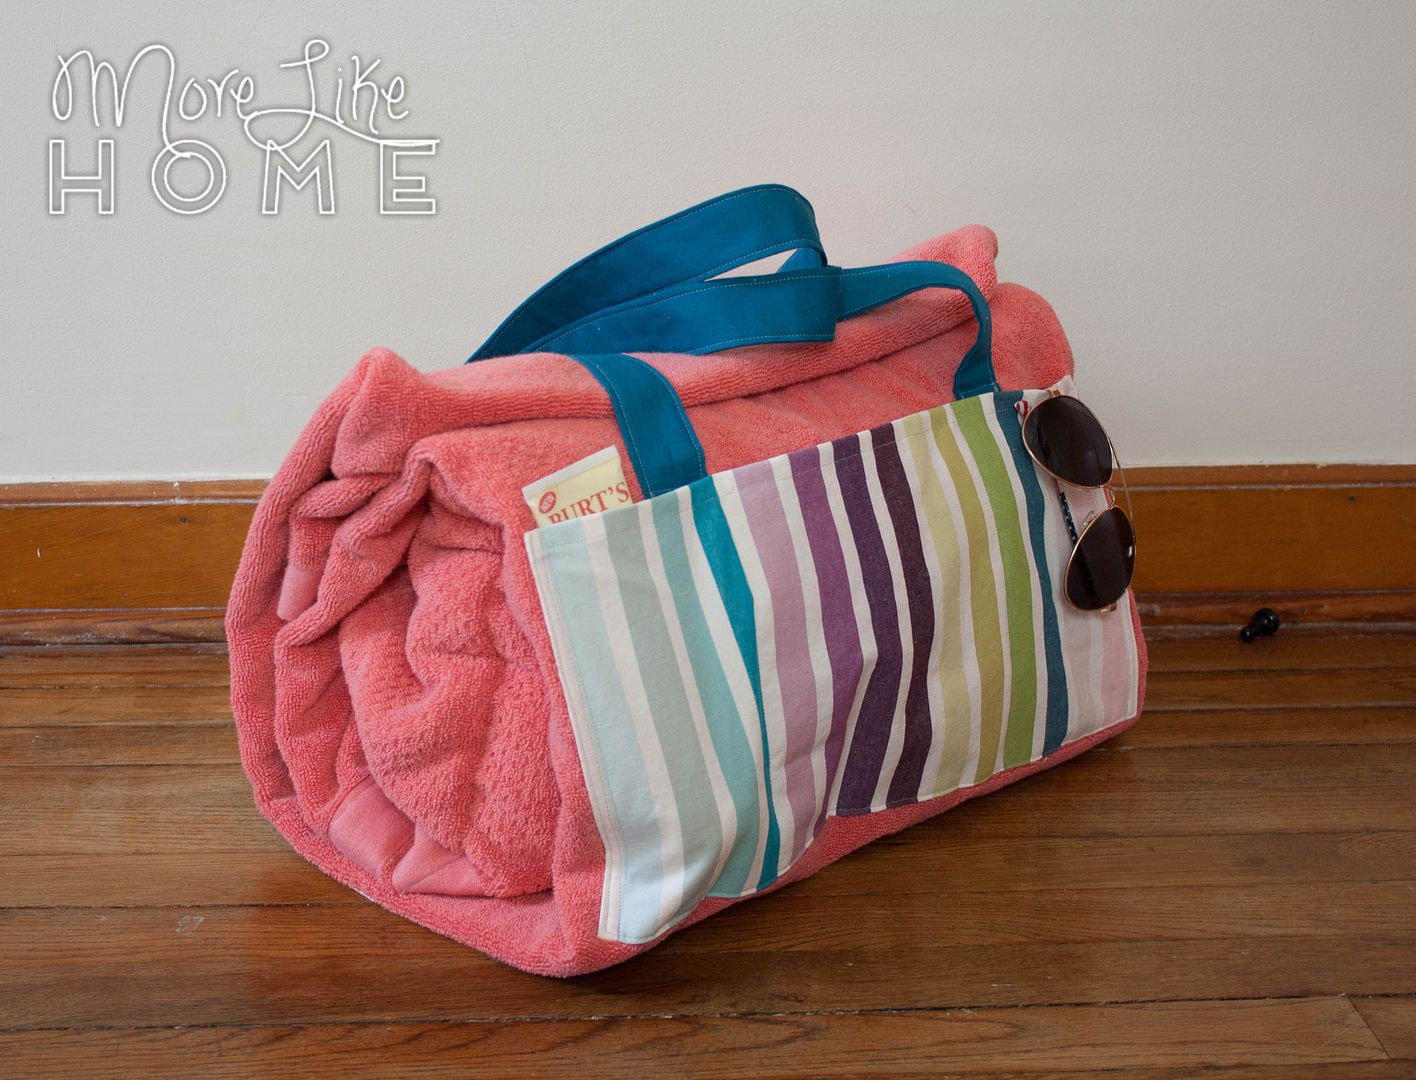
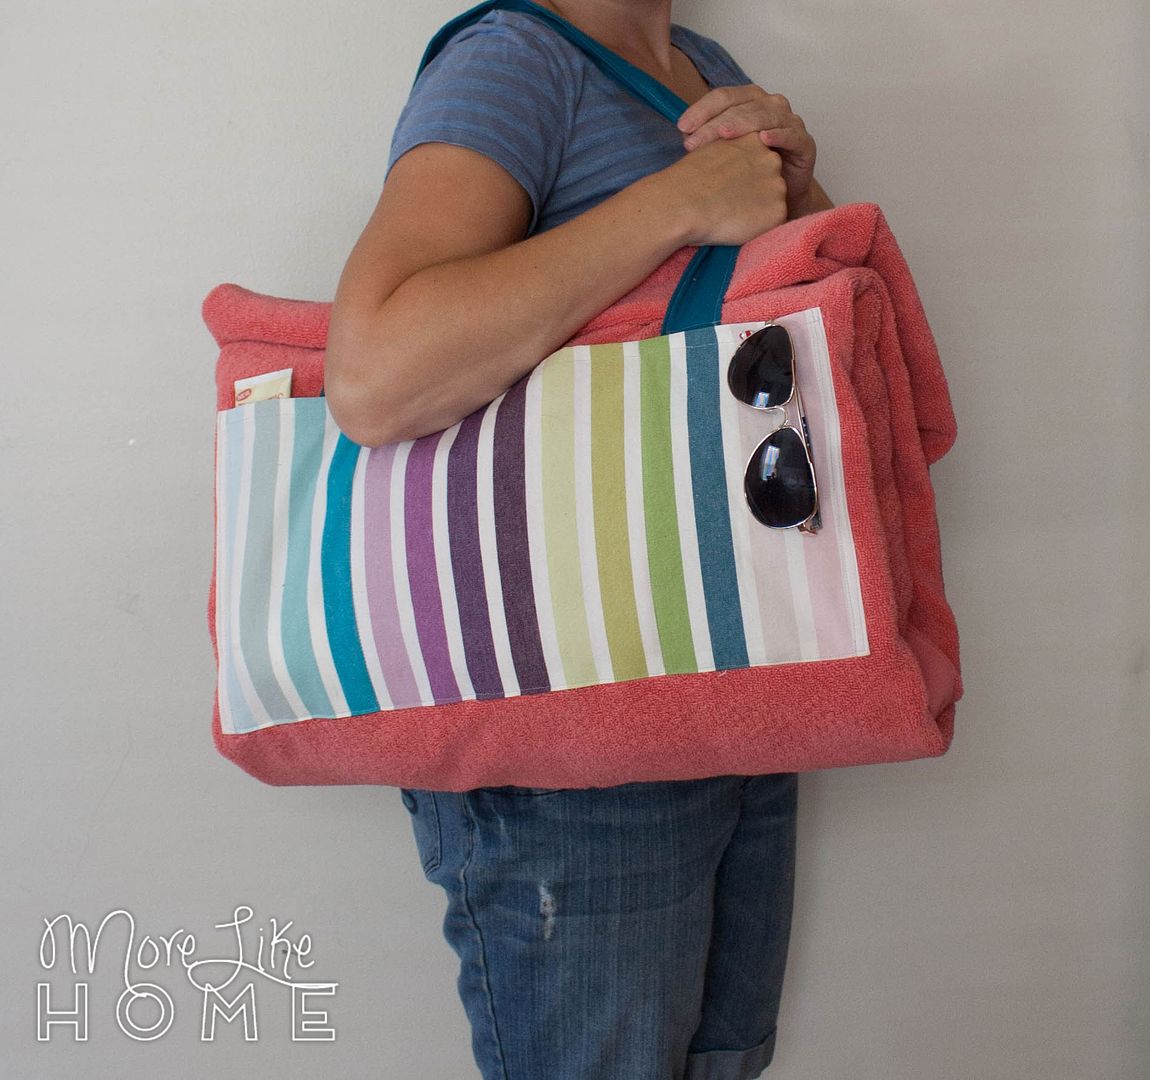
The handy straps sling over your shoulder for a hands-free walk to the beach or pool.

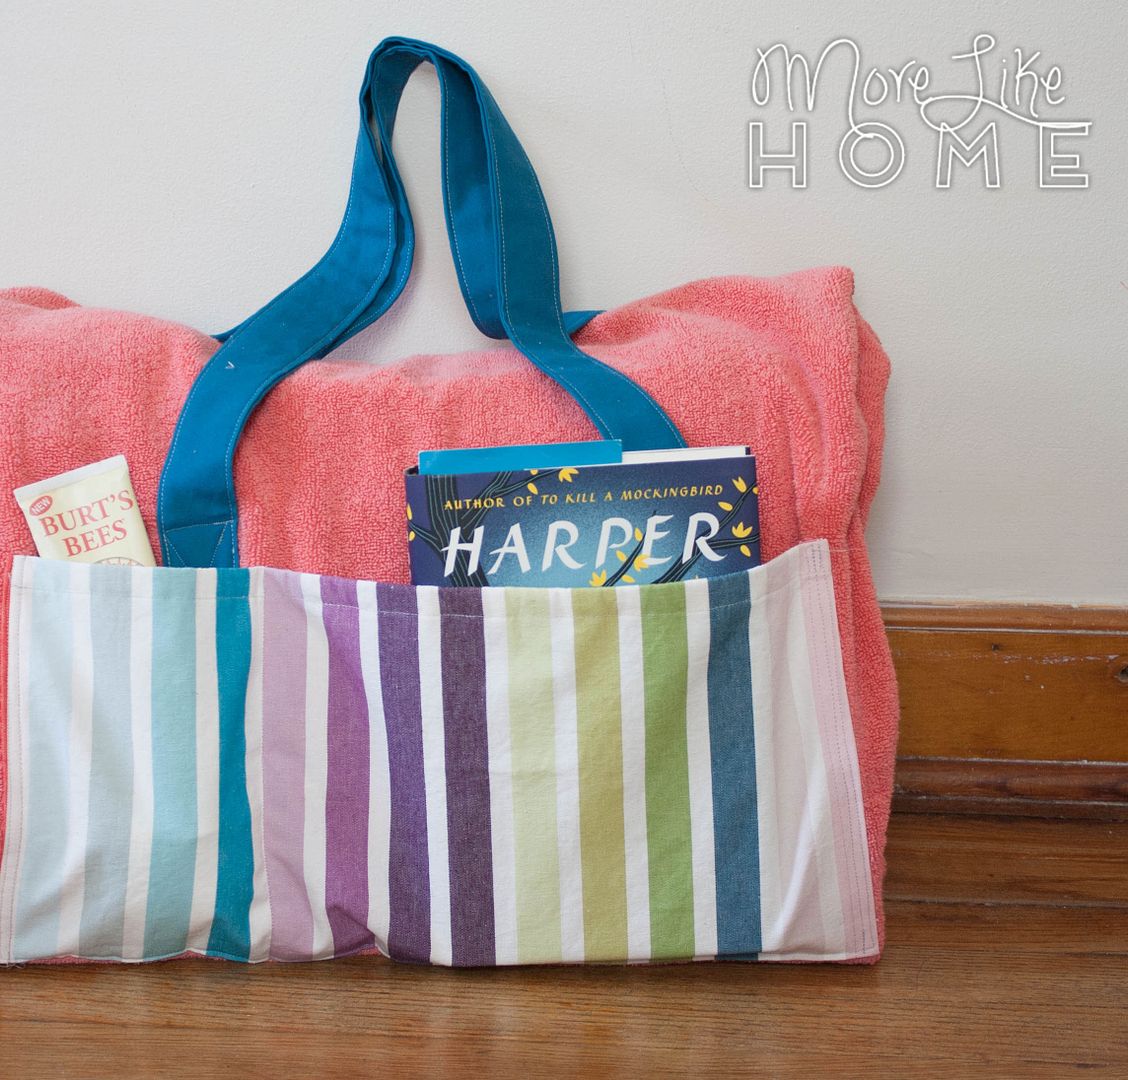
You can make the pockets any size you like to accommodate books and magazines.
And when you get to the beach? Just unroll your tote and chillax on a comfy towel with a built-in pillow! That book will come in pretty handy right about now.
Here's what you need to make your own beach tote (or one for a friend!):
- two matching towels (I went with oversize bath towels because I thought my sister would like the color better than the beach towels I was finding)
- 1/2 yard fabric for pockets (I used a duck cloth)
- 1/2 yard fabric for straps (I think this was from the canvas/denim section, it was left over from another project)
- stuffing for the pillow
- 12" strip of velcro
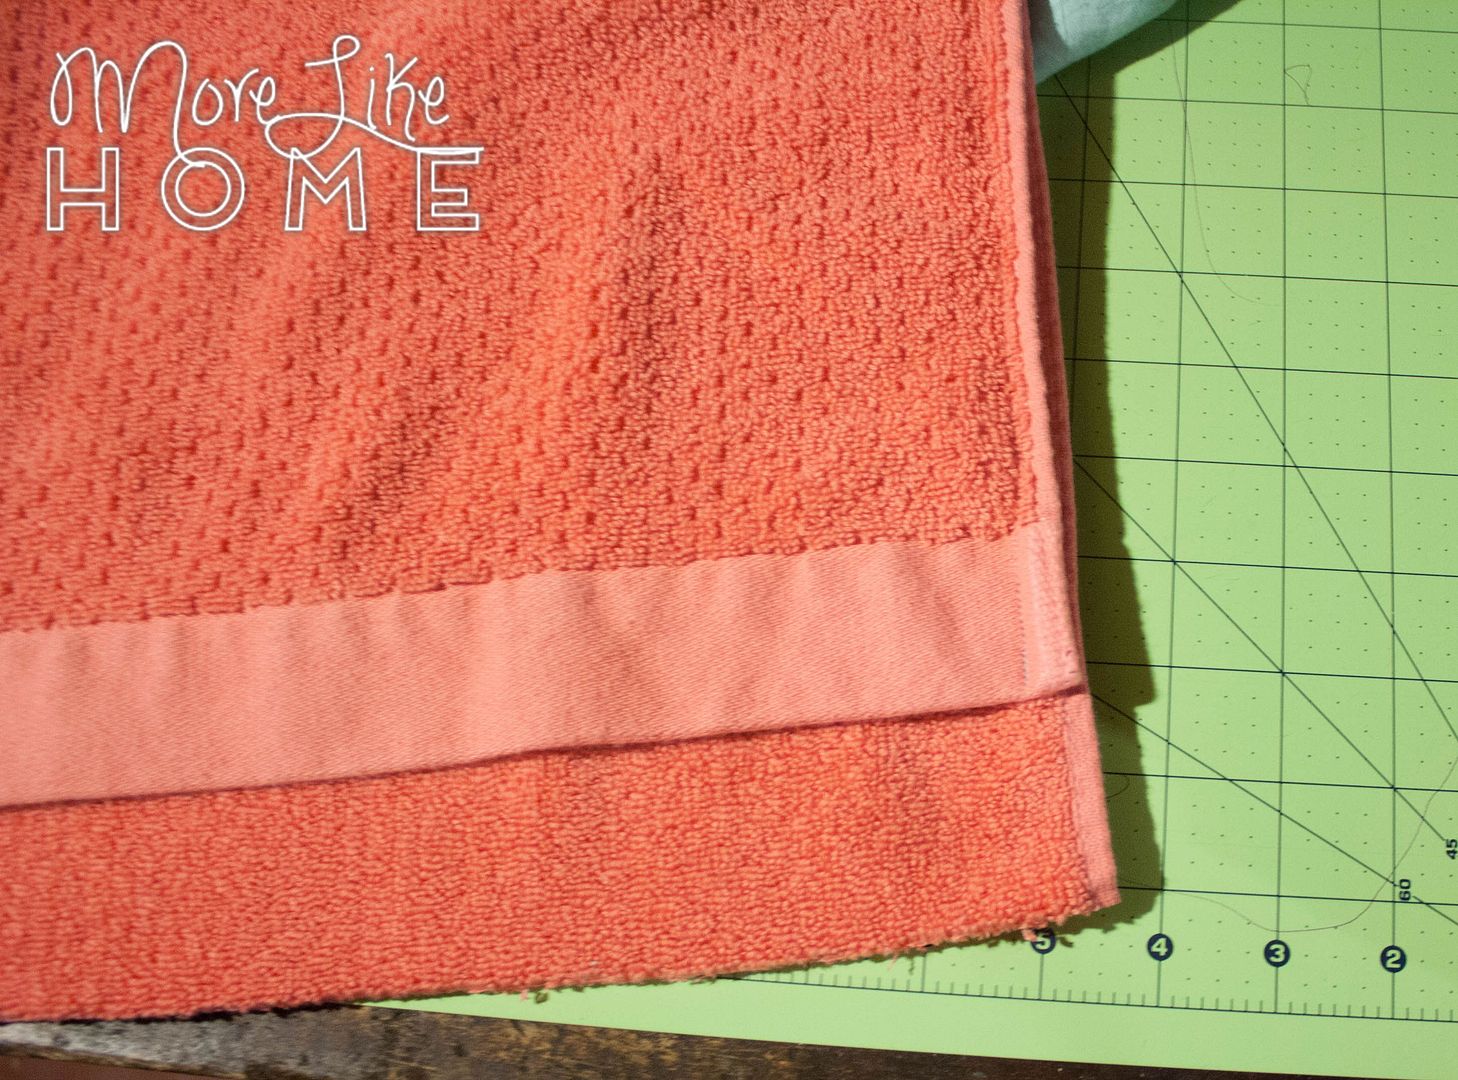
Start by cutting one of the towels in half. You'll only be using one half, so set the other aside (you can use it to make a pillow for a second towel if you want). Bring the short end of the towel down toward the cut edge, but leave the cut end sticking out about 2" farther than the the finished end of the towel. Sew along each side side of the towel (but not across the bottom yet).
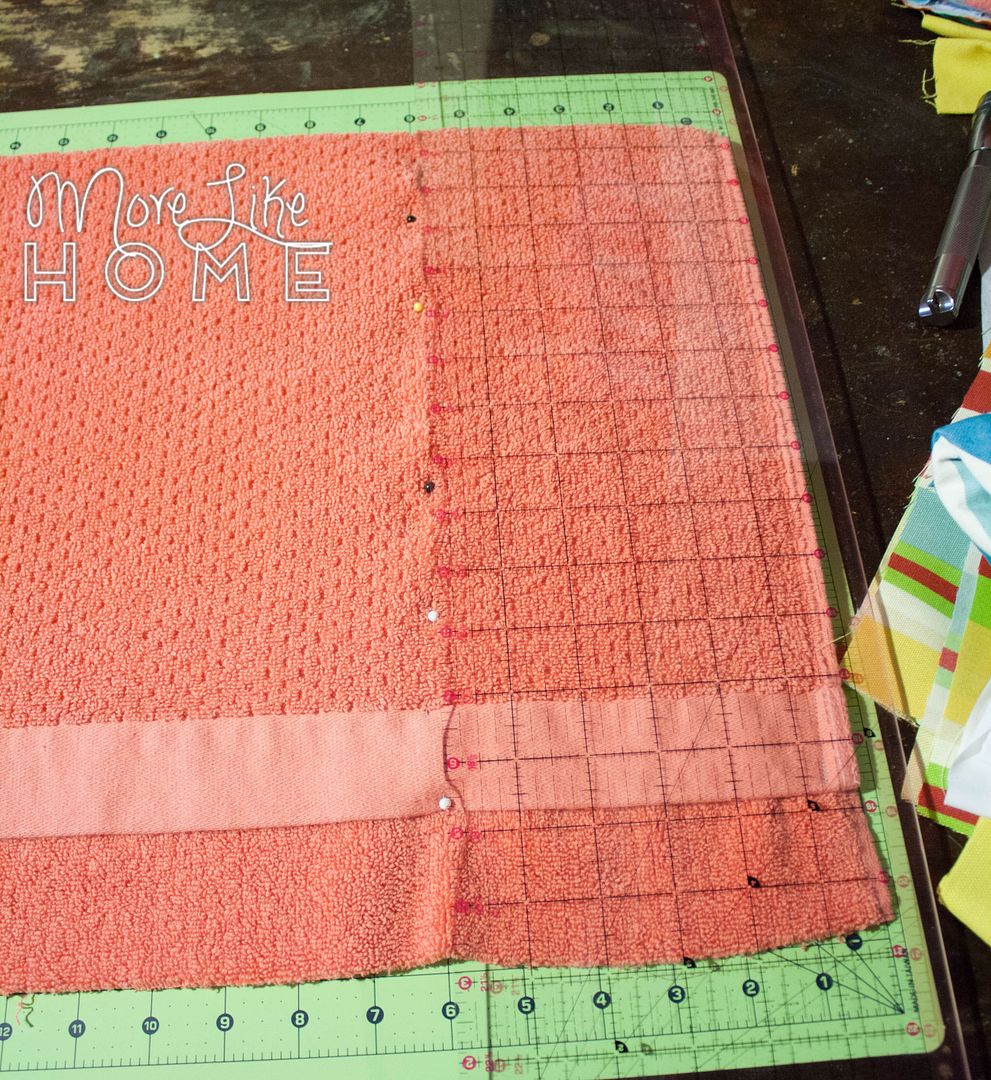
If you use a narrower towel than me, you might not need to do this next step. Mine was so wide that making the pillow go the whole width of the towel would make for a huge, bulky beach bag. So instead I made a smaller pillow at the center of the towel like this: Measure in 6" from each side and mark a line (I just used pins to mark it, close enough is fine). Sew along the marked lines. Now you have a large section in the middle to stuff and two smaller side sections that will be left empty. Sew along the bottom edge of the finished edge of the towel to close the openings, but leave a 3-4" opening in the middle section for stuffing.
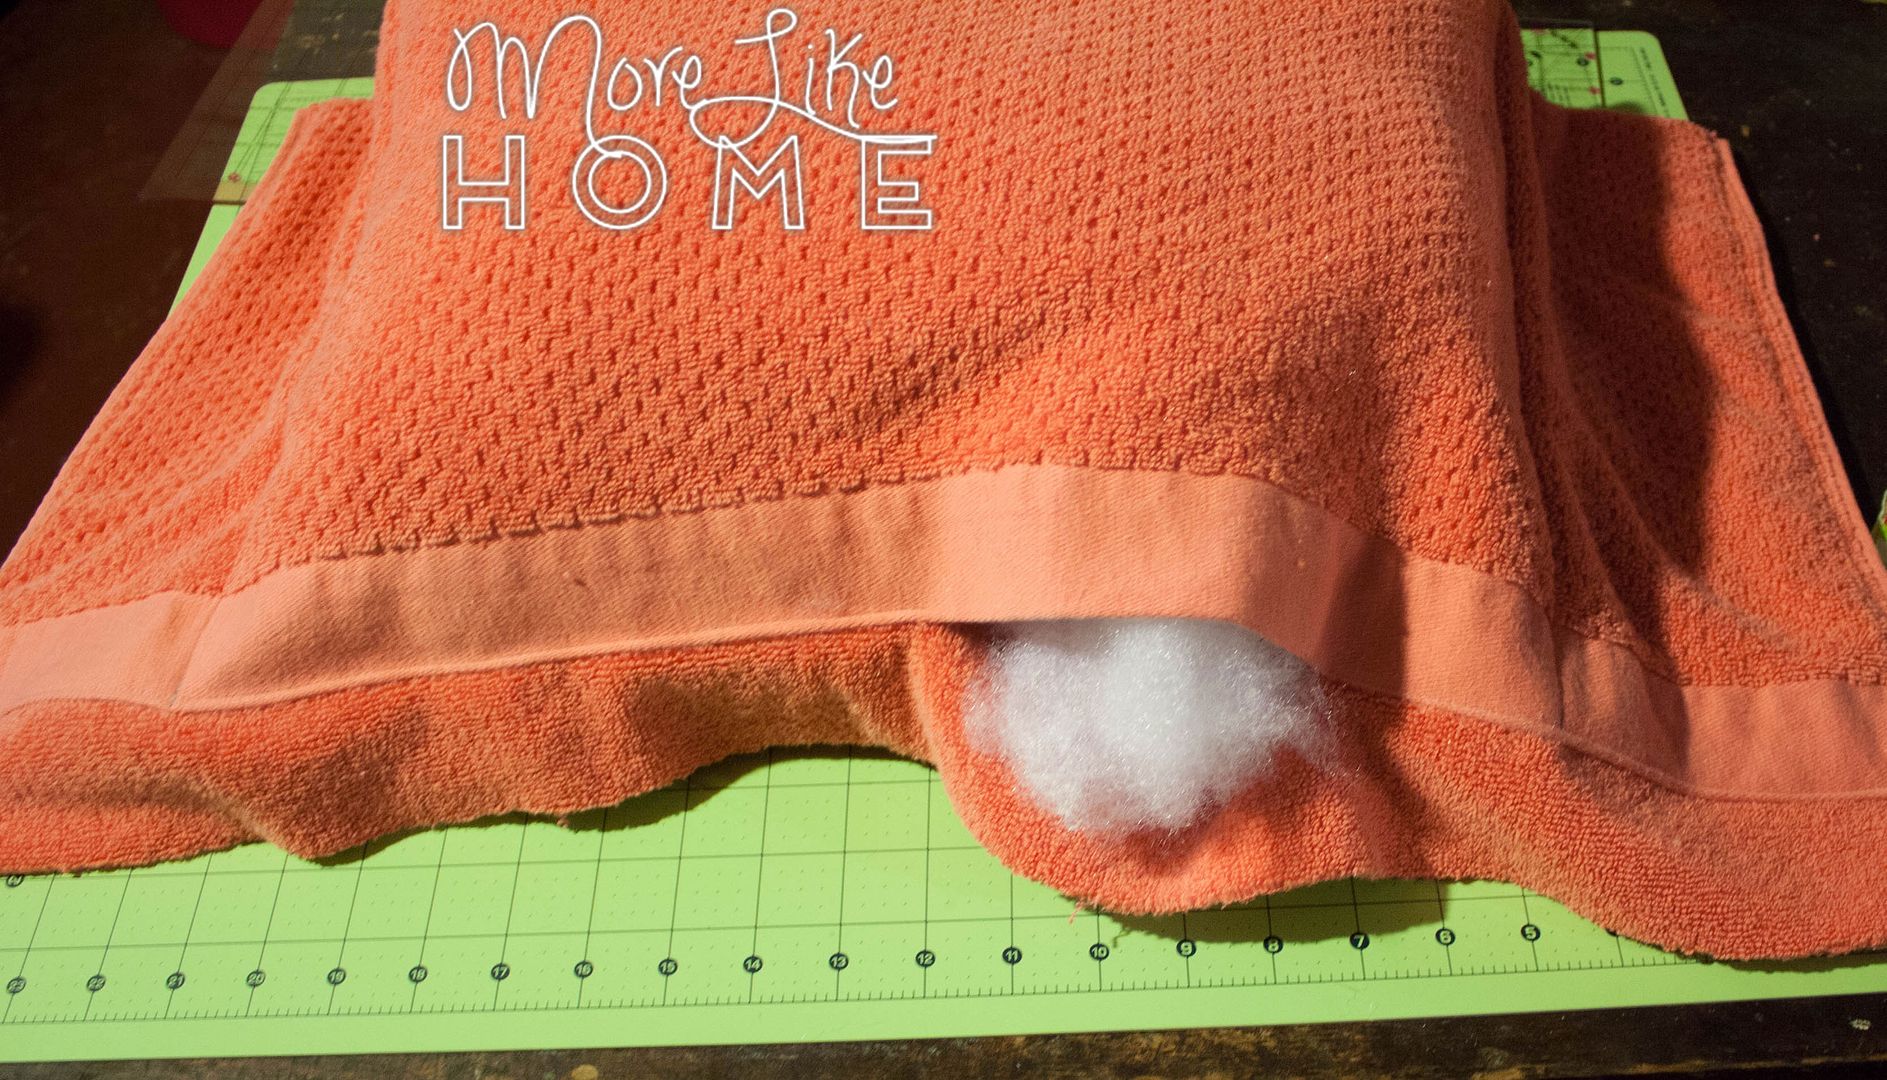
Stuff the middle section of the pillow, then sew the opening closed.
Let the Pillow Tester test the pillow.

Now lets address that raw edge. I used a scrap of quilting cotton for this, but you can use the fabric from the straps or pockets if you don't have anything lying around! Cut a strip of fabric 3" wide and 1" longer than the width of your towel.
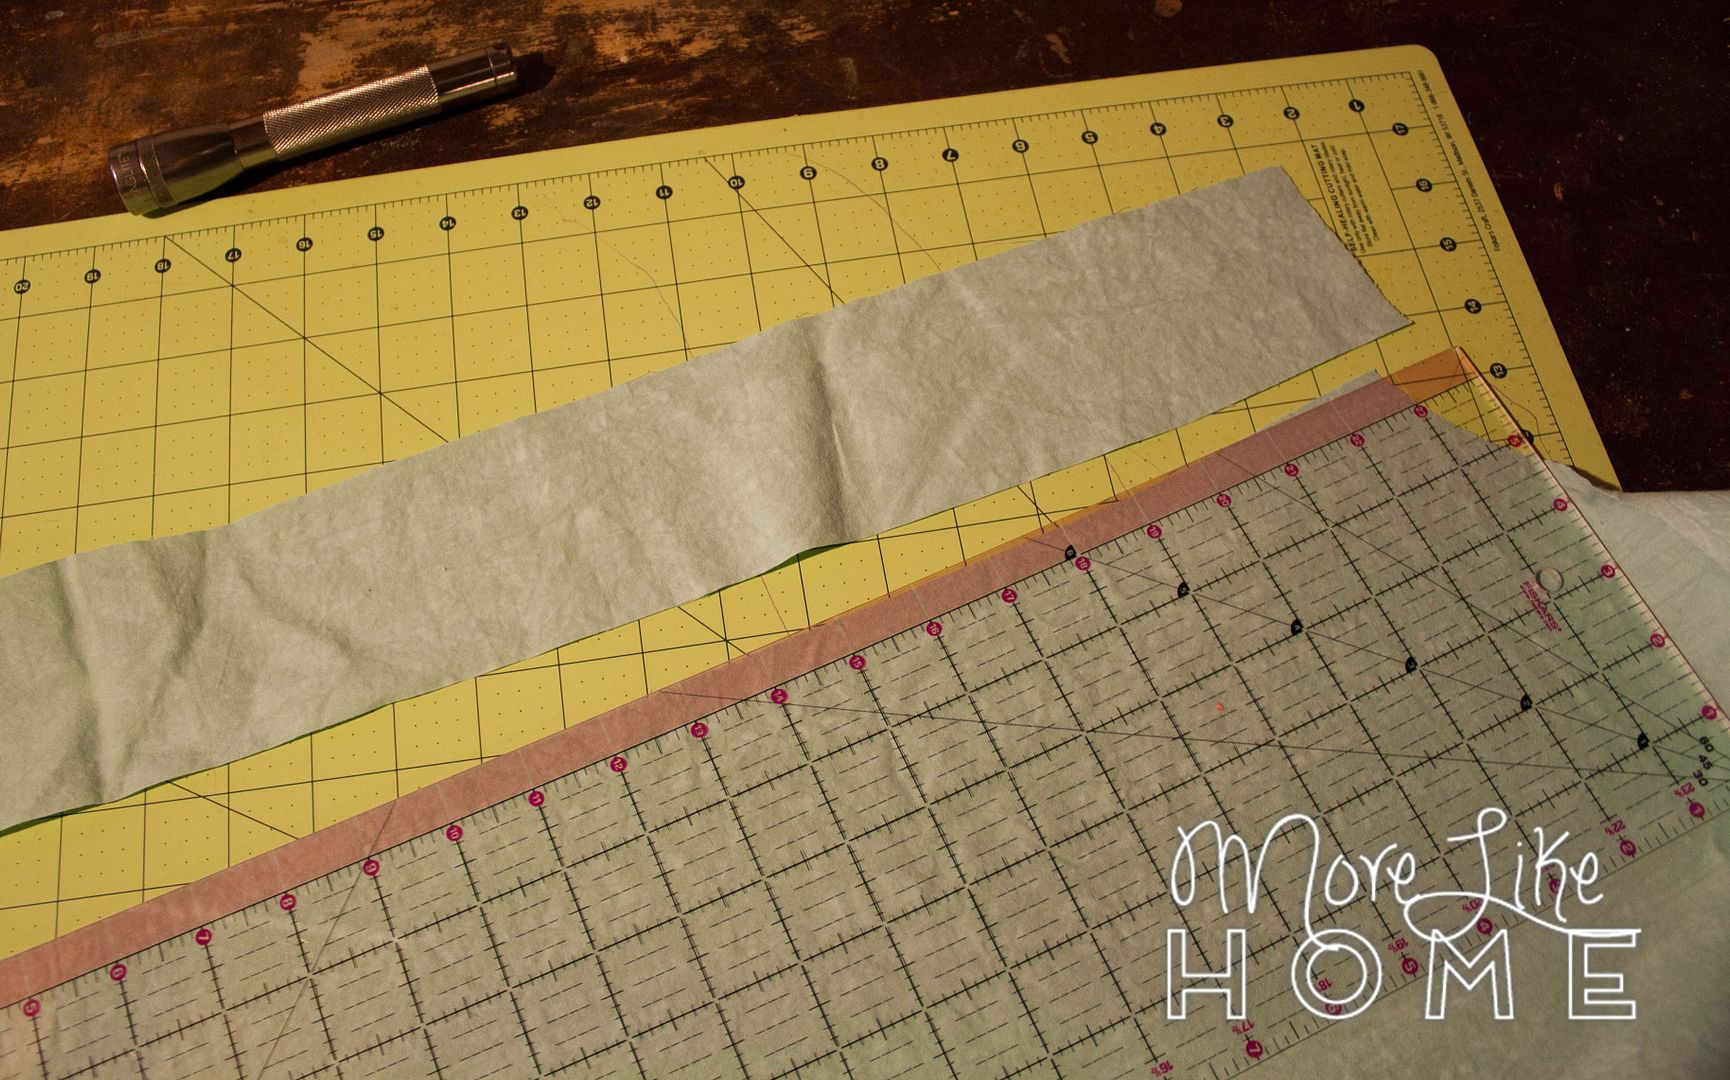
Make a bias tape (ish. I know, it's not on the bias.). Fold the strip in half and press, then open it up and fold each edge in toward the center line and press.
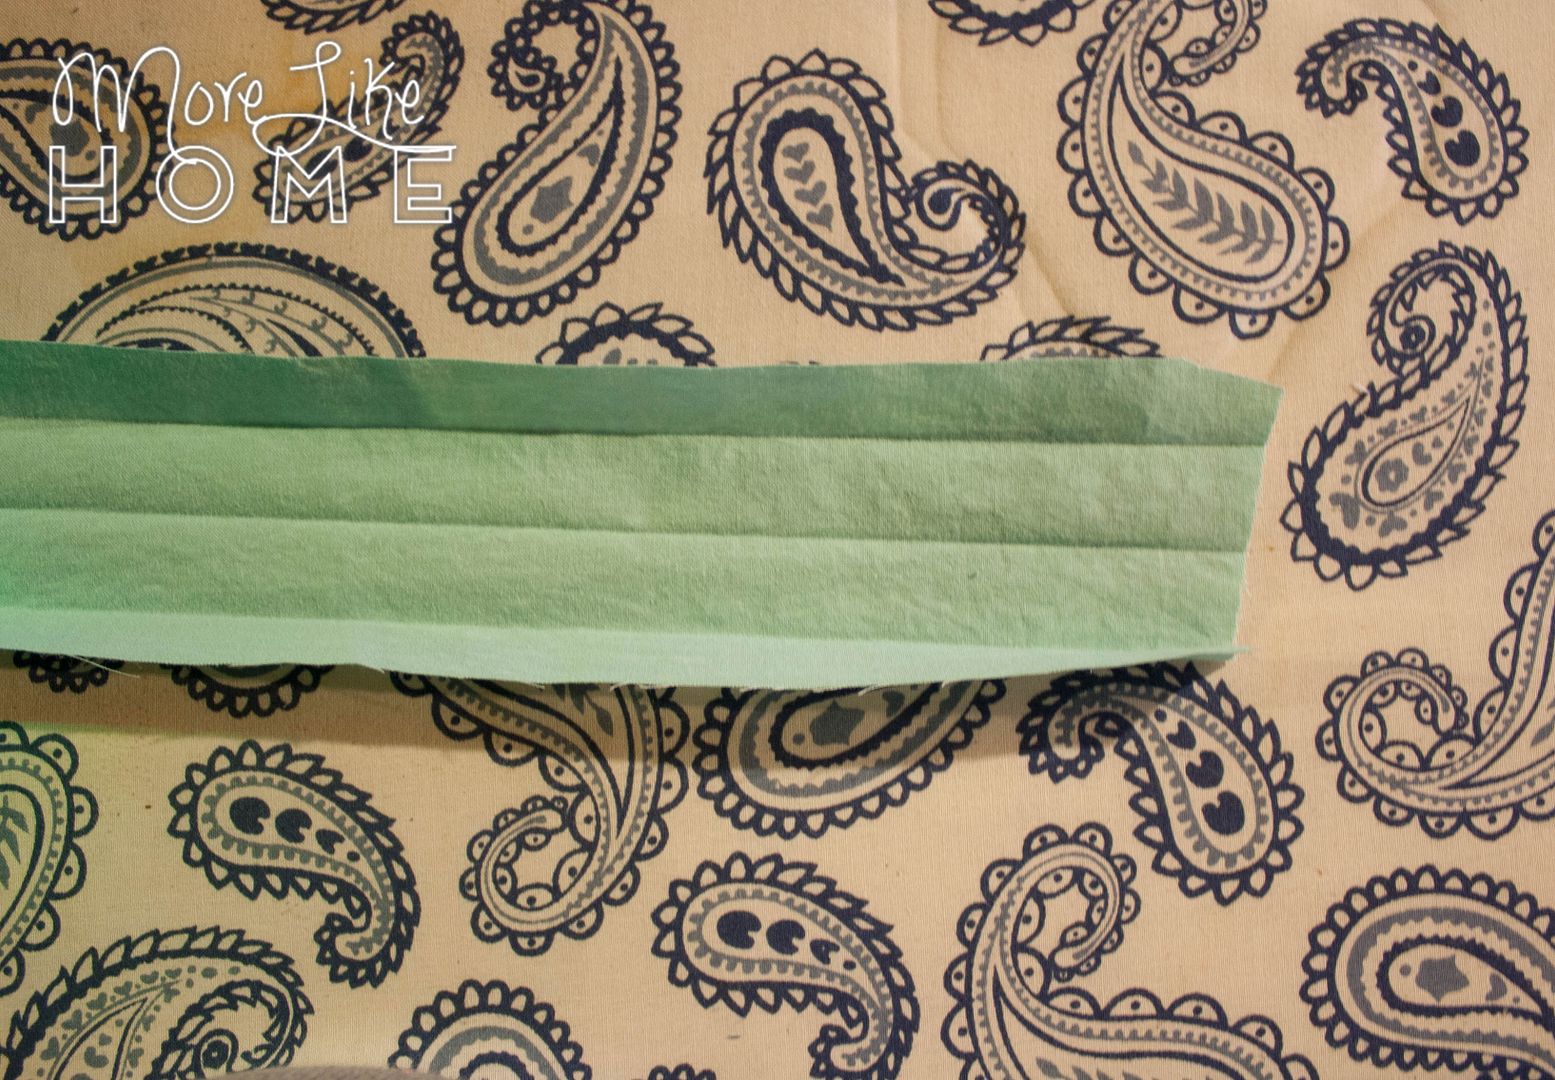
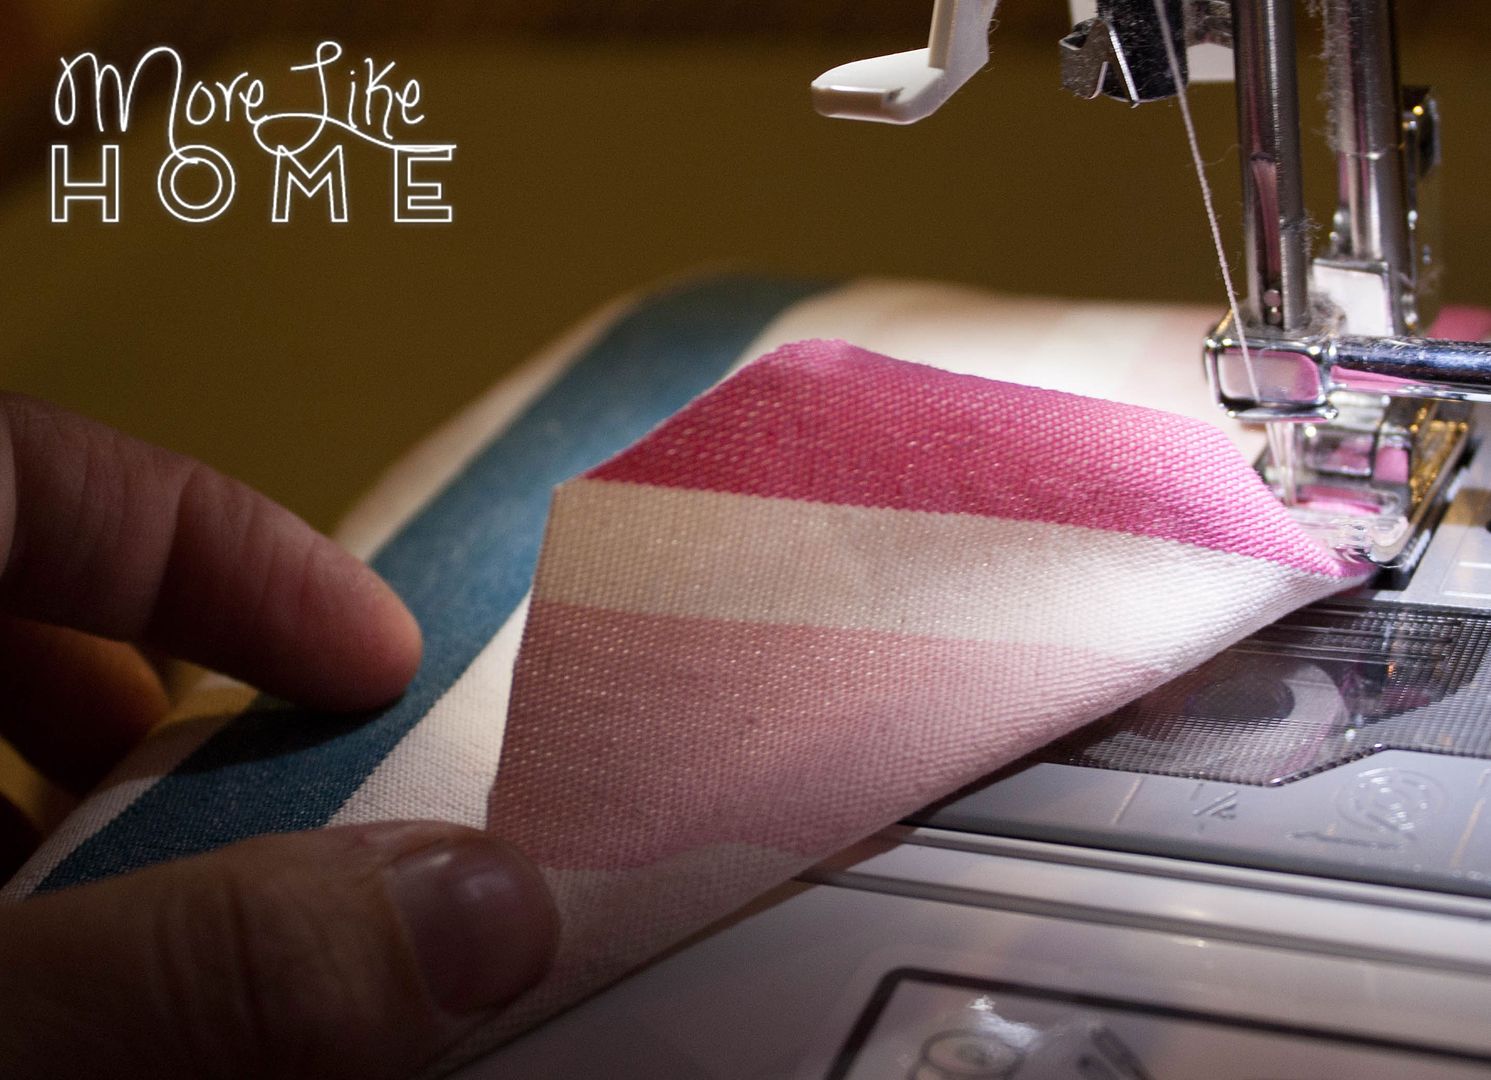
Line up one of the raw edges with the raw edge of the pillow towel (it should be centered with 1/2" of bias tape hanging off at each end). Sew right along the crease that is closest to the edge.
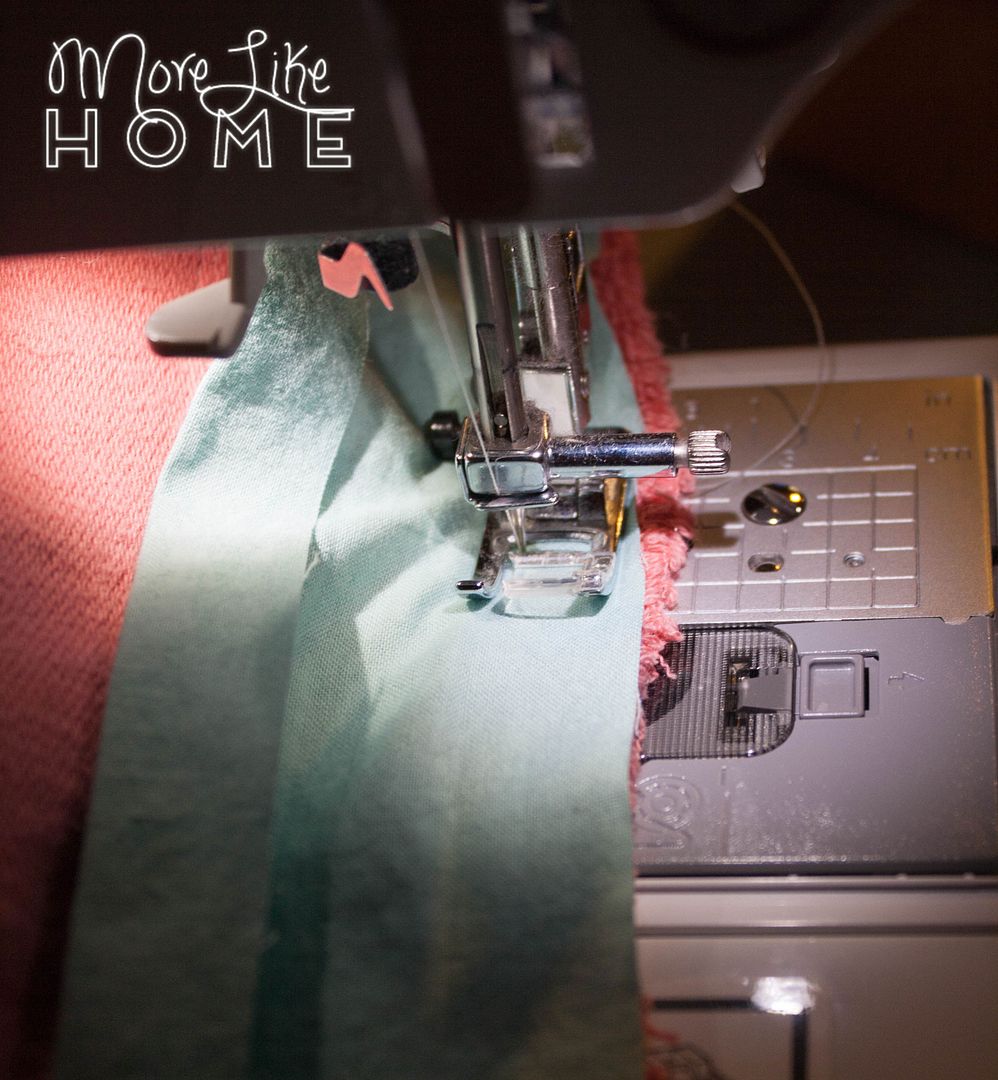
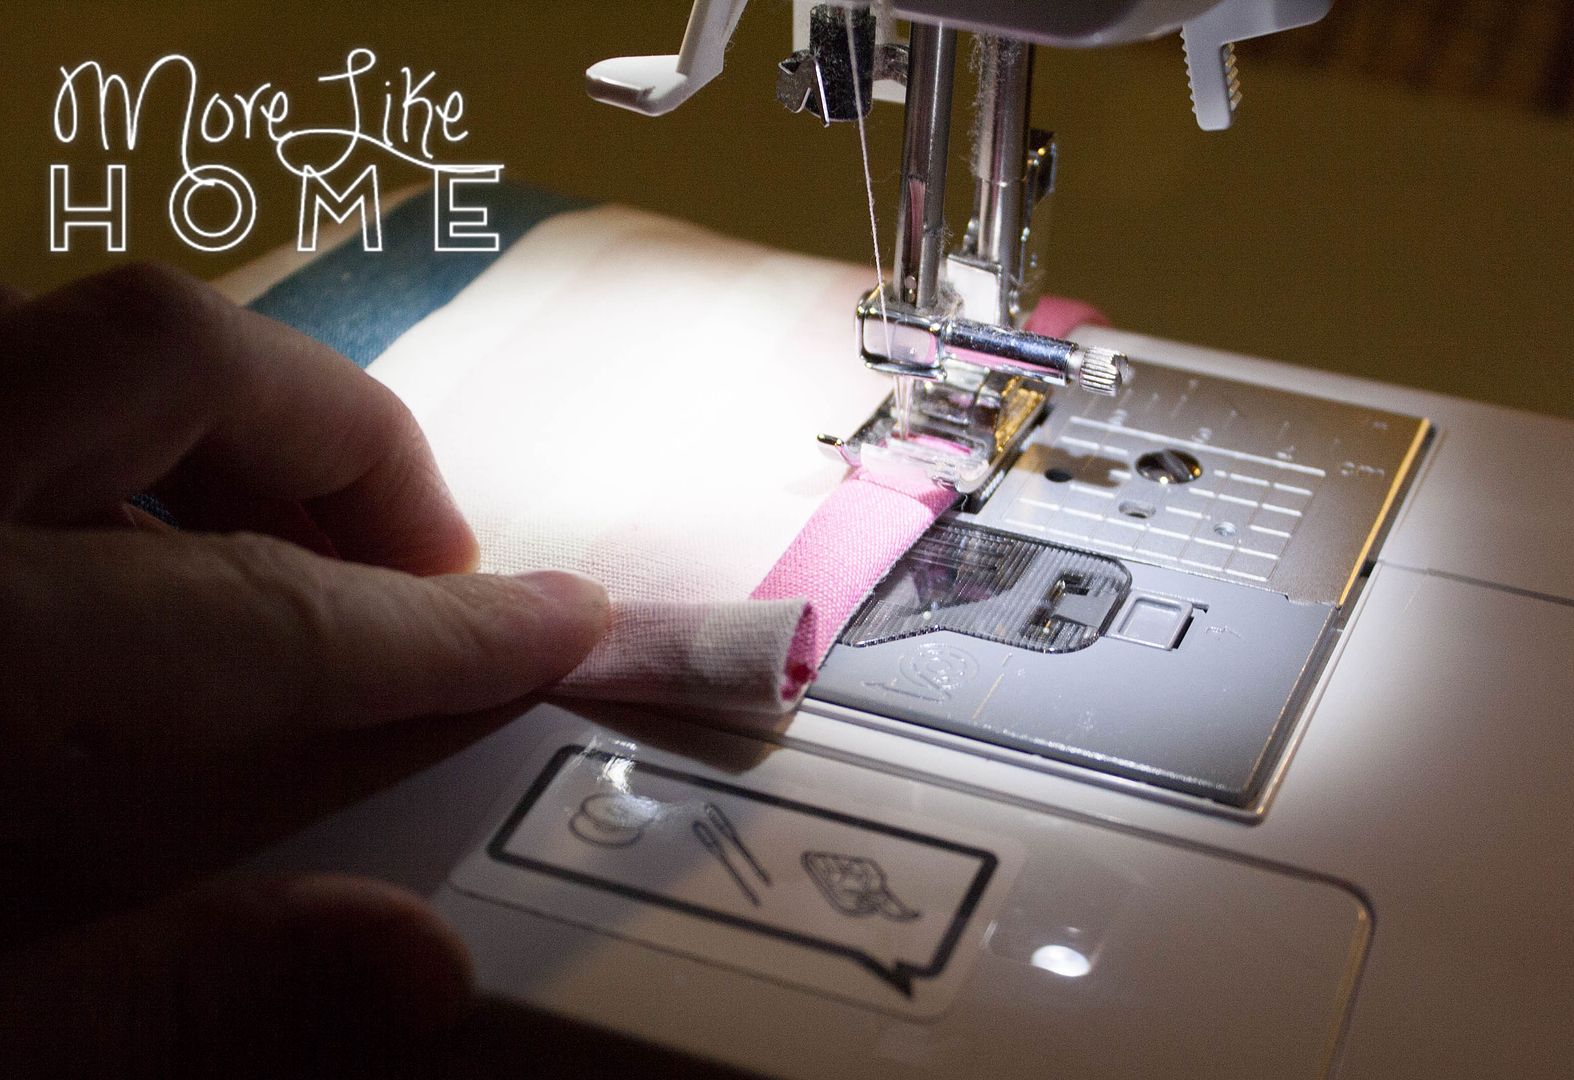
Flip the pillow over and fold the bias tape around to the other side (tuck the raw edge under so you have nice, neat edges) and tuck the ends of the bias tape under the tape. Sew right along the folded edge of the bias tape.
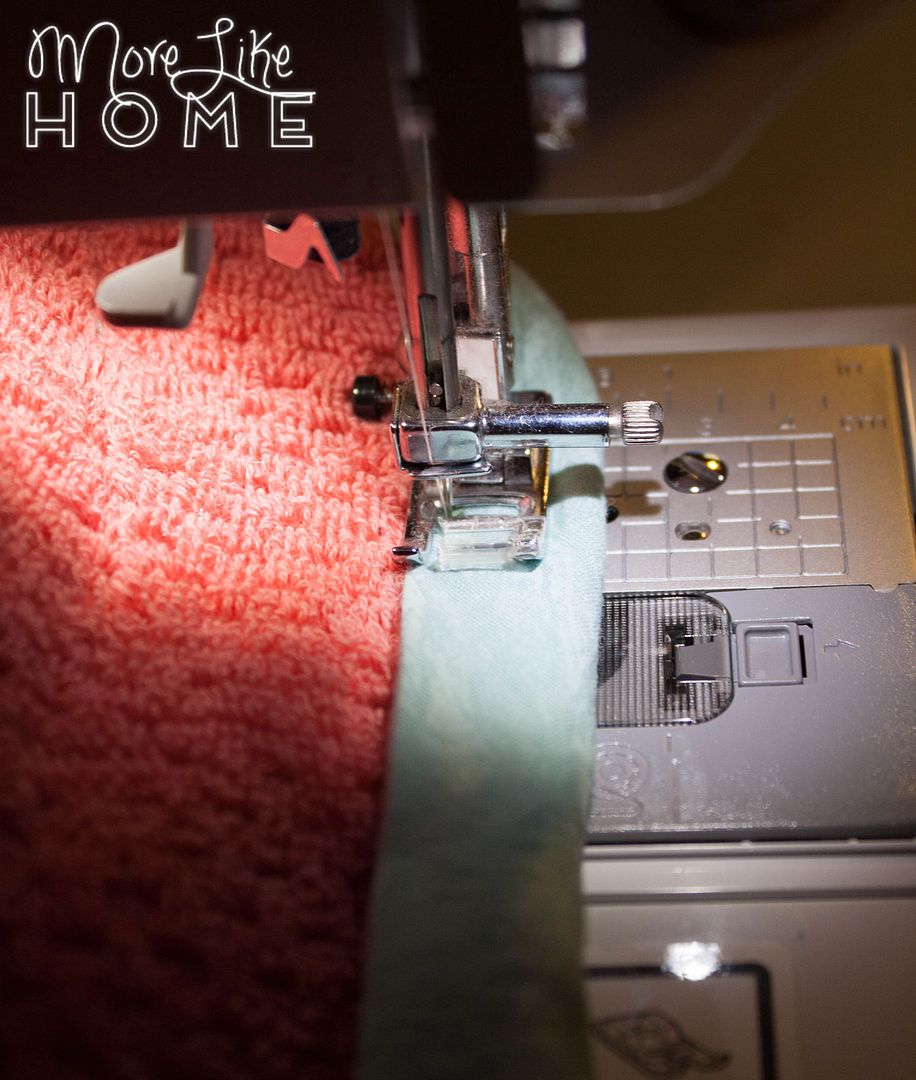
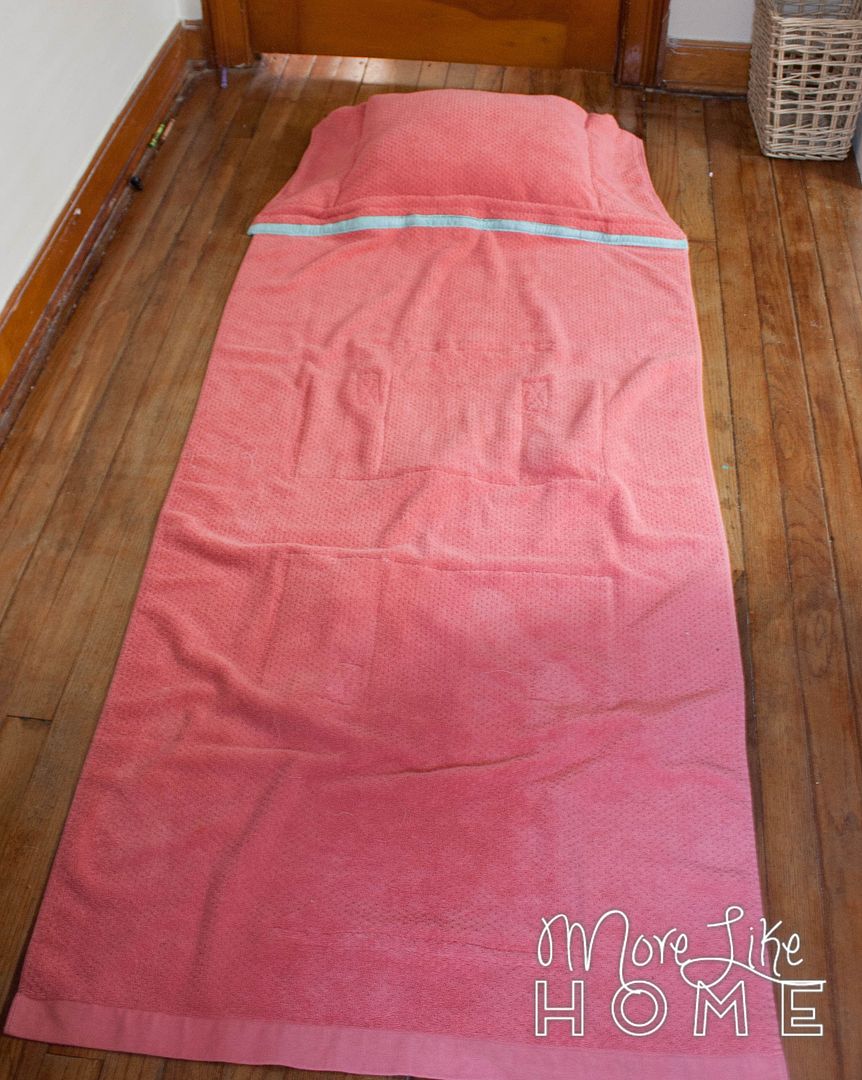
You can see the finished edge in the picture below. Now lay the bias tape edge of the pillow on top of the second towel (the full size towel, not the left over half) and overlap the edges and inch or two. Pin them together, then sew along the bottom edge of the bias tape to attach the towels. Flip the towel over and sew a second line of stitching along the edge of the full size towel.

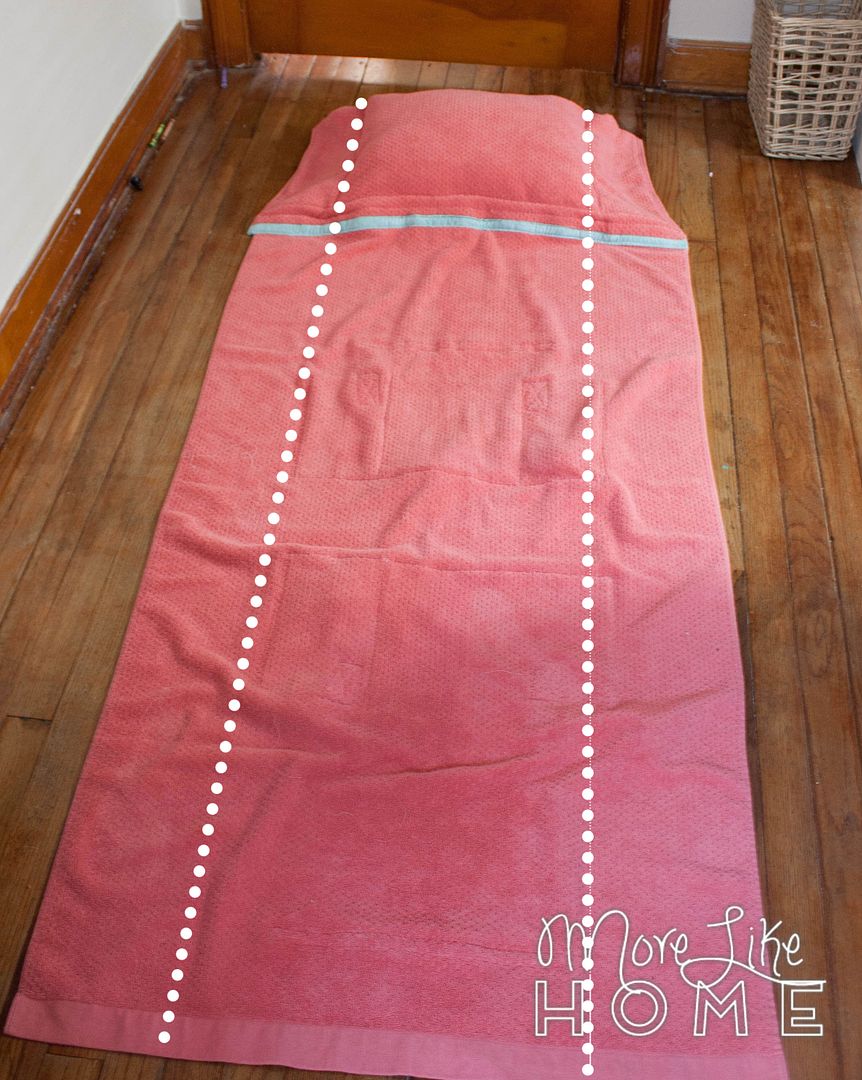
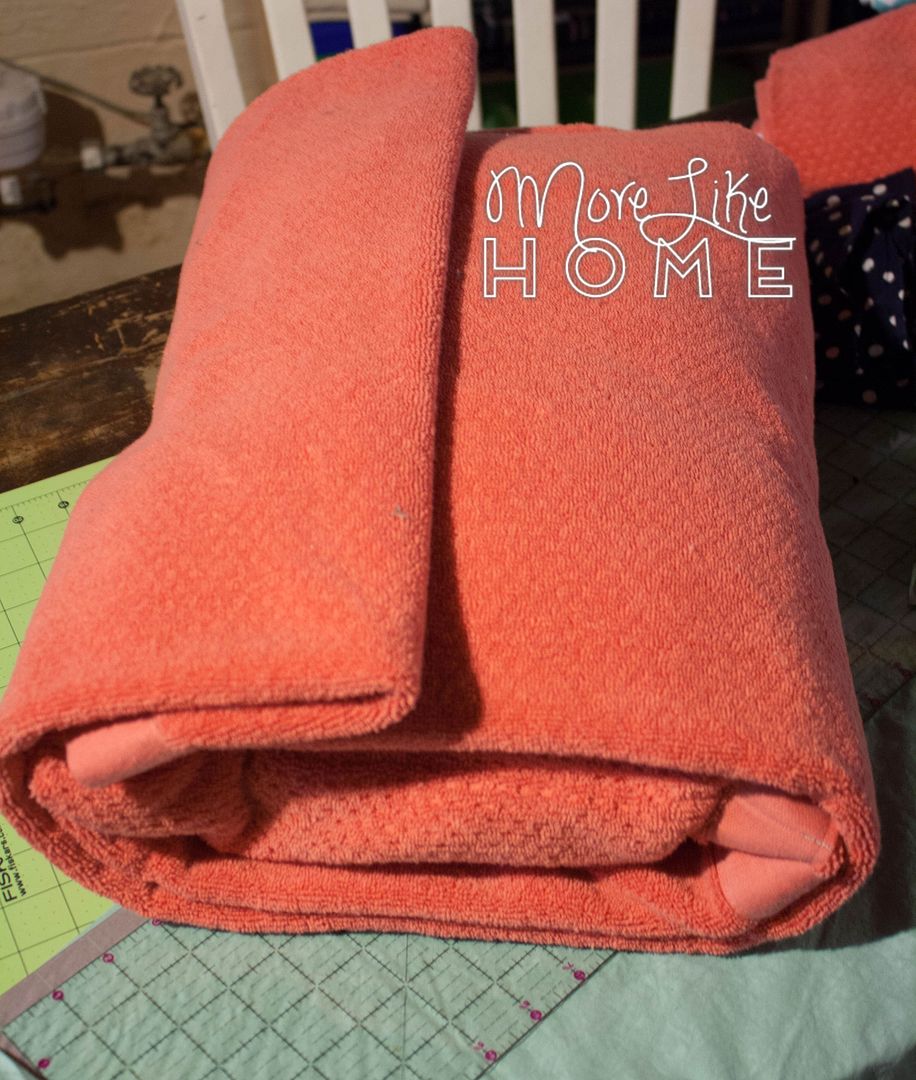
You should have a towel with a pillow like the picture below. Good job! Now go ahead and fold it up. If you went with a full-width pillow, just start at the pillow end and roll it up. For mine I started by folding the two long sides in along the dotted lines, even with the edges of my pillow. Then I rolled it up.
Which gave me this nice little bundle. You might want to make the right side of this the top of the bag. Buuuutttt... I didn't.

I wanted a flap coming over the top of the bag instead, so I tucked the loose end under (see the next pic) leaving room for a pocket beneath it. So the left side is the top of my bag. I actually ended up tucking it even further than this so I had room for a taller pocket. This worked out fine, but the towel doesn't stay rolled as tight as it probably would in the pic above, so you can choose whichever you like better. :)
Now you need to make the pockets and straps. Cut two pockets 18 x 10" (depending on the size of your towel and pillow you may need to adjust the size of your pockets). Fold all the edges under 1/4" and press, then 1/4" again and press. If the corners are too bulky, you can snip off a little like this:
Stitch all around the folded edges.
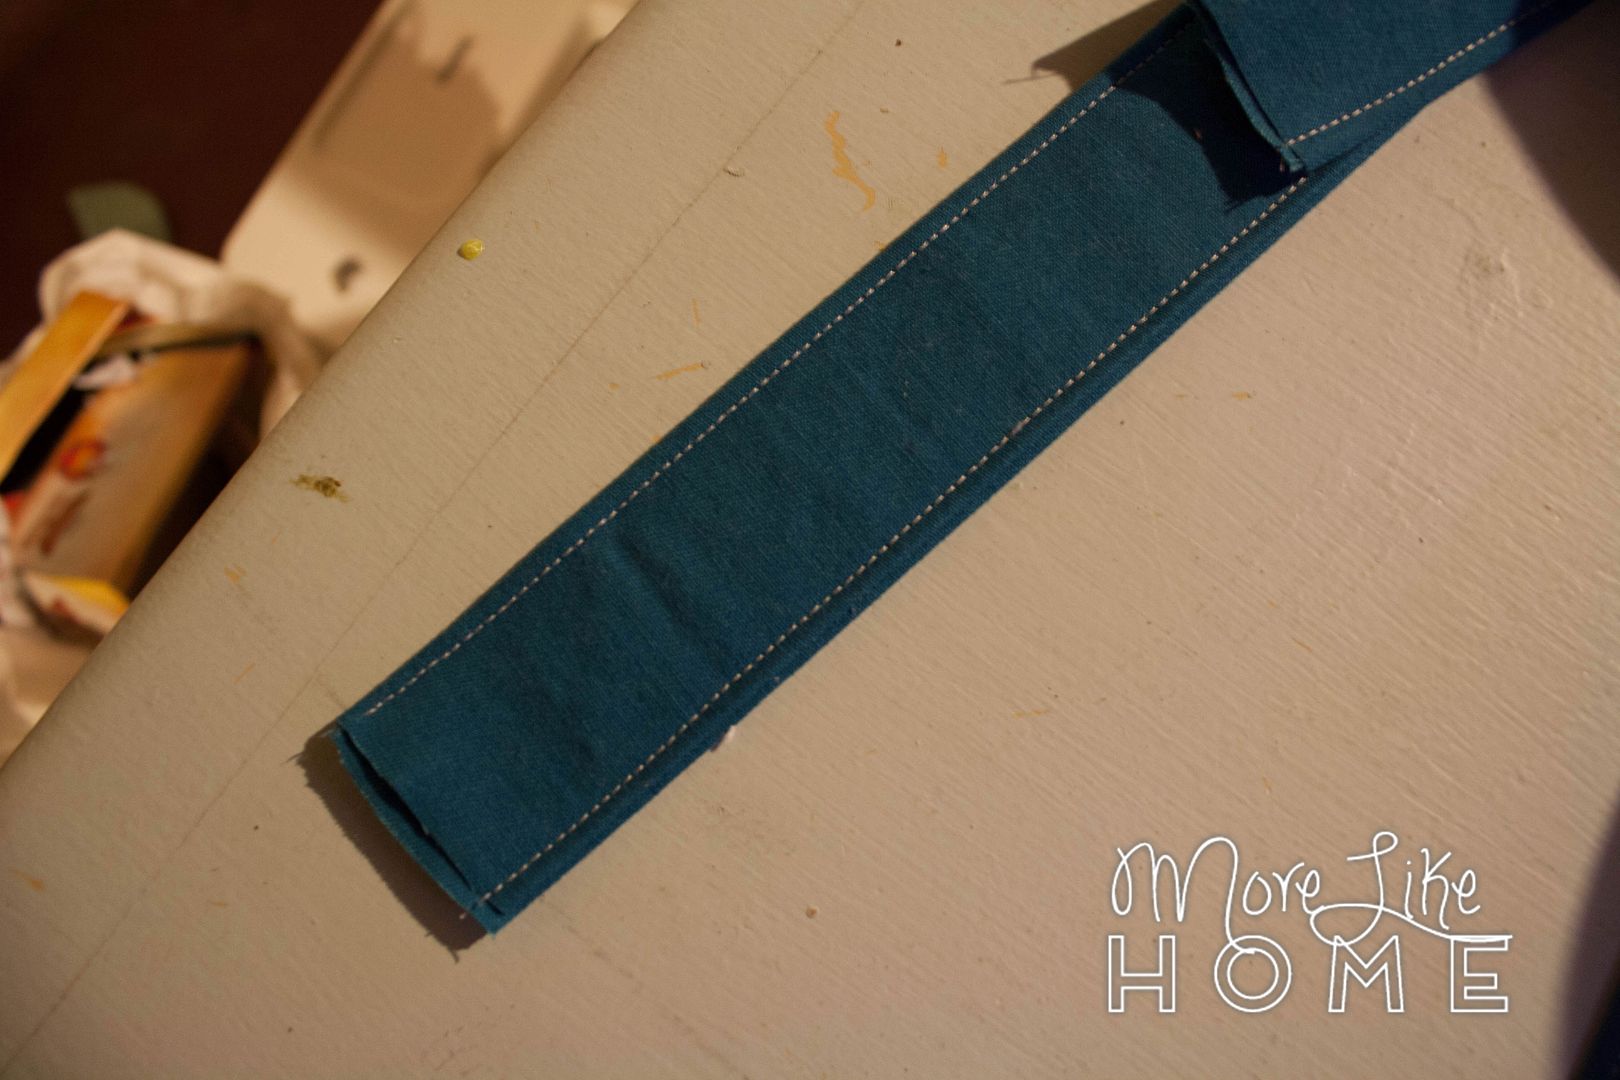
Cut two straps 32" x 6". Fold each strap in half length-wise and pressing a crease. Then open it up and fold each edge in toward the center line and press a crease.
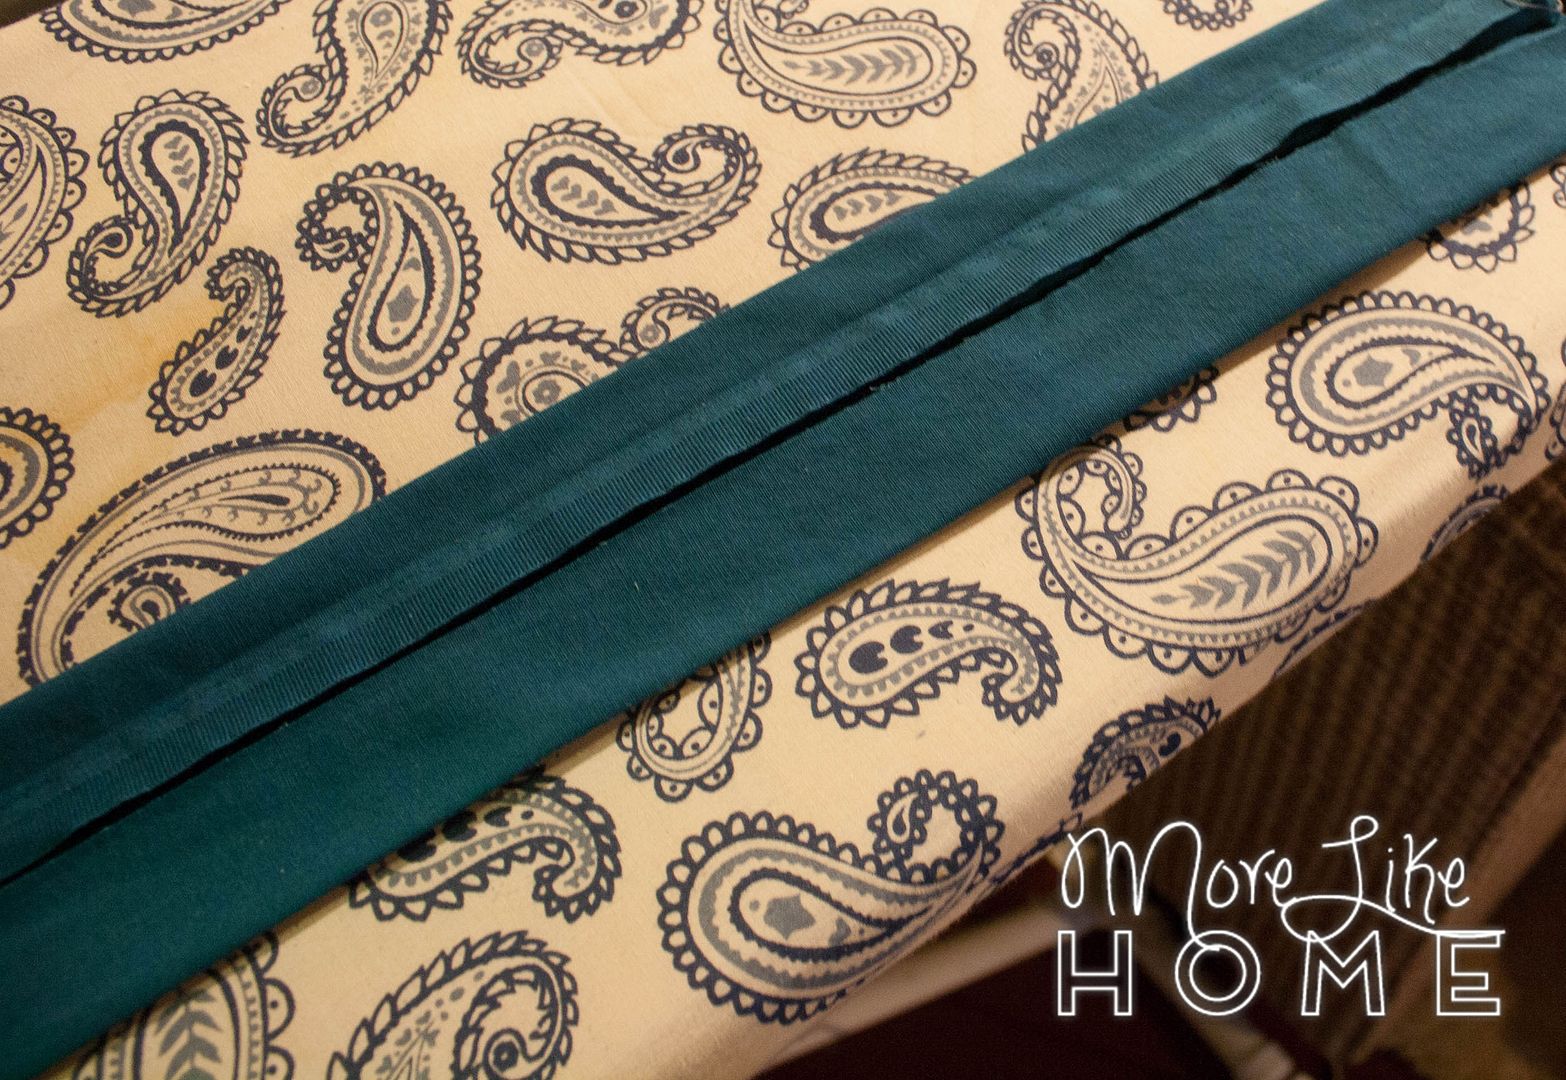
Fold it along the center line again, then stitch along both long sides of the strap.
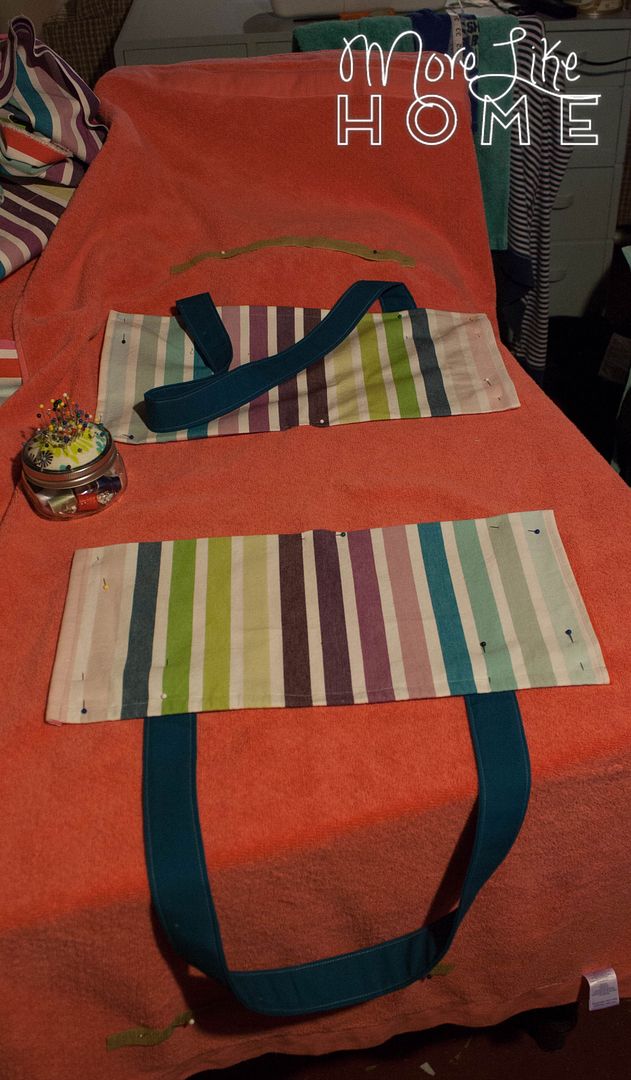
Now you need to pin everything in place on your pillow. I started with the pockets, one on each side.

Then I pinned the straps in place under the top edge of the pocket. I set them in 3" from the side of the pockets, and the raw ends are tucked down 3" below the top edge of the pocket.

Open the top flap and pin your velcro in place. I would definitely recommend putting the velcro on the flap right at the folded edge (instead of out in the middle like mine is) and lining the bag velcro up with that. I think that would solve my problems with this towel not staying rolled as tight as I would like.

Once everything is pinned in place you can open your towel back up. This is a good time to make sure all your pieces are only pinned through one layer of the towel. It should look something like this.
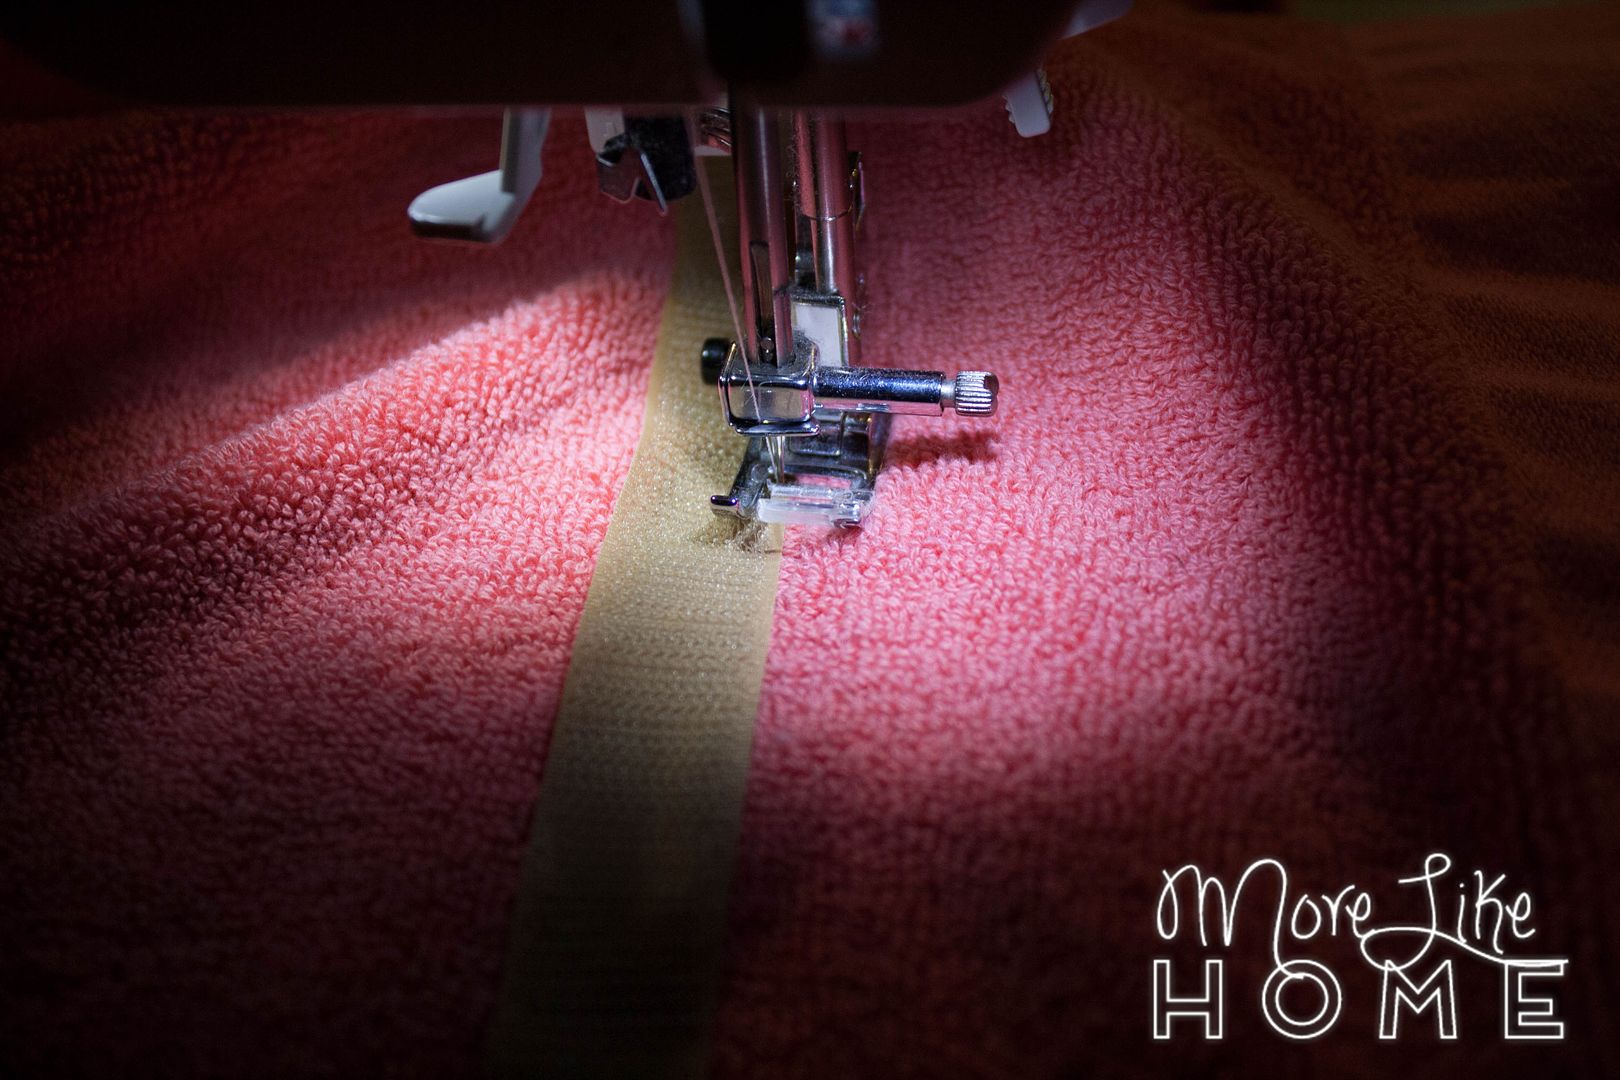
Now you can start sewing all those pieces in place. Stitch around the edges of each piece of velcro.
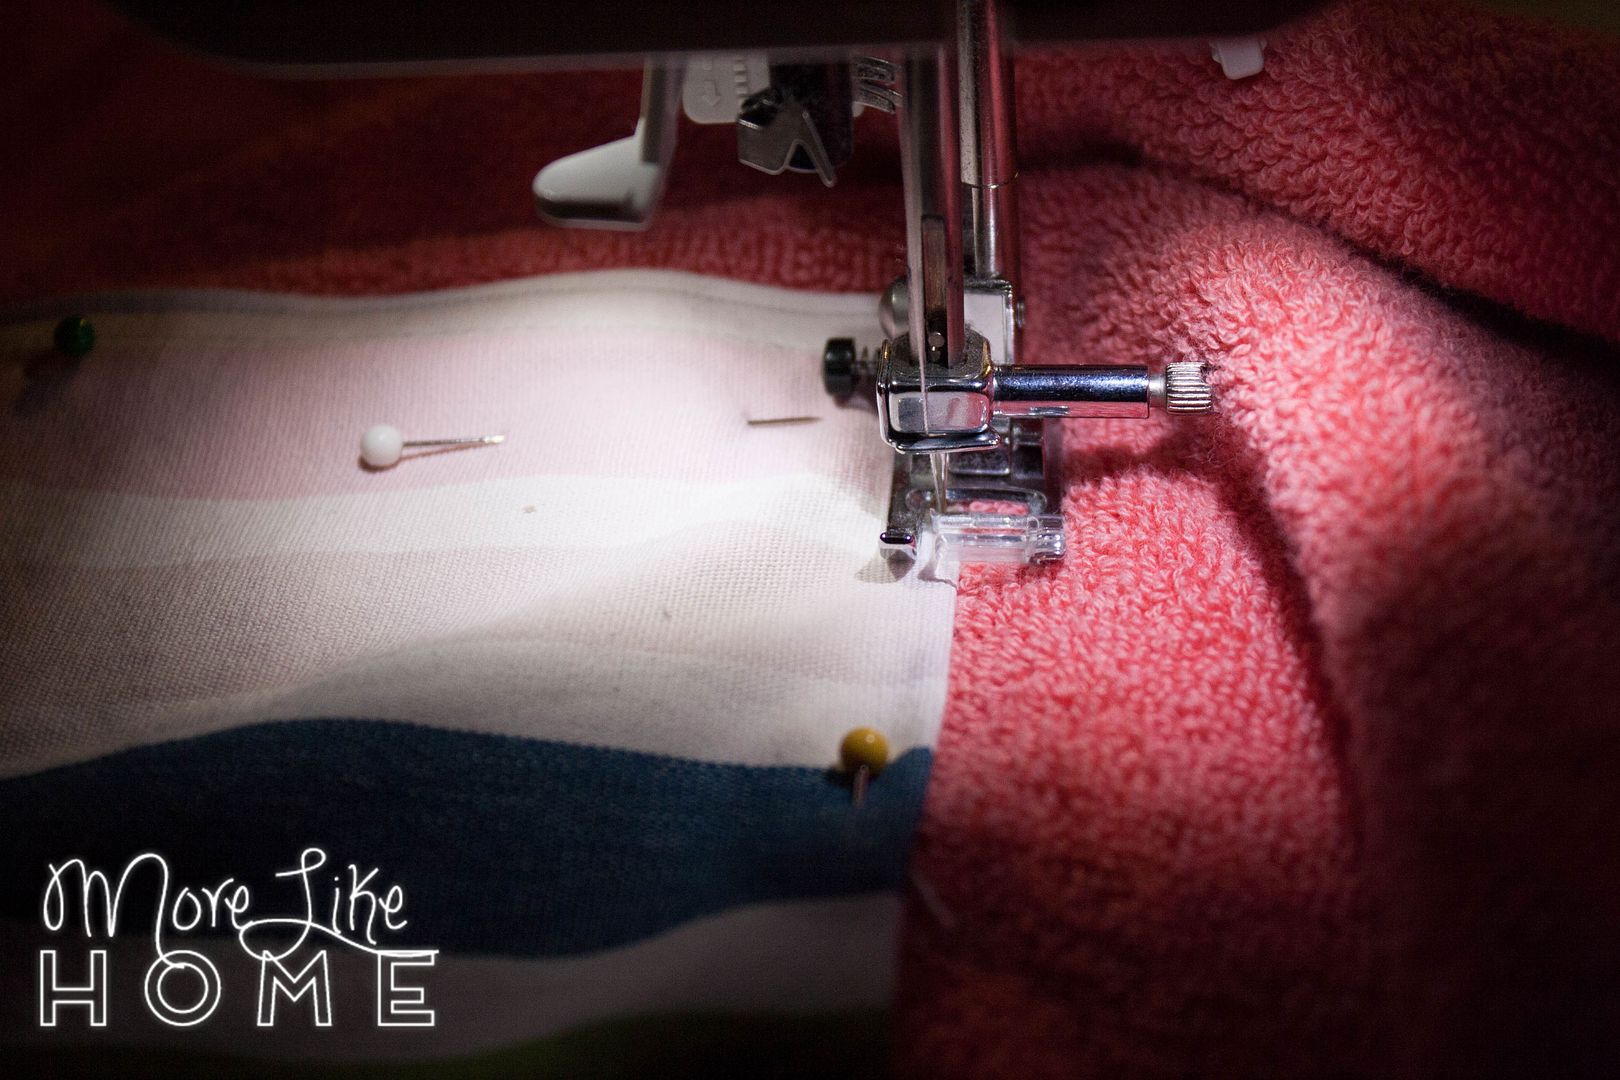
Fold under the raw end of each strap and sew them in place. I sewed a square about 2" high (so it wouldn't show above the pocket) and did an x-box in each square.

Then sew along the sides and bottom of each pocket. I did a second line of stitching to reinforce it. Now you can divide each pocket into smaller pockets by stitching a line from the top of the pocket to the bottom wherever you want to divide it. I divided it into three smaller sections on the front for water bottles and sunscreen, and went with two larger pockets on the back for books. A striped fabric worked great for this because I could sew right along a stripe and know my lines were straight!
Then roll it back up and you're done!
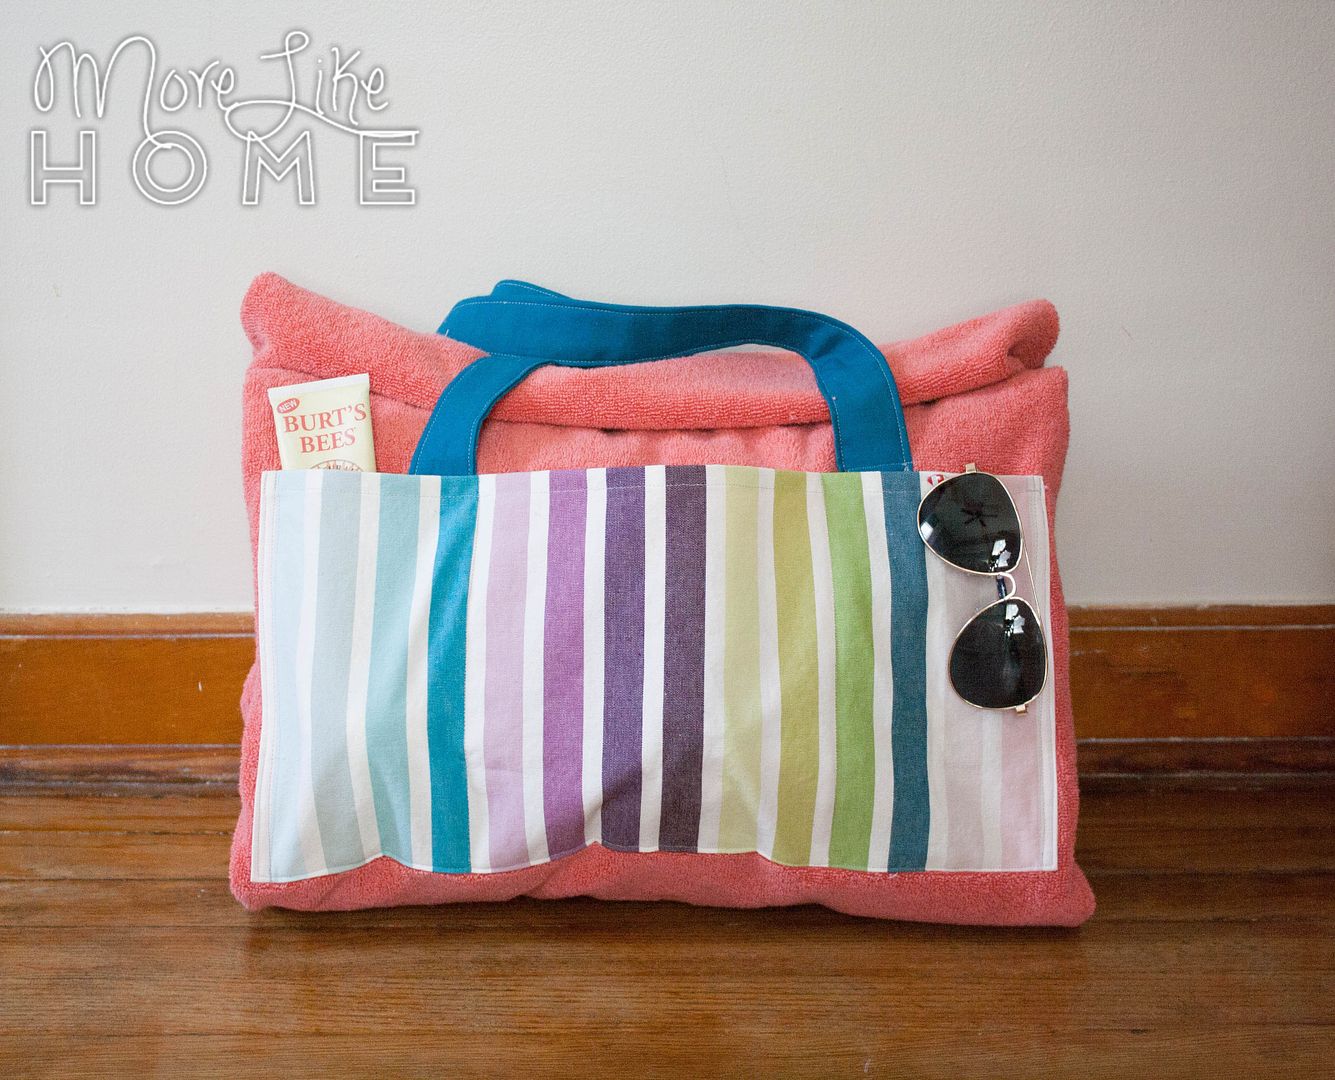
If you're giving this tote as a gift you could fill the pockets with goodies like sunglasses, a new book or magazine, and your favorite sunscreen. Or if you're on the Georgia budget, just go with the bag. It's cool.

Oh, and don't forget to let the pillow tester test the pillow one more time. It's so comfy he'll probably fall fake-asleep almost instantly.

Now you're ready for a perfect last day at the beach before the weather turns cold for good. Or, you know, ready to start on a handy and inexpensive Christmas gift. It's never too soon. Even if you husband says it's too soon. Apparently nesting level 3 = do all the Christmas shopping in September.
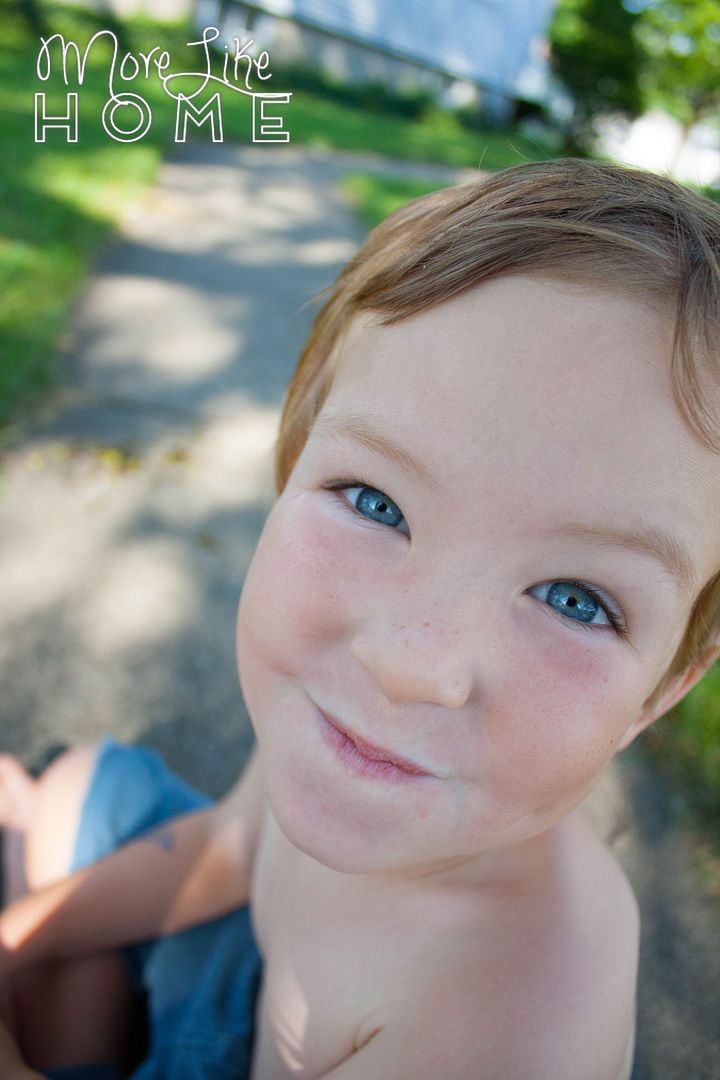
And here's our biggest boy enjoying our last warm days in the backyard. I will never get tired of those eyes.

Have fun, and I'd love to know if you make your own beach towel tote!

I'm definitely making this. I've seen many DIY beach bags, but I love the design of yours. These will make great gifts for my girls who love and live close to the beach.
ReplyDeleteThank you! I'd love to see how yours turn out. :)
DeleteInstead of stuffing the pillow I might make this and leave the pillow area as a big open pocket and fold/roll another smaller towel as a pillow insert. I like to have a lying down towel and a drying off towel so this would be a perfect place to stow that drying off towel and make a pillow when needed!
ReplyDeleteTHIS IS A GREAT IDEA. It makes so much more sense than a pillow! Now I have to make another one. :)
DeleteWhere did you buy that duck cloth? I love the colors!
ReplyDeleteHi! I found it at Ikea a couple years ago. I've been stashing it waiting for the perfect summery project! I haven't seen it again so I'm afraid it's been discontinued. :( I think it was called Annbeth, if that helps your hunt!
DeleteThis is such a cute beach blanket!! Thanks for the tutorial. Great easy to follow instructions too. I included this in my 93 Ultimate Beach Essentials list. You can find it here http://www.chewymom.com/ultimate-beach-essentials/
ReplyDeleteLoved this tutorial. I made 3 for my daughter and her friends I monogrammed their initials on one of the pockets. So cute!
ReplyDeleteHope they all enjoy their towel totes! And I love the monogram idea!
DeleteHow do you fold this beach towel tote up?
ReplyDelete