

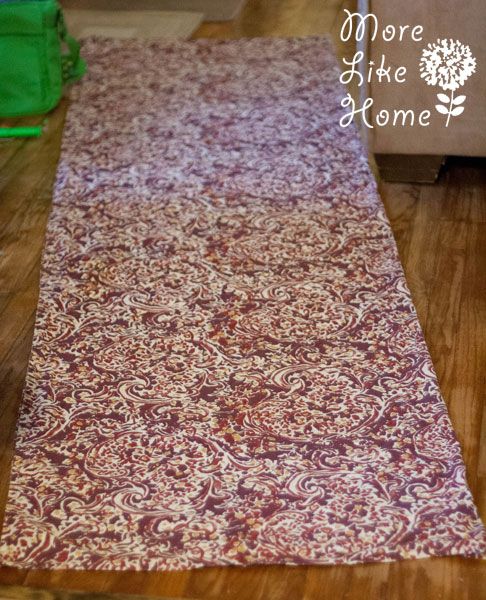
Of course it depends on the table cloth, you want something that's made of cotton or linen and strong enough to hold your baby, but they generally have a great balance of being tough enough for the job but still breaking in nice and soft and floppy which makes them comfy and easier to tie. You can use them to make wraps, slings, or even mei tais! Target is a great place to start because almost all of their tablecloths fit the bill! Plus they come in pretty colors and go on sale pretty often. I really lucked out on black Friday and found one of their thanksgiving prints on clearance for just $5.50! The one I picked was 60 x 120", which is the longest they have and what you need if you want a short wrap. You can get by with 96" long if you want a ring sling with a shorter tail.

To make a wrap start by prewashing and drying your tablecloth. They typically shrink about 10% and you want to get that taken care of before you start sewing. Next fold the table cloth in half lengthwise. Cut down the fold to split it in half (you'll have two pieces roughly 120 x 30"). Guess what? You're getting TWO baby carriers out of this $5.50 table cloth!!
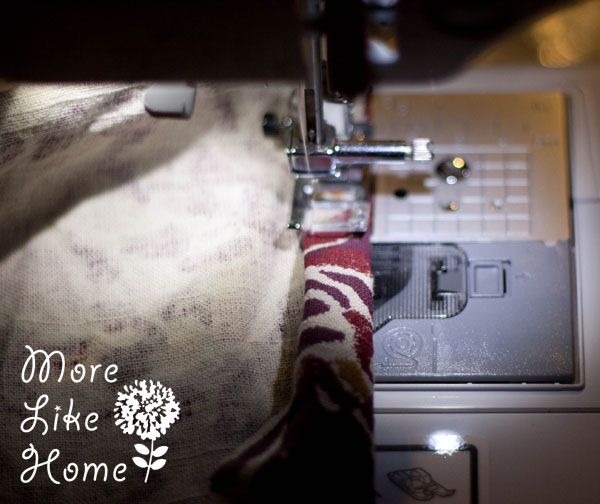
To finish your wrap, just do a simple rolled hem down the cut edge by folding under 1/2", then 1/2" again and sewing down along the inside folded edge. You can press it and pin it if you like, but I like to just tuck it under as I go:
And that's it! With the shrinkage you end up with a wrap that is a long size two (you can read more about wrap sizing here and what carries you can do with a short wrap here).
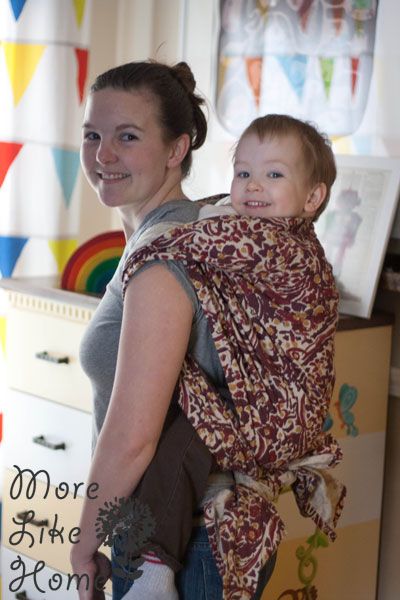
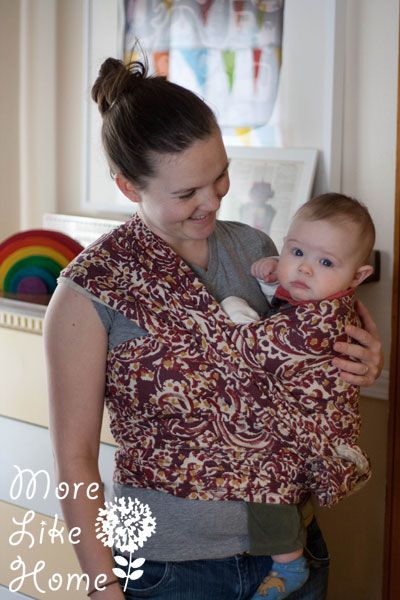
For Big Brother I can just do a "ruck tied under the bum" and for Baby Brother my favorite has been this hip carry thing I made up in a moment of mommy-is-doing-dishes-instead-of-looking-at-me panic. He's fallen asleep there several times!
I'm still working on breaking it in and the arm muscles I need to tie behind my back. :) But so far I like it! And did I mention it was bascially $2.75? I'm using the other half to make a ring sling for a pregnant friend, I'll let you know how that turns out!
What is your favorite way to wear your baby? Have a favorite DIY carrier?

Any updates? How was your experience? How long did you use it? Did you break it in? What weight capacity did you stop at? TIA!
ReplyDelete