Showing posts with label dining room. Show all posts

Thursday, September 19

Breakfast Fried Rice

Okay guys. Get ready for one of my favorite breakfasts ever. It's time for breakfast fried rice. I'll start with the super simple recipe, then give you a few tips I use to make it extra-easy to put together in the morning. Be warned, I have no amounts listed because I just add whatever looks like enough for all of us.

Breakfast Fried Rice

Ingredients:
  • bacon
  • cooked rice (leftover is perfect)
  • spinach
  • frozen peas 
  • salt + pepper
  • eggs (and oil if you want to fry them)
1. Cook the bacon. Then crumble it and set it aside. Reserve some of the bacon grease in the pan for cooking (I pour the extra in a bowl in case I need to add more later. You know, since I don't measure and don't know exactly how much I need.)

2. In the pan with the reserved bacon grease (you can use oil instead), dump in cooked rice. Stir fry it for several minutes until it's warm and toasty.

3. Add spinach, frozen peas, and salt and pepper to taste. Cook until peas are thawed. Add crumbled bacon.

4. In a separate pan, cook the eggs. (I go ahead and start them while the rice is cooking so it all gets done around the same time) Most of my family loves fried eggs, but I always make a couple scrambled for the ones who prefer that.

5. Serve a scoop of fried rice with an egg on top! Season with salt + pepper to taste.



There are a few things you can do to make it all come together easy peasy in the morning:
  • Make a meal with rice earlier in the week. Cook extra while you're at it to save in the fridge for fried rice day!
  • Same with bacon - cook it earlier in the week for BLT's or something. Save several pieces of bacon and the bacon grease in the fridge. 
Then on the best day (fried rice day) the hard work is already done and it all comes together quickly.

Check out the rest of my recipes here!
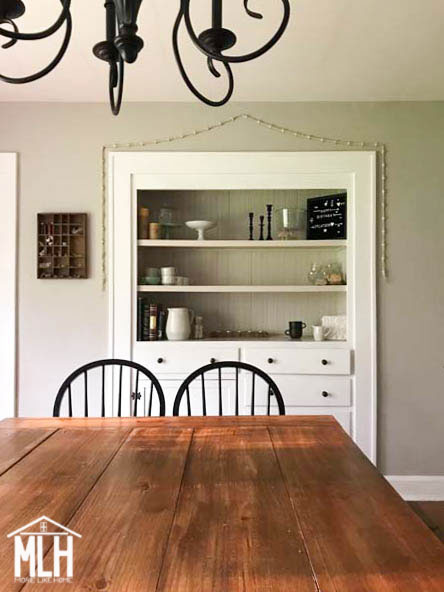
The lesser-seen side of our dining room. I love how it's coming together!

What's your favorite breakfast recipe?

Monday, November 5

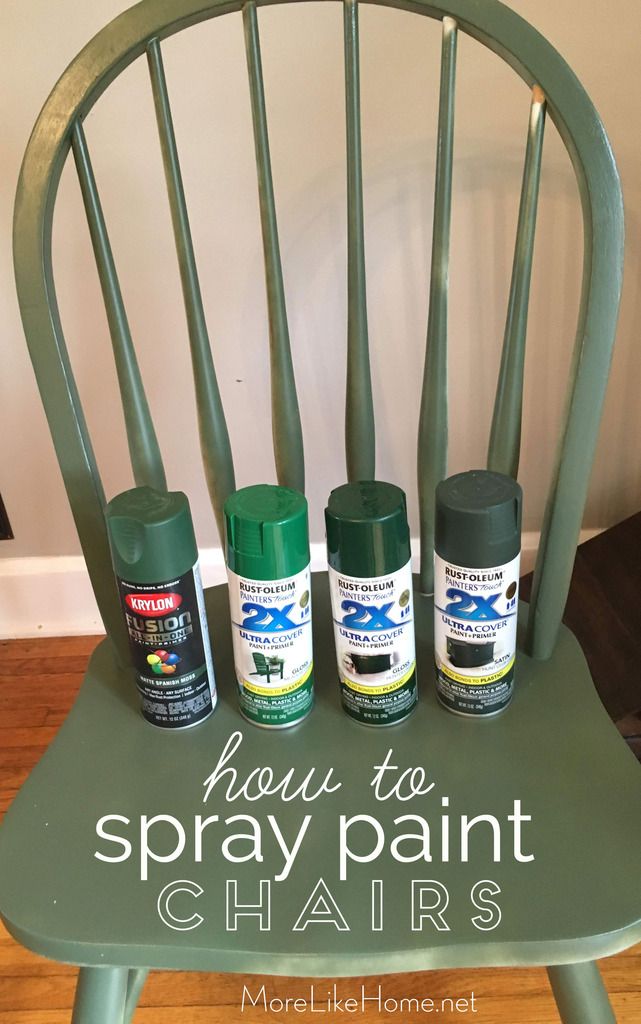
Updating Second-Hand Chairs with Spray Paint

I finally did it. I finally picked a color and painted our dining chairs.

There's nothing like impending winter to kick me into gear, and this was one project I knew I needed to get done before the cold! So this is the story of how I painted them, and the silly, indecisive journey that made the process take so long. But after 30 years, I know indecisive is the way I work so I'm just rolling with the (very slow) punches over here.

Whether you're indecisive or not, painting is always a great way to freshen things up on a low budget, and dining chairs are no exception! This is a perfect project for spray paint because you don't have to worry about streaks, drips, or getting a brush around all those spindles and nooks. 

But before can paint, you need some chairs. Obviously *said in my best Prof. Snape voice*. For me, that meant starting with a hunt for a new set of chairs. We had a set of DIY industrial chairs from our last house, but they just weren't fitting my style any more. Ever since we moved in and built our extra-wide farmhouse table, I'd been dreaming of a set that better fit the style of our new table and new house.

For more chair-painting goodness, check out my $3 yard sale chairs and my industrial chair makeover!

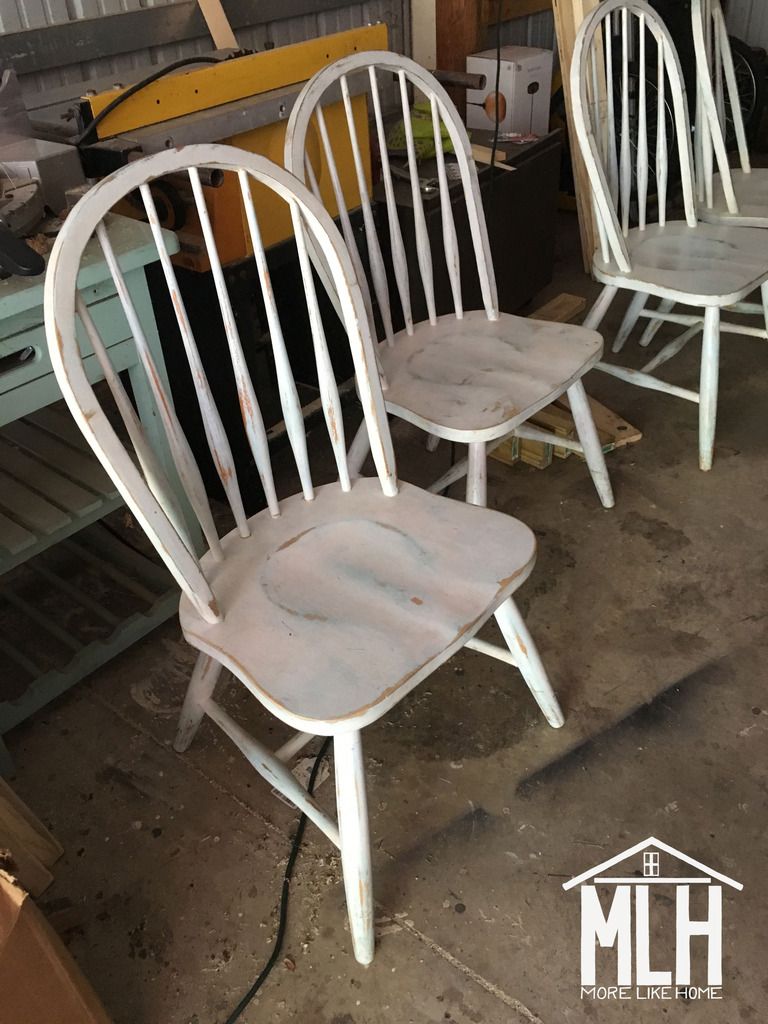
I did a little poking around sites like wayfair and overstock, but deep down I knew that my thrifty roots couldn't abide new chairs when there were so many second-hand options out there for a fraction of the price. You know what they say: "Buy used and save the difference!" So I put most of my efforts into Craigslist and fb marketplace. I knew I wanted something simple, not too formal, with a classic style. And I didn't want to spend a fortune. During my long search for chairs, I also looked at tons of dining room inspirations on pinterest (part of the reason my search was so long was because I couldn't lock down quite exactly what I wanted) and, at long last, I started to hope for a classic Windsor-style chair. The one day, these guys popped up:


Tuesday, June 5

DIY Travel Map Pinboard

This little project is almost too simple to even mention. But it's also so easy and so fun that I don't want guys to miss it! It's a little framed map pinboard to mark all your travels. It's easy dress it up or down to match your decor by switching out the frame or changing the map style, plus it's a great family keepsake!


We only have a handful of pins so far. My first thought was to only mark the places we'd all been together, as a family of five. But now that already doesn't make sense because we just added a new baby who hasn't been any of these places! So we might as well go back and add everywhere we've been since we were married. Maybe we'll use a different color pin to show how big our family was for each trip.


This map was a great fit for the new adventure gallery in our dining room. You can see it up on the far left above the mountain painting.


Tuesday, April 10

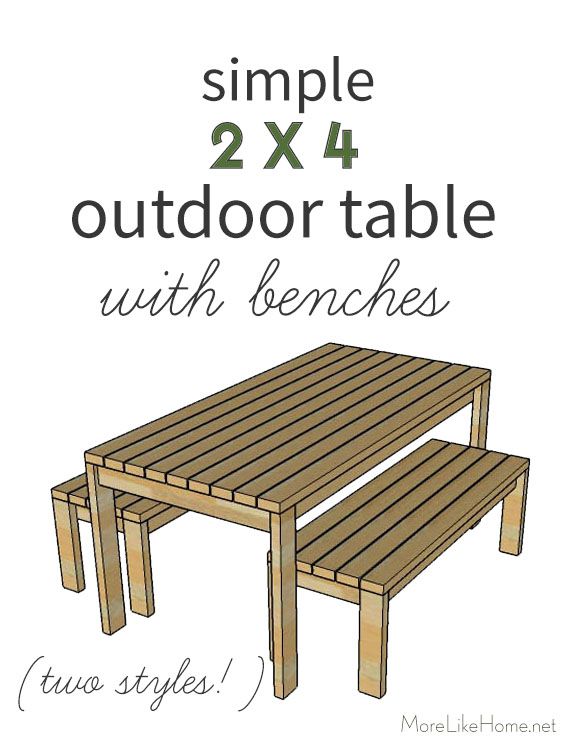
2x4 Simple Outdoor Table with Benches {two styles!}

I've always liked the look of Ana White's simple outdoor table & benches. With the popularity of our 2x4 building series, I thought I'd just make a quick twist on her original design to make a 2x4 version!  I dream of eating outdoors on summer evenings, and I feel like this set-up with a roomy table and long benches would be the perfect place for the family to gather. Plus it would be a great compliment to a 2x4 outdoor sectional!


I made two simple variations for the table top - one with the top boards running length-wise:


And one with the top boards running across the width:


The dimensions will be the same for either table: 67 1/4" long x 33 1/2" deep x 30" high


I'm also including plans for matching 2x4 benches to tuck under the table.  Perfect for some backyard summer fun! Ready to get started?


Thursday, March 15

DIY Constellation Wall Hanging

One of the best ways to make your house feel like home is to decorate with unique pieces you love. But what happens when you can't find that perfect piece you're searching for?

Well... guys... that's where a little DIY magic in order. You probably already know that, because you guys are amazing, but today I'm going to show you some of the easiest DIY magic ever that you can use to make your own sweet constellation wall hanging (or just about any other wall hanging you can come up with!)


When we were finishing up our gallery wall in the dining room, I knew I needed a large piece on the right end for balance. And I had a vision of this amazing constellation map that would fill the space perfectly. But, search as I might, nothing I turned up felt right. For one main reason: I wanted a fabric wall hanging. Something a little more casual. Something that didn't need to be framed and that would add a more texture to the grouping. Turns out those are... hard to come by.


But then out of the blue, completely by accident, I stumbled across the perfect thing. It was at a cute little home decor shop I love to visit when I go see my sister. And on this fateful day, they had a set of tea towels. With constellation maps. Bingo. I grabbed the set for $10, and with just a couple more supplies I made my own wall hanging!


Saturday, March 10

Gallery Wall: 6 Curating Tips and Tricks!

Guys, it's starting to look like someone actually lives here. We have art up in the dining room. And curtains. And there are plants. Thank goodness for nesting. So today I just wanted to take you on a quick tour of our new gallery and share a few tips for curating your own gallery wall. It's easier than you might think!


The chandelier is a Craigslist upcycle (read about it here),
we built the huge farmhouse table last year (get the plans here)
and the chairs were a happy yard sale find a few years ago.

Now, I definitely don't believe a gallery needs to be themed. I'm also a big believer in "things I like and want to hang up together" galleries. In fact our "adventure theme" was more of a happy accident when I realized I'd collected several pieces that fit perfectly with our "Adventure is Out There" centerpiece. But I do love how our theme turned out. And once I found a direction, it was so much easier to round up pieces to finish the grouping.

 So if you're trying to fill a wall but feeling a little stuck (whether you're after a themed gallery or not), these tips can help get you back on track and charging forward!


1. Start with the things you love. Have a painting from your grandma? A favorite photo? Old wallpaper you found in the attic? A life quote? If you want to love your finished gallery, you need to start with pieces that you love. Fill in the gaps to make your favorite pieces work together, but make sure they are your priority and let everything else work around them.


Curtains peeking in on the right!


2. Find an anchor. We've had this large wooden sign hanging here for over a year. It was looking pretty lonely. But I knew it would be the perfect thing to anchor a gallery wall, and I knew that I loved it. So we put it up and waited for the rest to happen. It turns out, having one large piece in the center makes it easier to find balance when you hang up the little guys.


I made this sign during one of our sister craft nights. If you check out this post, you can learn how to easily make a template to create any kind of sign! Seriously, you can print out anything you want - phrases, pictures, whatever - and turn it into a beautiful wooden sign.


Wednesday, September 28

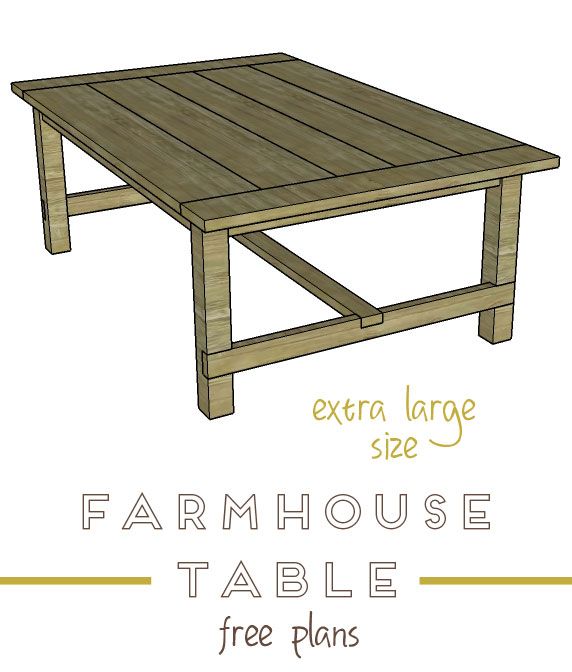
Farmhouse Dining Table - the BIG one

*UPDATE: More than 3 years later we still use this table every day and LOVE it!

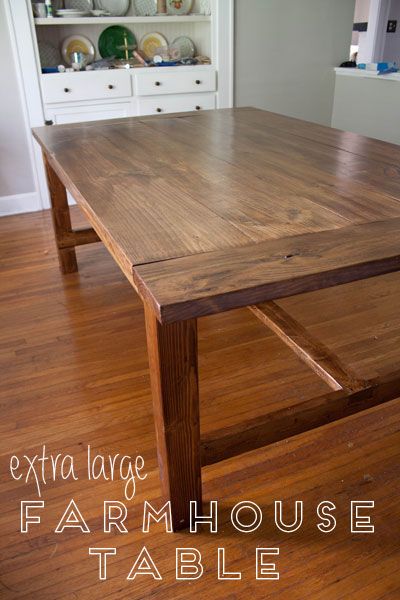
You guys have probably heard us mention that this is the first time in almost nine years of marriage that we've ever had a dining room. And on top of that, it's a huge dining room. So we found ourselves faced with a brand new opportunity - we got to build a table! A slightly mammoth sized table. We wanted a table with room to grow and plenty of space for guests, plus one that would make sense in the space. (see the matching bench plans here, and another fun farmhouse table plan here)


Our house is actually an old farmhouse that used to manage the 60 acres around us. The original owners left a packet of information and old photos with a pretty complete history of the house & property that's been passed down from owner-to-owner. It's pretty cool and we plan to add a few photos of our own! With our home's history, a traditional farmhouse style table seemed like a fitting choice.


After looking at dozens of table designs, I finally narrowed down my favorite features: I like it simple, I like stretchers, and I like wide planks for the top.


And that landed us with this design (based on Ana White's farmhouse table with the size modified). It's a little longer than most tables (7') but it's also over 4' wide, giving us plenty of space to fit serving dishes or spread out with art supplies.


Subscribe