If you take away a second thing, it can be this handy hack.
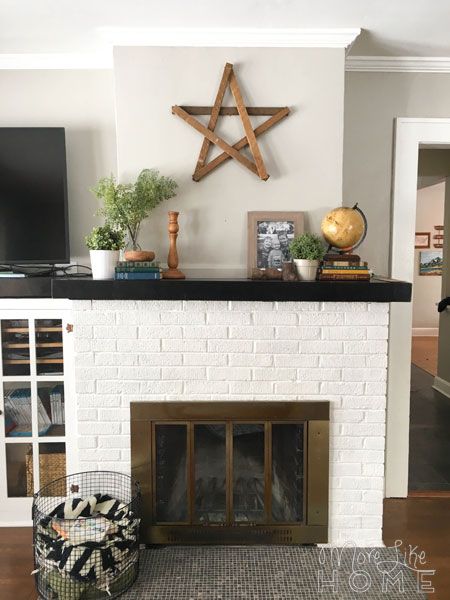
So let's check out the fireplace, because it's looking better than ever with it's snazzy new fireplace door! Except it's not actually a new fireplace door. It's the same old door with a fresh new look that cost under $10!
But before we jump into this latest update, let's throwback a few years. At this point we had painted the walls a light gray, but that was our only change so far:

Guys, small changes really do add up. It feels so much more cohesive and fitting to this old farmhouse now than it ever did back then. Partly because of the updates and partly due to my minimizing and learning to style the Cozy Minimalist way (so. much. stuff. on that old mantle). Here's a quick rundown of what we've done so far:
Update #1
Wrapping the outdated mantle with wood. Read all about it here.
Total Cost: $30

Update #2
Installing faux shiplap on the chimney (is the inside-the-house part still called a chimney? I don't know. But it feels wrong.). See how we did it here.
Total Cost: $15

Update #3
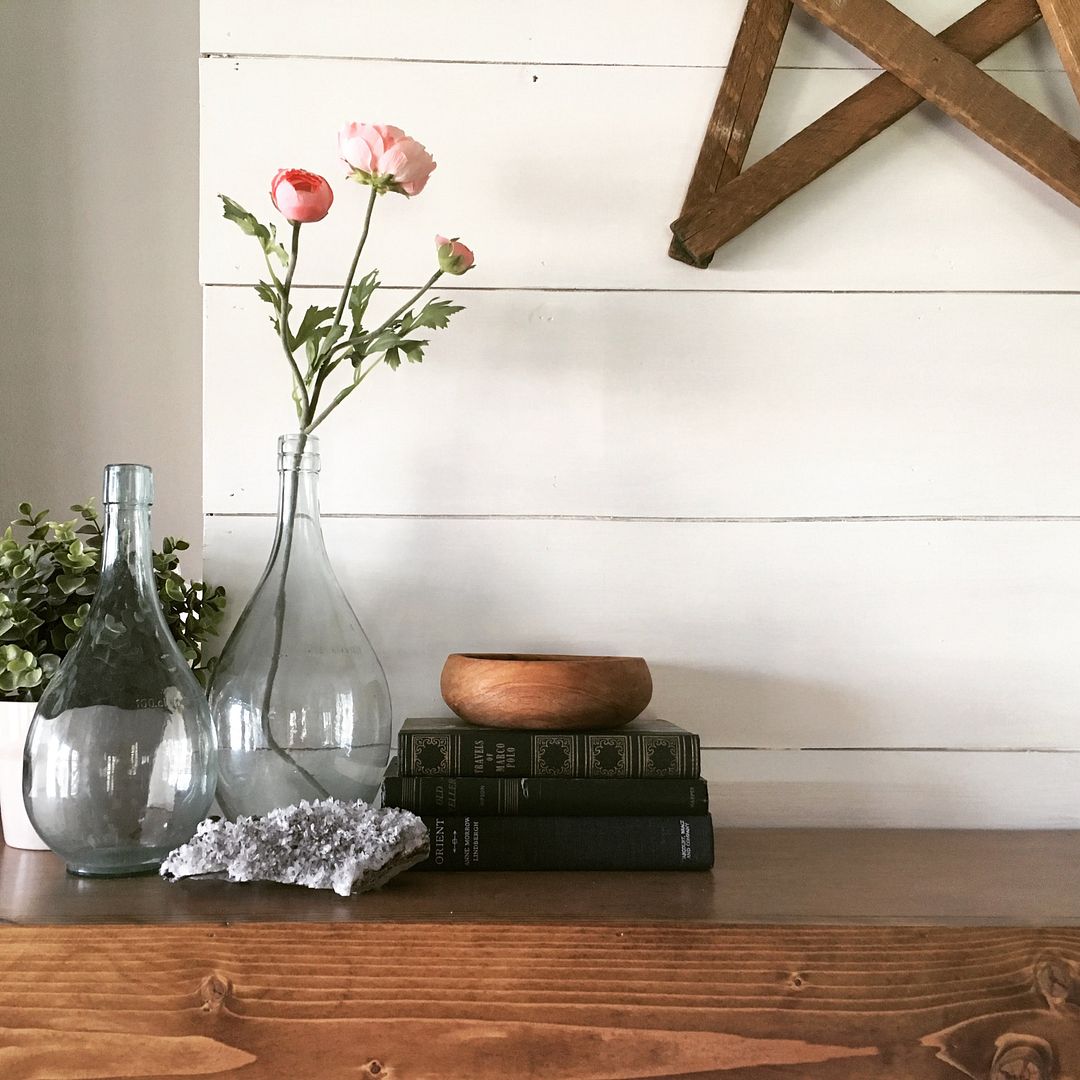
Minimizing and making better style choices! Read about styling a mantle + calming the room here.
Total Cost: $0

If you're looking for a budget-friendly way to refresh your fireplace, these updates are a great place to start! We totally transformed the focal point of our living room, and only spend around $45 to get there (plus about $10 more for this final update). Also, paint. Paint changes everything. Don't be afraid to use it.
Update #4
The fireplace door. You're reading about it now.
I saved the fireplace door for last because I didn't totally hate the brass and I thought it might grow on me once the rest of the fireplace was up to snuff. But, dear reader, I'm here today to tell you it did not grow on me. In fact, once the fireplace was looking otherwise spectacular, I started to totally hate the brass after all.

So I painted it black.
Looking so fresh in it's new black suit.
Yep, you can totally update your fireplace door for next to nothing with a can of spray paint. A new replacement door would have cost $200 minimum (plus you have to worry about finding the right size door because fireplace sizes vary wildly). But a can of spray paint? Under $10. But here's the catch:
You must use a paint rated for high heat.
Like this one:
It comes in a couple other colors, but I tried to keep it classic with a matte black. But be warned: I have found that the matte finish shows fingerprint smudges (which we have plenty of) so you may want to try the gloss black if that's something that will bother you. You can see them a little bit in the next photo. But everything in our house is smudgy and I figure they'll have it totally smudged up in no time and it will look like a smudge-finish paint. It's fine.
Guys, I really thought I took pictures of the steps to paint the door. I still feel so sure that I did. But I can't find them anywhere. So you'll have to use your imagination with these fireplace door painting steps:
- Remove the door from the fireplace. Ours was attached with four blue screws and about three tubes of caulk I had to peel off.
- Take the door outside. I don't ever spray paint in the house (fumes + over spray = the worst). You'll need to wait for a nice day because it won't dry right if it's too cold outside!
- Use painters tape and newspaper to completely cover the glass, both front and back. The over spray can work through those cracks and openings and land on the back of the glass, so it's best to just tape off that side, too.
- Wipe down the outside of the door and dry it off.
- Paint the outside of the door with your high heat spray paint. Several light coats are always better than one heavy coat, and make sure you paint from a different angle for each coat so you get all the nooks and crannies. Note that the paint can says NOT to paint the inside of a fireplace, so I didn't paint the inside of the door.
- Once it's thoroughly dry, remove the tape, bring it back inside (I went ahead and cleaned the glass really quick), and install it back on the fireplace. Nathan had some matte gold-ish masonry screws from another project that we used instead of those terrible blue screws and I love how it looks with that little accent. We also took the opportunity to move our door all the way down to the floor when we re-hung it. For some reason it had been installed with a gap at the bottom before.
That's it! It was a super simple update that we did start-to-finish on a Saturday for under $10. I painted it in the morning, we let it dry all day, then hung back up. It was probably between two - three hours of actual work time - removing all that caulk, taping and painting, then rehanging - plus several hours drying while we did other Saturday things.
All-in we've spent around $55 on this fireplace and, believe it or not, I think it's DONE. It's so rare for me to feel like a space is finished (and I'm sure I'll update the decor and styling from time to time to keep things fresh) but at it's core, I'm super happy with it.
Anyone else love a little side-by-side comparison?
Now if we could just get a fire working. *facepalm*
Have you refreshed your own fireplace (or would you like to)? Let us know in the comments!


No comments:
Post a Comment