Showing posts with label painting. Show all posts

Wednesday, February 19

$100 Bathroom Makeover - Going Green!


Lest you think this is about "going green" in the trendy environmental way - no. 
As my husband likes to say: "Why do you paint everything green?" 
And, as Harriet the Spy says: "I can't help it if I know what I like."

So. If you want to watch me literally turn my bathroom green for almost $0? Keep reading. 

If you want tips on going environmentally green? I mean, we still make castile hand soap, we clean chemical-free with e-cloth, and... not showering everyday saves water? There you go. 

On to today's project. Here's the before:

Tuesday, February 18

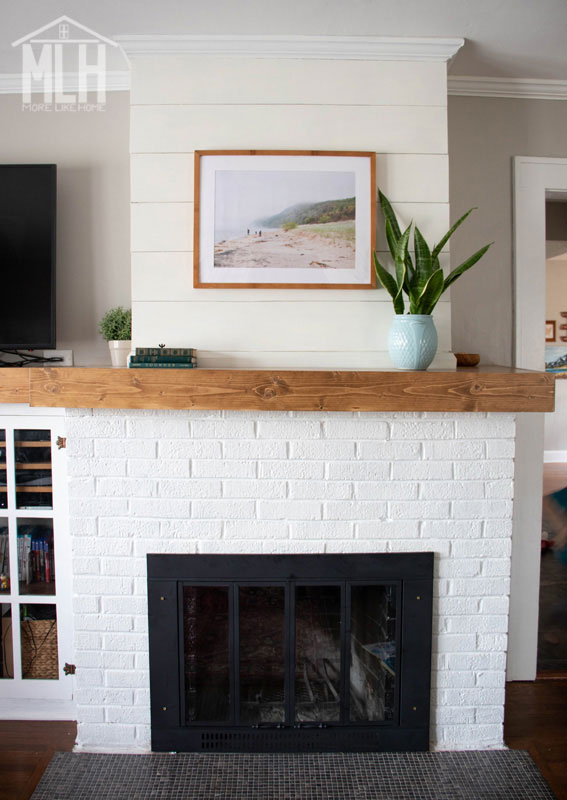
Easy $10 Fireplace Door Upgrade

One of the first things I loved about this house was the fireplace.  And now that we've given it a few updates? I love it even more. It's come a long way since move-in day, and we've done it all on a super small budget. I know I sound like a broken record, but you CAN create a home you love without spending a fortune. If you take one thing away today, let it be that.

If you take away a second thing, it can be this handy hack.

So let's check out the fireplace, because it's looking better than ever with it's snazzy new fireplace door! Except it's not actually a new fireplace door. It's the same old door with a fresh new look that cost under $10!


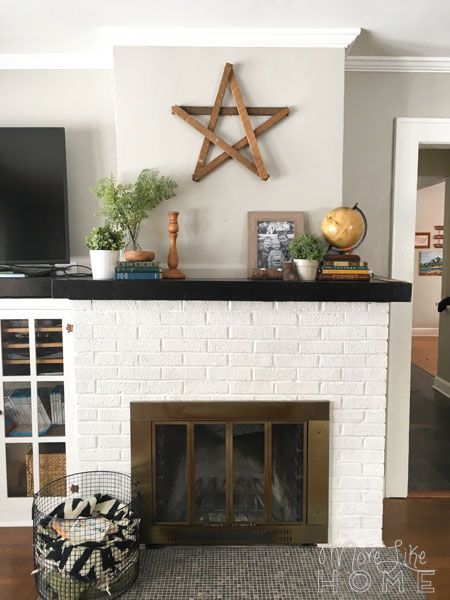
But before we jump into this latest update, let's throwback a few years. At this point we had painted the walls a light gray, but that was our only change so far:


Guys, small changes really do add up. It feels so much more cohesive and fitting to this old farmhouse now than it ever did back then. Partly because of the updates and partly due to my minimizing and learning to style the Cozy Minimalist way (so. much. stuff. on that old mantle). Here's a quick rundown of what we've done so far:

Wednesday, November 21

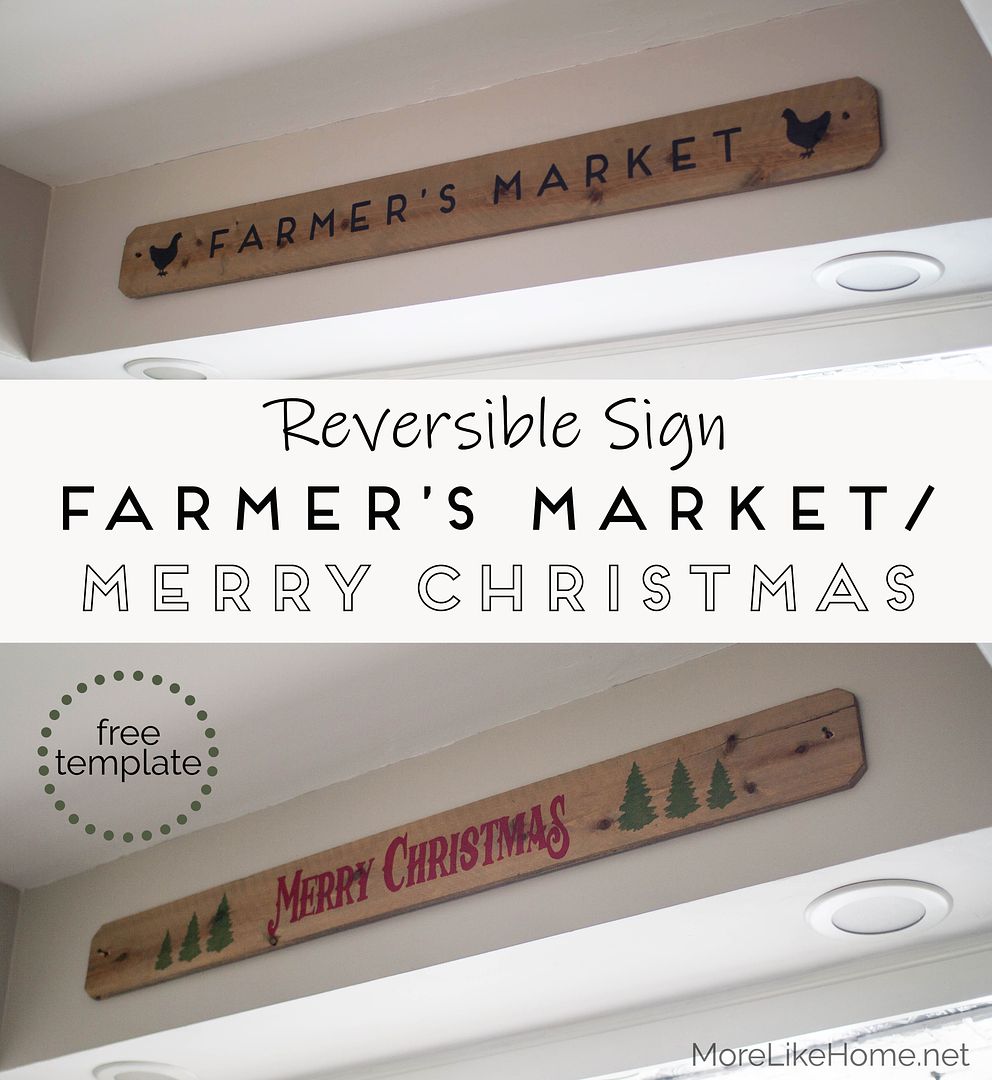
Reversible Farmer's Market/Christmas Sign

I know Thanksgiving is tomorrow, but have no fear. This Christmas project has a secret identity that can be used all year! You may know by now that wooden signs are some of my favorite Christmas decor (my DIY Christmas tree farm sign, hand painted signs, and Christmas photo signs are just the tip of the iceberg!) but every year I encounter two problems with my sign collections:
  1. finding wall space to hang them that doesn't feel awkward or like an afterthought (and that doesn't put holes where I don't usually them)
  2. storage space when I take them back down
Well today we're solving both of those problems with handy reversible sign!


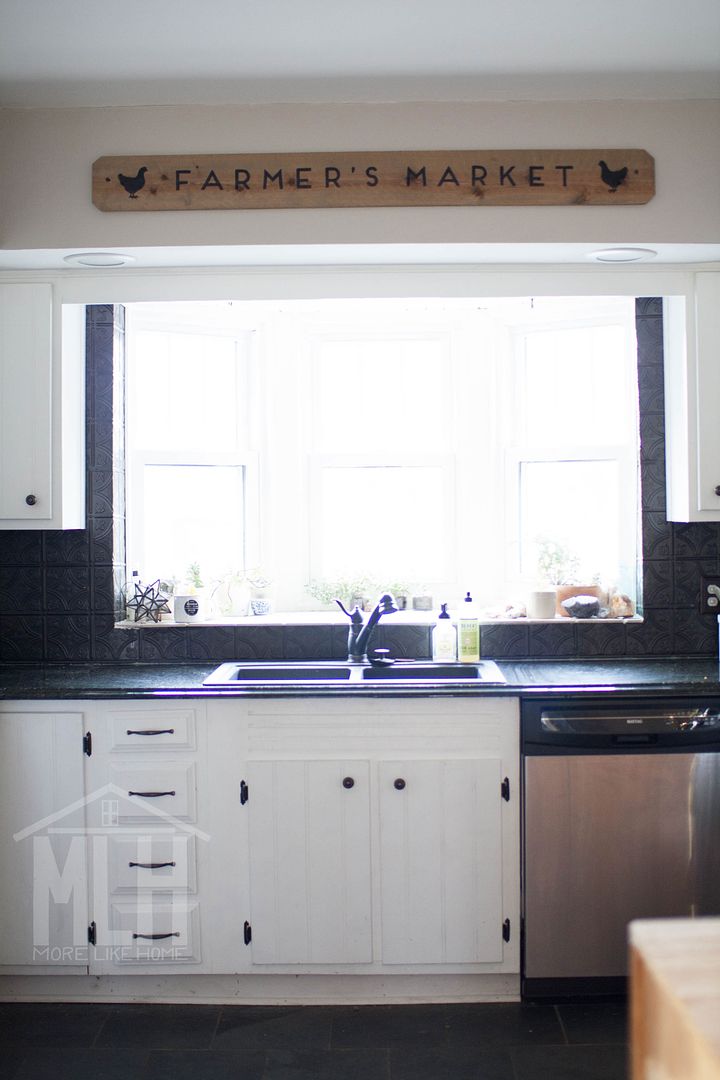
Most of the year it's just chilling in the kitchen as an unassuming Farmer's Market sign. Adding a little rustic charm and perfectly filling the space above my sink.


But come Christmas time, I just flip it around and BOOM. Instant Christmas cheer. No hunting for a spot,and no digging it out of storage.

Monday, November 5

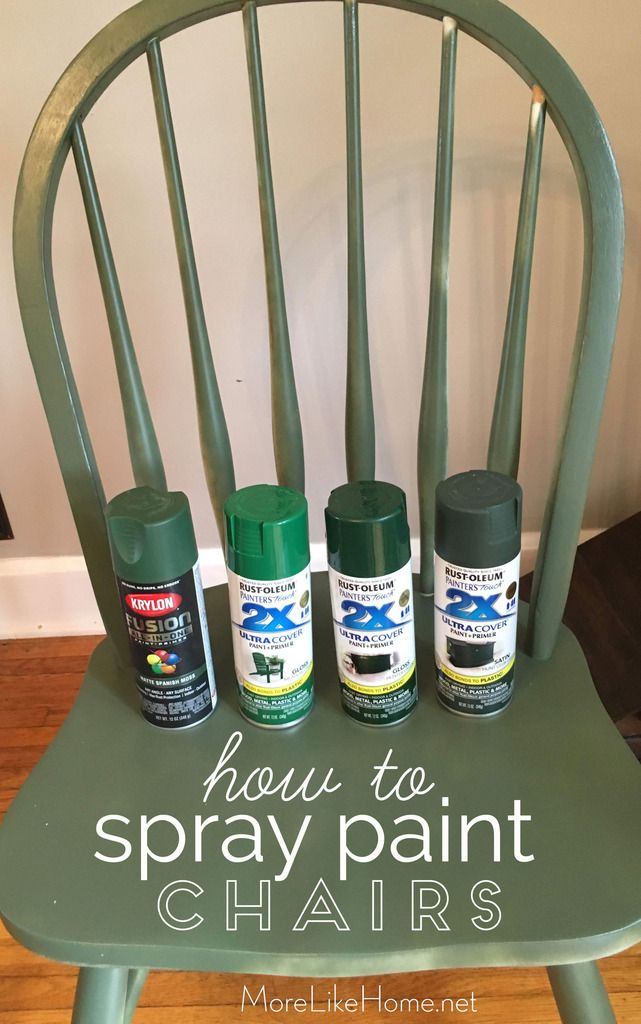
Updating Second-Hand Chairs with Spray Paint

I finally did it. I finally picked a color and painted our dining chairs.

There's nothing like impending winter to kick me into gear, and this was one project I knew I needed to get done before the cold! So this is the story of how I painted them, and the silly, indecisive journey that made the process take so long. But after 30 years, I know indecisive is the way I work so I'm just rolling with the (very slow) punches over here.

Whether you're indecisive or not, painting is always a great way to freshen things up on a low budget, and dining chairs are no exception! This is a perfect project for spray paint because you don't have to worry about streaks, drips, or getting a brush around all those spindles and nooks. 

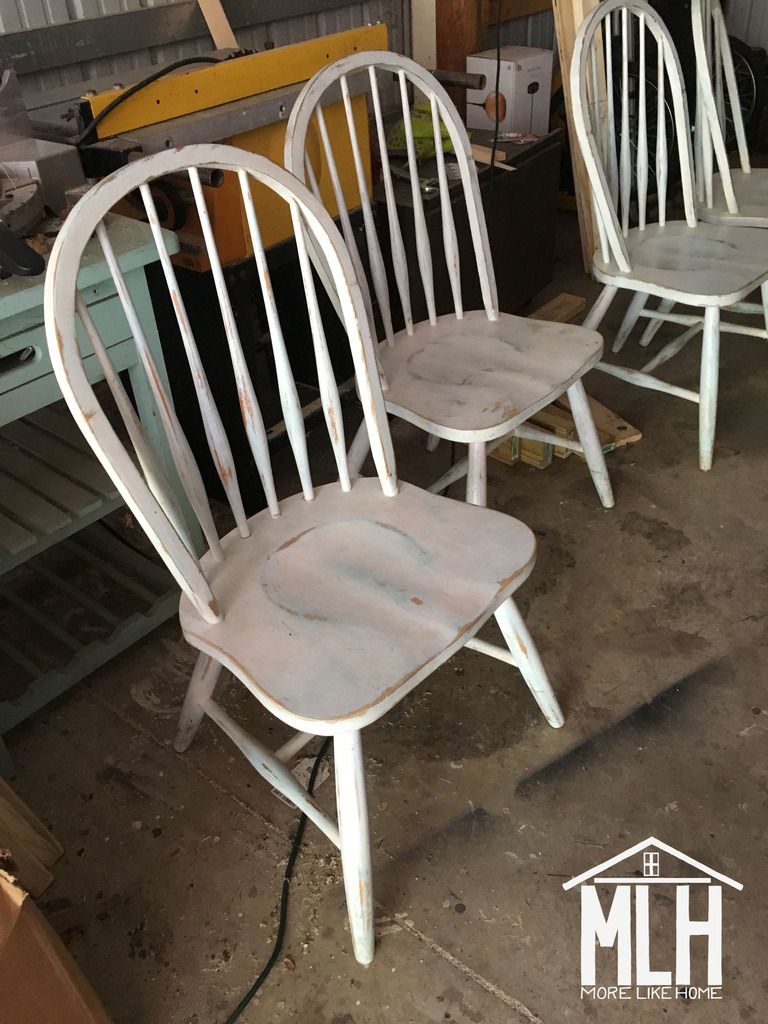
But before can paint, you need some chairs. Obviously *said in my best Prof. Snape voice*. For me, that meant starting with a hunt for a new set of chairs. We had a set of DIY industrial chairs from our last house, but they just weren't fitting my style any more. Ever since we moved in and built our extra-wide farmhouse table, I'd been dreaming of a set that better fit the style of our new table and new house.

For more chair-painting goodness, check out my $3 yard sale chairs and my industrial chair makeover!

I did a little poking around sites like wayfair and overstock, but deep down I knew that my thrifty roots couldn't abide new chairs when there were so many second-hand options out there for a fraction of the price. You know what they say: "Buy used and save the difference!" So I put most of my efforts into Craigslist and fb marketplace. I knew I wanted something simple, not too formal, with a classic style. And I didn't want to spend a fortune. During my long search for chairs, I also looked at tons of dining room inspirations on pinterest (part of the reason my search was so long was because I couldn't lock down quite exactly what I wanted) and, at long last, I started to hope for a classic Windsor-style chair. The one day, these guys popped up:


Thursday, May 31

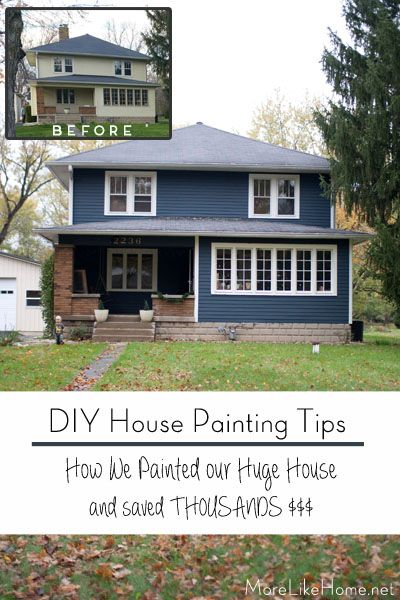
DIY House Painting Tips {how we painted our huge house and saved thousands}

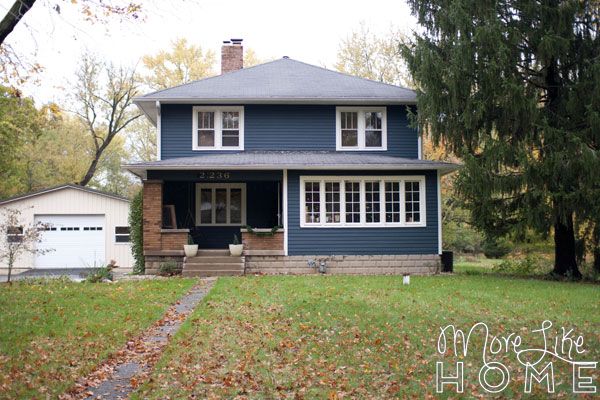
Last fall we took on our biggest project to date. It was a doozy. But a very necessary doozy that would have cost thousands of dollars to hire out. We painted our house! It was an enormous job but we're here to tell you that it is actually totally doable, and it can save you a big chunk of change.


We knew when we bought our old yellow farmhouse that it came with 90-year-old wood siding. Which was pretty cool. But in our new house excitement we maybe overlooked just what condition that siding was in. After our first winter, we started to notice that it was looking a little worse for the wear. Then we found out from a neighbor that it hadn't been painted it about 15 years. And it showed.


We spent the summer trying to decide if we should paint it now or hold off until next year. And then we had a hail storm that knocked off huge amounts of paint (so I guess it did some of the work for us!). Now it was painfully obvious that we needed to do something before things got any worse.


Fortunately I had spent those summer months thinking about what color paint to buy. Which is good because I used every minute right up until my husband called and said "I'm on my way home and we are buying paint tonight. You have to decide." Seriously, it took me months. (You can see all the top contenders here. Including the one Husband hated the most. Just do me a favor and don't tell me if I was wrong. M'kay? We are not repainting.)

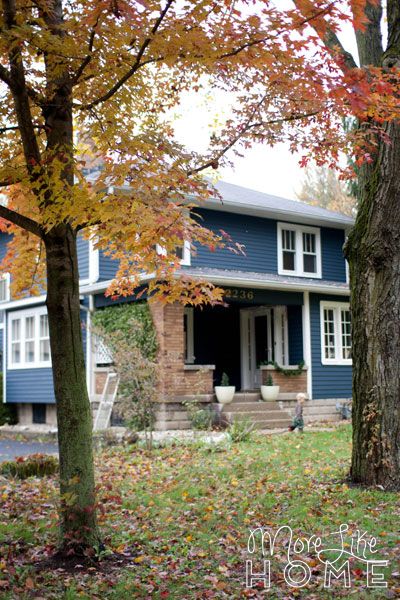
It was so pretty in the fall!

Tuesday, January 9

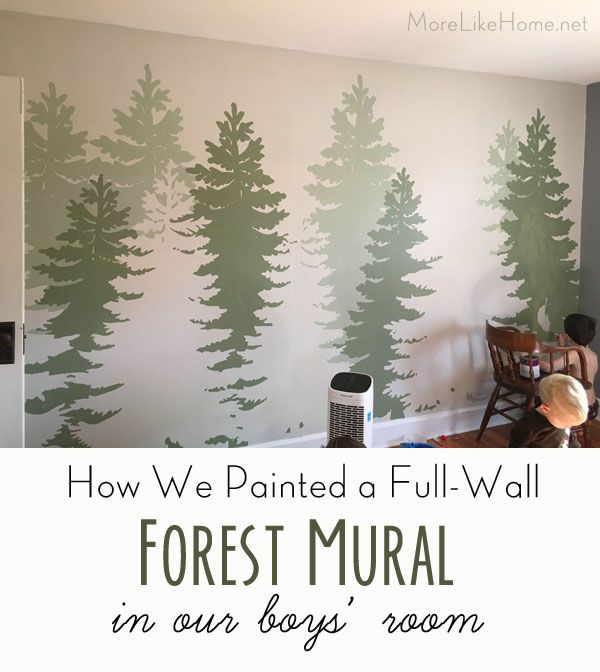
DIY Forest Mural (great for a boy's room!)

I've spent most of my adult life in the no-murals-ever camp. I didn't want anything too themed because I knew I'd get tired of it and want to change it, so what's the point? But then... we started collecting all these little boys and one day I was like "THEY WOULD LOVE A CAMPING ROOM." Then it took me all of five minutes longer to come up with a forest wall mural and throw my mural-morals to the wind. And I totally l.o.v.e. it.


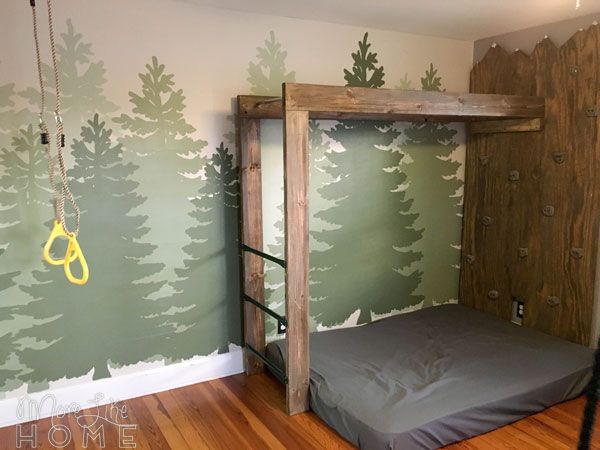
If you follow me on instagram, you've probably seen a few peeks of the surprise we put in the boys room for Christmas. Their camping theme room (or maybe more of a wilderness theme, there aren't actually any tents) is complete with a mountain peak climbing wall, monkey bars, and swings. A real winter adventure zone for all these little fellas! We'll be sharing the plans for all that soon, but today we're staring with how we painted the mural wall (which is easier than you might think).


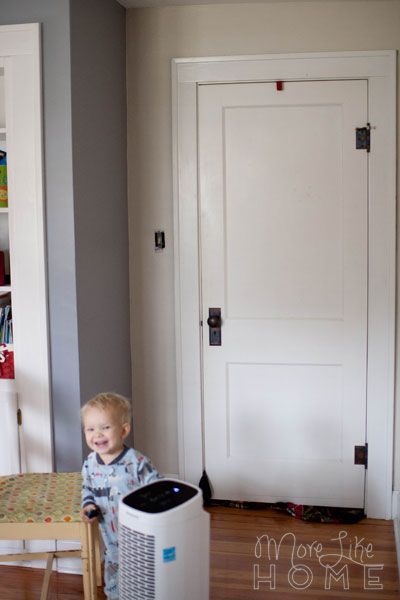
Our first step was painting that wall. Their room is the same blue-ish gray that it was when we bought the house (we've barely touched the upstairs at all), and I knew it needed to be lighter for our forest wall to pop.

You can see the original color to the left of the door.

Tuesday, November 21

Wooden Peg Nativity {Chrsitmas Crafting Party}

Our Joseph had a little mishap last year that ended with a missing hand... and a realization that the ceramic nativity set needed to be farther out of reach. So I knew this year we would need a nativity that could safely be in reach of all those little fingers. Something they could play with (and drop) all day long without broken pieces and sharp edges.


Our boys loved the peg camping set I made a few years ago (and it's held up great all this time), so it seemed like the perfect place to start our new nativity.


I wanted all the parts of the Christmas story, so I made a set that includes Joseph, Mary, baby Jesus, their donkey, an angel, stable animals, shepherds with sheep, and wisemen with a camel.


I even found this perfect little wooden box at Michaels that stores all the pegs and doubles as the stable when you're ready to play!

http://www.morelikehome.net/search/label/Christmas

Tuesday, November 14

DIY Christmas Tree Signs (like Joanna Gaines'!)

Confession: Joanna Gaines is my BFF.

Confession #2: She miiiiiight not know it. Yet.

But I think we all know there's no-one like her when it comes to design. And her Christmas decor? A--ma--zing. One of my favorite things is the vintage "Christmas Trees for Sale" sign in her kitchen. MY sister-in-law and I loved it so much, we used it as inspiration for one of our sister craft nights! And now you can make your own, too.


Ours are quite a bit smaller than the original, which makes them easier to fit in if you don't have a large wall to fill. Plus easier to store in the off-season!


Here's all you need:
  • a piece of wood 25" x 8" (my SIL brought plywood scraps that were already primed on one side)
  • red paint
  • green paint
  • white paint - optional (our boards were primed and I didn't paint mine any more than that)
  • the template  (it includes options for single trees like the original, or the groups of three that we used)
Start by printing out the template. For my printer, when the print screen pops up I can click the "poster" option and it will automatically break up the image and print out all three sheets. Tape the pieces together.

Sunday, September 17

House Painting Update!

........ We're getting there. The end.

JK. Definitely not the end, but for the most part we are husband is slowly chugging away painting this whole house ourselves. Himself. I do help some. This sounds bad. Let's move on. Today marks two weeks in and we are *almost* done with the first coat.We just have the soffits and maybe a window frame left to go. And then the second coat. But it's probably best if we don't focus on that right now.

It's blue! Still yellow trim here, though.

Now let's go back for a minute. A few weeks ago I bought sample cans of paint in our top three colors - dark blue, light gray, and a medium greige/green - and shared them on instagram and facebook to get your feedback. Blue was pretty much a landslide winner. Which was almost all the encouragement we needed (we'd been leaning that way ourselves), but I couldn't quite pull the trigger. Because I made the same mistake I've made almost every. single. time. I've bought paint. I second guessed myself at the last minute and got a sample in a slightly different shade of blue. Why, Georgia?! WHY??? *regret* I guess I tend to panic when I think I'm committing to something too crazy (did I mention I've done this before?) and as we went to pick up sample cans, I put down the dark navy-ish blue I'd had my eye on all along and opted for a more greenish hue that was slightly lighter, brighter, and, I thought, less intimidating.


Wednesday, December 14

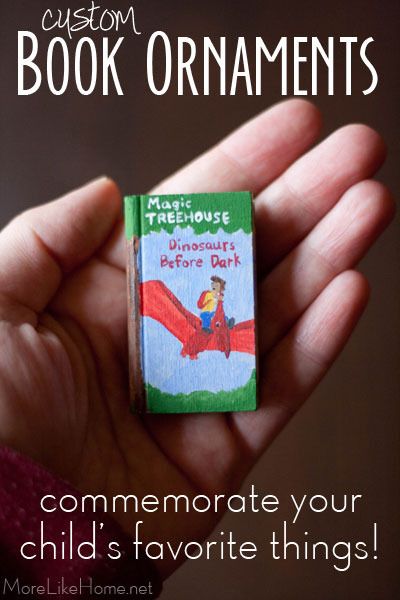
Custom Book Ornament DIY

We love coming up with fun Christmas traditions for our little family, and one of my favorites has been making an ornament for our kids each year to commemorate some of their favorite things. Our biggest boy is only five, but we already love pulling his ornaments out every year and remembering some of the funny little phases he's gone through.


It started when he was a baby and he loved - LOVED - a little green block. So for his first Christmas we found a duplicate block, made an ornament, and named it his Christmas Pickle. It was super easy (you can see how we made it here) and we decided it needed to be a yearly tradition! Since then we've added things like wooden train tracks and a stuffed monkey. Last Christmas he was really into Magic Treehouse books and we were reading through them as fast as we could get our hands on them, so a book ornament seemed like the perfect thing!


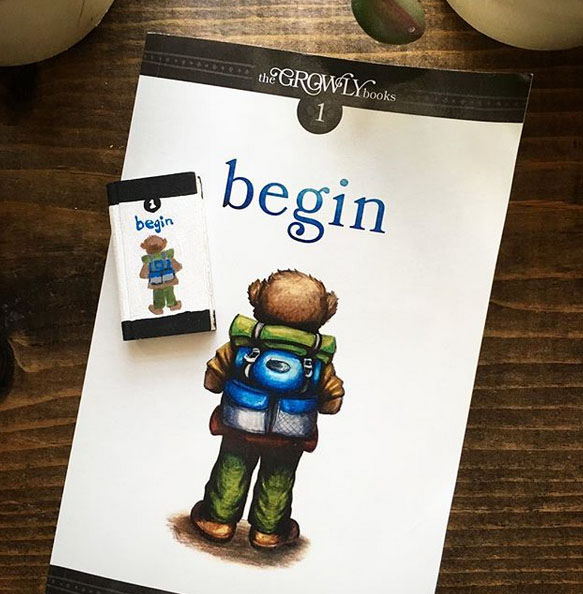
I added the first Growly book in 2018. We loved this series!


Tuesday, October 4

Fall "Thankful" Banner DIY

I don't know about you guys, but that first chilly night of the season threw me into the fall decorating spirit. Which is weird, because I've never put much thought into fall decorations before. We usually grab a couple pumpkins to paint with the kids, call it a day, and wait for Christmas to get the real decorating started. But for whatever ever reason, this year the changing leaves and brisk days have found me feeling the need to welcome the changing season. Maybe I'm trying to make our new place feel a little more like our own, or maybe it's just all the beautiful trees around our house giving me a fresh outlook. Either way, it's time to bring a little bit of this fall beauty inside. We'll leave the chill outside though, m'kay?


Enter Phase 1 Fall Decorating: The Mantle.

This is the first time I've ever had a mantle to decorate, and I have no idea what I'm doing. So I though a simple, cheap little banner might be a good starting point. A good no-commitment starting point. If I hated it, I could trash it guilt-free. This one was so easy to make, and cost almost nothing because I used things I already have. It's so quick you could make one up for every season and holiday in no time!


I'm planning to add a few pumpkins and fall foliage as soon as I get my hands on some, but for now this is a happy little start. And a good reminder that we really do have so much to be thankful for.


Here's how it went down. I started with three sheets of 12x12 brown cardstock. It's actually the backside of some patterned paper left over from another project. I was able to get three pennants out of each sheet (they're 6" wide and 7" long). Then I used a pencil and a ruler to hand-draw the letters on each banner. I just made sure they started and stopped at the same heights so they would be even, and went for it. I did the letters for THANKFUL but you could do anything you like! AUTUMN, GATHER, GRATEFUL, or HARVEST would also be cute for fall.


Wednesday, June 29

Seamless Crown Molding with Caulk

One of the great features of our new (but very old) house is the original crown molding in the living room. We love the character and charm, but settling had caused some significant gaps around the molding. Fortunately this has been one of the easiest fixes we've tackled in the house - the problem was solved with a tube of caulk and an evening on a ladder!


See how the crown is separated from the ceiling? I mean, I know it's an old home, but this was making it look really old.


And in some places, like around the fireplace, there was a gap both above and below the crown. It looked sloppy and honestly kind of dirty. Not exactly the vibe we were going for.


So we bought a tube of molding caulk. The flexible/crack-proof promises have me hoping it will hold up long-term. But most importantly, it's a paintable caulk. I've make the mistake of using regular caulk on other projects and I'll tell you now, there is no. way. to paint that stuff. Make sure your caulk is paintable. K?


Sunday, October 4

So Blue Dresser Makeover

A few weeks ago we asked for help deciding on a finish for our latest furniture makeover project... and we're happy to report it's finished! The winning vote was for navy blue paint and, guys, it turned out so. pretty.


*flashback* We started with this $10 find:


The finish was pretty rough so we started by sanding it all down. We used a coarse sandpaper first and then went over it again once more with a fine paper. The dresser is built really well, but it had a wood veneer so we had to be careful not to sand too deep and go all the way through the thin veneer.


You can really see how rough it was in the next pic. The part on the left is sanded.


Monday, December 8

DIY Wooden Christmas Signs

We finally pulled our Christmas decorations out of the basement this week! Along with our old favorites, we added a few new Christmassy items this year. Some of my favorite pins on my Christmas board are of hand-lettered wooden signs. A few weeks ago when my sister was visiting we decided to bite the bullet and DIY a few Christmas signs of our own!


You only need a few things to make your own wooden signs, too!
  • wood (whatever sizes you like, we chose scraps from my garage)
  • paint (I used red and black for the backgrounds and white for the text)
  • a pencil
  • if you don't want to draw your signs freehand you could print text in your favorite fonts to use as a template

Step one was rummaging through my garage for leftover scraps of wood.We found a mix of plywood and boards in sizes that we could work with - mostly so we didn't have to get the saw out in this cold weather.


We brought all the boards inside and I gave them a quick coat of paint. I did one black, one red, and left one plain.


Subscribe