We've made another small step in our kitchen makeover. (you can refer back to the full plan here) So far we had only put in a new microwave, installed a new light over the sink, and bought the cabinets to finish out our plan. But now we can check one more thing off the list. Here is a (very scary) before shot of the kitchen, just to jog your memory...and give you a few nightmares.
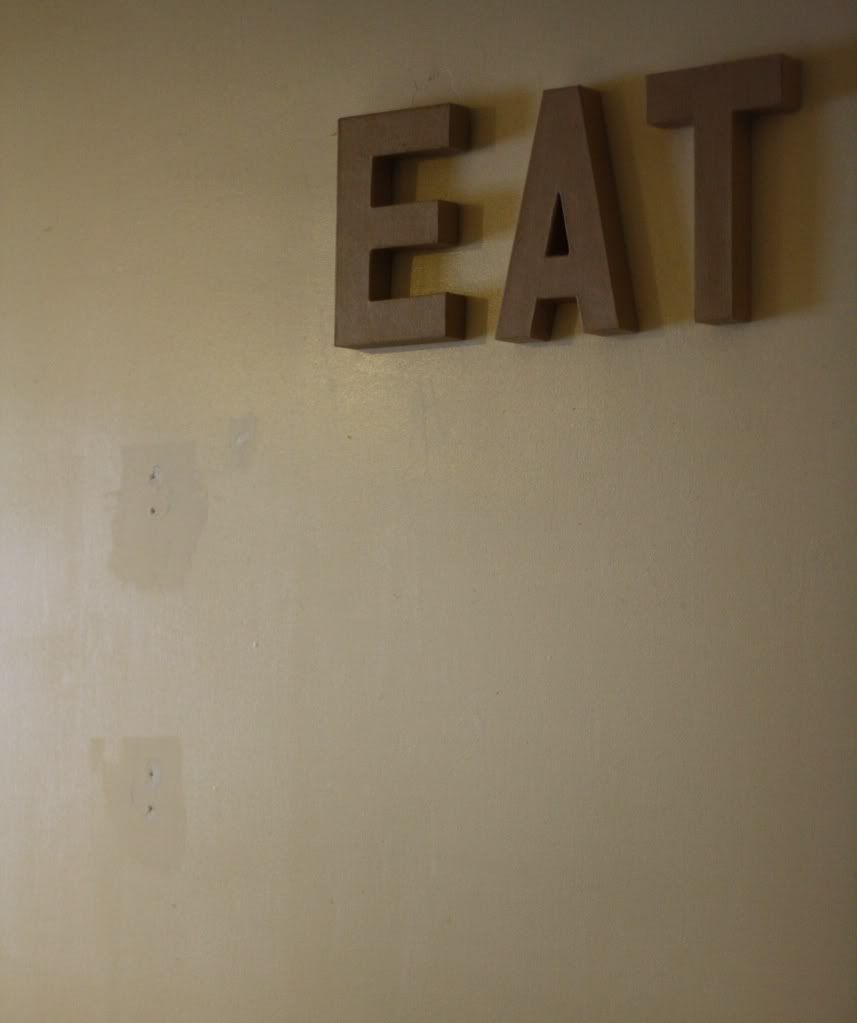
And here is the best shot I have of the original wall color. (I got those letters at Hobby Lobby when they were half off)
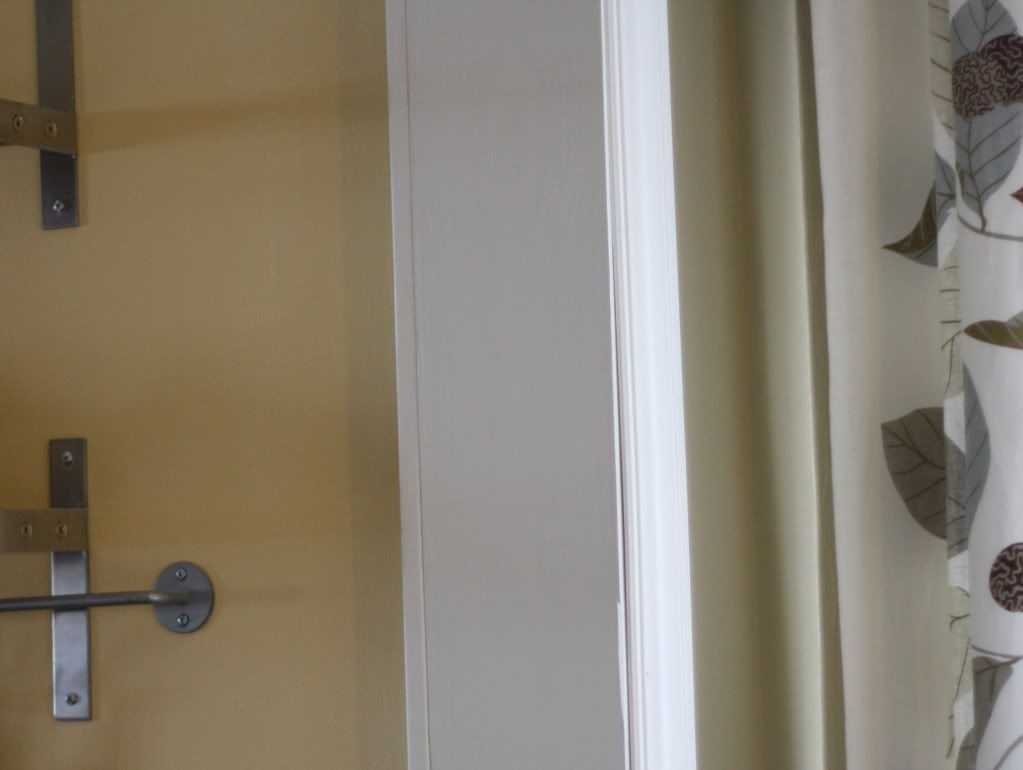
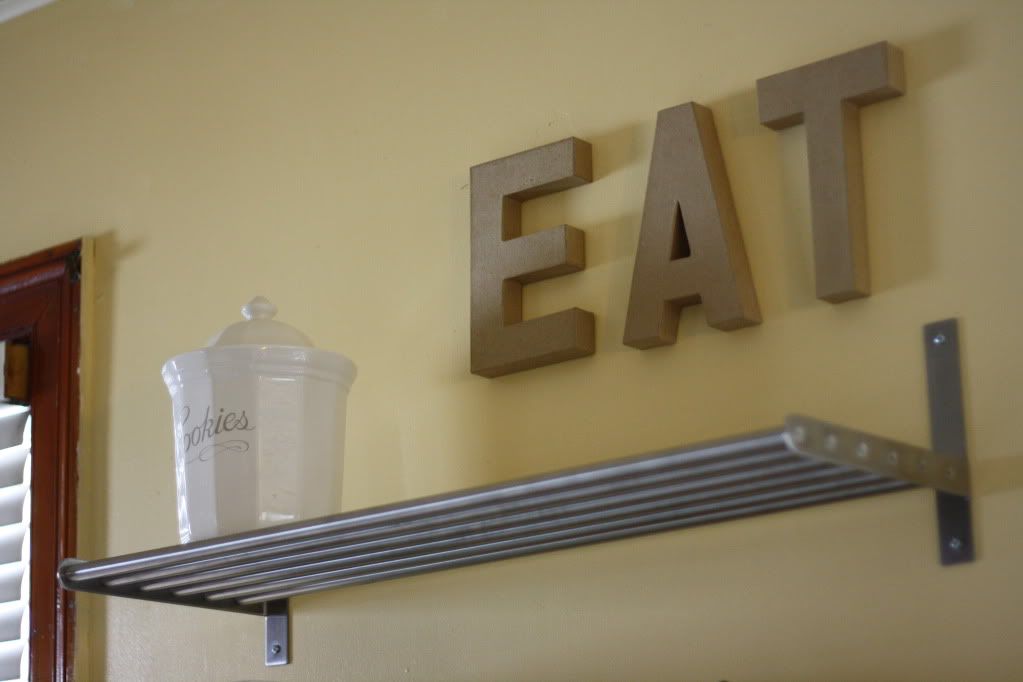
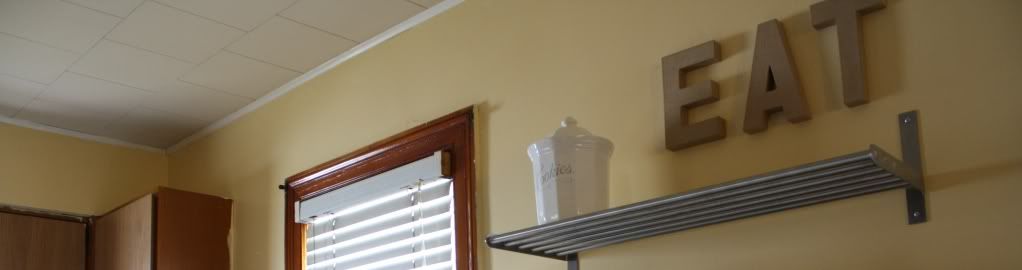
And here is the slightly sunnier after picture! It doesn't show a big difference in pictures, but it looks much brighter and friendlier than it did before. I promise. And you get a bonus peek at one of the new IKEA shelves that looks oh-so-good with the yellow. And don't get excited, there aren't actually any cookies in that jar. Bummer.
This picture shows the color a little better. We didn't worry too much about getting paint on the cabinets (obviously) since they will all be painted anyway.
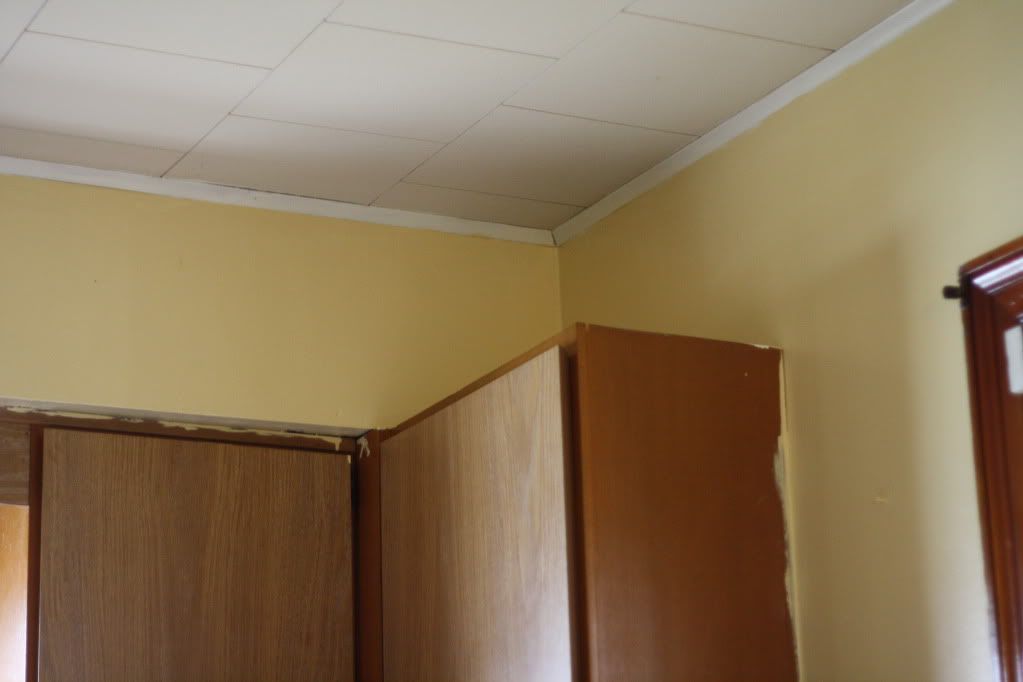
I had a hard time getting a good shot of how well the color works with the living room it opens up to. This is the best I could do, as far as getting accurate colors for both rooms. I think it turned out great because it fits in the with the feel of the other rooms, but the color is different enough to feel like its own unique space. Which probably doesn't make any sense. So let's just say it looks goooooood.
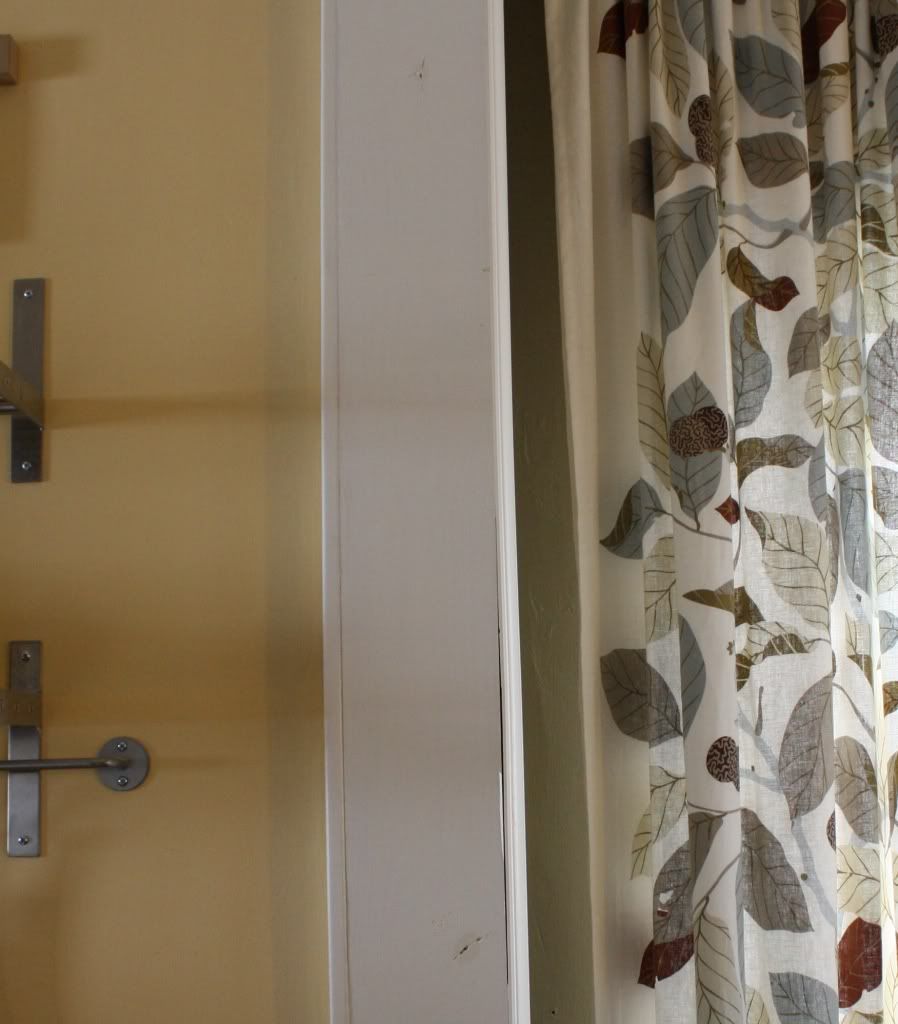
Confession time: You probably were already suspicious, so I'll go ahead and say it. Yes. There is a reason all of these pictures were taken above counter level. It is a dark and ugly scene down there.... Stuff piled around out of various cabinets, things scooched all out of place, holes in the floor, a partially sawed through countertop, and and a half-way ripped up cabinet. We just won't go there today. You'll find out soon enough.
We had a couple friends graciously offer to help/babysit while the painting went down, and thanks to them we were able to finish really fast! It probably took a little over an hour (plus a little touching up later). So it was a really easy way to make a nice change in the room. And the total cost of the project was only $23 for the paint (which we also used to paint the bathroom and Baby B's new dresser). So we still have a loooong way to go, but it's nice to mark one more think off the list. :)
Saturday, November 12
Thursday, November 10
Gallery Reveal
Finally. That's all I can say about this project. After months of dragging my feet buying frames, painting them, hanging them, and finally printing pictures to fill them, it is finished. Whew. And I have to say, I couldn't be happier with how it turned out! The bad news is it's so gloomy outside that I haven't been able to get pictures that really do it justice. :( So just imagine this being about 10x better than it looks in these pictures, okay? Now let's take a look!
So let's take a quick look at the cost of this project:
So 3 months (ha!) and $19 for a fun feature wall in my living room. And one that I can easily update by switching out pictures! I'm so happy it's done and it turned out so good. Are you thinking about making a gallery wall? Or have you done something similar already?
P.S. I'm one frame away from finishing the upstairs gallery, so I should have final pics of that soon!
Pin It
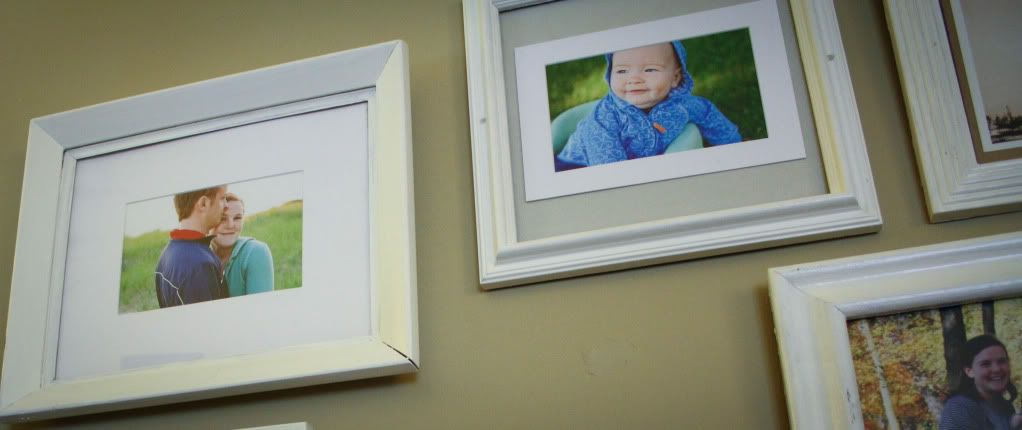
I am SO glad I went with white frames for this wall. I love how they stand out nice and bright against the wall and they work really well with my color pictures.
Most of the pictures are of Baby B...he's just so darn cute. Here are his teeny tiny newborn feet. :)
I LOVE the colors in these two pictures. I was able to find pictures that carried a lot of these blues and greens which helped keep the wall looking unified.
I also included things like a post card from Paris (from Auntie B) and an old key from the chest we dug up in the backyard filled with pirate booty....okay, I don't really know what it's from, so pirates seem like a good guess.
We took new family pictures to fill the big frame front and center. How did we do it? A tripod. And LOTS of takes. With lots of dancing and waving to get Baby B to look the right direction. I know, we have mad skillz. (p.s. Christmas came early and I edited these pics with Lightroom! Woot!)
And this has to be my single favorite picture on the wall. I love that it has our whole family in an unexpected way, and Baby B's face make me laugh every time I look at it.
This picture shows my newly found matting trick. I found the mattes for my frames at Dollar Tree, of all places! I got packs of 2-3 depending on the size for $1 each. And since I'm cheap and didn't want to buy specialty mattes for my oddly shaped frames I used the small mattes and backed them with colored card stock to fill in the extra space! Easy and fun! I used gray to make the pictures pop, but it would also be fun with a coordinating color if you wanted a brighter theme. If you look closely you can also see in the pic below that I used the same technique to put two pictures into a larger frame.
So let's take a quick look at the cost of this project:
- $8 - frames (I bought all my frames at yard sales & didn't pay more than $0.50 for any of them. Some were less than that, even 2/$0.25 or from a free box, but for the sake of the cost breakdown I'm going to just say they were $0.50 each)
- $6 - mattes (in multi-packs from Dollar Tree)
- $3 - 8x10 family pic (printed at Walgreens - it turned out kind of dark, I'm not super impressed)
- $2 - 16 4x6 prints (bought on sale from Snapfish - they turned out great)
So 3 months (ha!) and $19 for a fun feature wall in my living room. And one that I can easily update by switching out pictures! I'm so happy it's done and it turned out so good. Are you thinking about making a gallery wall? Or have you done something similar already?
P.S. I'm one frame away from finishing the upstairs gallery, so I should have final pics of that soon!
Pin It
Friday, November 4
Make Your Bed
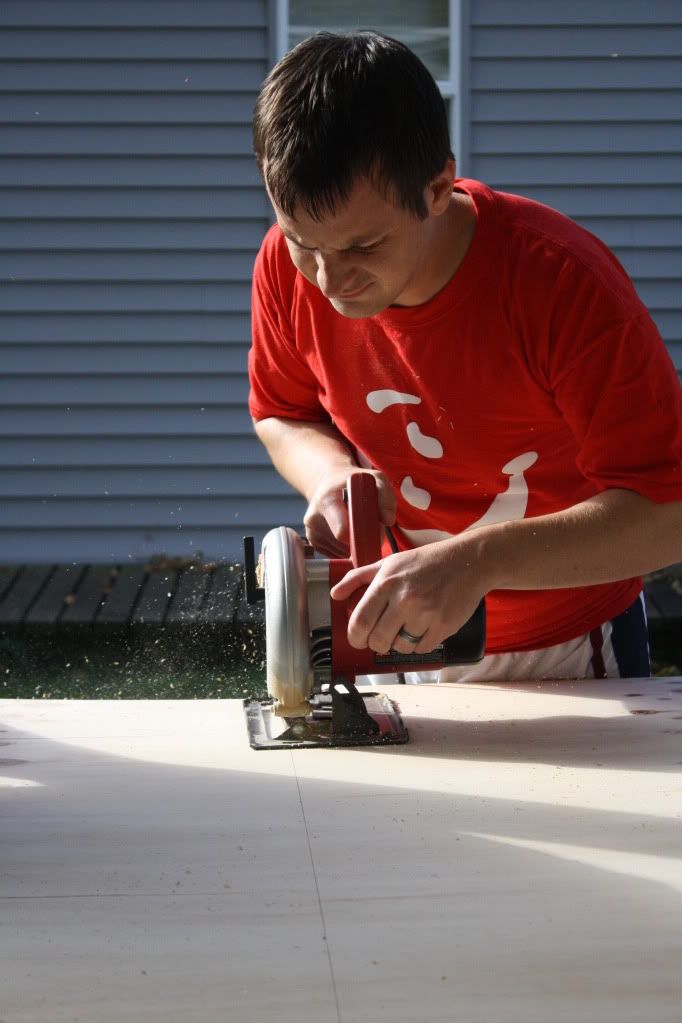
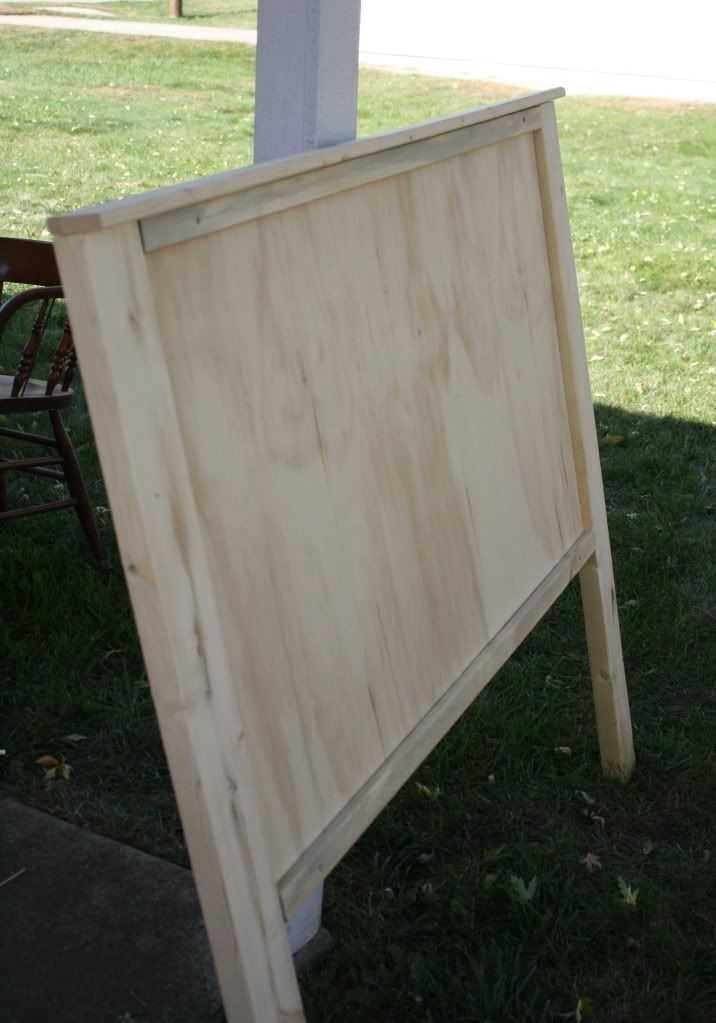
We've been slowly working on the office/guest room. We started by drawing up a plan and then painted the walls a nice cozy gray (you can also see it here). After painting we rearranged things a little to fit our final plan for the layout. With that done we decided to squeeze in one last office project before the winter chill drives us indoors for the season. So we tackled the one big thing that would really make the room. What did we do? Well it involved some sawing....
And gluing and nailing....
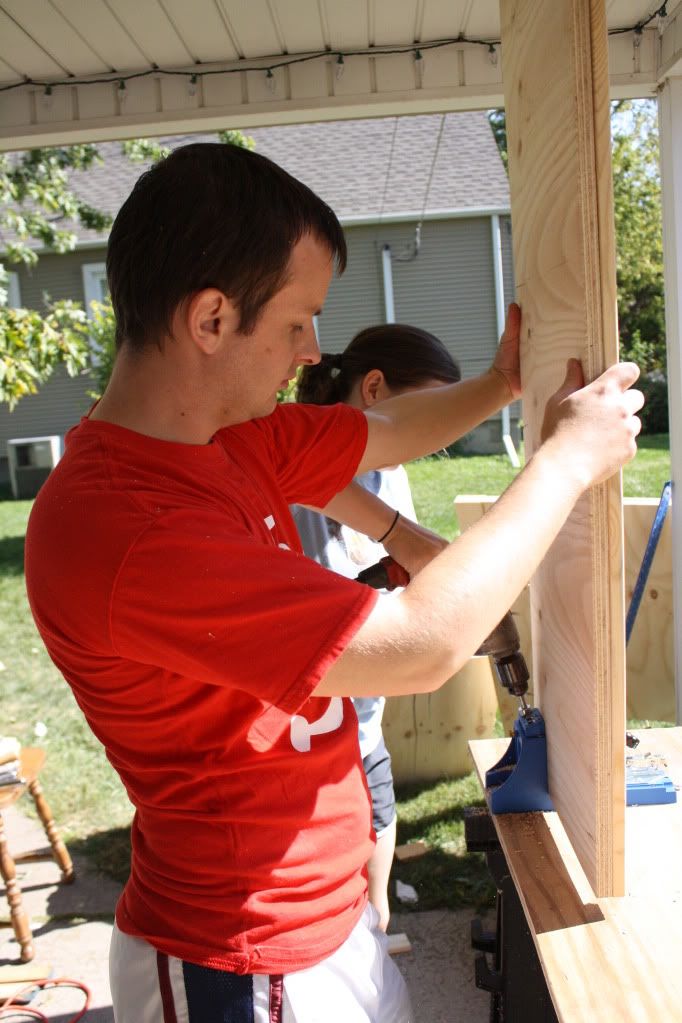
And drilling and sometimes an extra set of hands....
And waiting for glue to dry...
And a whole lot of mess on the patio! It's our best project-tackling spot. :)
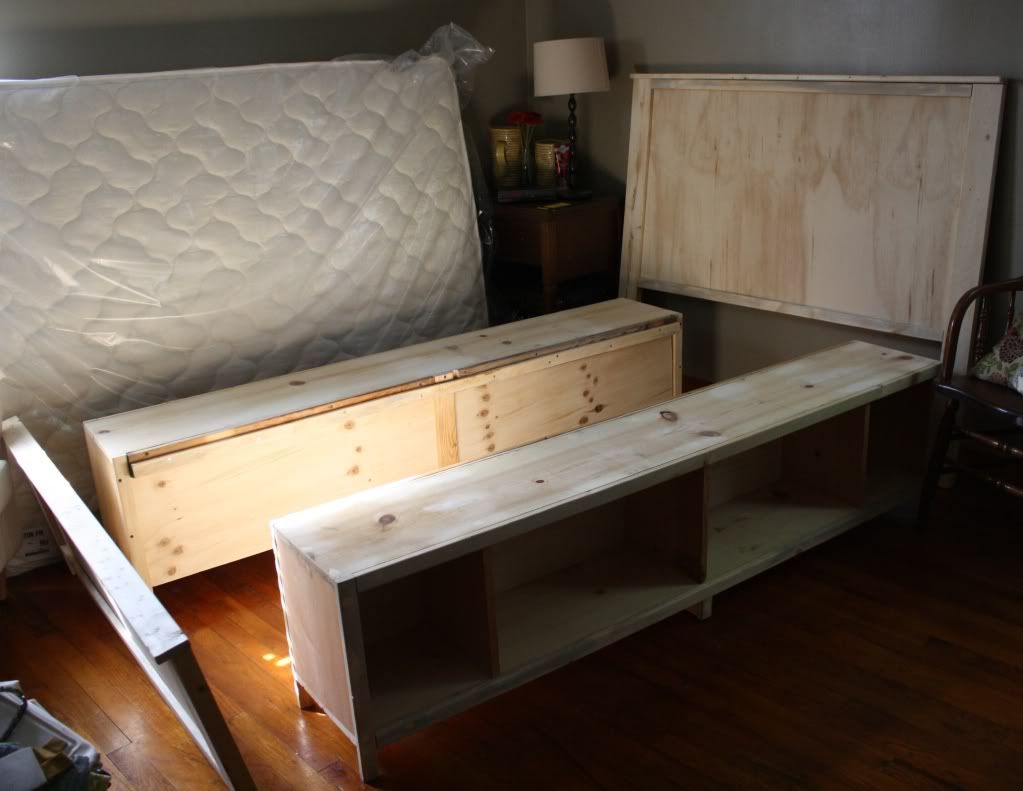
And in the end we had all the pieces for the new bed for the guest room! It is the Hailey Storage Bed from, you guessed it, Ana White's website.
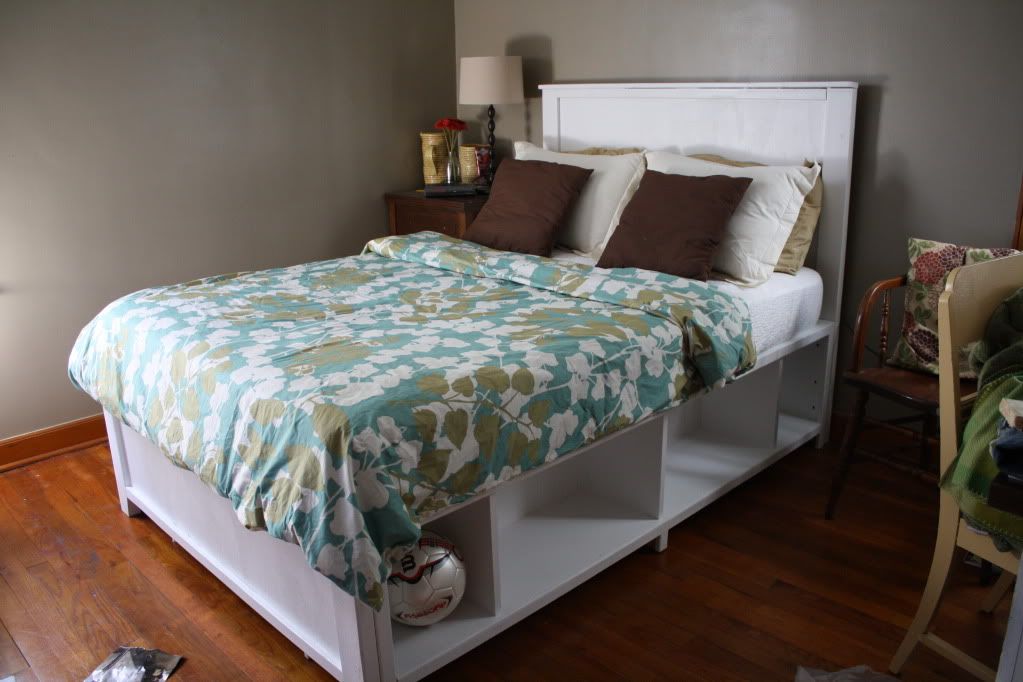
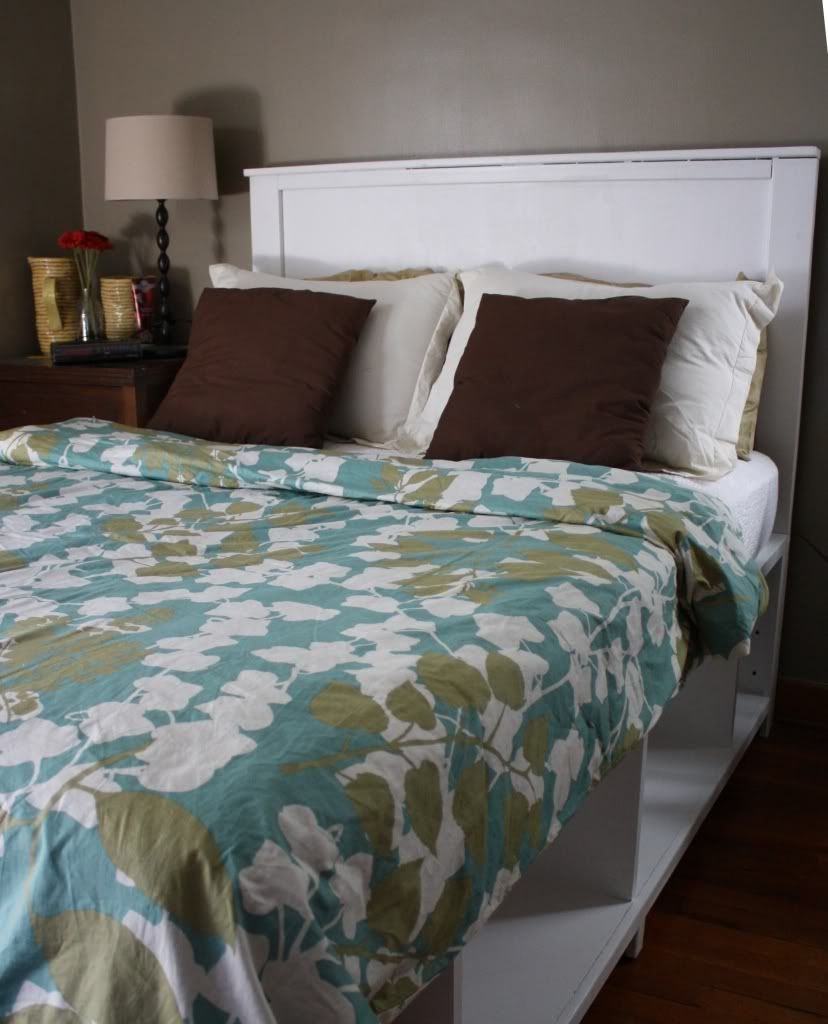
I decided to paint it a bright white so it would really stand out against the darker gray of the walls. I used two coats of Olymic Premium White in semigloss. This is the first piece I've painted instead of staining, and I'm really happy with how turned out. Once it was painted we assembled the pieces.
Then put on the new mattress. We were able to get the mattress at Big Lots during a 20% off sale. It ended up being about $160, which was quite a bit less than anywhere else we looked.
Baby B helped me make the bed. He's such a good helping boy. But it did take longer than usual since I had to stop and give him kisses on several occasions.
We made a few tweaks from the original plan, and in the end it turned out great! The changes we made were making it a full instead of twin, adding extra legs in the middle of each bench for more support, and using 1x3s instead of 1x2s to support the slats. We also used plywood instead of particle board for the headboard and footboard.
Things I love about this bed:
The Details:
Cost: $150 for wood & $160 for the mattress (we got the wood from a small home improvement store, but it would probably be less from Lowe's)
Time: We built it in two Saturday afternoons while we had babysitters in town. Then spread the painting out over a few nights.
Wood: We used pine boards and plywood.
Finish: Olympic Premium White in semigloss
My sister visited last weekend and said it was nice and comfy. So bring on the guests!
Pin It
And gluing and nailing....
And drilling and sometimes an extra set of hands....
And waiting for glue to dry...
And a whole lot of mess on the patio! It's our best project-tackling spot. :)
And in the end we had all the pieces for the new bed for the guest room! It is the Hailey Storage Bed from, you guessed it, Ana White's website.
I decided to paint it a bright white so it would really stand out against the darker gray of the walls. I used two coats of Olymic Premium White in semigloss. This is the first piece I've painted instead of staining, and I'm really happy with how turned out. Once it was painted we assembled the pieces.
Then put on the new mattress. We were able to get the mattress at Big Lots during a 20% off sale. It ended up being about $160, which was quite a bit less than anywhere else we looked.
Baby B helped me make the bed. He's such a good helping boy. But it did take longer than usual since I had to stop and give him kisses on several occasions.
We made a few tweaks from the original plan, and in the end it turned out great! The changes we made were making it a full instead of twin, adding extra legs in the middle of each bench for more support, and using 1x3s instead of 1x2s to support the slats. We also used plywood instead of particle board for the headboard and footboard.
Things I love about this bed:
- It's full size (instead of the twin we had before) so it will be comfier and more spacious for guests.
- The storage underneath will be great for extra blankets or craft supplies (we plan to add doors to the middle sections).
- We gained a foot of floor space at the end of the bed because the headboard is so thin (our last bed had super thick headboard & footboard).
- The short footboard lets you sit on the end of the bed and makes the space seem more open.
- The bed is made of parts that can be rearranged to make other designs from Ana's website.
- It's beautiful.
The Details:
Cost: $150 for wood & $160 for the mattress (we got the wood from a small home improvement store, but it would probably be less from Lowe's)
Time: We built it in two Saturday afternoons while we had babysitters in town. Then spread the painting out over a few nights.
Wood: We used pine boards and plywood.
Finish: Olympic Premium White in semigloss
My sister visited last weekend and said it was nice and comfy. So bring on the guests!
Pin It
Wednesday, November 2
November Fun Around the Web
Just wanted to give you a heads up about a couple fun things going on right now on two of my favorite blogs. First, The Nester is celebrating Giveaway Day 2011! She is hosting 17 giveaways for everything from jewelry to home decor! Some of them end tomorrow, so hurry on over and try to win some goodies!
Second, Sew Mama Sew is celebrating Handmade Holidays for the entire month of November! Everyday there will be several new giveaways, as well as tutorials for handmade holiday decorations and gifts. It's only day two, and it's already giving me some great ideas! So come join the fun everyday!
I don't actually have anything of my own to say today, just wanted to spread a little giveaway cheer! I'm enjoying a short bloggy-writing break to catch up on some bloggy-reading like this instead. :)
Second, Sew Mama Sew is celebrating Handmade Holidays for the entire month of November! Everyday there will be several new giveaways, as well as tutorials for handmade holiday decorations and gifts. It's only day two, and it's already giving me some great ideas! So come join the fun everyday!
I don't actually have anything of my own to say today, just wanted to spread a little giveaway cheer! I'm enjoying a short bloggy-writing break to catch up on some bloggy-reading like this instead. :)
Subscribe to:
Posts (Atom)