Saturday, April 7

Cupcake Topper Flags

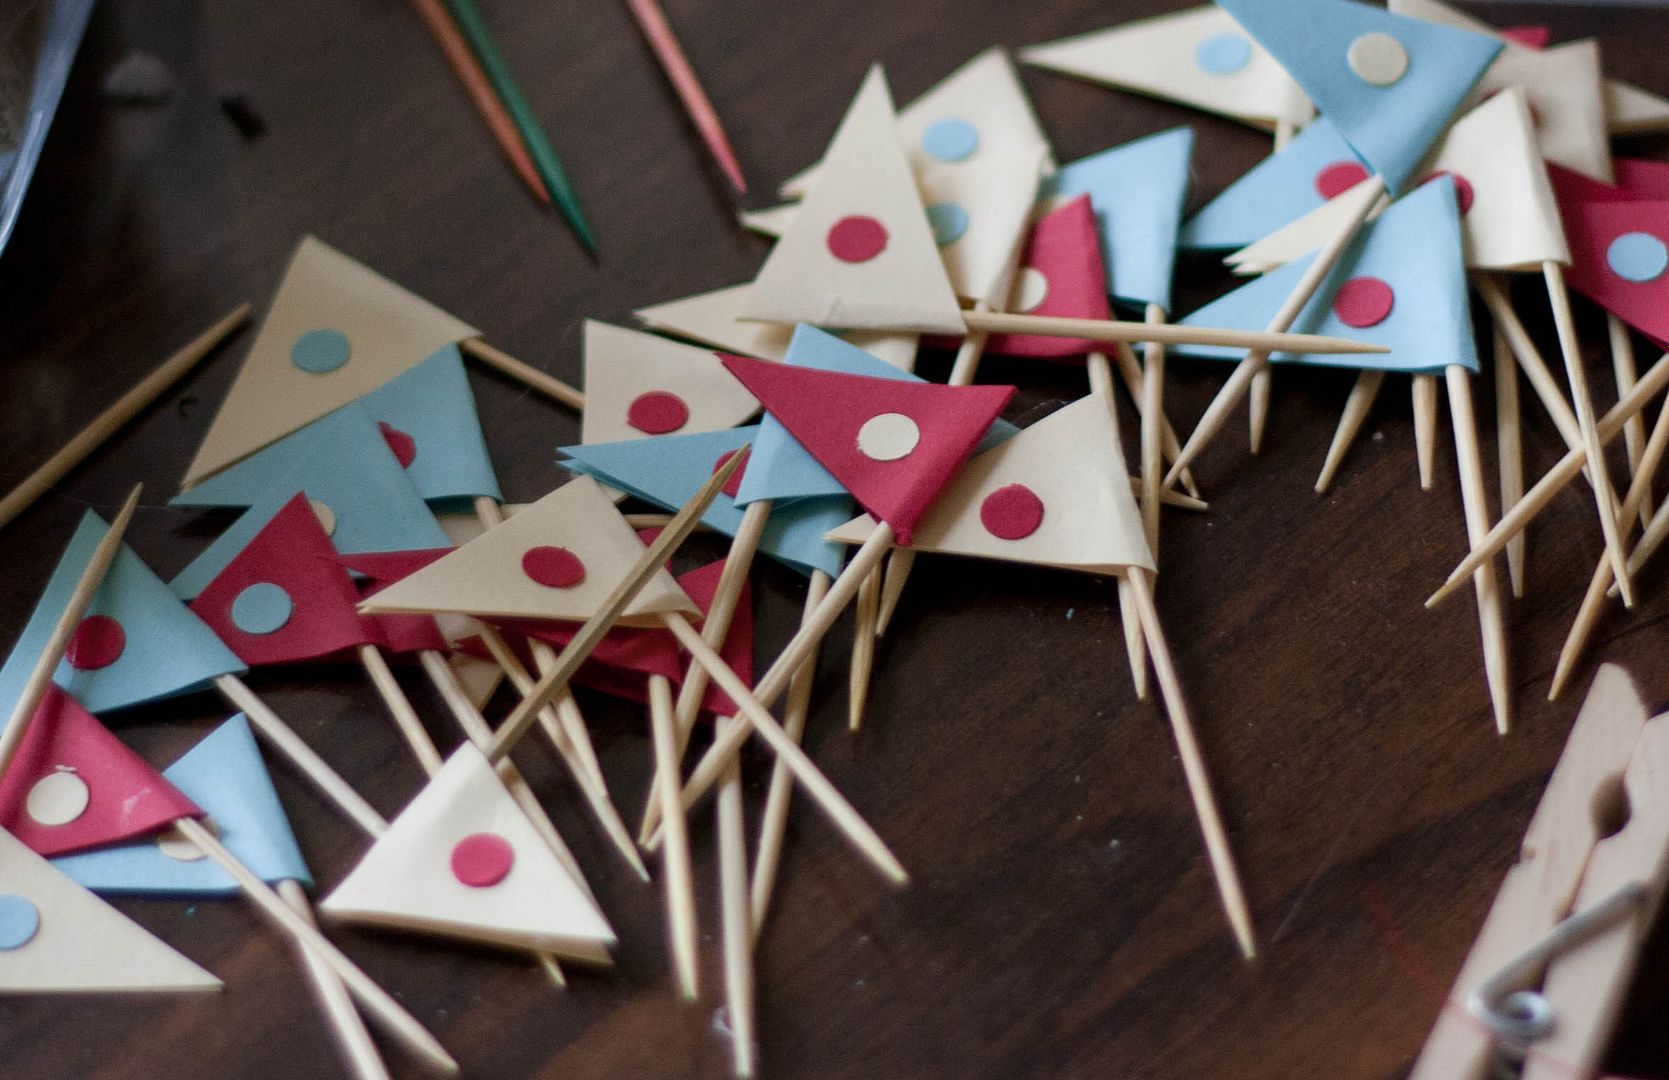
Time for more birthday goodies! Hopefully you're not bored with this yet, because I still have more coming. :) Today I just made some little cupcake toppers for the made-from-scratch cupcakes we'll be serving at the party. I started by cutting out a bunch of little flags (I'm totally on a flag kick right now). You could leave them plain, but I decided to dress them up just a little so I used a hole puncher to make some dots from paper scraps. Then I used Elmer's glue to stick a little dot on each flag.


 Then I used a dab of hot glue to attach each flag to a toothpick. Nice and easy.


 I made up a little pile of them, hopefully enough for all the birthday cupcakes. It's a really cheap, easy way to make birthday food feel a little more special!


 This project was pretty fast too. I made all of them during two lunches while Baby B was distracted with food. Usually with bananas, quesadillas with salsa, and on this occasion asparagus from my very own backyard!


 Baby B loves bananas & quesadillas, but this is how he felt about the asparagus:


And as for the cupcakes, we made a practice batch the other night and they were so yummy! This party is going to be both fun AND delicious. :)

Do you have any fun birthday traditions, projects, or recipes? Tell me all about it!

Thursday, April 5

Birthday Banner

I still can't believe a certain little boy is almost 1! And just to make sure everyone else knows who the birthday boy is, I whipped up this little project....


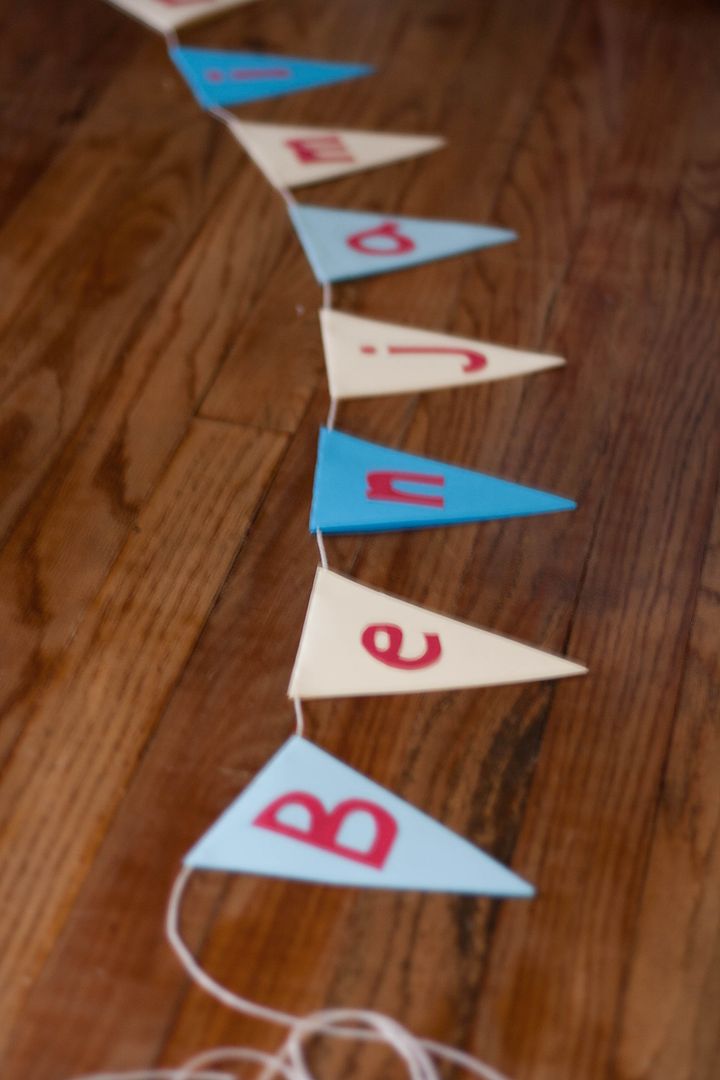
I used the same color card stock from the garland I made and cut each sheet in half to get two long strips. I folded each in half and cut out a pennant shape (like below). Then I cut the letters of Baby B's name out of contrasting card stock and glued one on each pennant with elmer's glue. I just free-handed my letters, but you could also print some out.


 I used the same string from my garland project to string my pennants together.


 I put two dots of hot glue near the fold of each flag and stuck down the string.


 I put another small dot near the the bottom to keep the flag closed a little better. Then I just folded down the top flap to close it up.


 And I ended up with this cool name banner! (that I didn't manage to get a clear picture of. my bad.) It was really simple, cheap project and it will make a great background for birthday pictures!


But for now it just sits in my basket of birthday decorations, waiting for it's big debut. ;)

Tuesday, April 3

Birthday Garland

Why yes, I did make another garland. Thank you for asking. This time the garland is for a very special occasion....

Baby B....

is turning....

ONE!


That just can't be right. I'm sure my calendar is broken because I just brought him home yesterday! But just in case my calendar is, in fact, correct and an entire year has flown by, I better get ready to celebrate his big day! We're planning just a small, simple get together with a few friends & family. As usual, we're keeping it pretty cheap and easy (with a backyard cookout), and keeping our eyes on the main goal - to have fun celebrating Baby B's first year of life with the people we love!

Being me, there will be some thrifty decorations involved because I love to dress up my house! I picked up a few supplies from Hobby Lobby & Dollar Tree to combine with things I already had on hand....


Doesn't that just look like little boy birthday goodness? I am in LOVE with that dino felt - but it's for another day. :) My first project was making a pennant garland to string all around the party grounds! I first saw the idea here and decided to adapt the colors to fit a my little mister.


I started by cutting out a BUNCH of little pennants from red, blue, & yellow cardstock. I used colors I already had and just cut until I ran out of sheets. I ended up with a pretty big pile for $0! They are really easy to make, just cut small strips of paper, fold them in half, and clip the ends to make a flag shape. I did spend about $2.50 on some nice cotton twine for stringing my pennants (from Lowe's).


 To make the garland, I started by leaving about 2 feet of string at the beginning (so I'll have plenty of slack for tying up my garland). Then I used a hot glue gun to put a small dot of glue near the fold of each flag and stuck down the string. I also put a teeny dot at the bottom of each flag to help keep it closed, but I don't know that it was really necessary. Then I folded the flag down and held it in place for a second so it wouldn't pop back open. Note: hot glue is actually quite hot, so be careful holding down your flags. I would tell you how many times I burned my fingers, but I can't even count that high. My flags are all different sizes, but I wanted them evenly spaced so it would still look tidy. The easiest way for  me to do that was to use a spacer to separate each one. I just used a little plastic thing that I liked the size of (it's in the background below) but you could use a quarter or a toothpick or even a piece of paper cut to size.


I just kept gluing until I ran out of flags! I left a long tail on the end again for tying it up. I have no idea how long it is, but it has to be huge. Or I'm just optimistic. I guess we'll find out on party day! Until then I wrapped it around a paint color card to keep it from getting tangled. I LOVE how it turned out and can't wait to see it in action. And I plan to hang it around Baby B's room after the party. :)


Do you have any big events coming up? Do you ever make your own garlands? Do you think my calendar is broken?

UPDATE: The garland turned out great and added the perfect touch of birthday cheer to the house!


P.S. While I was typing this, Baby B took off walking all over my parents' house for the first time. It was crazy and I'm SO glad I packed the video camera! I guess he wanted to be officially walking before his birthday! :)

Sunday, April 1

A Few Good Blogs

After recognizing a few of my favorite blogs for the Liebster Blog award, I wanted to give a shout out to a few other sites I enjoy! But first, I have a fun announcement!

I just started a facebook page for More Like Home! I thought it would be a fun way to connect and interact with each other about DIY, home improvement, baby boys, or life in general. :) So feel free to share any questions, tips, or ideas there! I hope we'll have a lot of fun building community there! :)


Now on to a few of my favorite things from the blogosphere. I will tell you, I found all of these during the 31 day challenge back in October. Their 31 day series' are some of my favorite things, so I have linked directly to those below. I hope you find some fun & inspiring ideas down there!

 (she also has great DIY projects like oversize scrabble tiles)


(this links to my favorite post about cleaning schedules)

three boys


 (oh yeah, right up my alley)

(I've only read the first post here, but it's good!)


What are some of your favorite blogs?
Subscribe