Saturday, June 9

Square Foot Garden

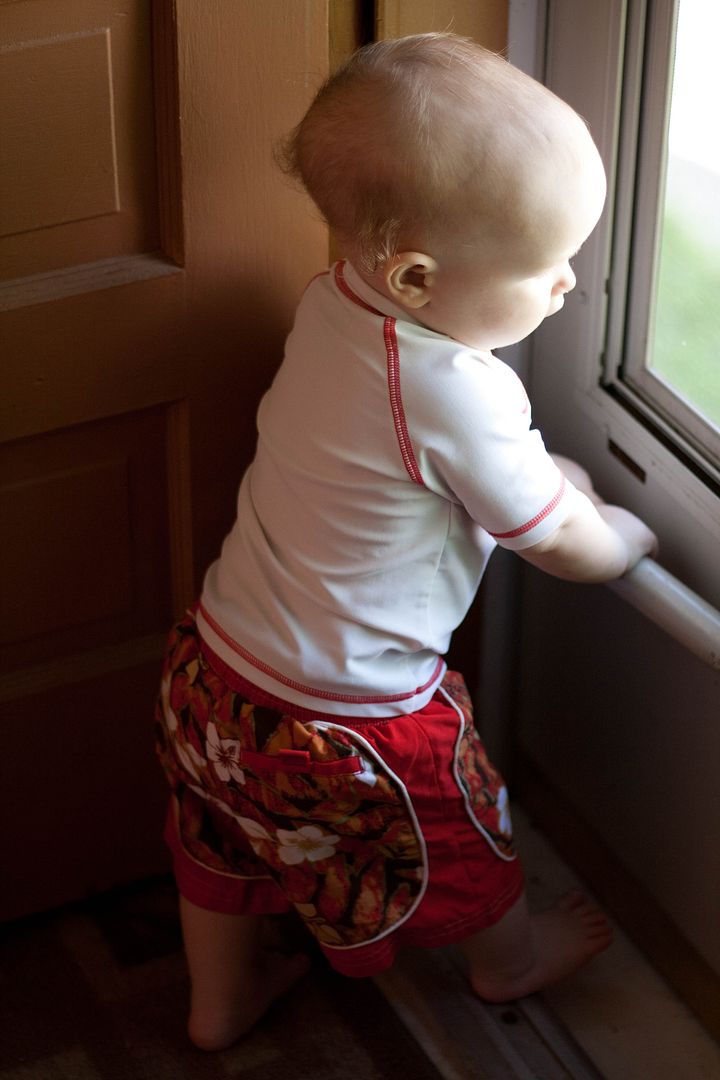
It's finally time! We started our first garden! Baby B is almost as excited as me!

 "Come on mom! Let's go let's go let's go!"

 "I can see it from here!"

 "What do you mean there's no sweeping in the garden?! That can't be right...."

I started reading the book Square Foot Gardening (confession - I didn't finish it. I'm okay with that.) and I love the concept of growing more in less space! So we are giving it a whirl. The first step in the book is building a raised garden bed. It suggests an outdoor wood like cedar (nothing treated, you don't want those chemicals near your food!) but a friend who built a cedar bed said theirs is already starting to deteriorate and suggested building out of stone instead. We went to Lowe's to do a little price shopping before we made a final decision, and were not thrilled with what we found. Cedar was going to be about $60 to build our bed, and the cheapest concrete blocks available would be $30 and ugly to boot. So we decided to rethink our options looking for something cheaper. I took a shot in the dark and posted an add on our local freecycle site asking for any kind of bricks or stone blocks and, believe it or not, I got a response! A lady in town offered a us a pile of old bricks if we would haul them out of her yard! Um...yes. We will totally go for that. So we brought home a decent pile of bricks for free! It wasn't quite enough but my dad had enough extra bricks in his backyard to finish it off. So in the end we built our raised bed for free and saved a big chunk of change! It also turned out looking really cool with all the mismatched bricks.... but we'll get to that in a minute.
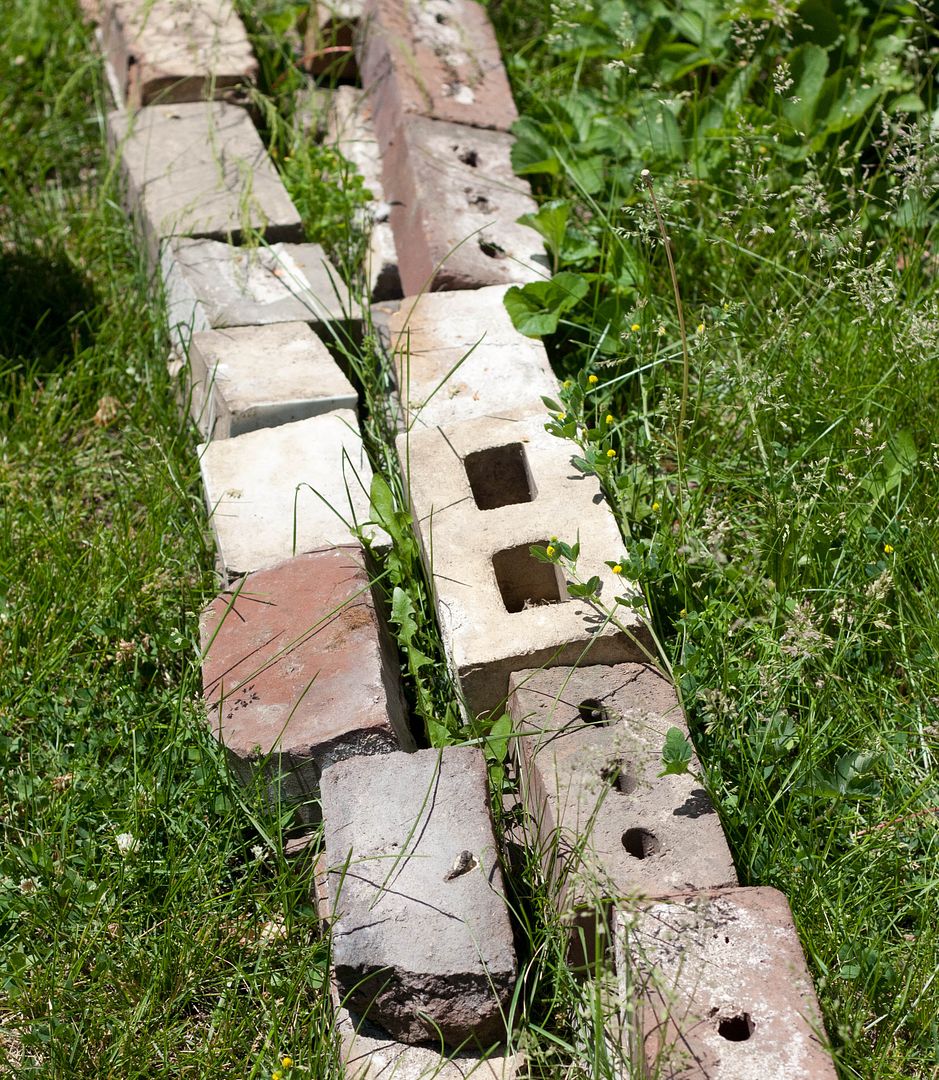

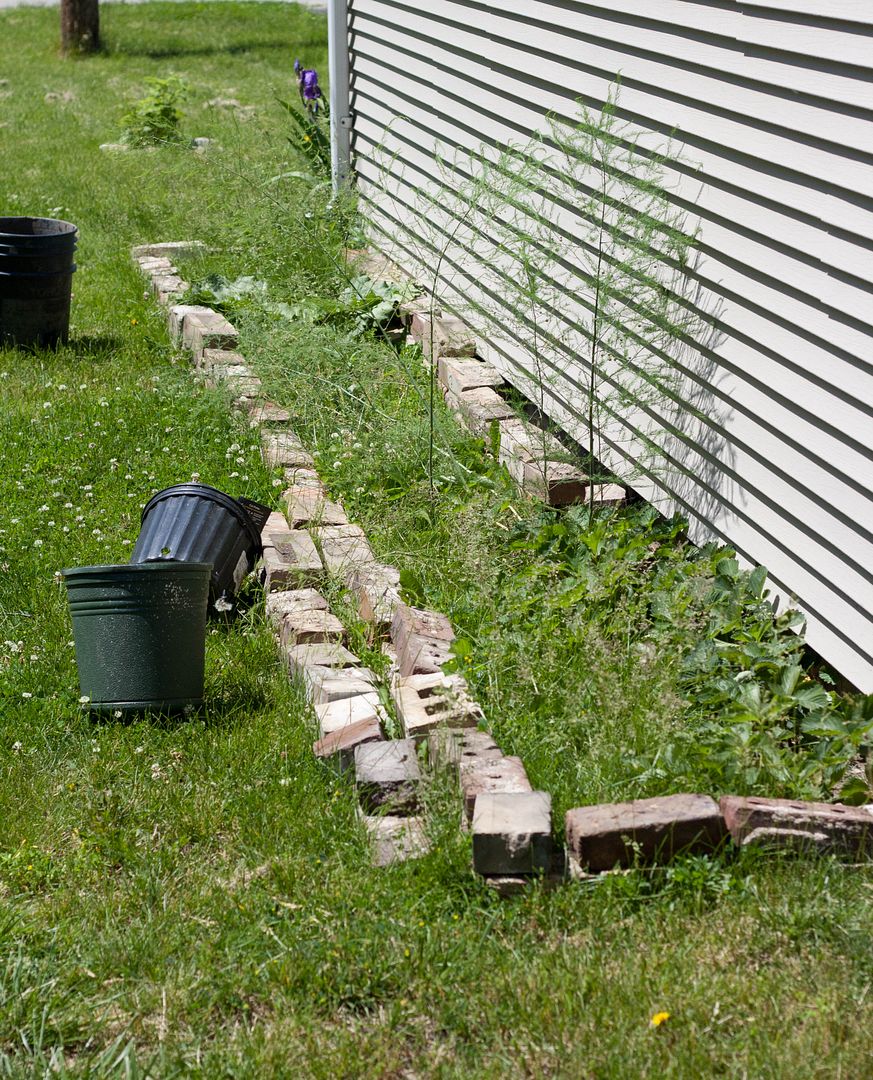
 My plan was to plant a bed along the side of our garage 2' deep (so we could easily reach stuff growing in the back) where I already have strawberries, asparagus, and rhubarb growing (if you can see the tiny bush way in the back it's a black raspberry bush I planted last summer). There are actually strawberries in there, hiding behind the weeds!

 But I started doubting that layout. So I took a swim break with Baby B to think about it.


 After some thought I decided it would make more sense to let the current plants grow where they are (especially since strawberries can really spread out. I'm hoping to let them fill in that whole space), leave some walking space, and then do a deeper bed set out from the garage. I wanted the bed out far enough to leave a few feet of growing space for my berries, and about 3' of walking space to make sure we could easily mow the pathway. Here is where we learn an important lesson. The book suggests putting landscape paper under the entire bed. When I moved my paper and bricks out to the area I wanted to use, I put the bricks on top of the paper. Bad move. Because I decided I wanted to move the bed out a little farther and had to move all the bricks off. Oops.


Once I got the bricks moved back off of my paper, I slid the paper out where I wanted it. I measured out 5' from the garage to keep things parallel and put a few bricks on the paper to keep it in place while I arranged the rest of the bricks. My bed is 3' wide (the book suggest 4', but my paper was 3' wide and I didn't want to push my boundaries on the property line) and about 20' long. If I decided I need more room next year I can extend it out toward the alley even more. :)
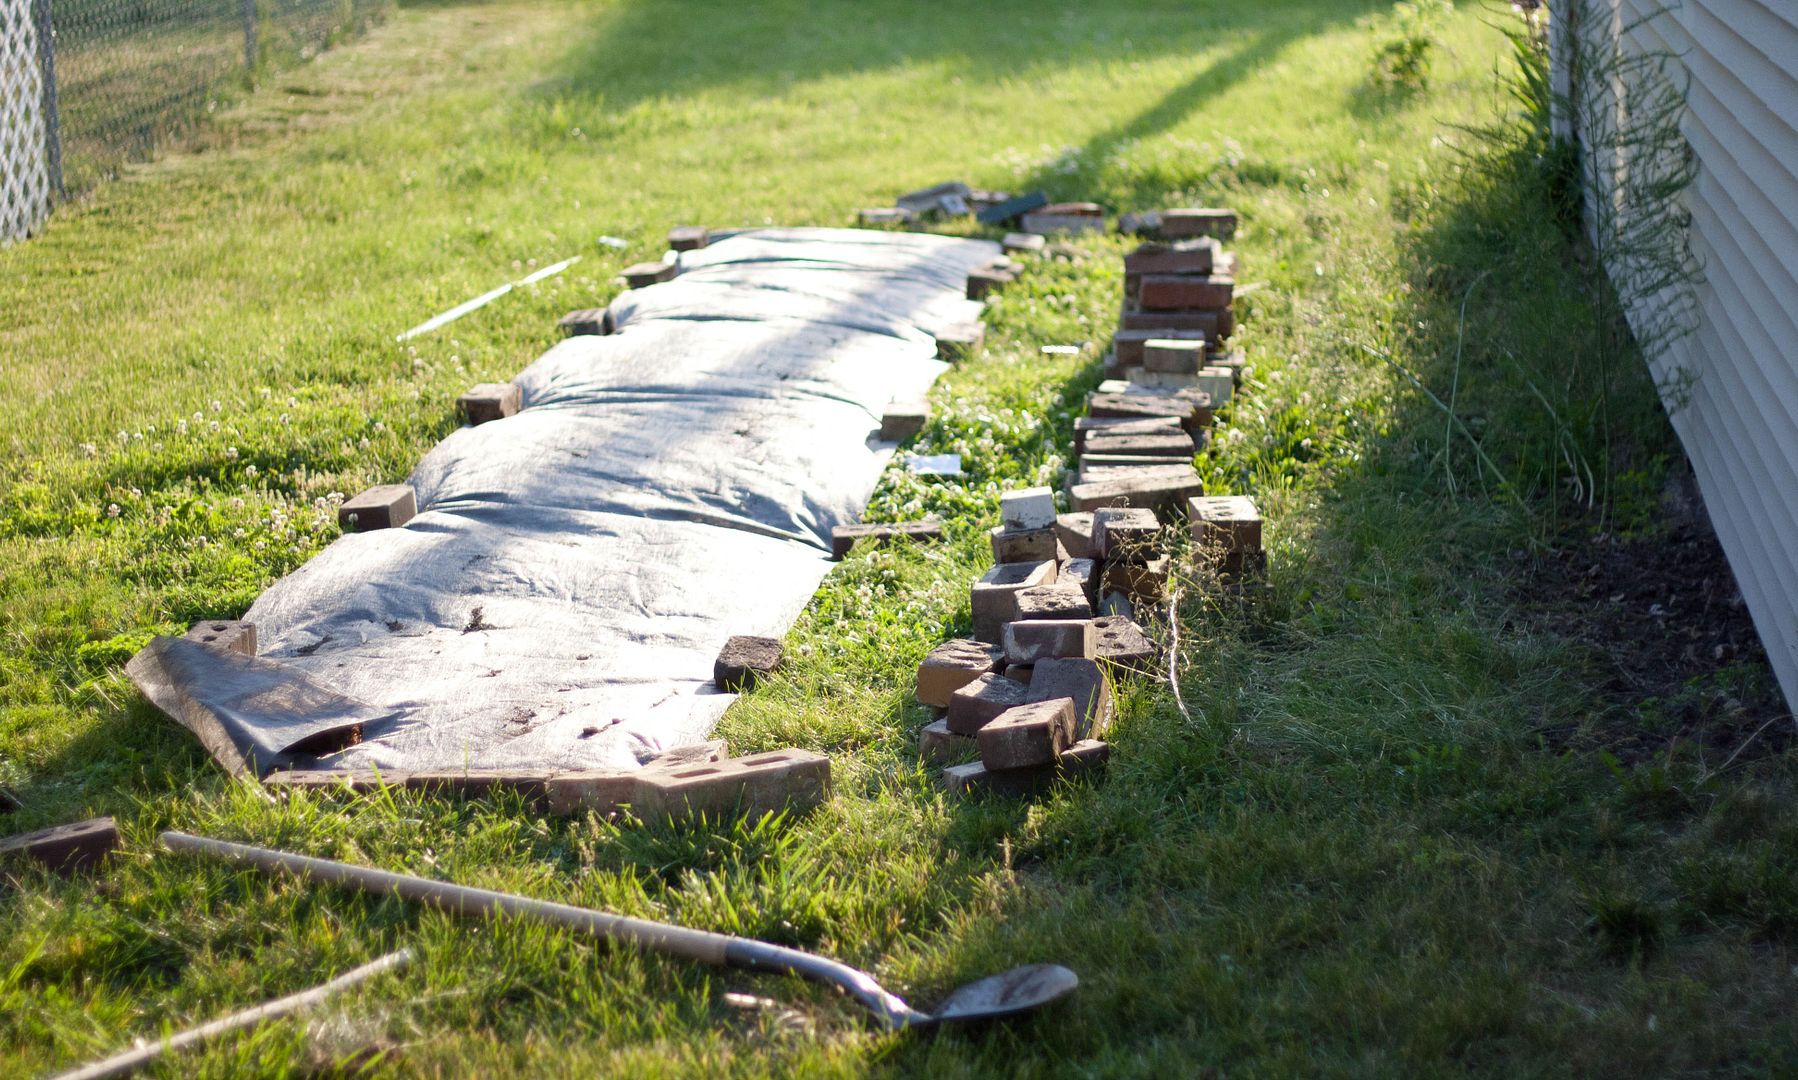

 I lined up bricks all around my paper, over lapping the paper edge a little so it would be held in place. I wanted these to be as even as possible, so any time I ran into a bump or hole that made a brick sit unevenly I dug up or added a little dirt to get everything sitting flat.
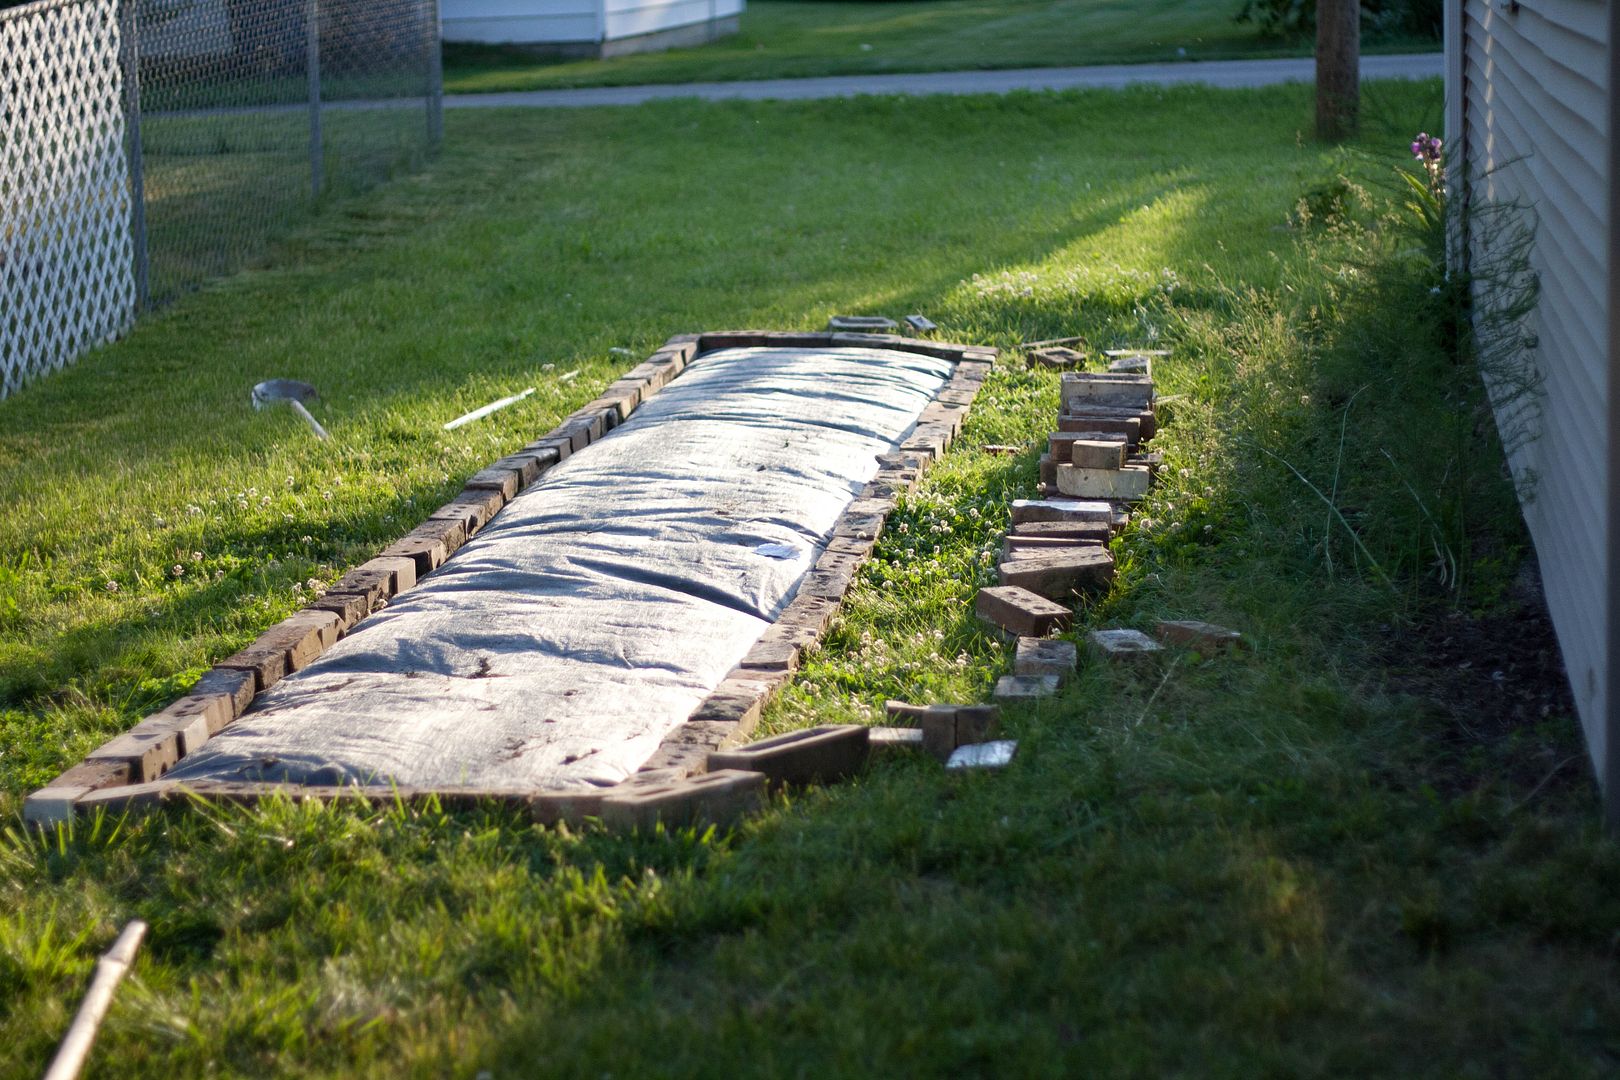

 All my bricks were different sizes and thicknesses, so I had to sort through them and find the ones that were roughly the same height. By using similarly sized bricks, and doing a little digging to make up the difference, I eventually ended up with a pretty even base layer.
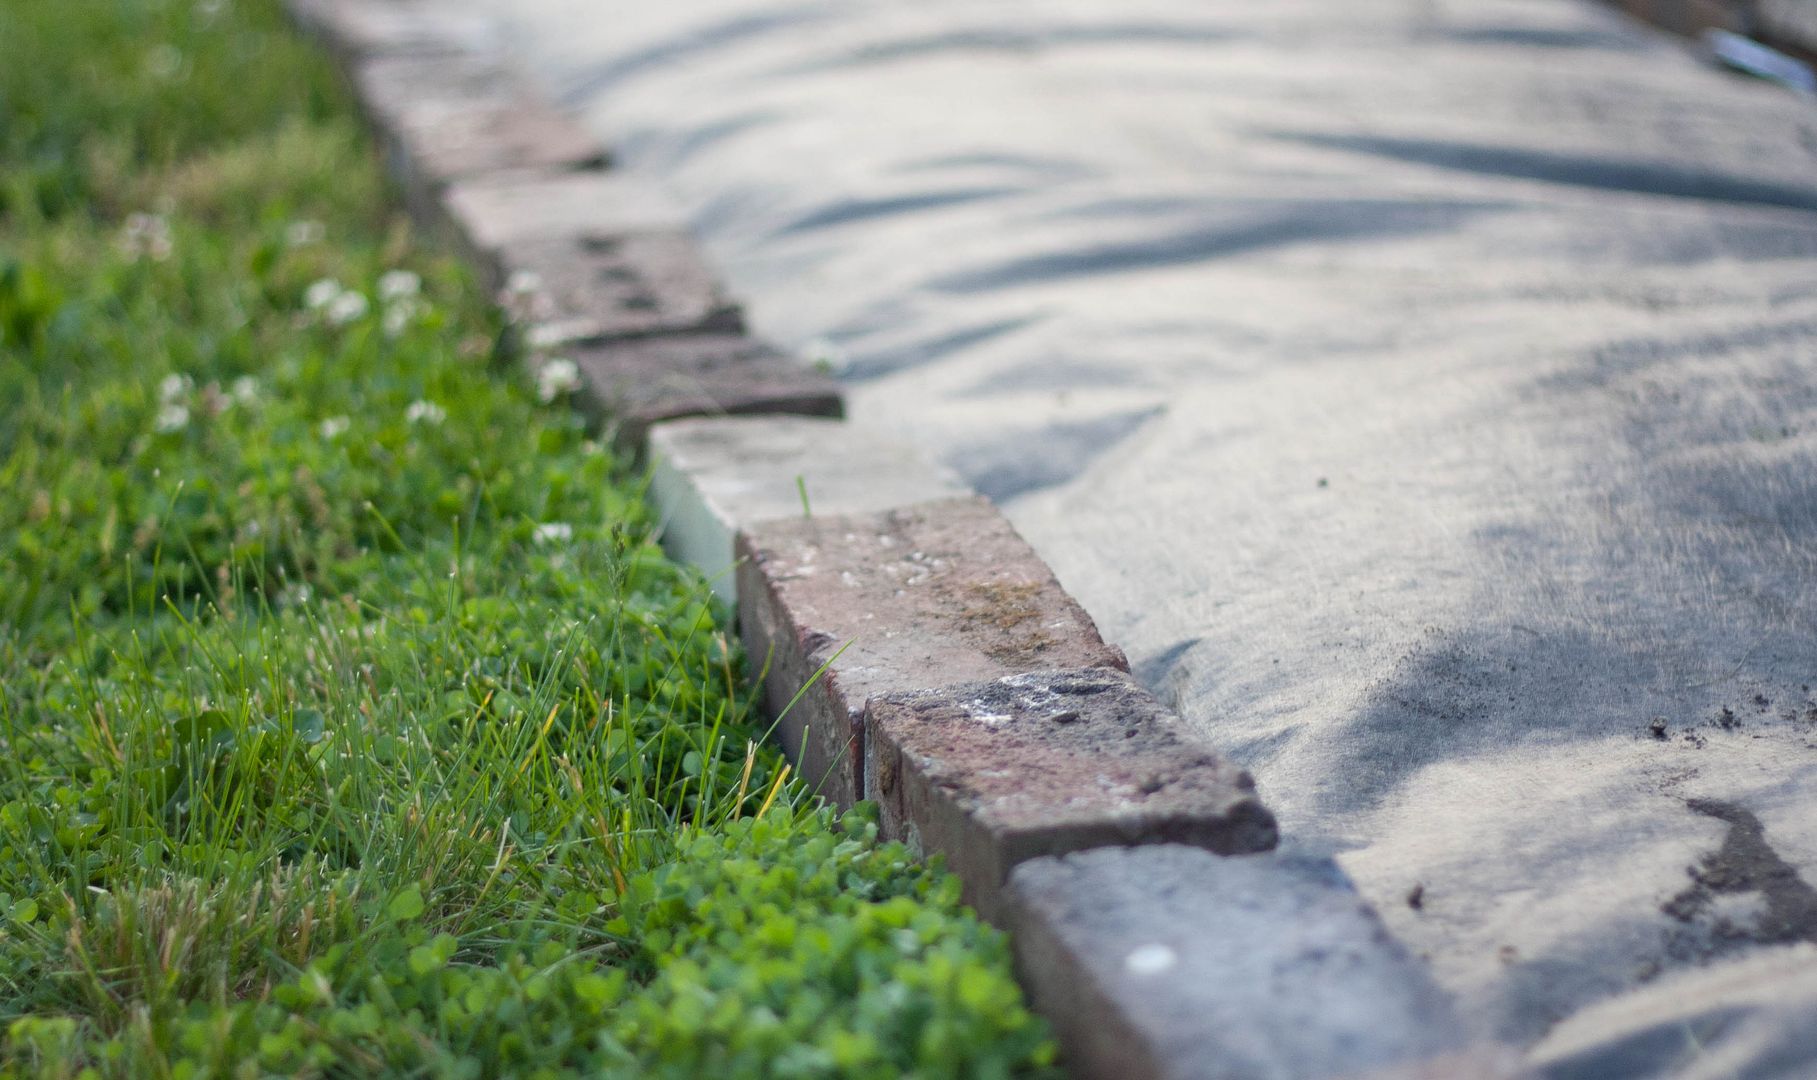

 After that the second layer didn't matter as much since nothing would need to sit on top this time. I overlapped the bricks to make them a little sturdier, but didn't worry about the varying heights.
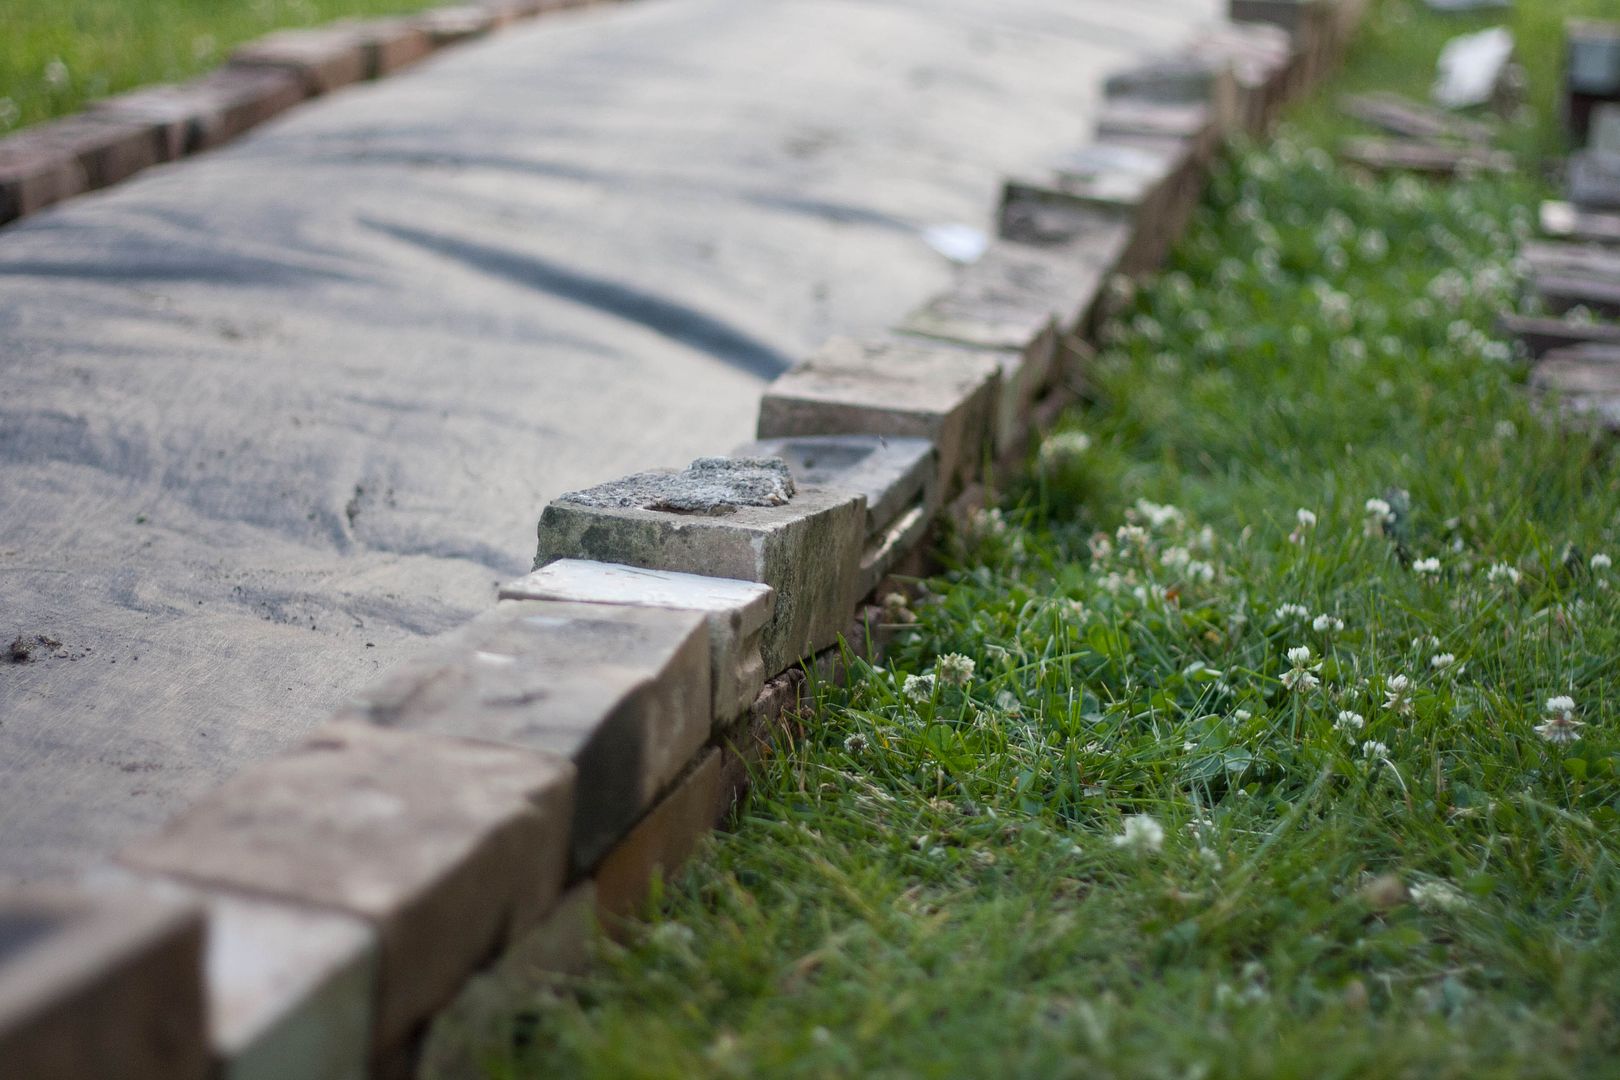

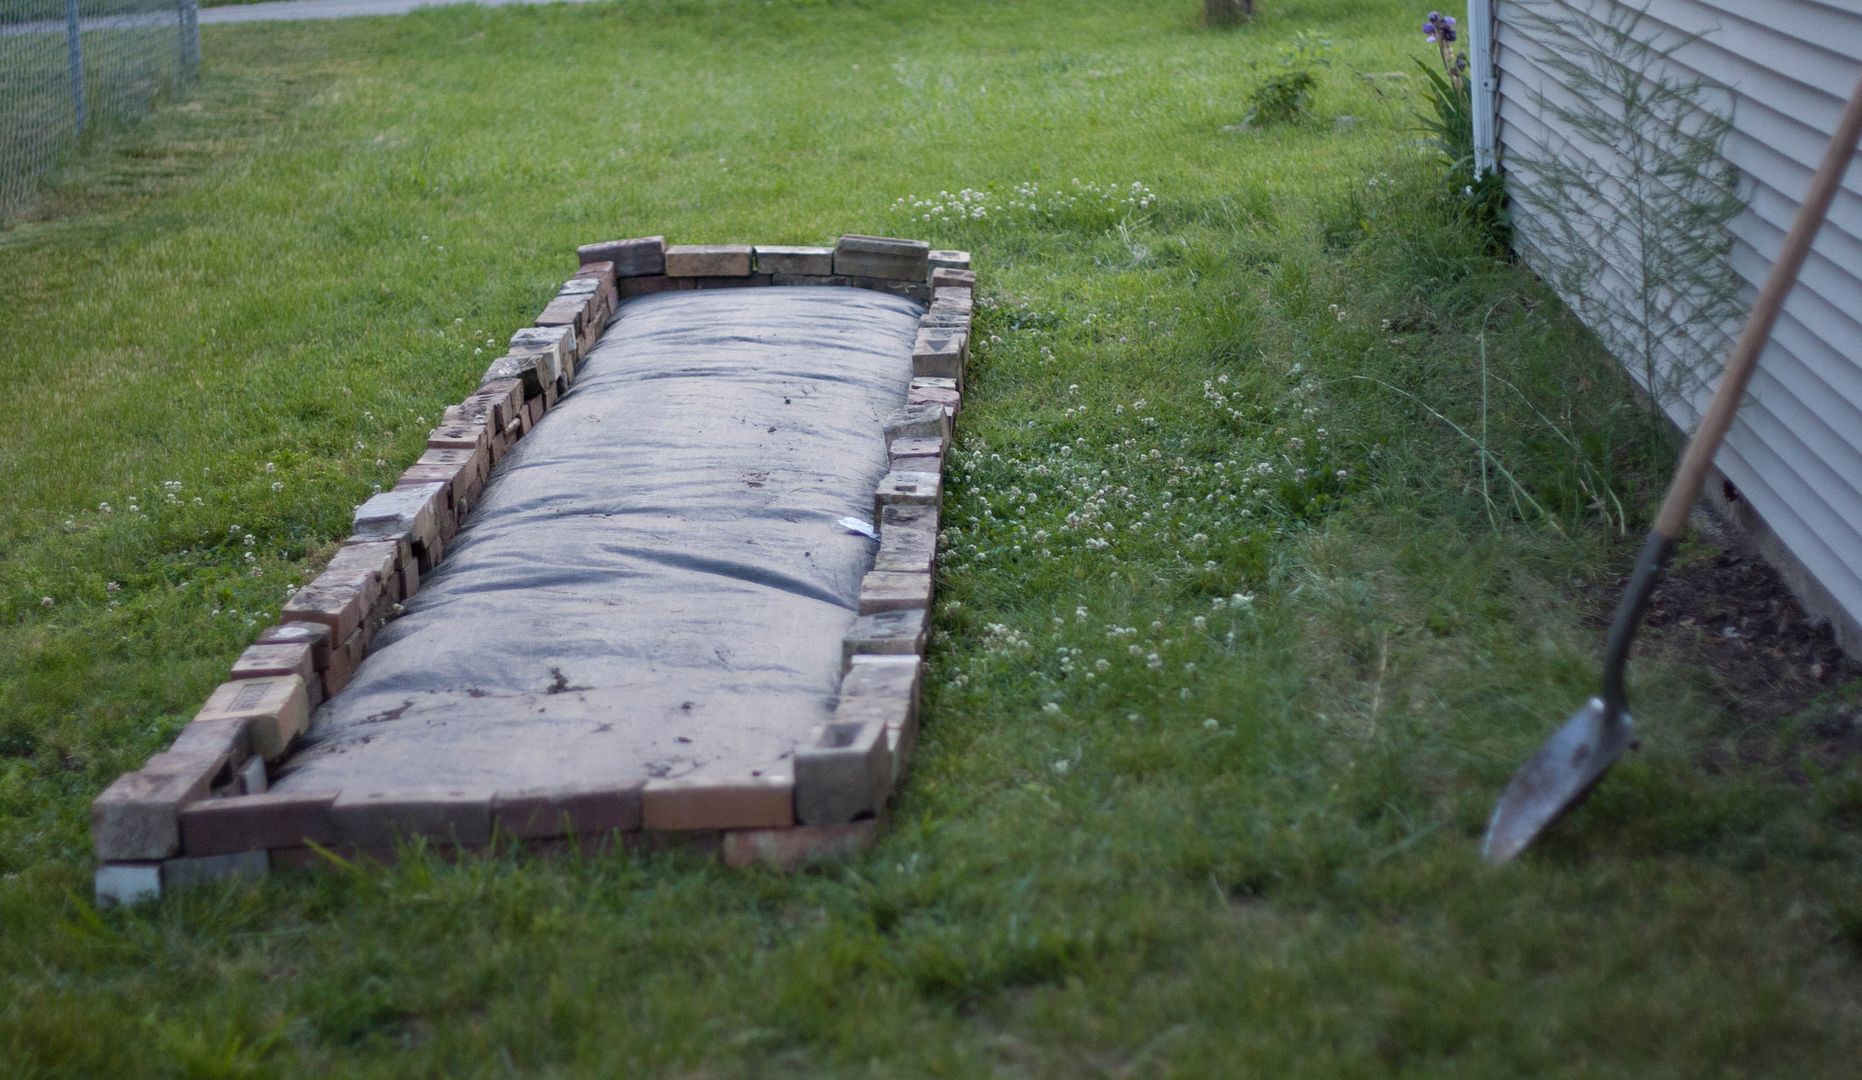
That was it for building the bed. I love the mix-match, eclectic look of all the different bricks. I'm trying to hunt down some more bricks to enclose the berry area too so it will look tidier. And because I love the way these look. :)

Next up was filling my garden with "Mel's Mix" of compost, peat moss, and vermiculite. I found most of the supplies at Lowe's, the only problem was that they only had one kind of compost and I was supposed to do a mix of 5 different kinds. I originally bought all the kind they had, but I ended up taking some back and shopping around to get more variety. I also was lucky enough to have some friends donate a bunch of Mel's Mix from their garden which cut down my costs even more! This is the part of this project that could really get pricey, even more so than the wood/stone/bricks. Here's a cost breakdown for filling my garden:
  • Compost   $2-4/bag (1 bag covers 1-1.5 cubic feet)
  • Peat Moss   $10/bag (1 bag covers 3 cubic feet)
  • Vermiculite   $12/bag (1 bag covers 1.5 cubic feet)
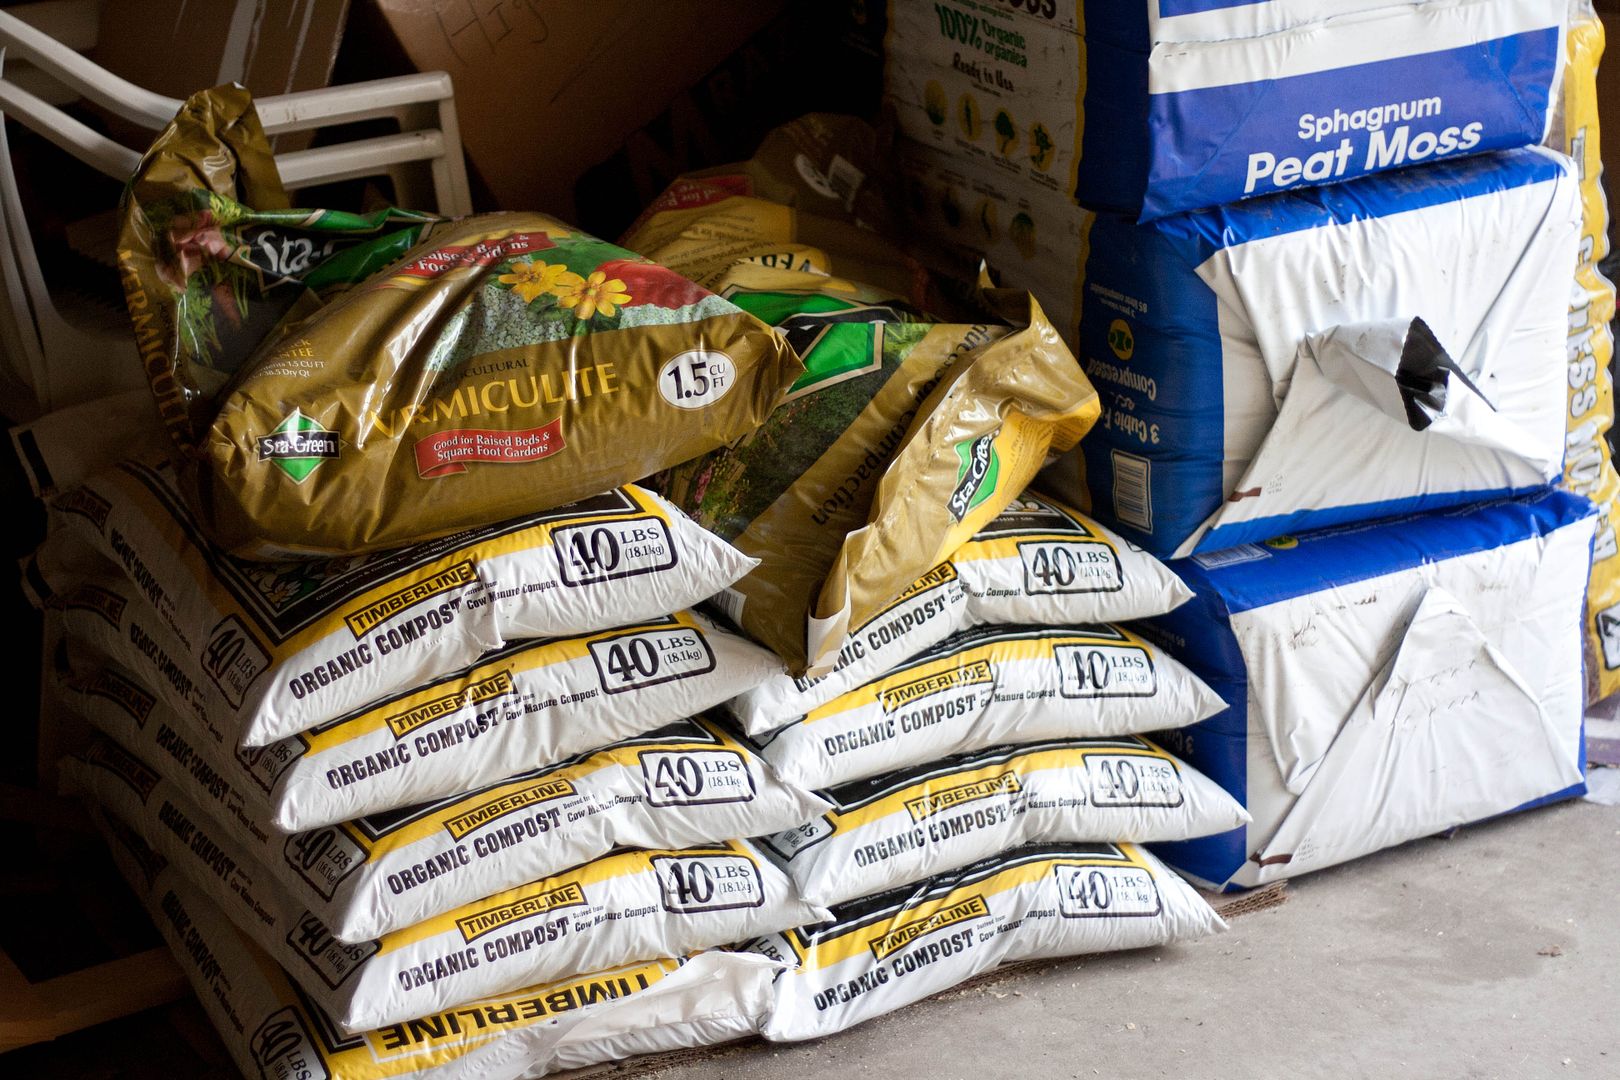
That vermiculite stuff is crazy expensive! So it better give me a bounty of delicious vegetables. The amount you need of each depends on the size of your garden and the book has charts and such for finding out how much you will need. I didn't follow the directions exactly because I skimped out a little on the vermiculite. To fill my whole garden (the right way) would have cost around $120, but thanks to my generous friends and general skimpyness I ended up spending around $75. It still seems like a lot for dirt (ha!) but I'm hoping it will pay off in the long run. And then you will learn from my success/failure and know if this whole deal is legit. :)


I used my mix to fill up my raised bed. And then it was time to plant!
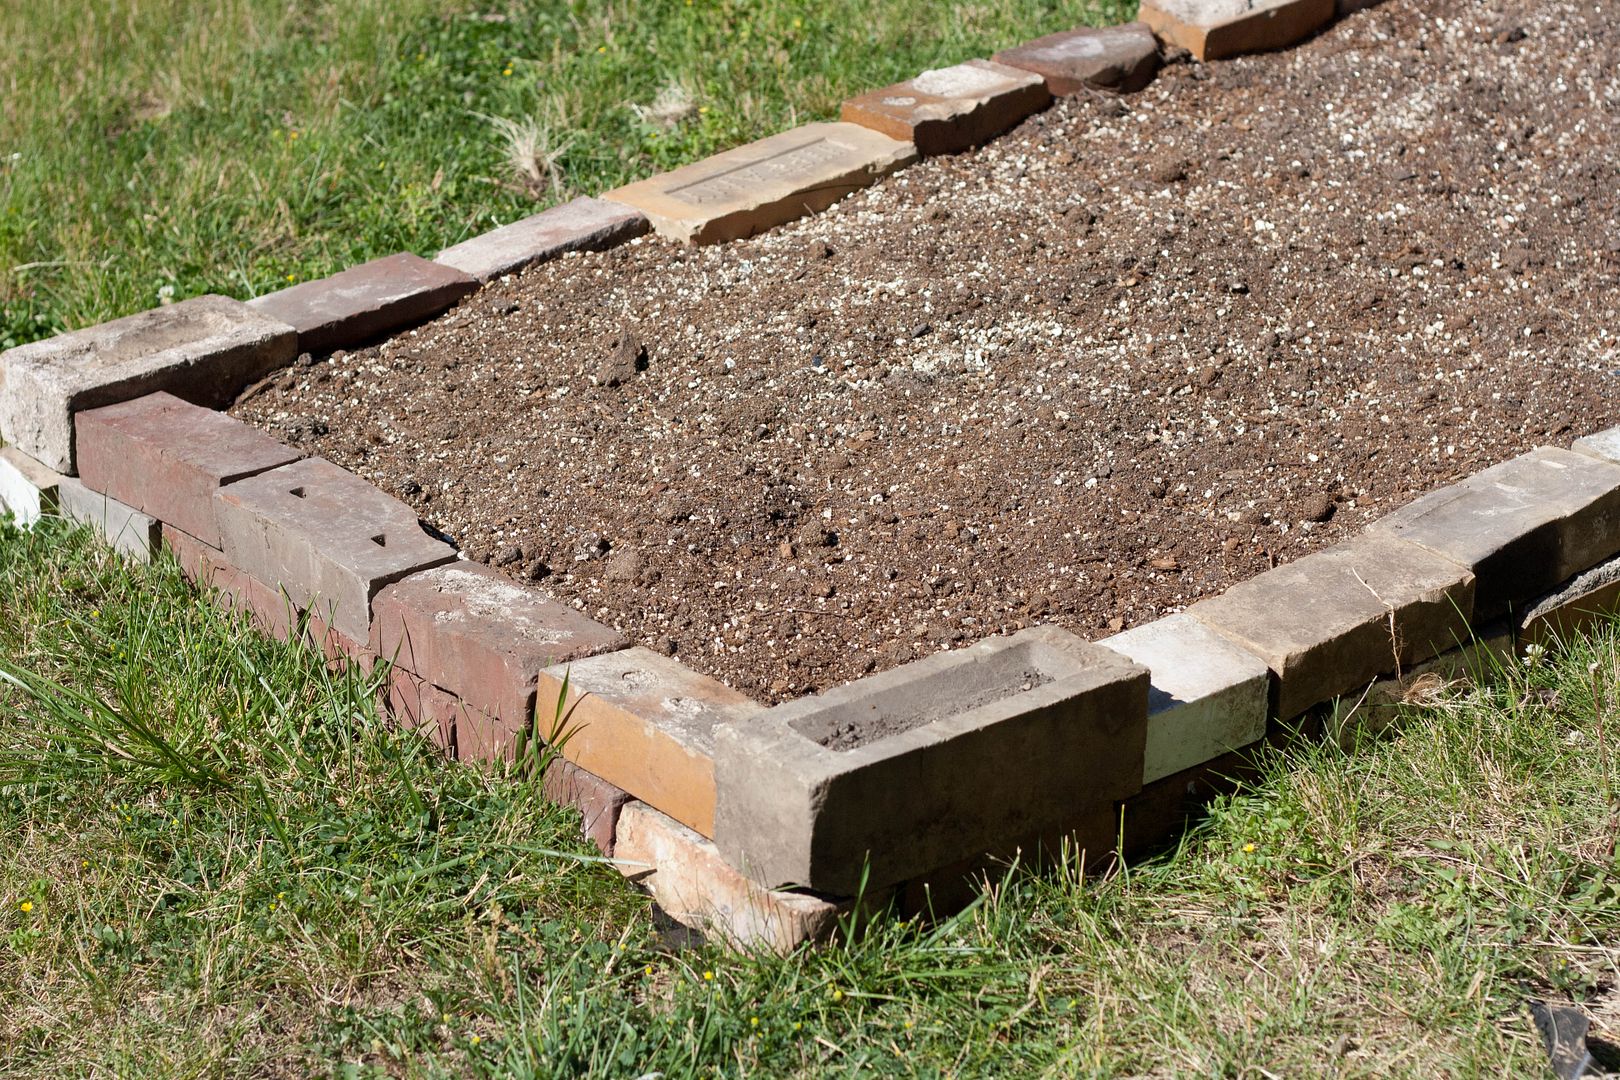

But I think this is long enough already, so I will tackle the planting next time! Have you ever used a Square Foot Garden or other raised bed? Do you have a veggie garden?

Thursday, June 7

MORE Diapers?!?

"Really, mom? You're talking about my diapers AGAIN?"


I got new diapers. Again. Yes. I have a problem. And I'm sure you want to know all about them. So here you go! 

Wool Cover - I got this used for only $3. I don't know all the details about care yet, but I'll share more once I get it figured out an start using it. It's basically a waterproof cover that is supposed to be great for nighttime because it SO good. :)


Flats - These are just big squares of fabric that you fold (and can "pin" with a snappi) and cover with a waterproof cover (or wool cover!). The left one is a Dippee Dypee bamboo flat ($5), and the right is a flour sack towel from dollar tree($1). So far the bamboo one is pretty big and bulky (but more absorbent) and the other is much trimmer and absorbent enough for me! And seeing as it's from Dollar Tree, it's probably the single cheapest way to cloth diaper a baby.


 Extended Tab Prefolds - also from Dippee Dypees. :) These were on sale so I decided to give them a try (I think they were like $5-8 depending on the size. I follow her facebook page to find the special deals and sales!). I bought one in each size and for now the medium sized ones are just right for Baby B. I like them so far! They are easy to put on (I had the snaps added so I wouldn't have to use a snappi), seem absorbent, and they came in my favorite robot print! The top picture shows how the go on and the bottom shows one opened all the way up. They are not water proof and require a cover, but they are a lot cheaper than most diapers and the tabs make them more convenient than a standard prefold. It seems like a good balance of cheap & easy!


Newborn Fitteds - No, no newborn on the horizon, but I found these on a local used diaper site for a STEAL ($5.50 each) so I'll just be stashing them in the closet until they are called into action. These are made of organic cotton and ohmygoodness they are so itty bitty! I forgot babies could be so small! They will need a waterproof cover for serious use, but will make some doggone cute naked baby pictures without one!


Last but not least....

Grovia All-in-One - Fun story, I participated in the Great Cloth Diaper Change earlier this year (something about setting a world record for most cloth diapers changed at once, but let's face it, I only went for the prizes) and my friend (who swears by Grovia and uses them almost exclusively) told me that the first 1000 to submit a picture of their baby wearing a Grovia at the event would win a free diaper! My friend very graciously lent me one of hers for the change and, sure enough, I got this guy! ROBOTS. I'm in love. This is different than any of my other diapers because it is an all-in-one, meaning that it doesn't require stuffing inserts because all the pieces are attached together. So we'll see how it goes!


You are, once again, up to speed on all things diaper. You're welcome. My husband hopes it will be a good while before I have even more diapers to talk about. :) Speaking of said husband....


After reading the Hunger Games, we decided to try out another series by Suzanne Collins called Gregor the Overlander. Has anybody read these? We just checked out the first one from the library. It was a fun read, really different from the hunger games. :)

And seriously, does anybody NOT want a baby to cloth diaper after you see how cute these are?!

Wednesday, June 6

A Boy and His Popsicle

For your viewing pleasure, Baby B ringing in summer (I know, it's technically still spring. But I choose to ignore this fact.) with a pool-side popsicle!


Three things we learn here:
  1. Baby B is stinkin' adorable in swim trunks.
  2. He WILL stir the pool with his popsicle, no matter what anyone says.
  3. It is NOT fun to eat cold things.
Has your weather been more summery too? How are you enjoying these beautiful days? Do you want to come swim in our pool now? :)

Monday, June 4

Switch Hitter

Oh yeah, that was a sports reference! Just making my husband proud. :) So what are we switching up around here? If you recall my recent yard sale post, we got a spiffy new fridge! Which Baby B has thoroughly tested, of course. There were two things weren't crazy about, though (but for a $200 fridge you deal with it or, in this case, modify it!). The first thing was that, like our old fridge, the door is hinged on the right side which means it opens towards the living room instead of toward the kitchen workspace. Not a huge deal, we lived with our other fridge like that for a year and a half now, but it would definitely be more convenient if it opened the other way!


The other thing that bothered us a little was the trim. All the trim was gray, which we didn't mind in general, but the rest of our appliances have black trim and since all these guys are pretty new and here for the long haul, we wanted them to be as matchy as possible.


So we got to work to see if we could  make this fridge our own! We started by removing the top hinge plate thingy (warning - none of these are technical terms. I'm just going to name them. Because I'm SO awesome at naming) which we will call Barbie. We just popped off the plastic cover and removed the screws holding the plate Barbie  in place.


 Then the freezer door slid up and off of the middle hinge plate. A.k.a. Ken. You can see below how Ken is attached to the fridge. In hind sight, your next step should probably be to go ahead and remove this bracket. We did things in a different order and then realized it would probably be easier this way. :)


 Next we removed the bottom hinge plate (a.k.a. Stacey). This is definitely a two person job. One to hold the door and one to remove the brackets. And, in our case, one to sit on the fridge shelf and watch.


Next was just a little work to prepare for the new placement of the doors. There were already holes (most of them had plugs) everywhere we would need them, so it was mostly a matter of moving the plugs.

The top plugs before we moved them to the right side:

 Plug in the fridge door. We switched it to the right side (I'm glad we did this before painting so we didn't have to worry about scuffing anything up later):

 These bolts were where the middle hinge plate goes, so we used them to fill those holes on the other side:

Then we installed the middle hinge Ken in his new home:

While the doors were off we decided to go ahead and haul them outside and get them painted. It was a much better choice than having to take them off again later or having to spray paint inside! I went to Menards to try to find the best paint for the job and... well... it was pretty obvious. Turns out they have spray paint specifically for painting appliances! (I asked the paint counter attendant to make sure this was a good choice even though our handles are plastic and he said yes) It actually recommends NOT using any kind of primer, so this $5 can is all I came home with!


Of course, we wanted to avoid getting any paint on that beautiful stainless steel, so we took some precautions. We started by using painters tape to precisely trim the edges of the handles. Let me tell you, this is the most important part! You have to be SUPER careful not to get the paint onto the handles at all. We had one side where our tape went onto the handle the teeniest bit and when we pulled it off it ripped some of the paint off and left a ragged edge. But more on that later. :)


 Then to protect the rest of the door we covered the entire thing with magazine pages. We taped between all the pages too because we didn't want ANY paint blowing between them. It took a while to get all those cracks taped. Too bad I didn't have bigger sheets of paper to use or something. Oh. Duh. I have tons of wrapping paper in the basement....


 .... So we used that to cover the back of the door and both sides of the freezer door. Much faster.


 Then we hauled them outside to paint! We used some scrap 2x4's under the middle of the door to keep it off the ground and used some cardboard to protect the grass. I would do a thin, even coat on the back side, flip it over and do the same on the front, then let it set a few minutes before we did it again. We ended up doing 3 coats and it turned out awesome! It may have been okay after two, but we wanted to be safe. (Note: wear shoes when you do this. This stuff is super sticky and will not wash off your feet for days, and yet will still manage to leave footprints. It's a mystery of science.) This picture was taken just before it started to rain. Our timing was not awesome.


After both doors were done, we let them set in the garage a full 24 hours. That gave them plenty of time to cure so they would be less likely to get any scuffs or scrapes when we installed them. This also meant Baby B had a full day to enjoy get stuck in a door-less fridge.

"Wait, I don't think I can get down from here!"

 "And I can't stand up!"

"Get me out of here!!!"
We repeated this several times throughout the day.

Once the paint cured we installed the doors by reattaching Barbie & Stacey on their new side. Just pay attention to how things come off, and put them on the same way! The doors work great on their new side, and it makes so much more sense for our kitchen layout! As for the paint, this is where we had trouble with the tape. Can you tell the top edge is all jagged?


Apart from the one hiccup, the rest of it turned out amazing! It seriously looks like a genuine appliance finish. It looks like it came this way!


But back to that jagged edge. When I bought the spray paint, I noticed they had small touch up kits of the same stuff!


I re-taped that edge and gave it a couple coats with the little brush. Good as new!


So far both changes have been great! And after a few weeks the paint on the handles is still pristine and we are very optimistic that it will last for a long time! 


I promise I will get you full pictures of the fridge in place, but at the moment our old fridge is still in the middle of the kitchen and I can't get a good picture. :) So instead I leave you these pictures of Baby B enjoying one of his favorite snacks - guacamole.
 

Is it crazy to paint appliances? What have you been working on in the kitchen?
Subscribe