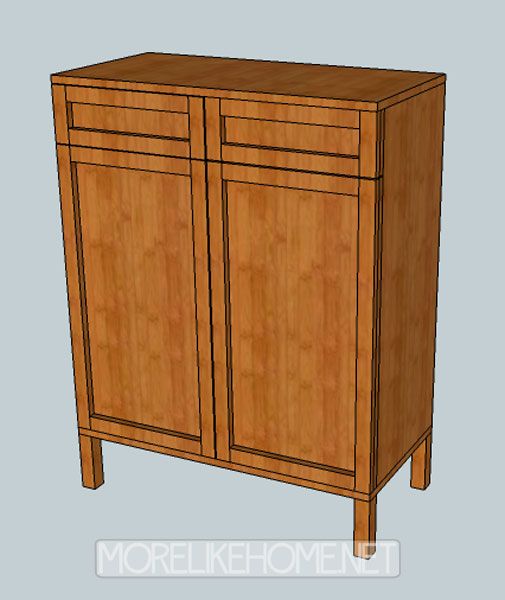
I got the new C&B catalog... erm a month ago? Already? Anyway.... after drooling over a few favorite pieces for a while, I decided it was way past time to draw up some fun new plans. First up, meet the Solo Cabinet. That was a naming opportunity I couldn't pass up - you're welcome, husband. Anyway, this guy is inspired by Crate & Barrel's Oslo Bar Cabinet which retails for $800.
Shopping List:
1 sheet 3/4" plywood
5 - 1x2 @ 8' long
1 - 1x4 @ 8' long
1 - 1x6 @ 6' long (3' is plenty if your store carries shorter boards)
1 - 2x2 @ 6' long (or 3' if available, you can even use scraps. you just need four 6" pieces.)
4 hinges for full overlay doors
4 drawer/door pulls
2 sets 12" drawer slides (we like the euro style)
**optional - 1x12 board for putting shelves in the cabinet***
**optional - four 6" legs such as these if you want a more mid-century modern look**
Tools:
Saw
Drill
1 1/4” screws (or Kreg Jig & 1 1/4" self tapping screws)
2" screws (or Kreg Jig & 2 1/2" self tapping screws)
1 1/4" screws
1 1/4"Finishing nails
Wood glue
Wood filler
Sandpaper (a power sander is great if you have one)
**optional - router & jigsaw (to get the more rounded mid-century modern look, you could use a router to round the edges of the cabinet doors and drawers and a jigsaw to round the corners of the top and bottom boards)**
3/4" Plywood Cut List:
Thursday, January 31
Tuesday, January 29
Not the Baby
I don't think we can call him Baby B anymore. For a couple reasons.
And this was N's:
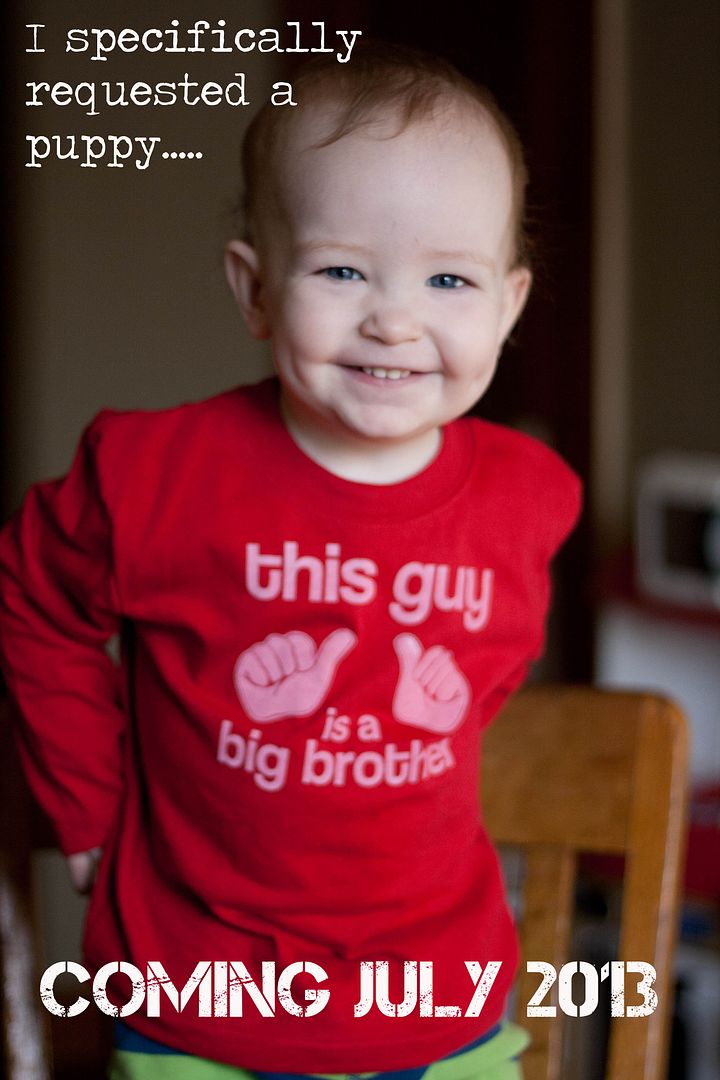
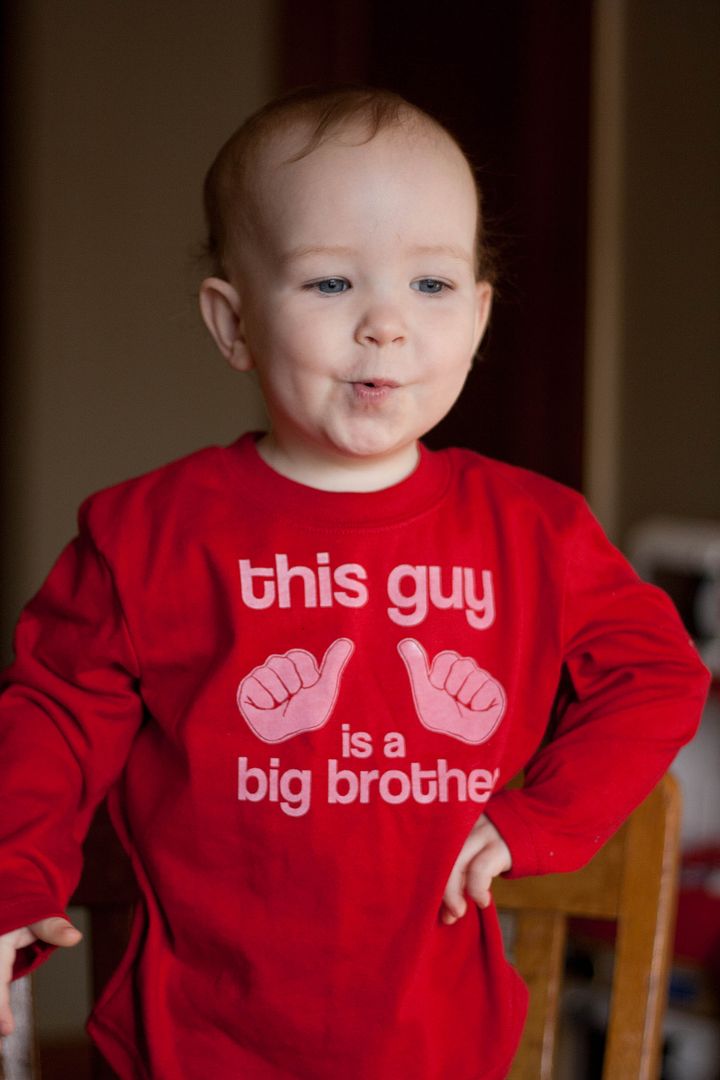
We are super excited to grow our little family! And althoughBaby B doesn't really know what is going on, he was a very willing photo participant! I tried to get him to "ooooh" and "aaaaah" but he wasn't going for it. So I got out a nice shiny M&M. Sure enough he gave me all faces I wanted... but he never took his eyes of the M&M. So I also have a lot of these:
So what do you call a guy who's not the baby anymore? I guess just B. Unless I stumble across something more creative. :) And if anyone's wondering, my sister screen printed the shirt just for us! I photoshopped the image and then she worked her magic. Thanks Bef!
So that's our big news! But be sure to stay tuned, because I have more fun stuff coming. I'm hacking my way through the new Crate & Barrel Catalog, so get ready for new projects like this:
and this:
and this:
Happy Tuesday! :)
- He is all toddler. Sassy, stubborn, running-wild toddler.
- He's not the baby anymore. That's right. As of July, we'll be be a family of FOUR!!!
And this was N's:
We are super excited to grow our little family! And although
So what do you call a guy who's not the baby anymore? I guess just B. Unless I stumble across something more creative. :) And if anyone's wondering, my sister screen printed the shirt just for us! I photoshopped the image and then she worked her magic. Thanks Bef!
So that's our big news! But be sure to stay tuned, because I have more fun stuff coming. I'm hacking my way through the new Crate & Barrel Catalog, so get ready for new projects like this:
and this:
and this:
Happy Tuesday! :)
Wednesday, January 23
Momma's Day Off
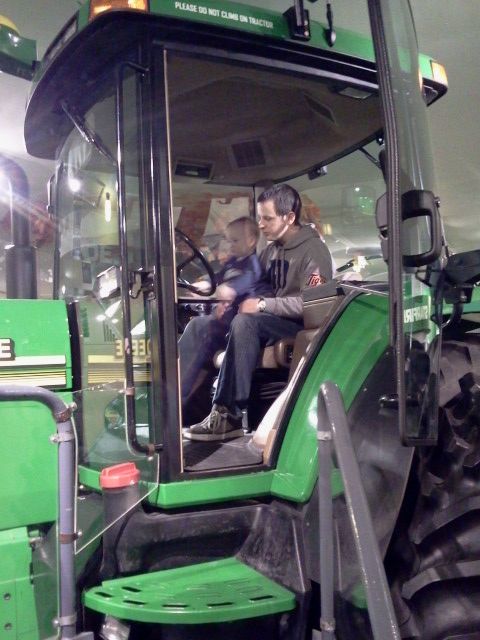
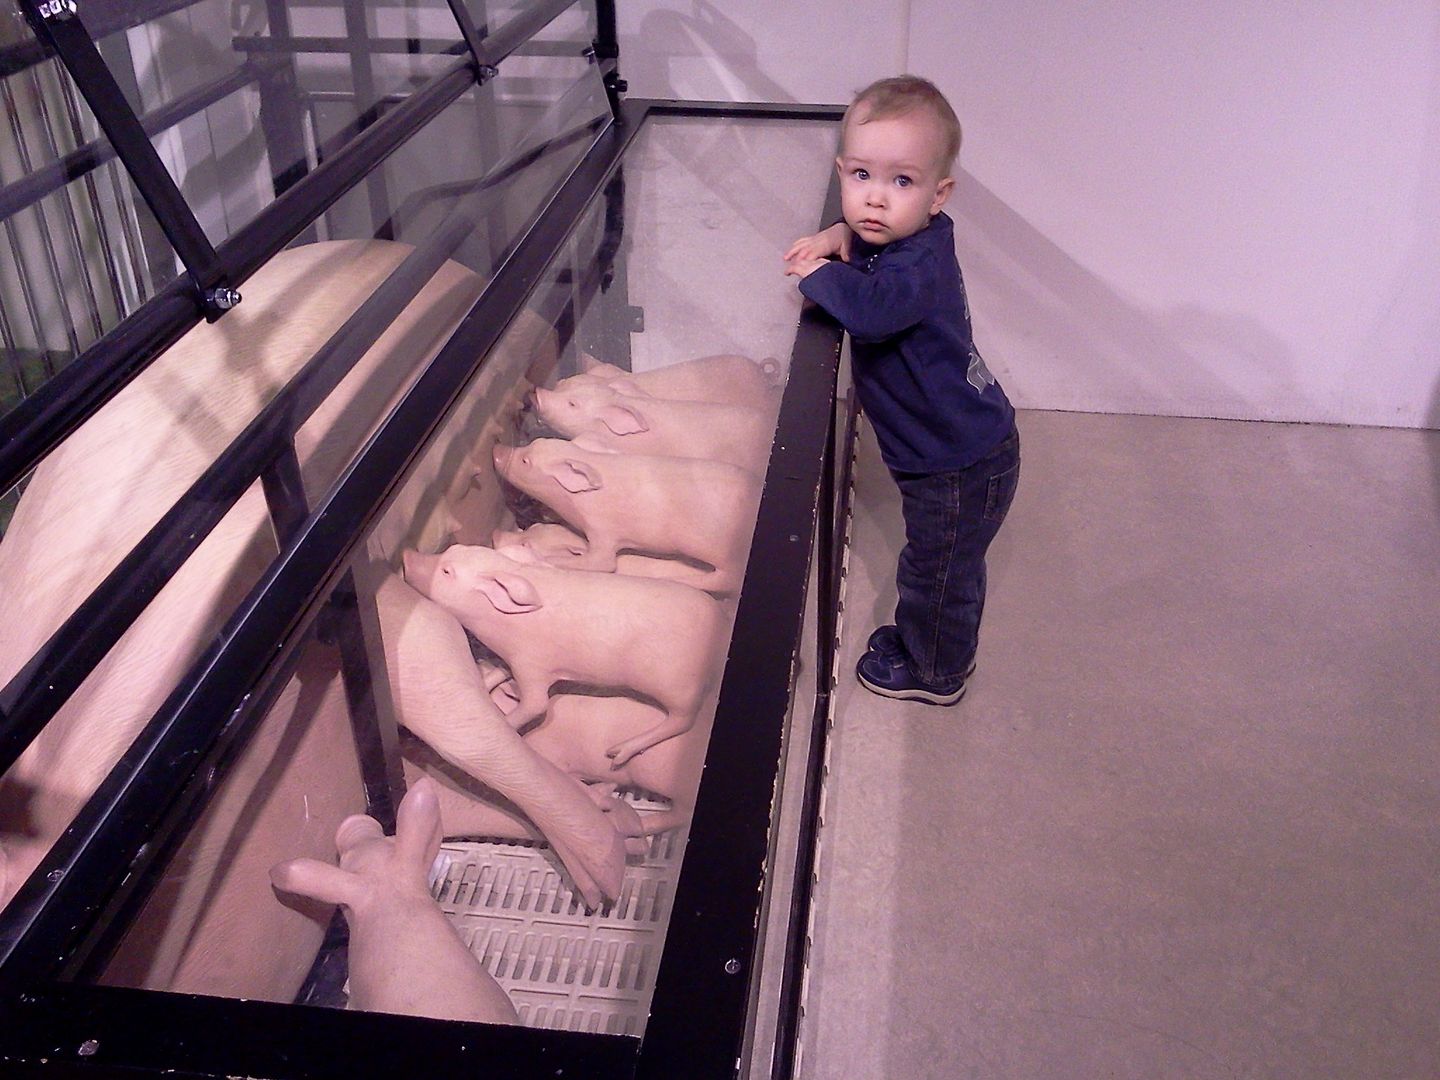
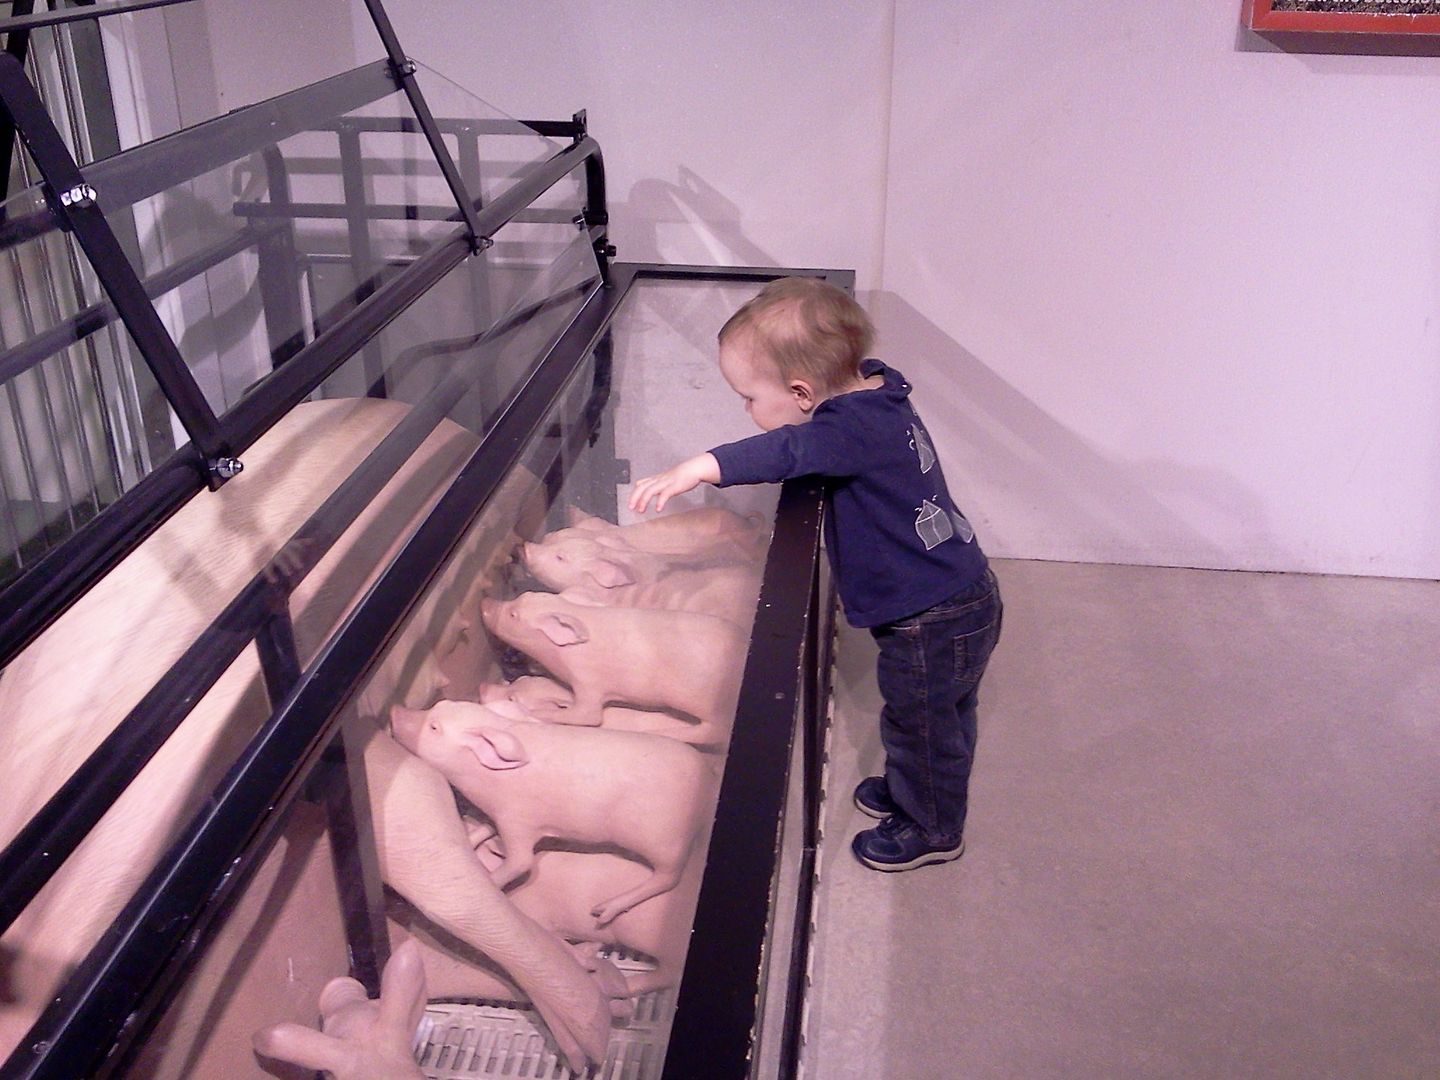
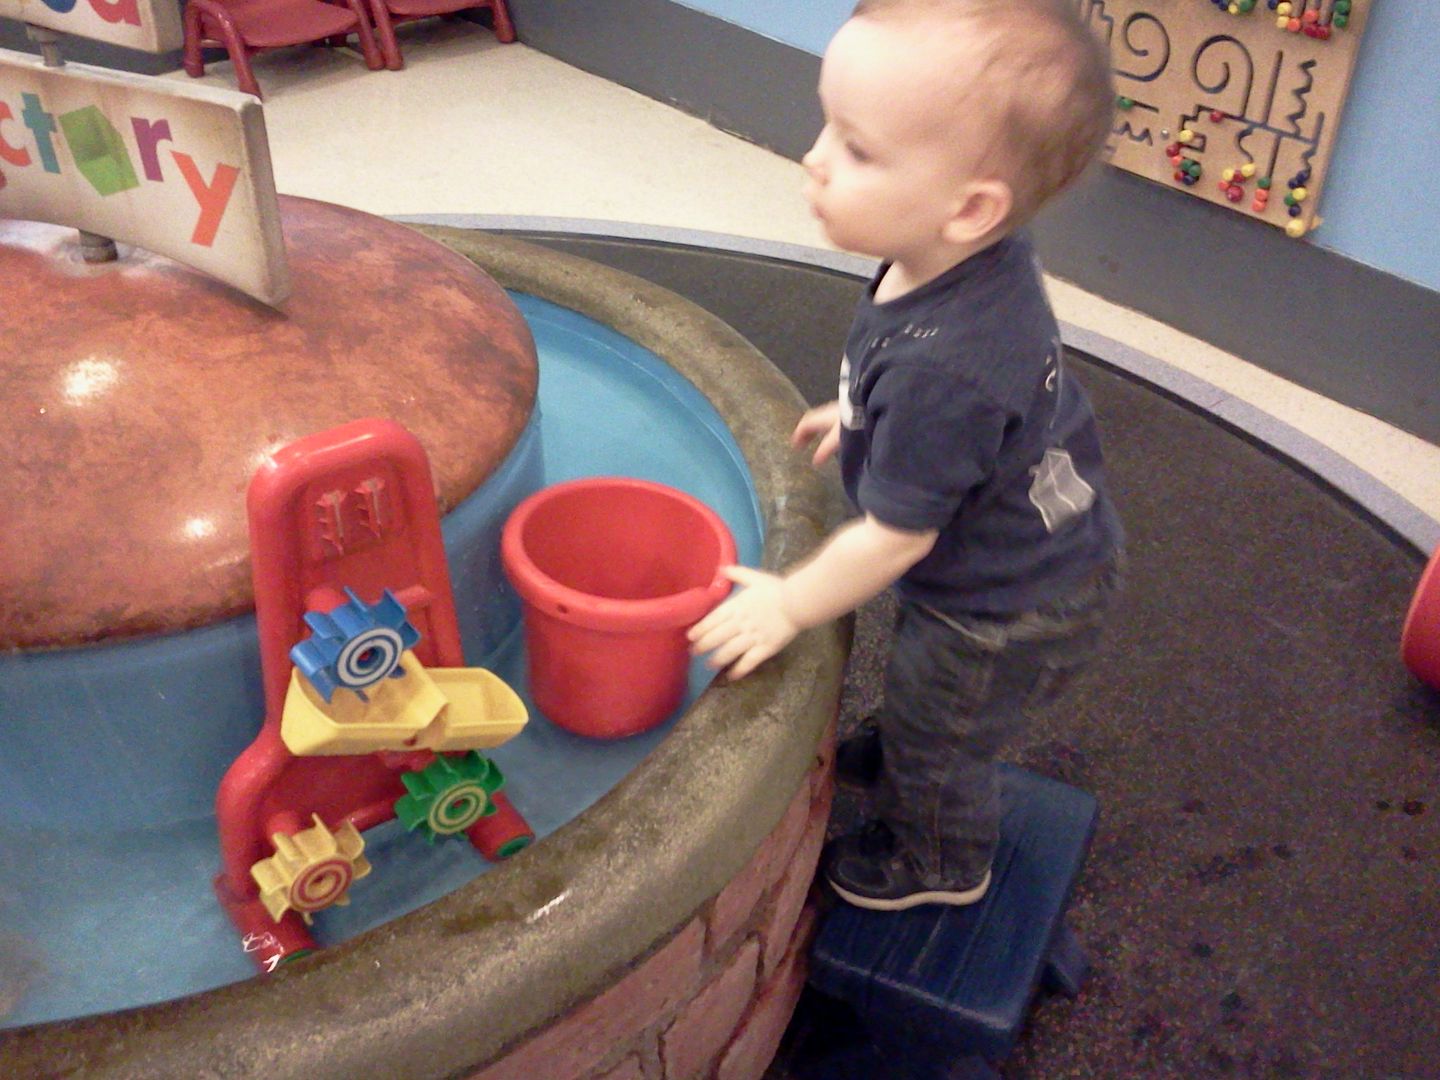
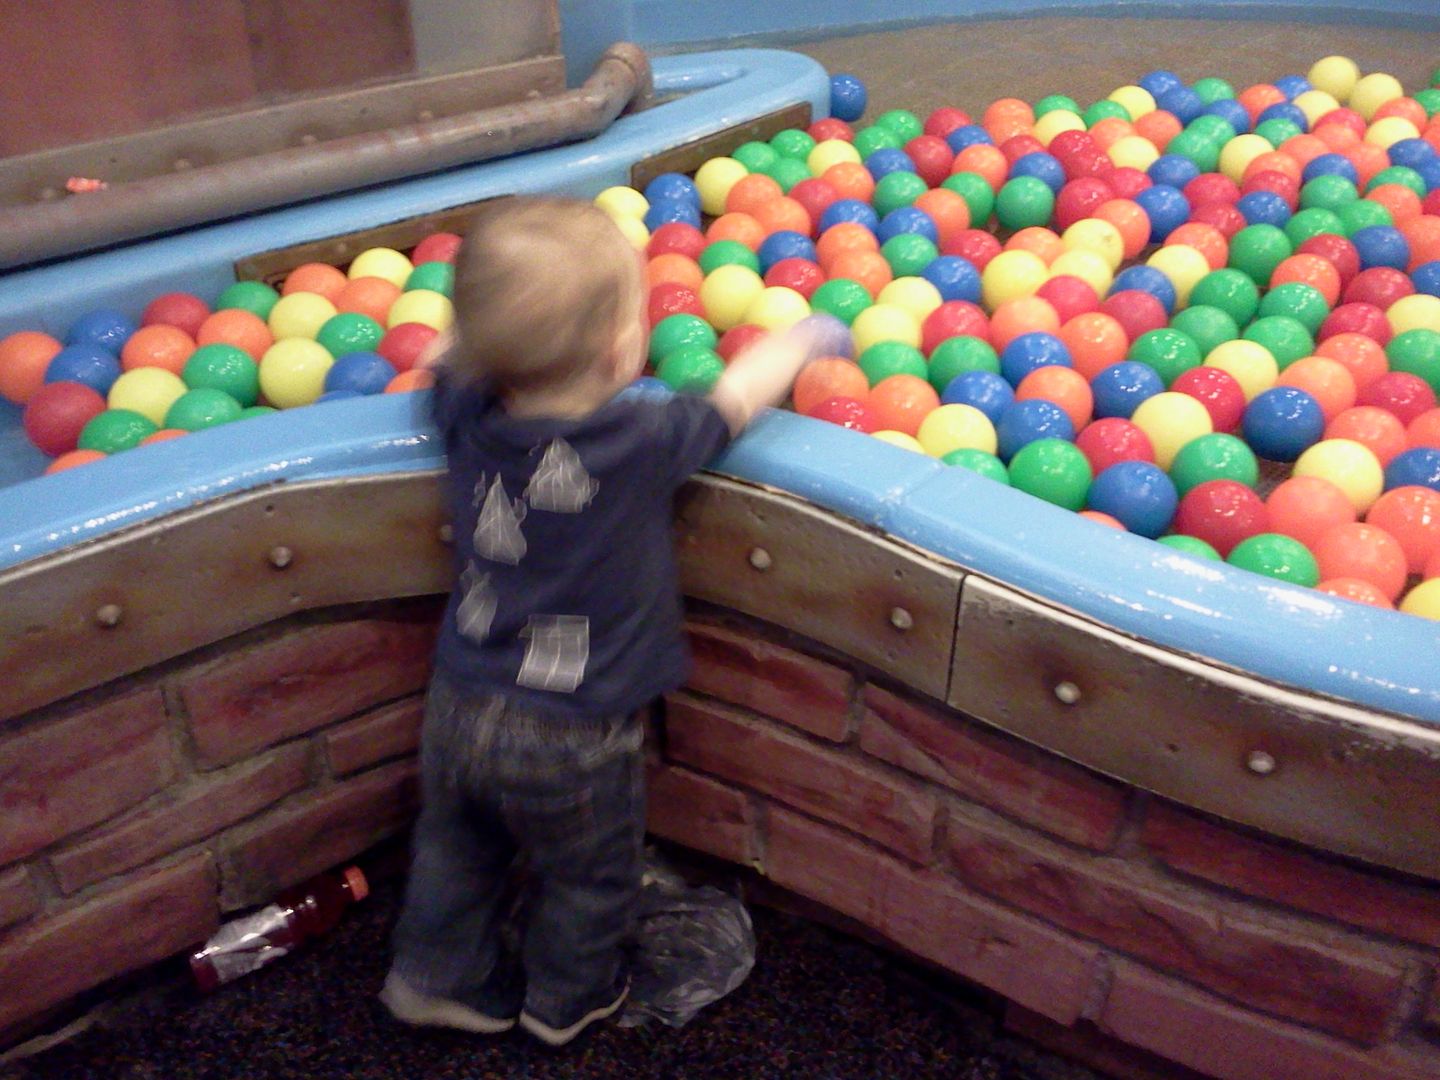
Yesterday this momma got a day off! Husband used a vacation day to take Baby B on his first big date with daddy... up to the Museum of Science and Industry in Chicago! I found out too late that I sent along a camera without a memory card (oops), but N was still able to take some phone pics of their fun day.
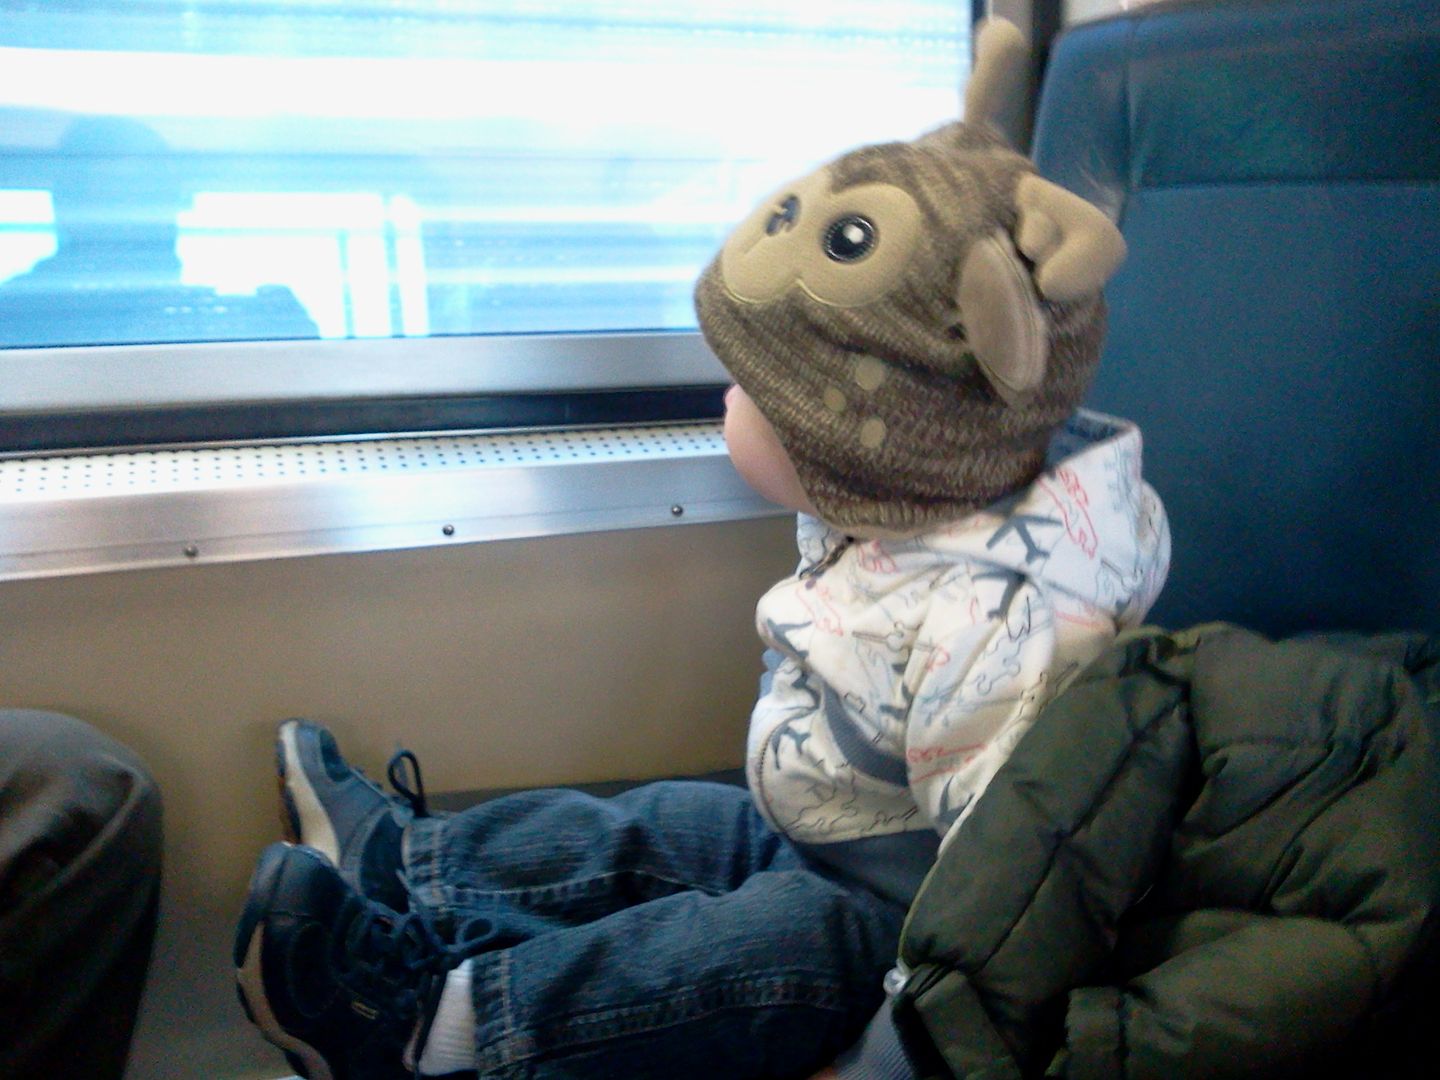
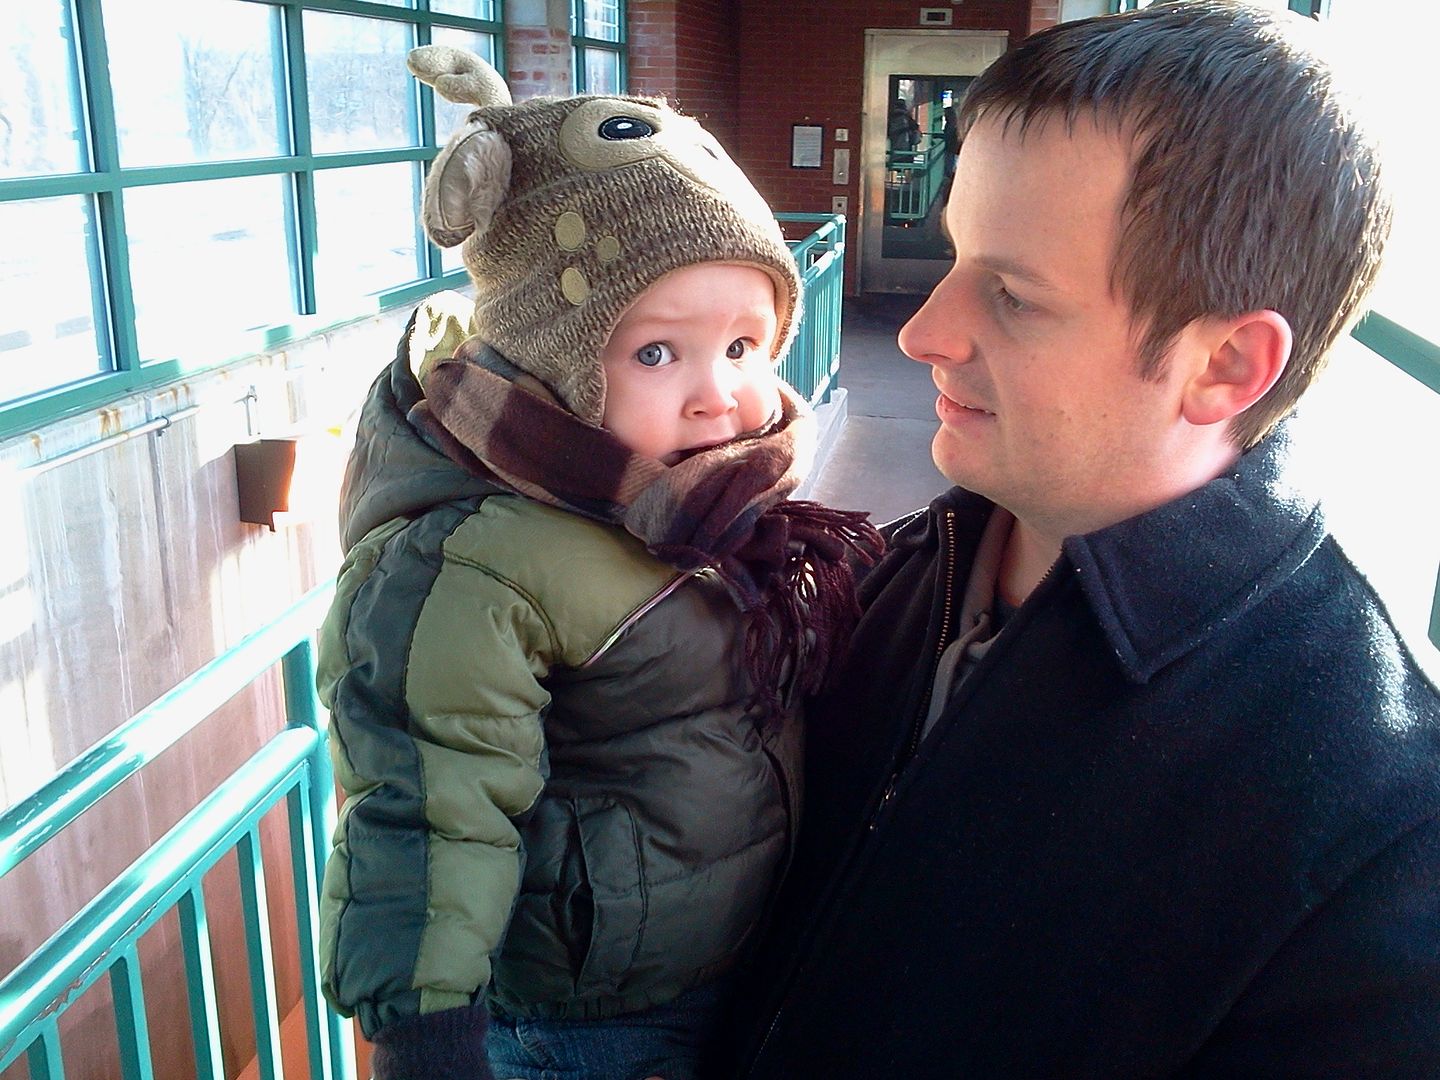
Riding the train.
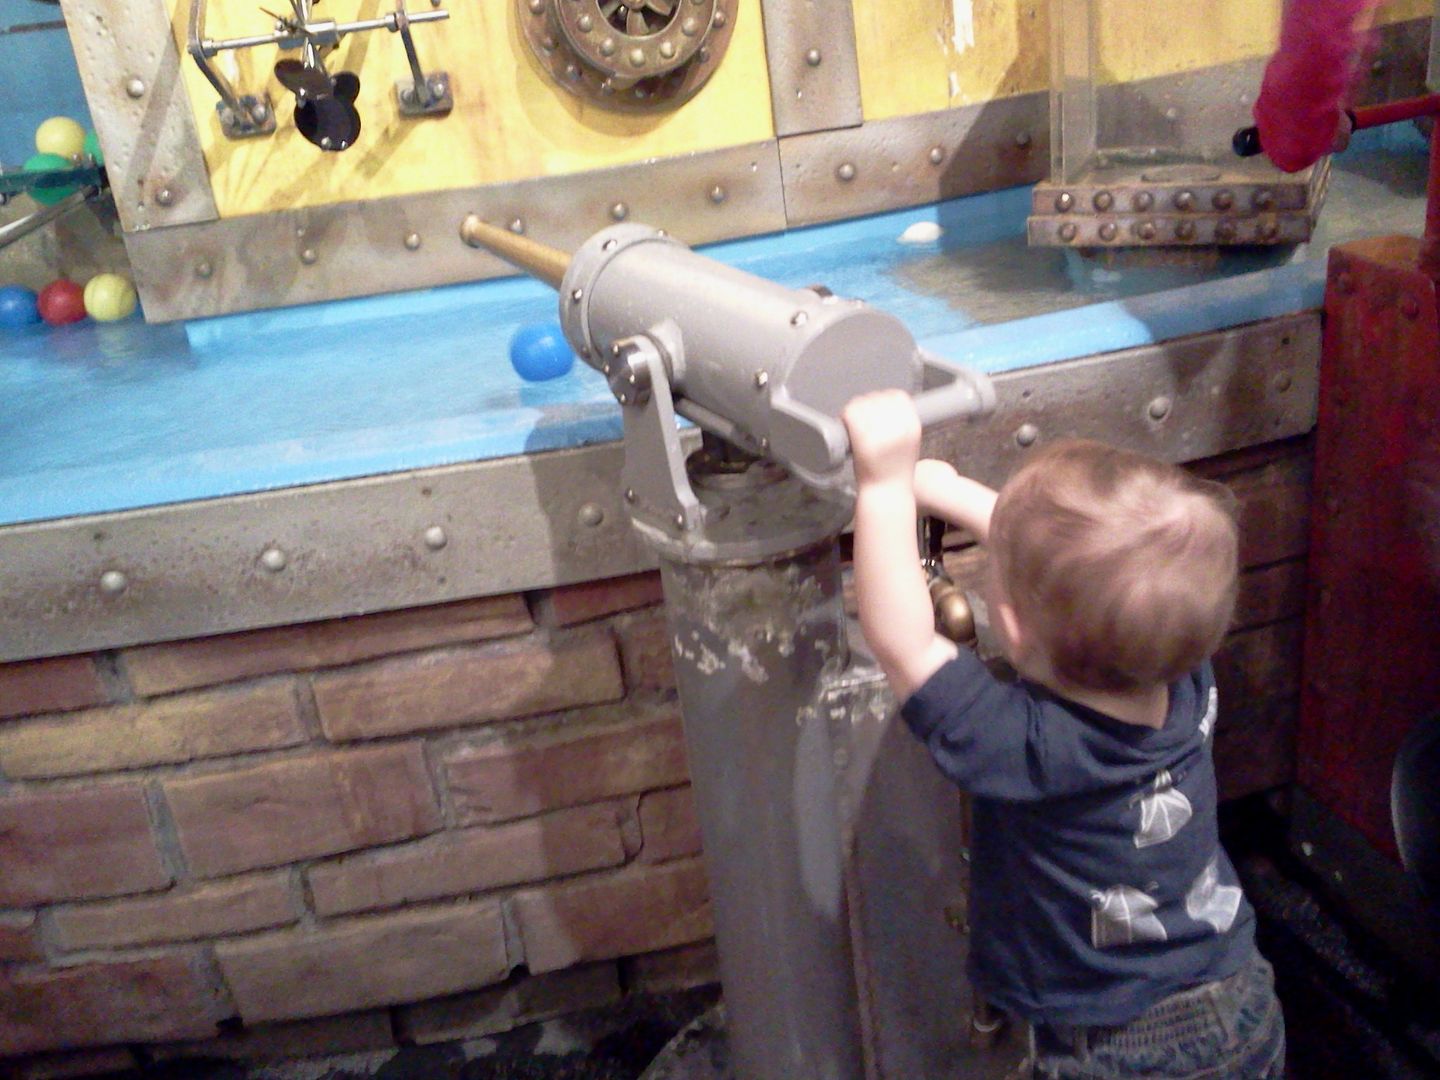
"Let's go on that underwater boat!"
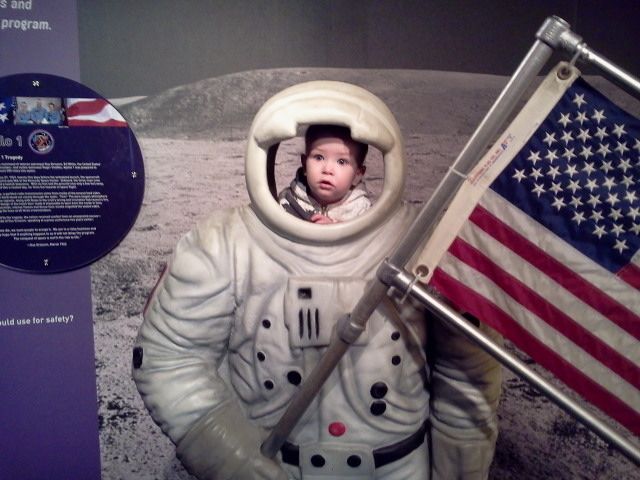
"I know what I want to be when I grow up!"
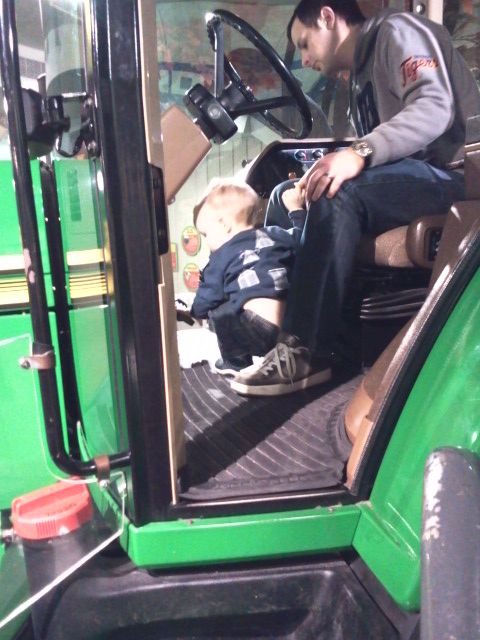
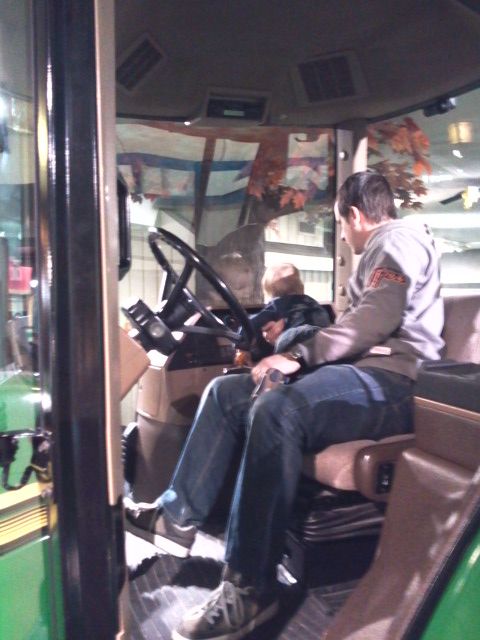
Driving a tractor with the daddy.
"OOOOO, pedals!"
"OOOOO, buttons!"
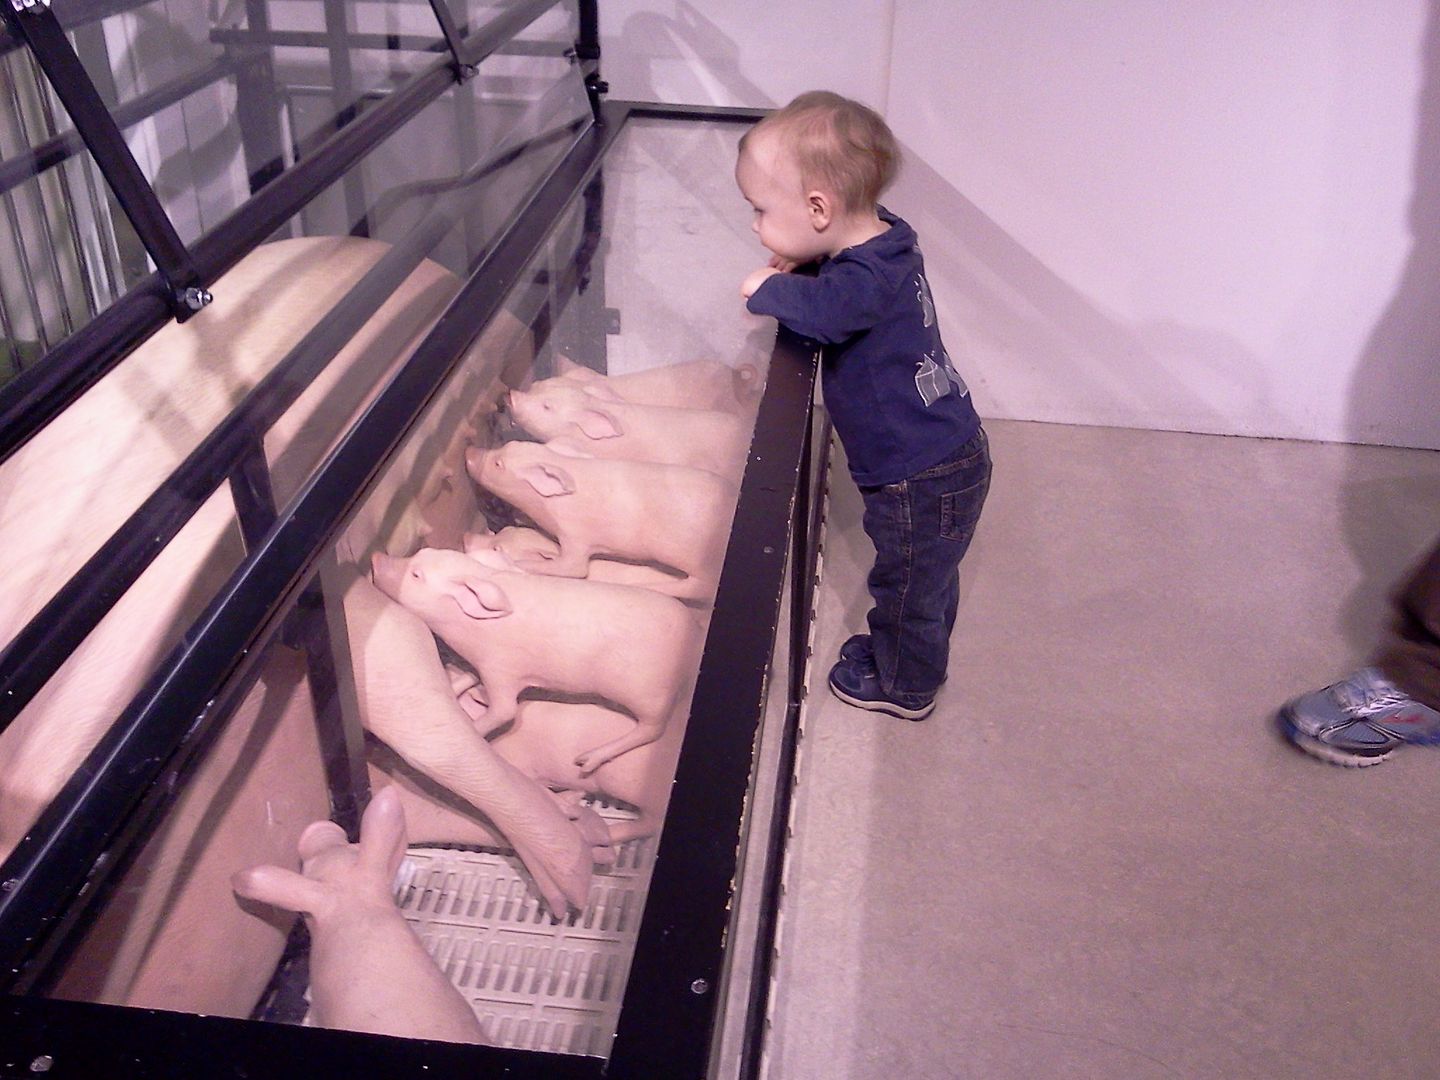
"Pigs are my favorite!"
"Daddy, these aren't real pigs..."
"I still like them."
Water table fun.
Water + balls = Baby B paradise
I can't believe how tall and thin he's getting!
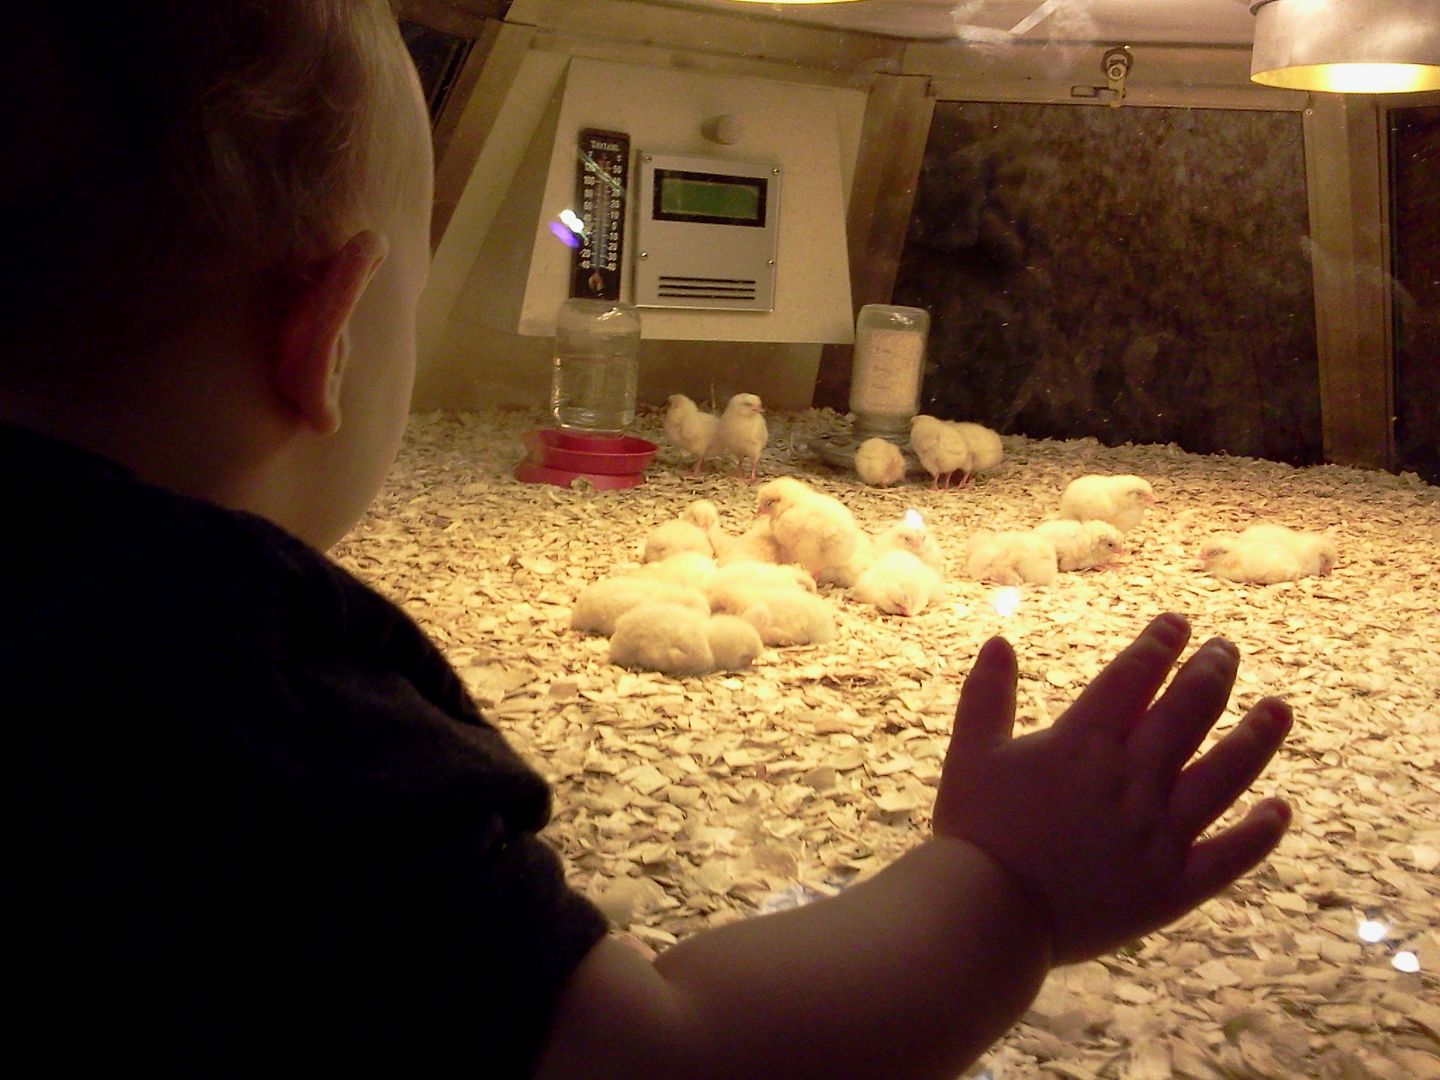
Watched some baby chicks hatch and kept signing "more birds!"
Ready to get back on the train.
They both had a great time and Baby B was sad to come home. I had a great day doing mostly nothing with my sister (she was in town for a long weekend & her boyfriend went up to the museum with my boys). There was much food and napping involved. :)
Thursday, January 17
When Your Lampshade is Too Big
Okay, so I just made my lamps all spiffy with some ORB spray paint, and then picked up a couple nice (& cheap) lamp shades at Ikea to finish them off, only to get home and find out..... they don't fit. Wop wop. Don't you hate it when that happens? I just found out, who knew lamps & shades weren't universal?!? Luckily they were not fitting in the too-big-for-the-lamp way and not in the too-small-for-the-lamp way so I found a way to make them work that way easy and totally free! Here's how:
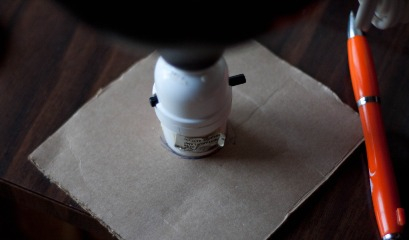
Grab a piece of sturdy cardboard from the recycling bin (don't have any? Ask your friends!) and trace around the top of your lamp.
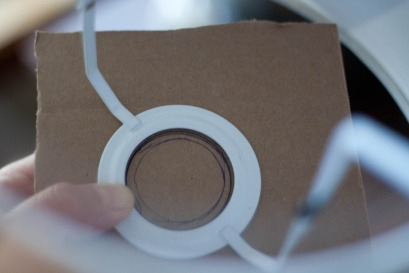
Next grab the lamp shade and line up the inside ring so it is centered around the circle you just drew. Now trace around the outside of the ring.
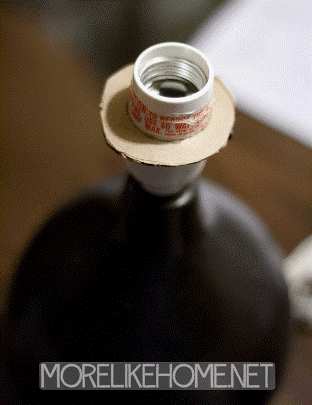
Use an exacto knife to cut out the center circle, then the outside circle to make a ring. Slide the ring onto your lamp base (you may need to trim it just a bit more to get a good fit).
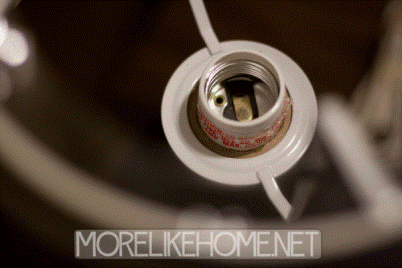
Set your lampshade on the ring and center it around the lamp. Use a couple pieces of scotch tape to secure it to the cardboard and keep it from sliding around.
Pretty easy, right? :)
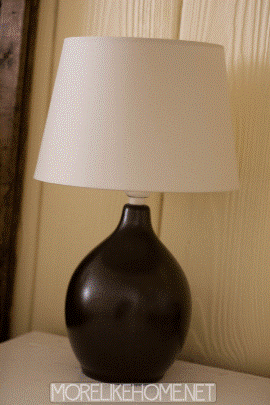
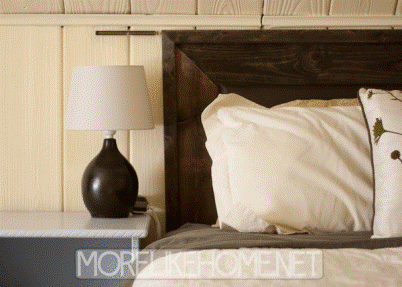
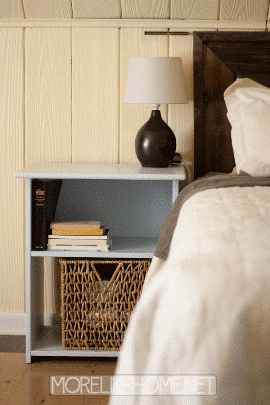
I'm loving how these are turning out! They are a much better size than the old Ikea lamps.
And I feel like they fit our style so much better.
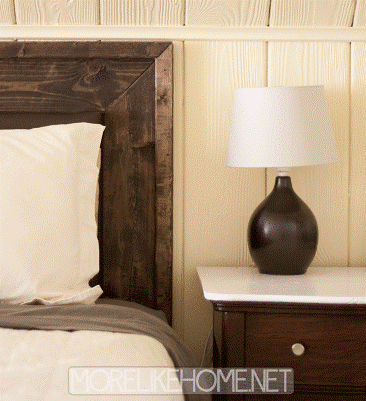
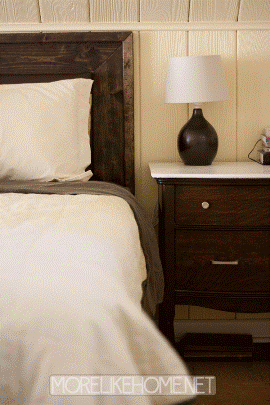
And they look pretty sharp with our new nightstand...
...and antique dresser!
I do think I'll do something with fabric or paint to dress the shades up. I don't think I like how they disappear against the walls. But, you know me, I don't like to rush into things. I like to think about it for a loooong time... and then decide to rush into it. ;)
But in the mean time I'll just make a crib tent with Baby B! Which is a little sad, because I just realized these are his last crib pictures! He's graduated to a toddler bed! Big boy. ;)
He wanted his favorite animal book and just laid in there looking at the pictures. Because he's funny and he can't help it.
Any ideas for spiffing up my lamp shades???
Grab a piece of sturdy cardboard from the recycling bin (don't have any? Ask your friends!) and trace around the top of your lamp.
Next grab the lamp shade and line up the inside ring so it is centered around the circle you just drew. Now trace around the outside of the ring.
Use an exacto knife to cut out the center circle, then the outside circle to make a ring. Slide the ring onto your lamp base (you may need to trim it just a bit more to get a good fit).
Set your lampshade on the ring and center it around the lamp. Use a couple pieces of scotch tape to secure it to the cardboard and keep it from sliding around.
Pretty easy, right? :)
I'm loving how these are turning out! They are a much better size than the old Ikea lamps.
And I feel like they fit our style so much better.
And they look pretty sharp with our new nightstand...
...and antique dresser!
I do think I'll do something with fabric or paint to dress the shades up. I don't think I like how they disappear against the walls. But, you know me, I don't like to rush into things. I like to think about it for a loooong time... and then decide to rush into it. ;)
But in the mean time I'll just make a crib tent with Baby B! Which is a little sad, because I just realized these are his last crib pictures! He's graduated to a toddler bed! Big boy. ;)
He wanted his favorite animal book and just laid in there looking at the pictures. Because he's funny and he can't help it.
Any ideas for spiffing up my lamp shades???
Subscribe to:
Posts (Atom)