Thursday, July 26

Baby Steps

I really would like to finish the kitchen soon. Really. It turns out it's kind of hard to make progress on such a big project with a baby running around. We're kind of stuck at point where we need two sets of hands for cutting plywood and moving cabinets, but the only time N and I can both work on it is when Baby B is safely tucked in bed and by then we don't want to wake him with power tools! This is the most recent step we've completed, and that was a few weeks ago. I guess we're taking "baby steps" to a whole new level. :)

So what did we do? Oh, we just built a hugenormous corner cabinet. No biggie. Except that it was pretty big. And stubborn and stinking hard to move! We assembled it in the middle of the kitchen floor before sliding it into place. For anyone interested in attempting a corner cabinet of your own, I definitely recommend Ana White's plans. Unfortunately in our case we didn't have room for a handy corner cabinet of that size. Boo. So we just made things up as we went along and built something that would fit the space.


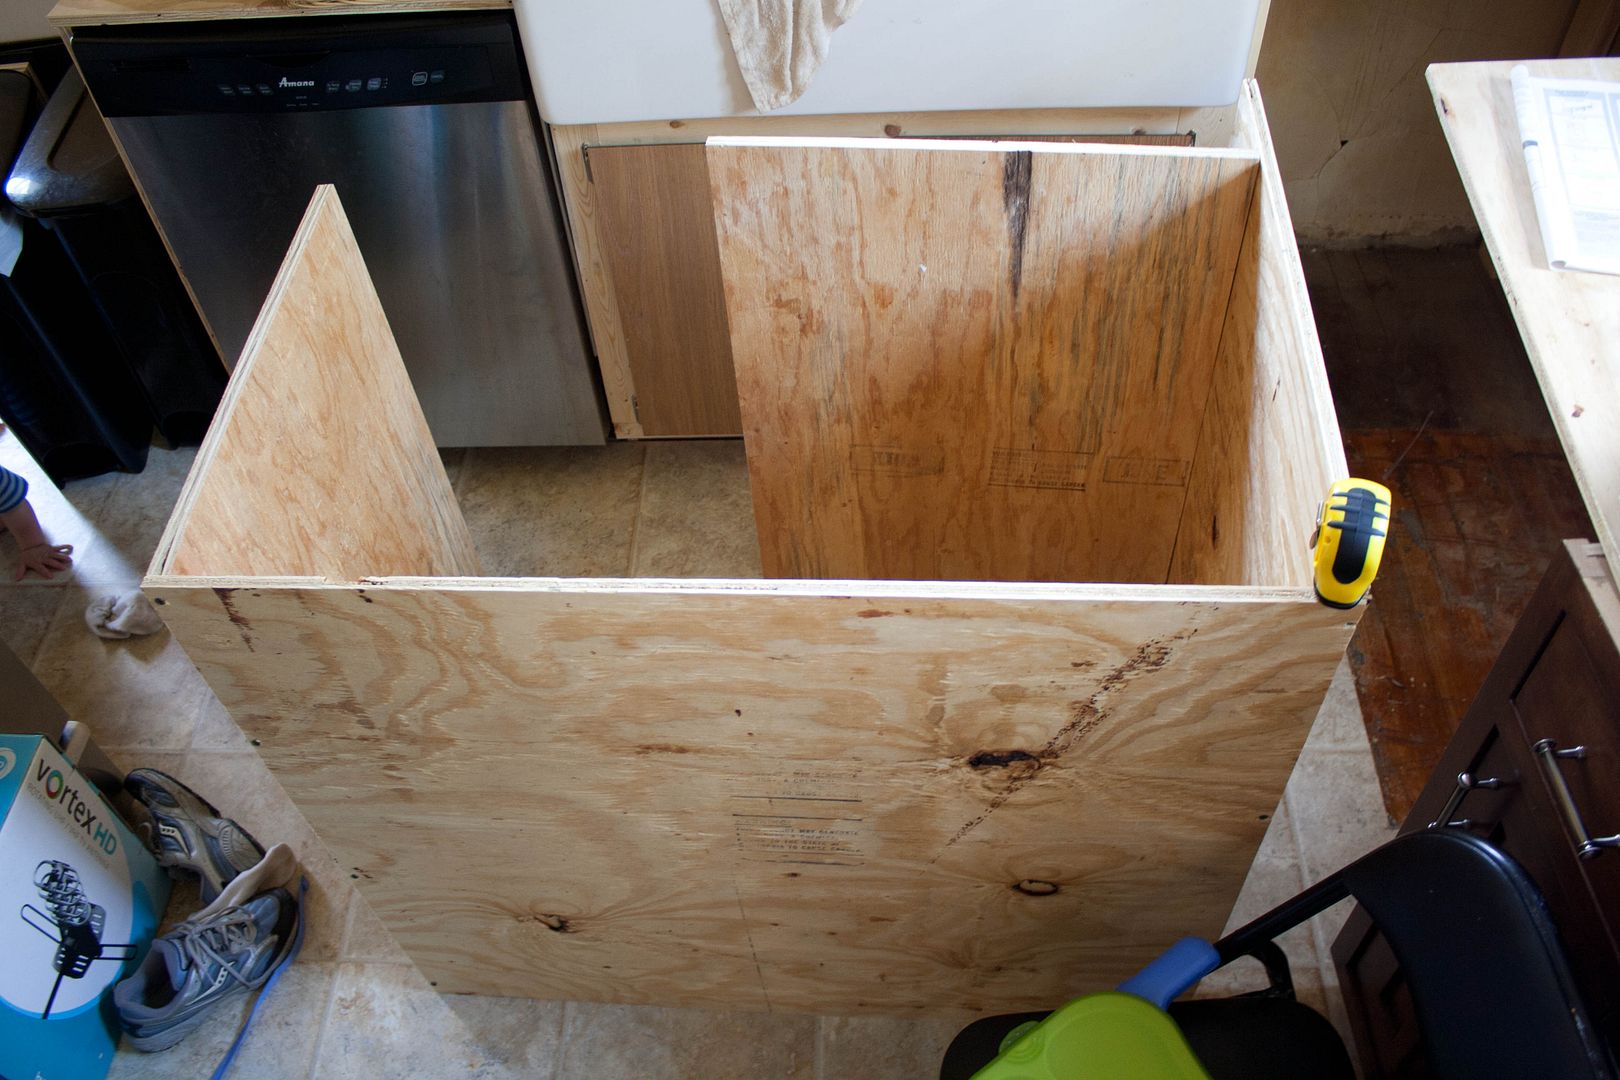
Although it did take us a few tries to get a good fit. We decided the best use of our space would be to make what's called a blind corner cabinet to fill most of the space and add a spice pull-out next to the sink.


Which ended up looking something like this. Well, so far.  the big part is the blind corner, which just means you have a door on one end that leads to a cavernous pit of storage. Fun stuff. But it was definitely better than no storage, so we went for it! The part on the left is the spice pull-out. It's like a tall drawer with skinny little shelves for storing small things like spices. It's a good way to make use of a couple extra inches of space.


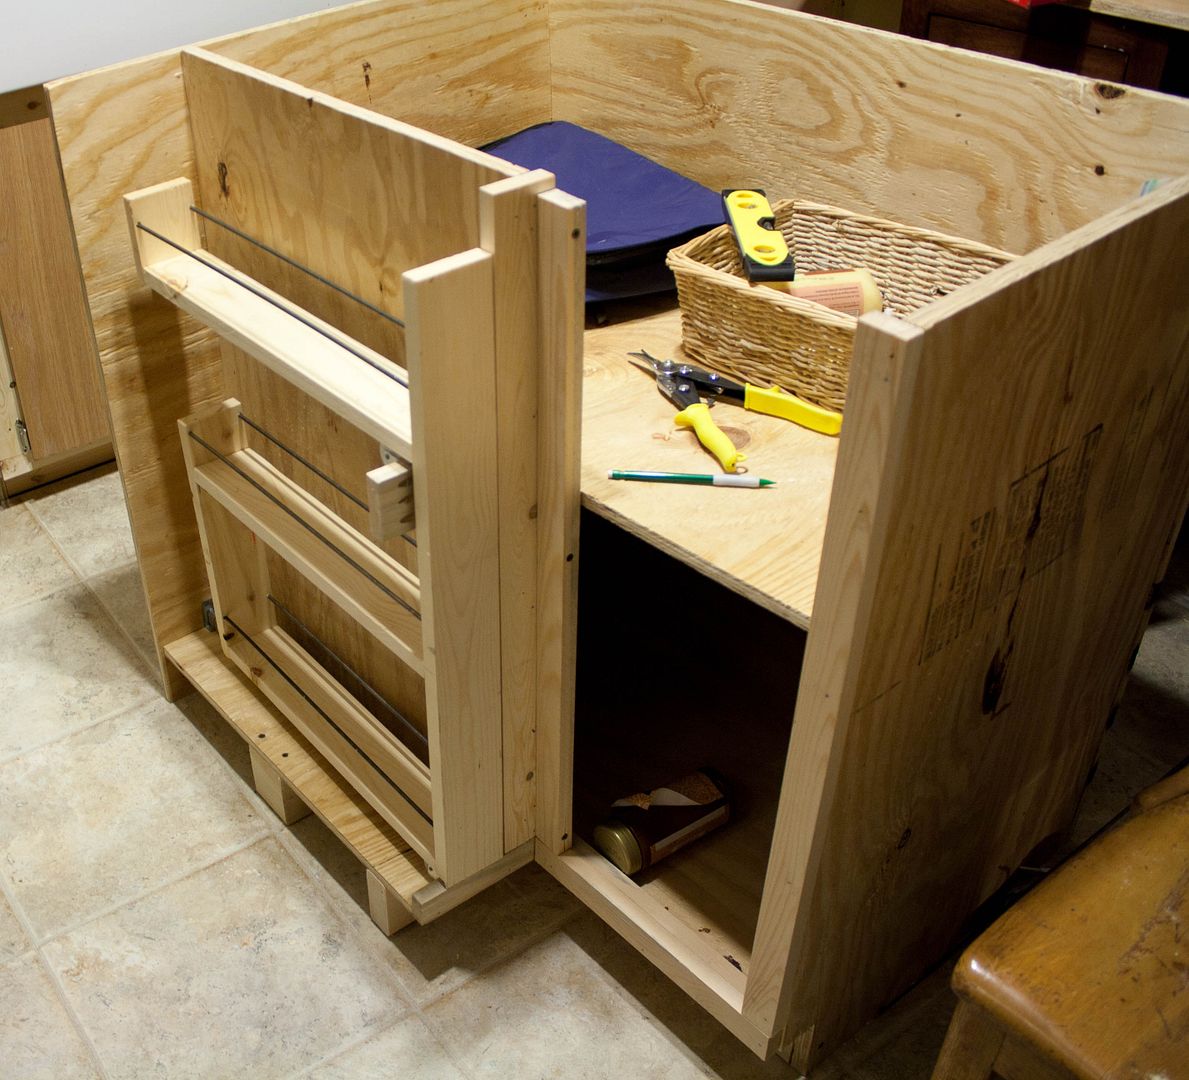
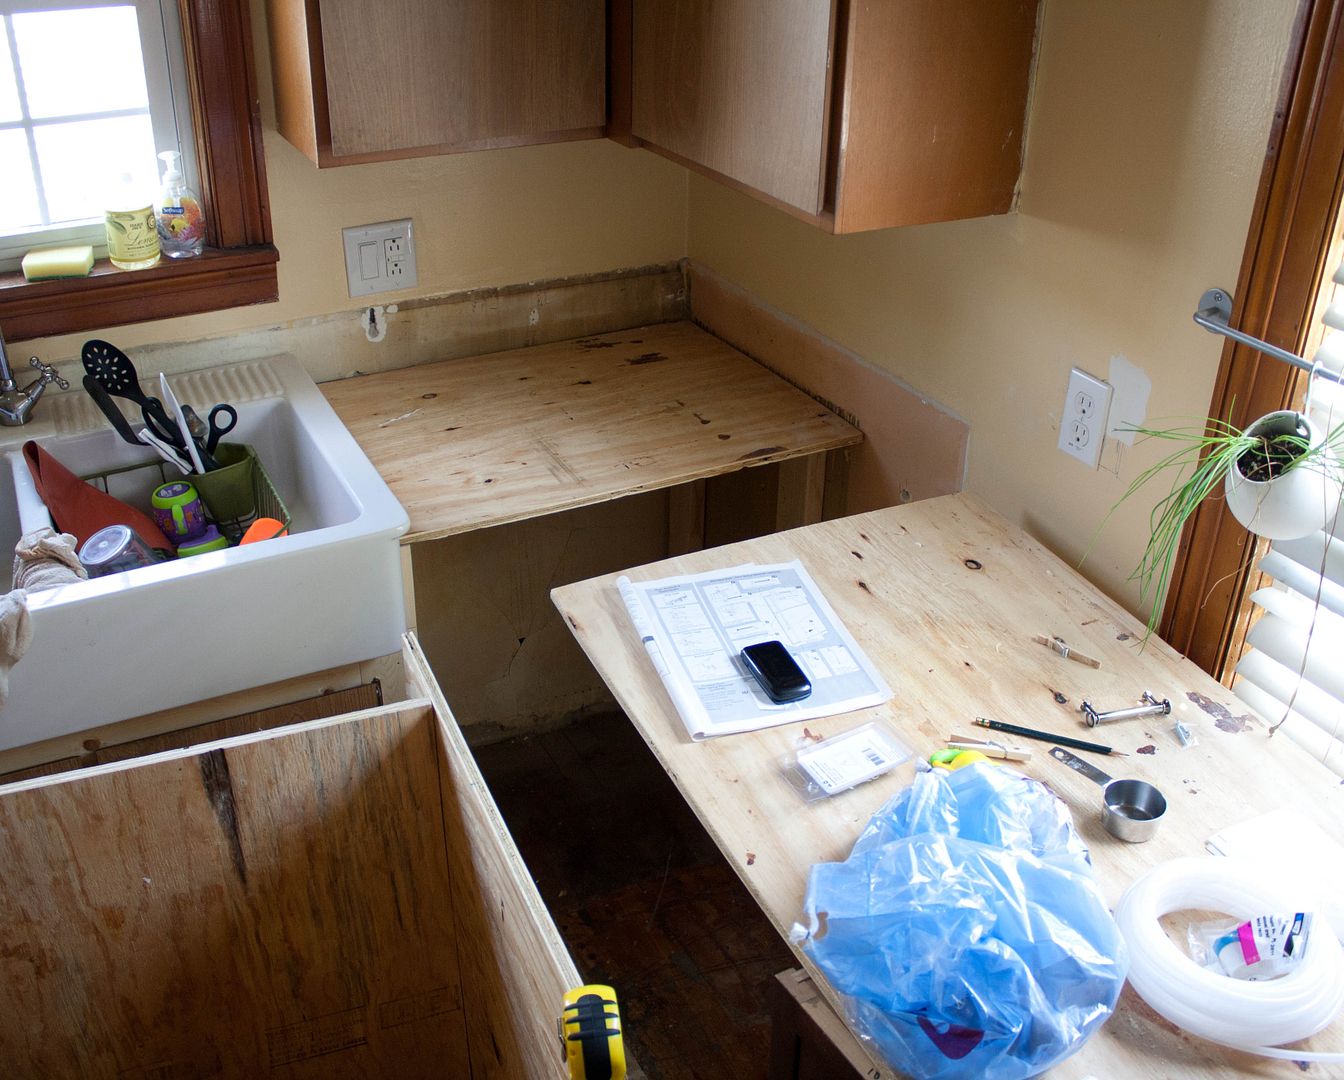
 But there is bad news. There was a measuring fiasco, and the spice drawer is actually too narrow and there is a gap between it and the sink cabinet! Such a bummer. So while the cabinet is mostly done, we have to completely rebuild the spice drawer. Which probably will involve pulling the whole cabinet back out to get to the drawer slides. Yay. So for now it sits there, like the rest of the kitchen, waiting for it's time to come. While we spend our days swimming and gardening and reading and playing and watching the occasional episode of Sesame Street on Netflix. Because, really, there will be plenty of time for the kitchen later.


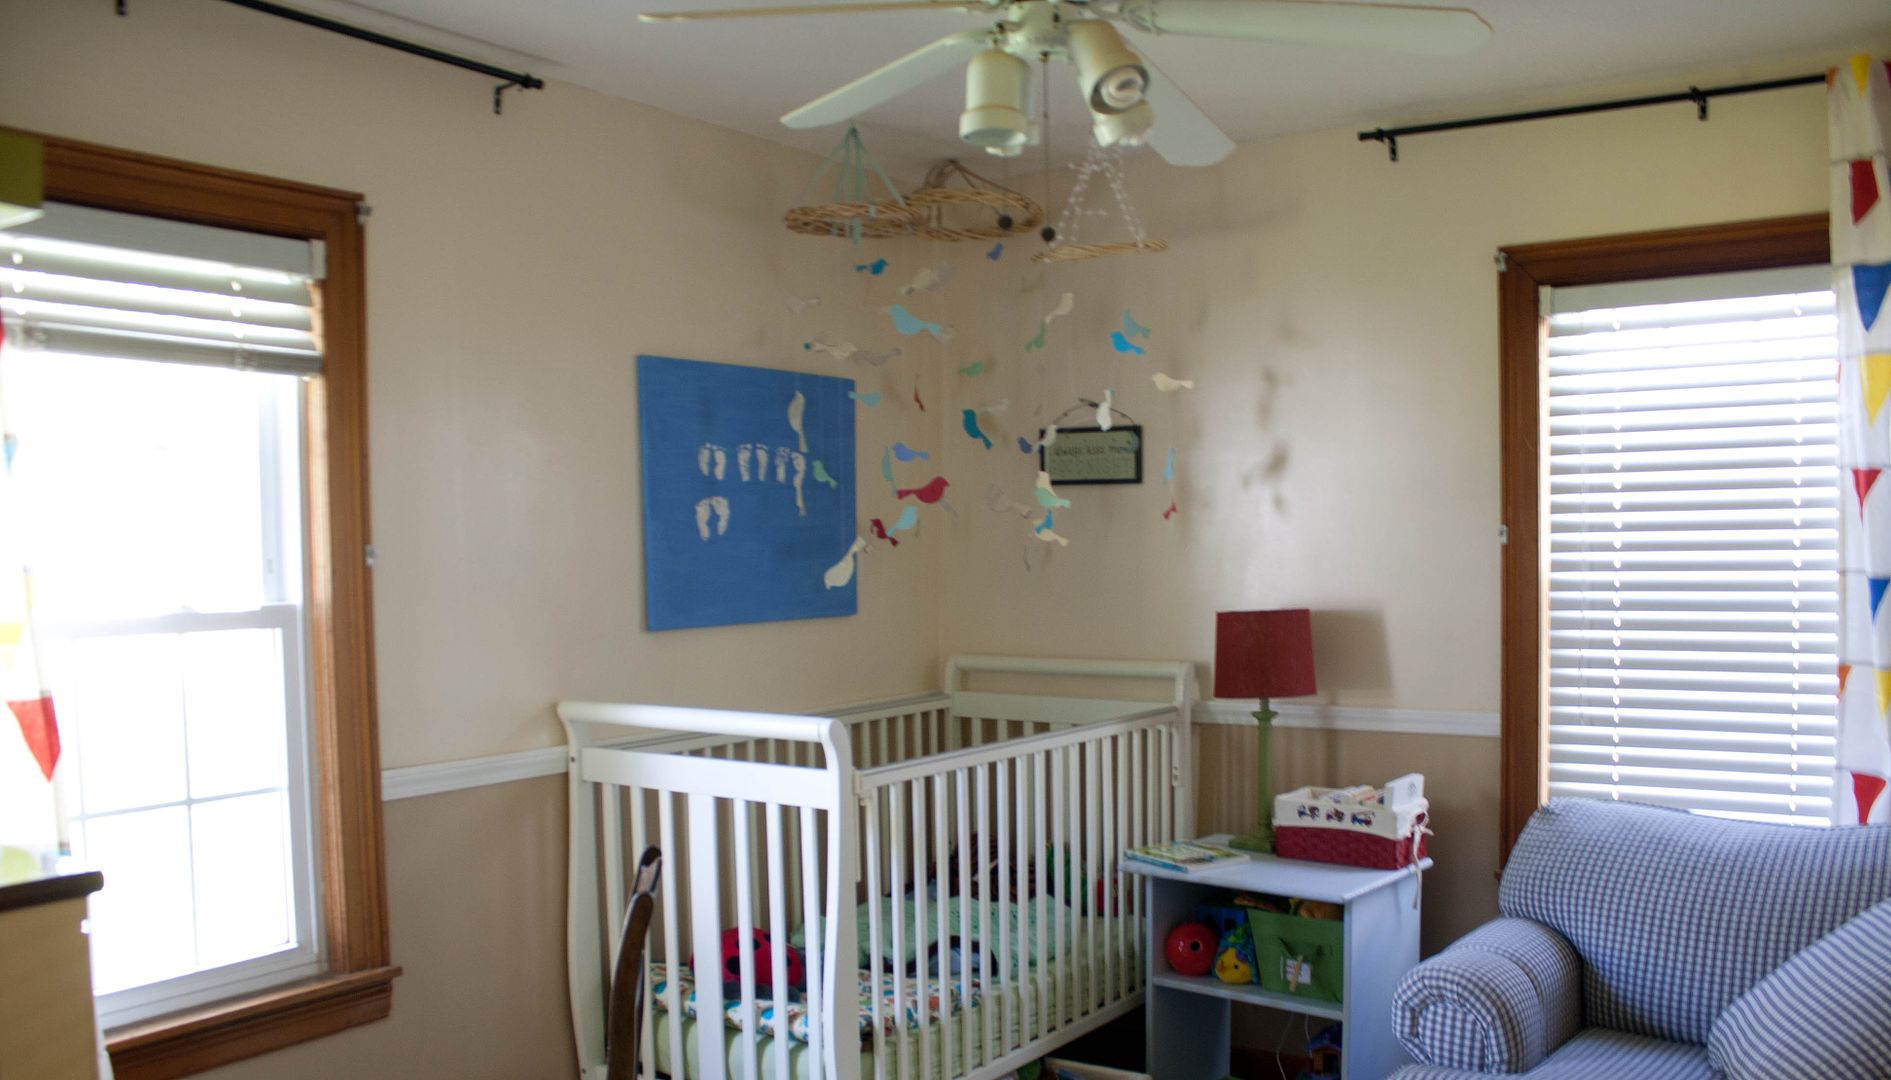
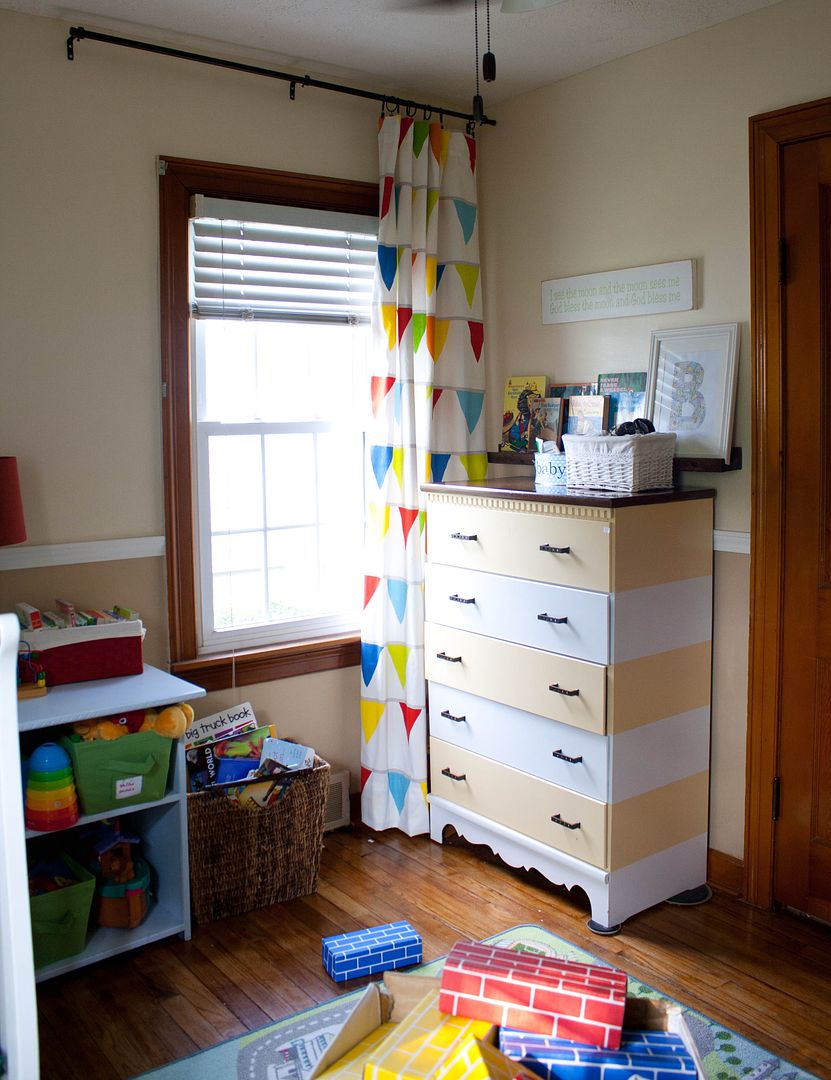
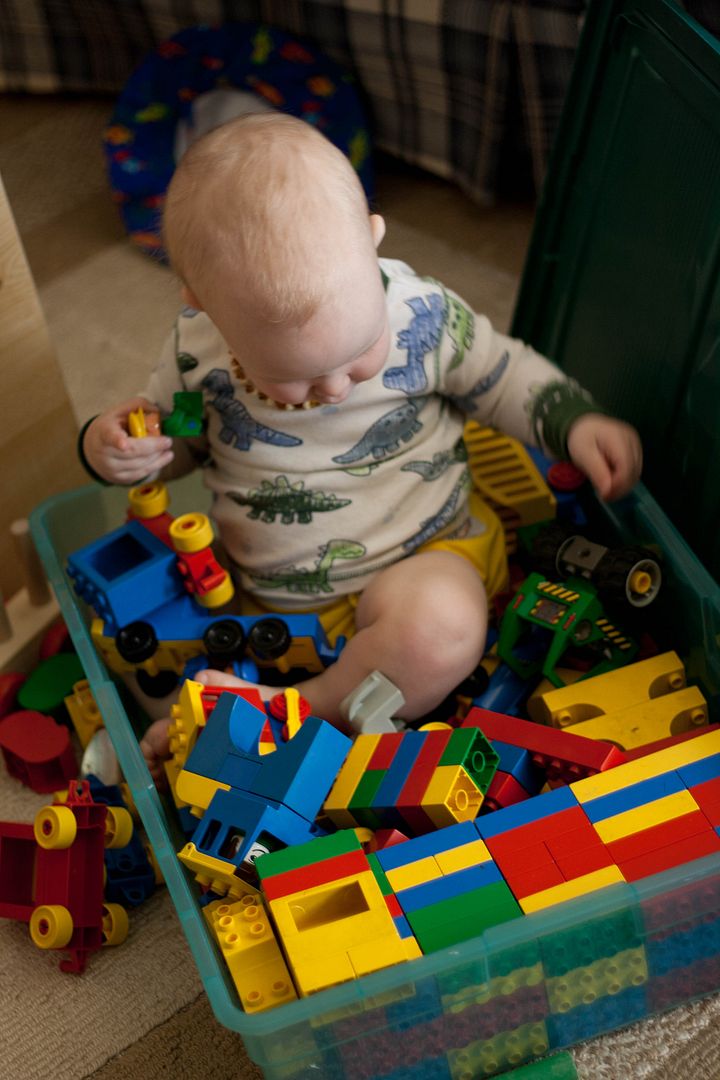
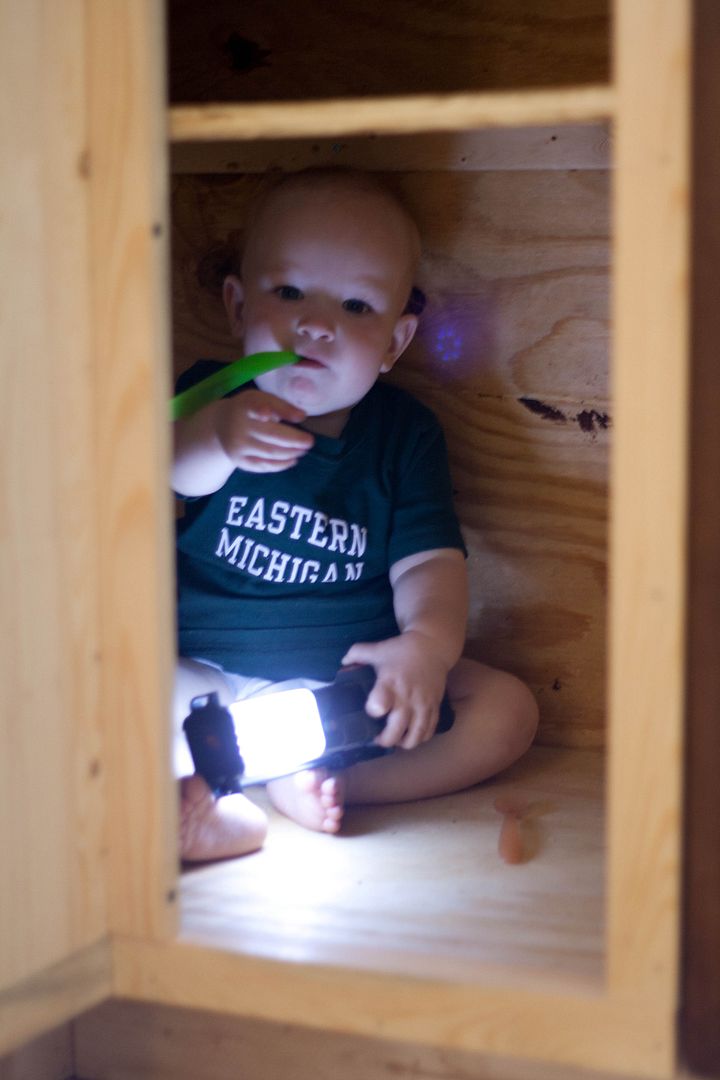
 For now we're much more interested in making the most of this summer with Baby B. Who has discovered that big empty cabinets make great forts.


Happy summer to us all!

Tuesday, July 24

More Flags for Baby B

If you've been following my blog very long, you probably know I have a flag problem. I love a good flag, bunting, or garland. So when I found these sweet bunting curtains at Ikea, I knew Baby B needed them! He love them this much:


 Yep, loves to hug on them, lay on them, and play on them. Well, at least until I put them up. :)


 *flashback* These are the curtains I had in the nursery before. And they were nice, but I really wanted something more fun and more BOY. Plus these were so big they were kind of overpowering in such a small room.


When I saw these curtains at Ikea I thought they would be perfect for taking this room from gender neutral nursery to little boy's room.  They were $30 for a set of two panels, and I wanted to try something a little different than my norm (and save $30!) so I just bought one pack to split between the two windows. My idea was to do one panel per window and pull it off to one side during the day. I ran straight to the nursery when I got home to see if I would actually like the idea, or if I made a huge mistake buying only one pack from a store over an hour away....

 If those look like food canisters on the dresser, it's because they are. We have kitchen stuff spread randomly throughout the house while we work on the cabinets. Fun.

First thoughts: I like it, but I don't know if I love it. I love the color and fun the fabric adds, so it's definitely a keeper. And I like that it frees up so much wall space around the crib so the room doesn't feel so weighed down and crowded. But does it look goofy with curtains only on one side?


 Here's a better look how open it feels now (does anyone else think this room is begging to be painted? I can't convince N....). Second thoughts: Maybe I just think it's weird because I don't usually do it, and once I get used to it, it will grow on me. Also, there's nothing I can do about it now anyway - I don't get to Ikea very often!


So I went ahead and hemmed them up and let them hang for awhile. Probably a good two months now. And rearranged the furniture in the meantime! Surprise! Okay, I admit it's not a huge change. I just switched the chair and the dresser to make the middle of the room a little more open for playing.


I would like to find a way to get the lamp over by the chair, though, so I'm still working on the layout a little. Baby B knew I was cleaning up for pictures and very thoughtful pulled out the big blocks. Such a good helper. Oh, yeah, and waiting to see if I warm up to the curtains....


 And you know what? They did grow on me. But really, with all those flags how could they not? :)


One thing that helped me decide was adjusting the curtain rods. I left one side bracket (in this pic the left side) in the same place, took out the middle bracket, and moved the right bracket in even with the window trim. And yes, I need to fill the holes and paint where the brackets used to be. Someday. By moving things around a little there is still plenty of room on the left of the window for when the curtain is open:


 And the curtain covers the whole rod when it's pulled closed so it doesn't look goofy (and there is not middle bracket keeping it from closing all the way):


So overall it was a pretty simple but fun update to the nursery! And this pic is just to reinforce that we do, in fact need to paint in here. Or I need to learn to work better with beige walls. But really, let's paint. And I'm ready to ditch the bird mobile for something more fun and grown-up as well.


On an unrelated note, this is apparently the ONLY way to play with legos. Sitting on top of them in the box. Now you know.


Do you have a favorite set of curtains? Anyone else like to change up your rooms every now and then? What color would you paint my nursery? And how would you convince N it needs painting??? :)

Sunday, July 22

Quick Babywearing Update

Good news, I finally got a couple pics of Baby B in our new Mei Tai! (and if you follow me by email you probably got a sneak peek of this the other day when Baby B decided to go ahead and publish it for me. Thanks Baby B.)

 When did he get so LONG?!

I'm totally loving this fabric. So pretty!

 "What's goin' on up there, Momma? Let me see!"

This is how he signs "more." I think at this point he's saying he wants to see more birds. But it's hard to be sure.

Waving bye-bye.

In other babywearing news, I just bought my first woven wrap from a local WAHM! She hand dyes the fabric any color (or colors) you want. I asked for a pretty gray and boy did she deliver. I love it! I also love that it is so versatile - there are dozens of ways you can wrap it. And it is crazy comfortable. I wore B for over an hour this morning while I did lots of cooking (and he fell asleep!) and I didn't feel tired or sore at all. It my be my new favorite thing. I'm still getting the hang of it and haven't tried the more complicated carries or a back carry yet, but we're hooked! :)


And for your viewing pleasure, I present Baby B. Who has learned to climb onto both chairs and the table, and in doing so terrorize my sewing machine to no end.


The end.

Friday, July 20

Garden Bounty

Okay, it's not exactly a bounty yet. But I'm very hopeful! If I can get Baby B to stop pulling thing up. I made a mistake the other day and let him watch me pull weeds. Now he pulls up everything he walks past including two tomato plants, a pepper plant, and most of the things in my planters on the patio. And to add insult to injury, he usually throws his spoils into the pool. Especially if he knows I just filled it up with fresh water. Double awesome. But I digress.

Some of m more viney plants need room... well... to grow, so I used some tips from my Square Foot Gardening book to rig up some vertical space (because it's all about making the most of those square feet!)


We got two pieces of metal conduit pipe from Lowes and had each one cut into three pieces: 3', 3.5', 3.5'. Then we used elbow joints to connect the pieces into two U-shaped frames. We drove pieces of re-bar into the ground and slid the legs of the frame onto them to hold the whole thing upright. Then I wound some nylon cord around to create a net for the plants to climb up (the book suggest a nylon net but Lowe's doesn't carry that, so I made do)


Then I wound the vines up through the web to get them started. I put one frame on the end by the melons because the book said even those can grow off the ground! We'll see about that. :) I already have one teeny tiny watermelon growing !


The other frame is down in the middle of the bed by the snap peas and beans. Here's what we spent on the whole project:

$2.00 - two 10' pieces of conduit
$12.00 - four elbows
$8.00 - four 2' pieces of re-bar
$4.00 - roll of nylon cord
Total: $26.00


 So, once again not the cheapest way to garden but at least we should be able to use this for years to come! And if it works it really will save us space. But so far my favorite thing about this whole garden is NO WEEDS. I have to constantly stay on top of the weeds around my strawberries a few feet from here, but I haven't had a single weed in the raised bed yet.  And as for the actual bounty, we've already had a handful of snap peas and we find a few cherry tomatoes everyday! Baby B hasn't learned yet that the red ones are best.

 "Look mom! I found more tomatoes! Aren't you proud?"

 "I think I'll eat one...."

"WHAT is WRONG with this?!?"

We're working on it. Yesterday he first picked only red ones. Then settled for yellow. Then went for green when the rest were gone. We've also found a cucumber and two big yellow squashes. Note for next year: zucchini plants get HUGE. Should have left more room around that guy. Also, everyone is telling me one zucchini plant will yield more than you'll ever eat. Well, guess what, I already planted two. So... I guess we'll be eating tons of zucchini.


 They are heavier than Baby B bargained for.


 He's concerned about how we'll ever eat so many zucchinis.


Fortunately any extra zucchinis will make great toys. 


 And for a quick update on the other bed, we're getting lots of lettuce and herbs! And not really eating any.... Hmmm. I need to find a way to start using these. I think pesto is definitely on the menu! But what do I do with a giant sage plant?


How is your garden growing? Do you want a zucchini? Is "zucchinis" the plural of "zucchini"?

Wednesday, July 18

Burlap & Lace Ringbearer Pillow Tutorial

I made this super cute little ring bearer pillow for Baby B to carry in my brother-in-law's wedding. Never mind the fact that not only did he refuse to carry it, I ended up carrying HIM down the aisle. (For the record, he did GREAT in the rehearsal!)


 My new sister-in-law found all kinds of burlap & lace ring bearer pillows on etsy and asked me to make one up for Baby B based on her inspiration pictures. And let me tell you it was SO easy. And did I mention super cute?


So I thought I'd help you save a few dollars (or several! Some of these little guys were expensive!) by making one for yourself! I didn't take any pictures of the process, but I drew these awesome little sketches and didn't white balance the pictures at all. I know, I'm an artist in the making. On so many levels. Anyway, let's get down to business! My pillow was 9" square which was a really nice size for Baby B... if he had wanted to hold it.

What you need:
  • 2 - 10" squares of burlap
  • 1 - 10" piece of lace
  • a little polyfill or other stuffing material
  • 1 - 12" (ish) piece of twine
  • about 10 minutes of time
1. Start by making a little fabric sandwich of both pieces of burlap with the lace in between. I centered my lace to run across the middle of my pillow.


 2. Sew a 1/2" seam allowance around the edge of your sandwich, leaving an opening of 2-3" on one side for turning.


 3. Flip it right side out and stuff it. I used regular polyfill but you could probably stuff it with just about anything. ;)

4. Top stitch all around the edge about 1/4" in. When you get to the hole, be sure to tuck the raw edges in! (I hadn't planned to top stitch it, but this was my first time using burlap and I was afraid it would fray and come apart at the seams. It was a bonus that it turned out super cute that way!)

5. Hand stitch a piece of twine in the middle of the lace and tie it in a bow. All done!


You could make so many fun variations of this, too! Maybe use a thicker or thinner lace, or place the lace off center or on a diagonal, use two strips of lace, use a ribbon instead, make a rectangular pillow.... Use your imagination and have fun!

Project Cost:
$0.25 - burlap from a yard sale
$0.75 - 12" of lace from Joann Fabric
free - twine I already owned
free - polyfil I already owned
Total: $1.00

Although Baby B was determined not to bear those rings under any circumstances, he was cute as could be! I think it was an unfortunate combination of lack of sleep and sweltering heat that did him in. A few minutes into the wedding we retreated to the nursery in the (much cooler) basement where he stripped down to his diaper and had a wonderful time exploring all the toys. But they did manage to get a few pics of him in full wedding garb before the meltdown:

photo by Raechel Myers

photo by Raechel Myers

Isn't he so handsome? And he appears to be taking his responsibility very seriously. Psych! Oh well. He won enough cuteness points to override anything else. :)

Friday, July 13

What I've Been Sewing - "My" Tai

I've really been enjoying the Mei Tai I made with Beth's pattern. So much so that I want to make some for my friends as shower gifts, and possibly even to sell. Beth doesn't want her pattern being sold, so I decided to tweak it and make it my own. I changed the size & proportions a little (to make it less short & wide), the way the bottom straps are attached (I think it might make them a little more comfortable), the entire shape of the top half (to look pretty and hopefully improve the fit around Baby B's shoulders), and took a layer out of the middle (to make it a little lighter, I think two layers will still be enough to make it sturdy). I still need to wear it around a while to see how I like the changes.


It also makes me a little nervous to make them for other people before I put mine (especially my new design) through the ringer some more. I want to make sure it is sturdy and durable and, most importantly, safe to use! Even then I don't know if I'll do it. Ha ha.

And I need to get a picture with it on, but I keep forgetting to ask my husband to snap one while he's home! Oops. :) So for now this one less-than-fabulous pic will have to do. Sorry!

***UPDATE: Pictures in action! :)


But anyway, hope you had fun with my week full of sewing! Anybody else ever made (or used!) a baby carrier? What's your favorite kind or pattern?
Subscribe