
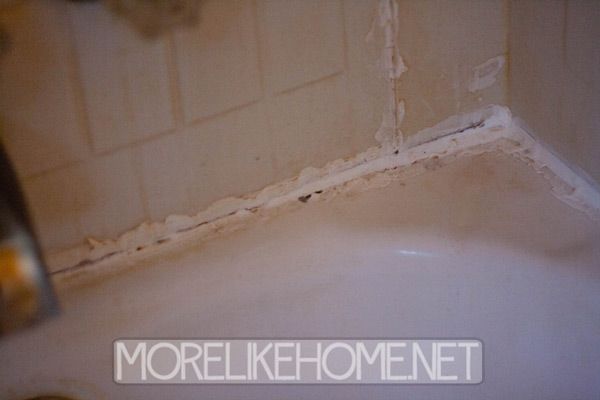
Happy Monday!!! When we moved in almost 2 years ago, the caulk was so old it was falling off so we cleaned it up and re-caulked it then, but cheap caulk + a super sloppy job = we're almost back where started. It was cracking in places and all the nooks & crannies collected mildew. Gross.
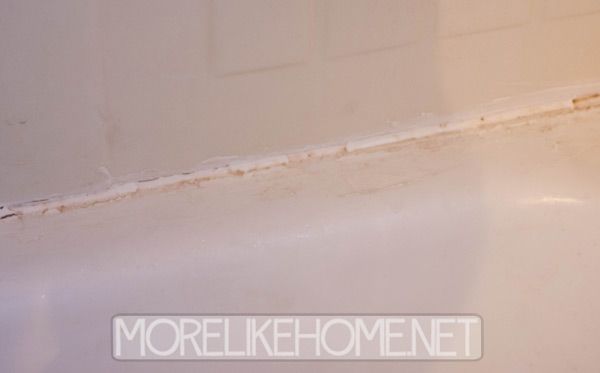
The biggest problem was definitely the cracks in the caulk. Turns out those tiny little cracks were enough for water to seep through and start leaking into the basement! What?! I'll give that a double-yikes.
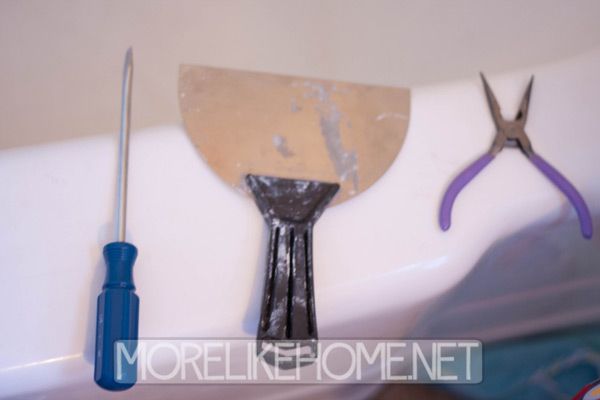
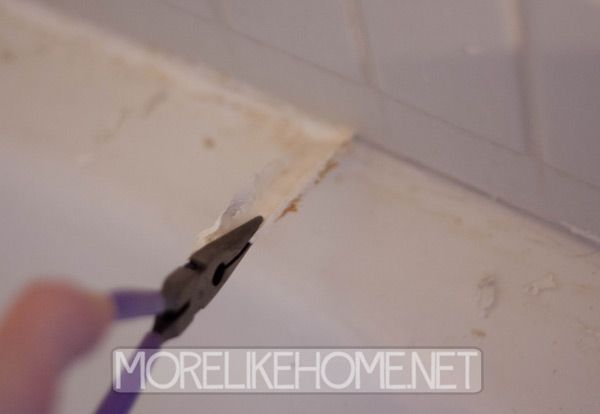
So it was clearly past time to clean things up in there. It took me a couple tools to find what worked best for me. I started with a plastic scraper that did a whole lot of nothing. Boo. But I ended up using a combination of a screwdriver, putty knife, and jewelry pliers (I was too lazy to go back to the basement for real pliers) to get the job done.
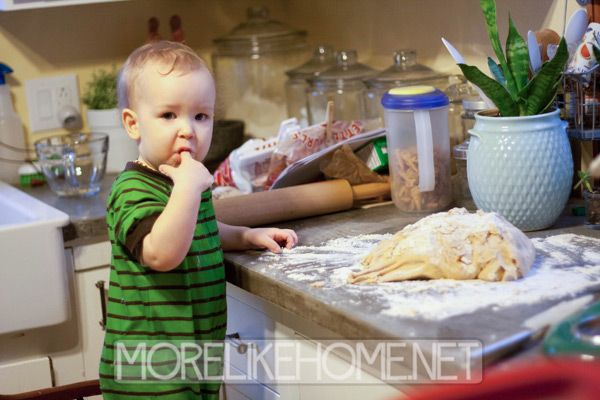
Oh, and I had an excellent helper. This is his "I get to use tools?!?" face. He would poke at the bathtub with whatever tool I put down. He had a really hard time putting them down long enough for me to take that last picture. ;)

Back to the nitty gritty...
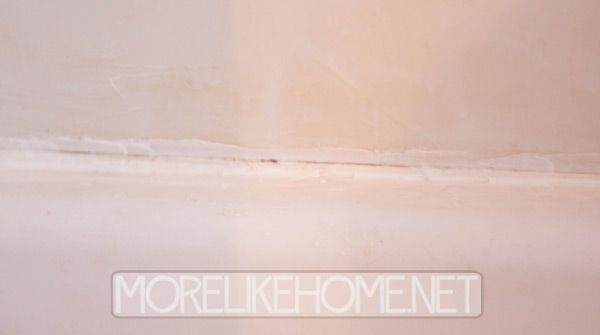
the pliers actually ended up being the most useful. I was able to grip the caulk and pull out strips at a time. Then I used the other tools to go back and scrape off any bits that were left behind. There were a few tiny spots I just couldn't get off, but when it was all said and done it was mostly gone and looking so much better already!
I gave it several hours to make sure everything was dried back behind back in the cracks (since we know water was getting back there) before re-caulking it. You can use a fan or space heater in the bathroom to try and help the drying process. This time we went with the higher end caulk. It's a white silicone caulk that is totally waterproof and permanently flexible (according to the label at least, we'll see!). It's also supposed to resist mold for 10 years. So here's hoping! It was about $9 for the tube.

I used a caulk gun to run a bead around the seams. I tried not to make the beads any thicker than I had too, because that would just be more to clean up later!
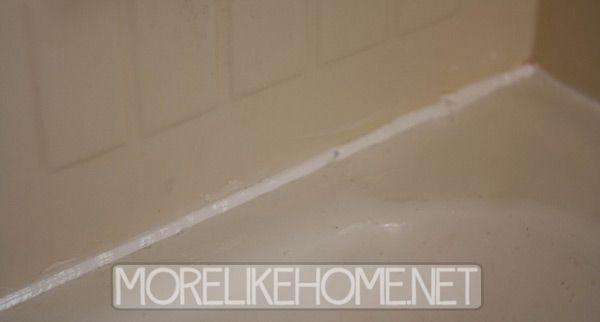
Then I went through and smoothed out all the caulk lines, being careful not to smear any extra caulk around on the walls or tub like we did last time. I like to just run my finger along the caulk to remove the extra and smooth it out (keep a paper towel handy, you'll need to wipe the excess caulk off your finger every couple inches).

These are still a little embarrassing. For the record, I seriously did scrub this tub. All the parts that still look gross are discolored and not dirty!
Some of the gaps were large enough I couldn't cover them with one bead, so I just ran along the bottom of the gap and smoothed it out with everything else. Then after it dried I went back and used another bead to fill in the rest of the gap. Once everything was all sealed up and tidy, we left it to cure over night (the bottle said it's shower-ready in 30 minutes, but we weren't taking any chances!).

And that was it! It took a couple hours to get it all done, but it was simple process and was really important for the life our bathroom... and subfloors. Things could have gotten real ugly there.
And if you're wondering about what a good helper B is, he is very willing! He always wants to be in the middle of what I'm doing. Here he is helping me make tortillas last week. And by "make" I actually mean "eat."
Have you been up to any nitty gritty home maintenance lately?
Hey Georgia! I took a little blog vacay but of course, I come back and you have a post that may have just answered the mystery of the moldy-smelling closet on the first floor of my rental house... it's underneath my upstairs bathroom and the caulking around that shower SUCKS! I bet it's dripping through the floor... :p
ReplyDeleteHope you and the bun in the oven are doing well!
Yikes! I hope you can get that fixed. I would never have guessed it could be such a big problem until I found water running the beams in our basement. Anyway, we are doing well. :) Welcome back!!!
Delete