

We're almost done with baby week. Can I get a "what-what?" Husband loves it when I say that. ;) Anyway, today we're going to be making a really easy stretchy baby wrap!
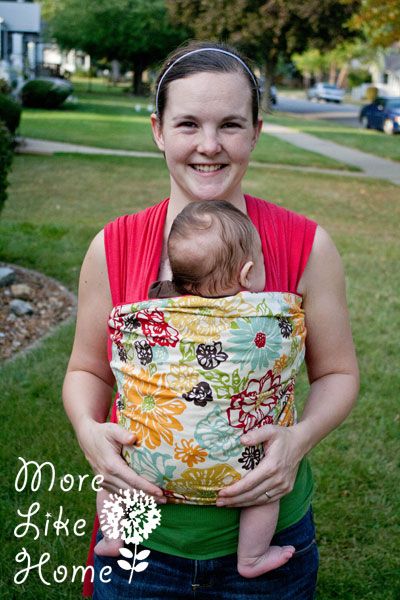
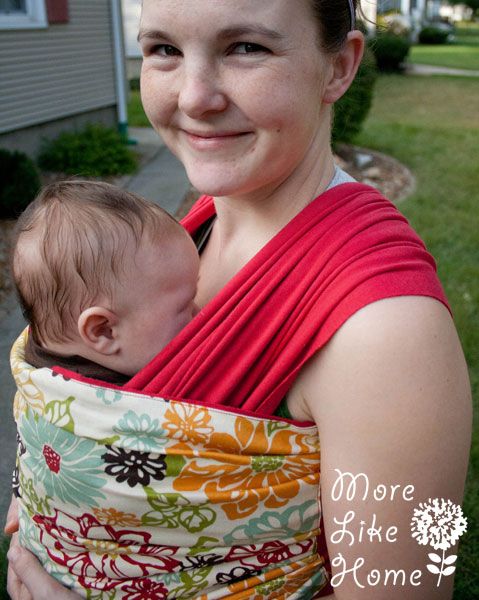
You guys know I like a good baby carrier (don't get me started on all the benefits for both mom and baby), and this one is the easiest to make and one of my very favorites for wearing a new squishy little baby. Look how cozy for a little guy!
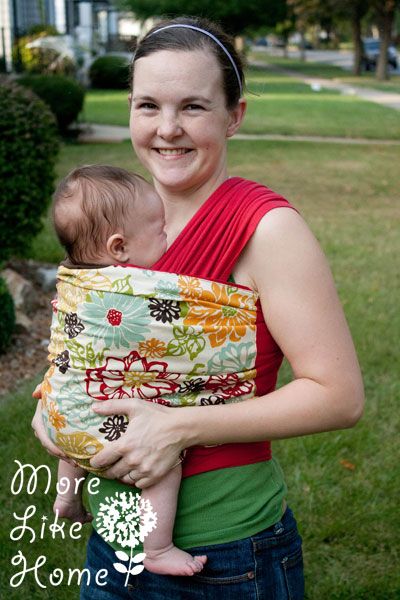
Let's start with a disclaimer... Babywearing is great when done safely! Any babywearing tutorials are used at your own risk. Stretchy wraps like these are great for new babies, but really only work until baby is 15 pounds or so. Never ever wear a baby on your back in a stretch wrap, and please be very careful when wrapping! Make sure babies face is visible, his chin is off his chest, and he should be close enough to kiss. There's much more to learn about safe wrapping so definitely do you own research so you can wear your baby safely! A stretchy wrap is similar to a moby or boba wrap so those would be some great places to find safety info.
It may sound like a lot of work, but once you get the hang of it stretchy wraps are so easy to use and can really be a life saver - especially if you have older kids! Baby wraps keep my hands free when I need to help B go potty or get breakfast.
If you want to make your own, this is all you need:
- 5-6 yards jersey fabric (this is a knit with a bit of stretch to it. the cut edges should curl. this one has just a little bit of stretch, and I think I prefer one with more stretch for a newborn. but this less stretchy one has more support so it might work a little longer. The amount of the fabric depends on how long you need your wrap to be. 5 yards was enough for me, but if you have a bigger build or if you want your husband to be able to wear it you would need to go longer. If you're in doubt go longer and you can trim the ends when you try it on.)
- 3/4 yard cotton fabric for the panel (or less if you're doing a pocket instead)
- thread

Next trim the selvage off one of the long edges. That part just looks kind of ugly, so away it goes.
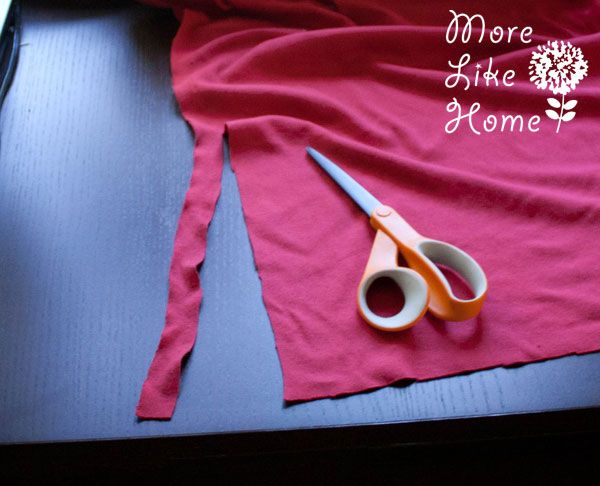
Now you can cut out your wrap. It should be 20" wide, so just measure over 20" from the edge you just trimmed and cut down the length of your fabric. And good news - your fabric is wide enough to get a second wrap out of it too! Just measure over another 20" and cut again. One for a friend and one for you! :)
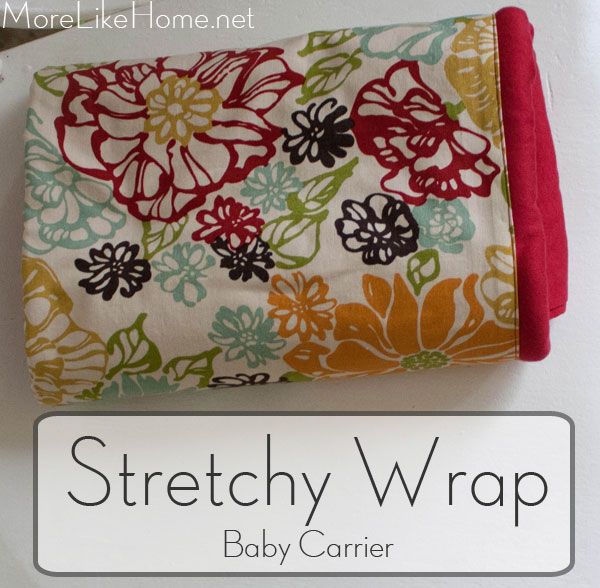
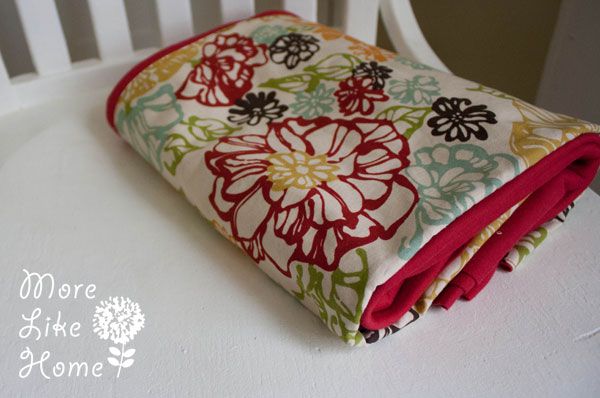
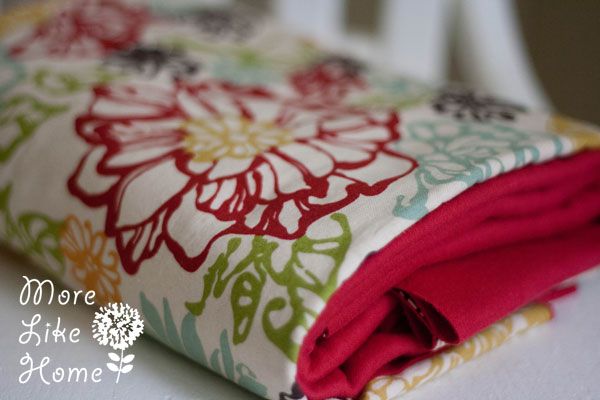
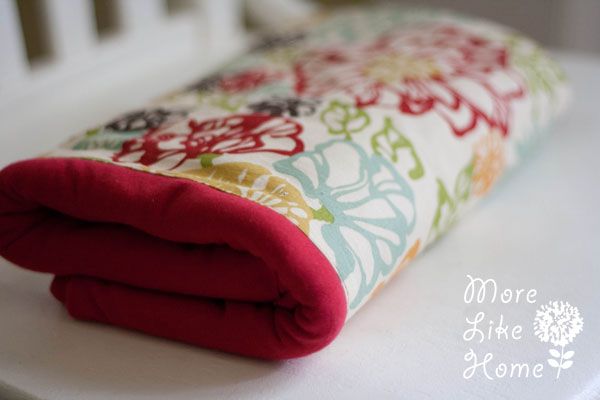
The beauty of knit fabrics is that they don't fray, so if you don't want to do any sewing you can stop right here and still have a great wrap (especially if you use a patterned jersey). But if you want to make it a little more fun you can add either a decorative panel, or a handy pocket. I went with a full panel for extra prettiness. Here's how:
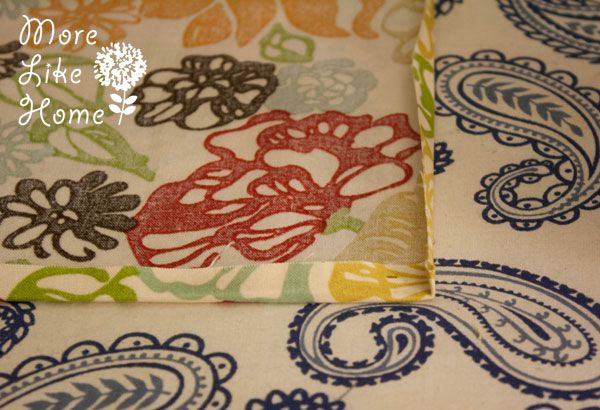
I cut a 21 x 21" square from my cotton fabric. Then I folded each side under 1/2" and pressed it.
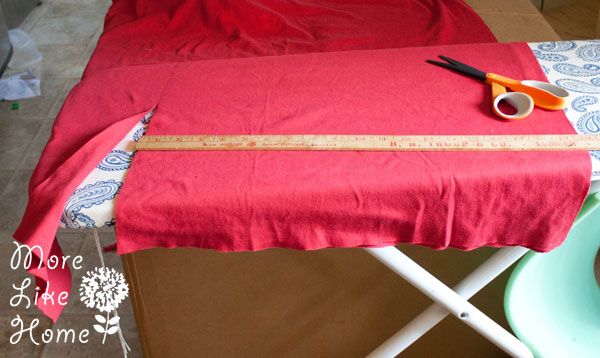
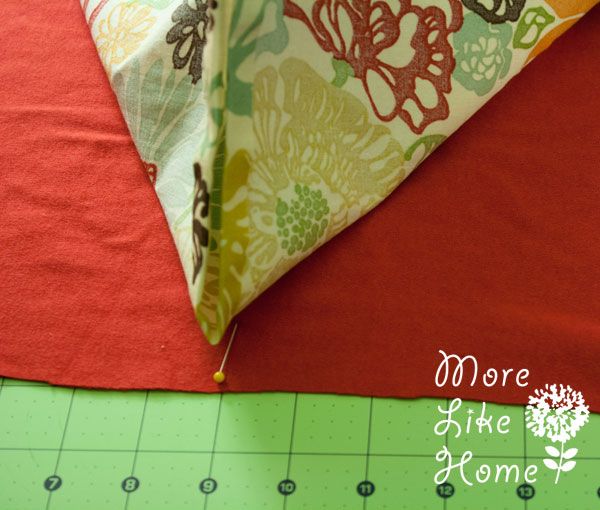
Then I folded my wrap in half to find the center and used pins to mark the center line.
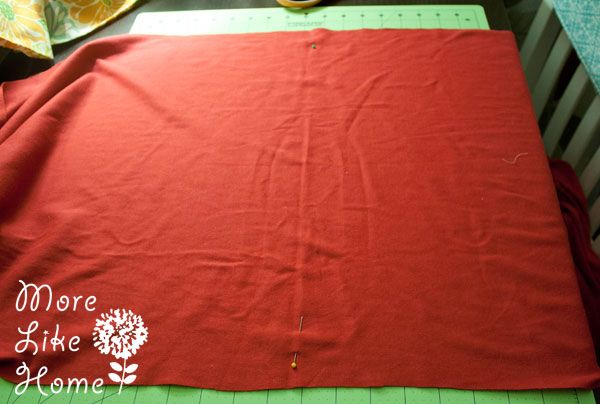
Then I folded my panel in half and lined up the center of the panel with the center line I marked on my wrap. Keeping the centers lined up, I laid the panel out right-side-up on top of the wrap and lined up the top and bottom edges (make sure the edges you pressed under stay under). So the panel should be flush with the top and bottom of the wrap and centered on it length-wise. Hopefully that made sense. It's late over here, guys.
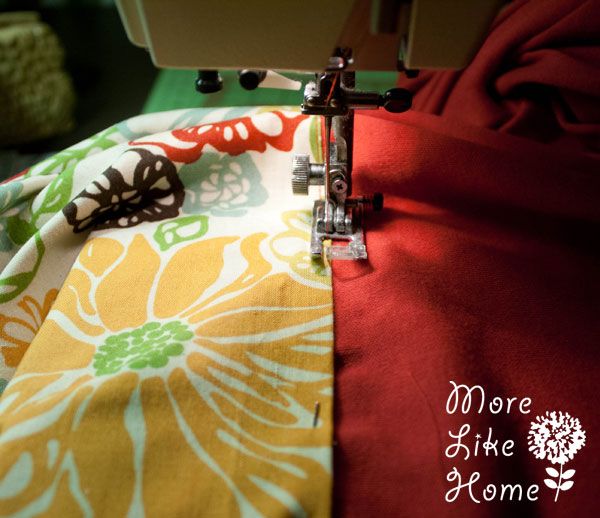
I pinned the panel in place and then stitched all the way around it as close to the edge as I could.
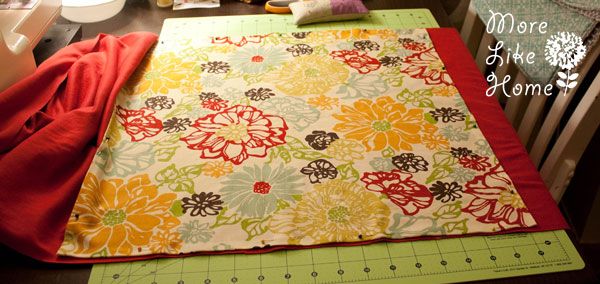
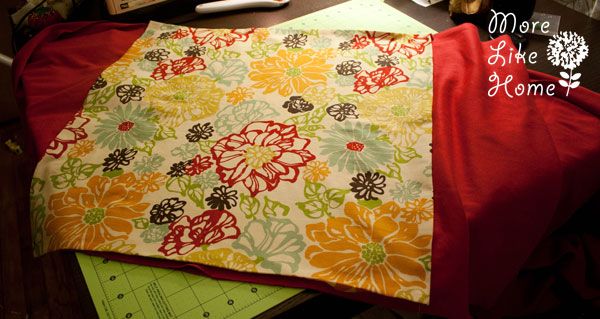
Your panel wrap is done! But if you prefer a pocket, I'll give directions for that too....
A pocket is also really easy to make. Cut a piece 13 x 11" from your cotton fabric. Start by pressing one long edge under 1/4" and then 1/4" again. Top stitch right along the folded edge. This will be the top of your pocket. Next, either serge or zig-zag stitch around the sides and bottom of the pocket to keep them from fraying. Then press the sides and bottom under about 1/4". Center the pocket (right side up) on the wrap just like you did for a panel, but this time center it vertically as well (just measure above and below and make sure the spaces are the same size). Pin it in place and stitch around the sides and bottom of the pocket to attach it. All done.

Above is a wrap with a pocket and below is a wrap with a full panel, just for a quick comparison.
Wrap that baby up and give it to a new mama on your list! Then wrap your baby up in your matching wrap while you deliver it. ;)
You know I like to give you as many options as possible... so here's one more. If you want to wear a bigger/heavier baby, a woven wrap (made from a sturdy woven fabric) is a great choice! There are tons of wrap options with a woven and you can even do back carries with babies that are old enough to sit up unassisted. Just buy a woven fabric instead (cotton and linen are great choices, I have one of each) and serge or hem the edges. You can still add a pocket or panel too. Again, please do your own research before wrapping and make sure you are doing it safely! One of my favorite wrapping resources is this post by Where in the World is Erin.
Here's a cost estimate for making a wrap:
$25.00 - jersey fabric guesstimate (mine was actually $5 for 5 yards at a garage sale, so I'm guessing about what it would cost to buy new with a coupon)
$5.70 - cotton fabric on sale for 25% off
$1.80 - thread, on sale
Total: $32.50
And since you get two wraps out of it that comes to just over $16 per wrap!
Snug as a bug.
So have fun guys. There are so many possibilities! And if you're looking for more baby carrier ideas, check out these tutorials too:


And now guess what time it is.... B time! (I promise I do have two kids. And I do take pictures of them both.)
This is a newborn sleeper with the elastic bottom. B wiggled it on upside down and yelled "Mama! Take picture you!" Oh, and he calls himself "you."

Then he excitedly scooted over to see said picture.
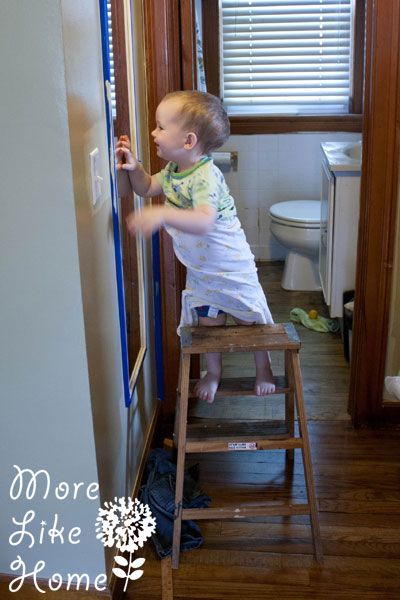
But he needed a better view. A ladder in front of the mirror should do the trick.
Happy Friday!

I used a wrap similar to this with my daughter. She's my third and I can't believe I waited so long to use one! It would have been so helpful with my first two. :-)
ReplyDeleteI felt the same way! Why didn't I use it more with my first?! :)
Delete