

Even looking at this now I think "Wow, that's pretty!" So hopefully I didn't make a huge mistake. Ha!
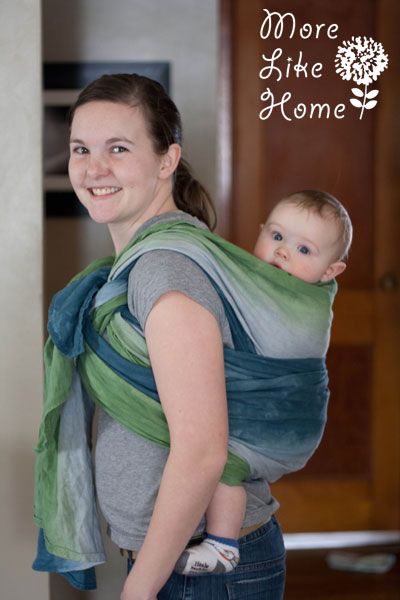
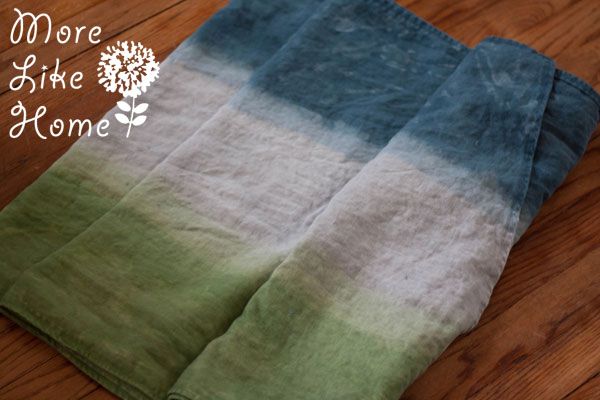
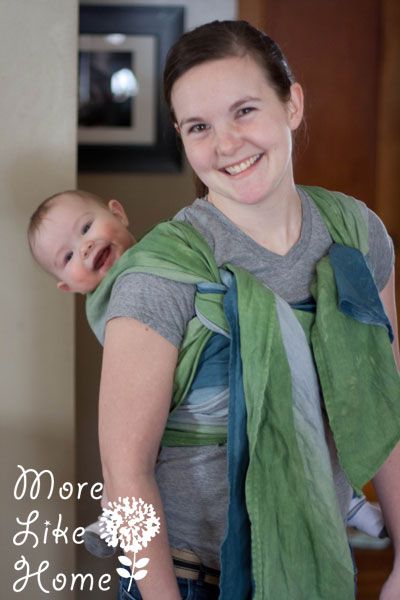
And this is the (slightly) less boring after:

There's still some gray involved (and I wore a gray shirt. ha.) but I added some color along the rails. That also makes it easier to adjust when I'm putting it on because if the blue part is loose I can just grab the blue tail and tighten it.
The dye wasn't very hard to do and it was actually SUPER fun. I made some mistakes so some spots are a bit splotchy and uneven. But I still love it! Here's a rundown of how I did it next time, and what I would change next time to fix my mistakes. Here's what you need to get started:
- a wrap (cotton or linen work with this dye & technique. if you don't have a wrap you can make your own. Joann Fabric carries linen fabrics and a cotton fabric called Osnaburg that is super affordable and a favorite for DIY wrapping.)
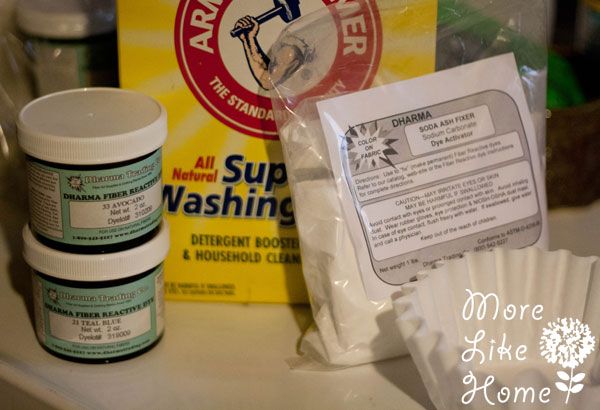
- soda ash (to set color. You can also use washing soda. I didn't know that before I ordered my soda ash so I ended up using some of both.)
- salt
- fiber reactive dye (fiber reactive dyes bond to the fibers. DO NOT use RIT dye because it doesn't bond and will come off in baby's mouth when they chew on the wrap! Dylon dyes available at craft stores work well but the colors aren't always as vibrant as I would like. For this project I stepped it up and ordered Dharma dyes and don't regret it. I used Avocado Green and Teal Blue)
- well ventilated area, mask & gloves (better safe than sorry! you don't wan't any dye powder going in your eyes or nose, and the dye will stain your hands if you don't wear gloves.)
- container like a small garbage can (I've read that anything used for dying will not be food safe anymore, so don't use a kitchen pot or anything like that!)
- coffee filter
- hangers, clothes pins, and something to hang it on like a tension rod or drying rack
Let's talk about the wrap first (and how to make one). Mine is 100% linen size 6 (read more about sizing here). If you're making your own, Osnaburg is a great, affordable option to start with. You can decide what size wrap you want to make (this site shows the different carries you can do with each size) but if you're just getting started size 6 is a great place to start. It's long enough to do most carries so you can find what you like and go from there. Osnaburg shrinks quite a bit when you first wash it, so I would buy about a yard more than you need just to be safe. So for a size 6 (4.6 meters, or 15.09 feet) I would go ahead and buy 6 yards (a little more if you want tapers). Start by prewashing on hot and drying the fabric to shrink it. Then cut the fabric so it is 30 - 32" wide and hem along both long edges with a simple rolled hem. Then measure the length you want (plus a couple inches for hemming) and mark it with a fabric pen. You can cut the ends straight and hem them, or you can make the ends tapered (I prefer tapers because they hang prettier when the wrap is tied). To make tapers, on the left end measure an extra 10 - 12" on the top rail and draw a line from that point to the length you marked on the bottom rail. On the right end measure and extra 10 - 12" on the bottom rail and draw a line connecting that to the spot you marked the wrap length on the top rail. Cut along those angled lines and hem. When you're done your wrap should look like a parallelogram, not a trapezoid. This /===/, not this /===\. BOOM. You have your own woven wrap! Sorry if that was confusing with no pictures, but hopefully it at least gave you a starting point if you want to start wrapping on a budget. I need to make a tutorial for that!
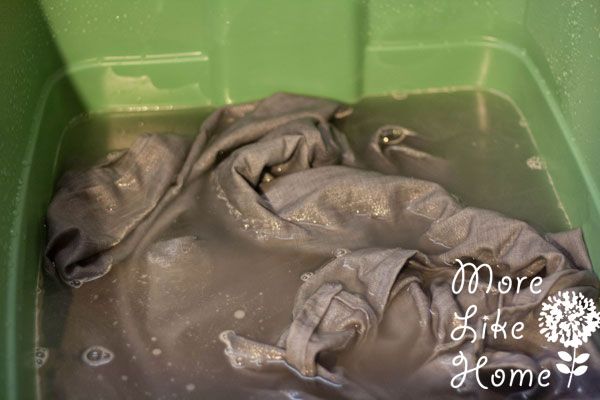
So your wrap is ready to go. Before we dye you'll want to start by scouring the wrap to remove any leftover junk that could make your dye job come out uneven. Even oils from your skin on the fabric can keep the dye from taking. So even if you just bought it and washed it you should start with a scour just to be safe! For this step you'll need washing soda (or soda ash) and VERY hot water. If you have a large pot you can put your wrap in boiling water with about a cup of washing soda and stir to agitate. I didn't have a large enough pot so I turned up the hot water heater and filled a tub with the hottest water we had, then added the wrap and washing soda and stirred to agitate. I did it for about ten minutes. After that throw it in the washing machine without detergent and run a wash cycle to rinse away anything the scour pulled out.
I did it for about ten minutes. After that throw it in the washing machine without detergent and run a wash cycle to rinse away anything the scour pulled out. The water gets pretty gross during the scour so you'll want to be sure you rinse it well.
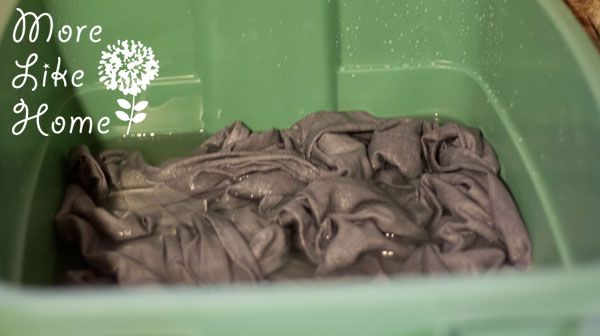
After the scour you'll want to do a soda ash pre-soak. The soda ash is so important because it makes the dye adhere to the fabric! Seriously, don't dye without it. (Dylon dyes have some included in the packet but not enough for the soak method we'll be using so I would still do this step no matter whay dye I used.) To do the soak, dissolve 2 cups soda ash in warm water. Submerge the fabric and let it soak at least 20 minutes. After that spin it out in the washer (no rinsing! you want the soda ash to stay!) so it's damp but not soaking wet.
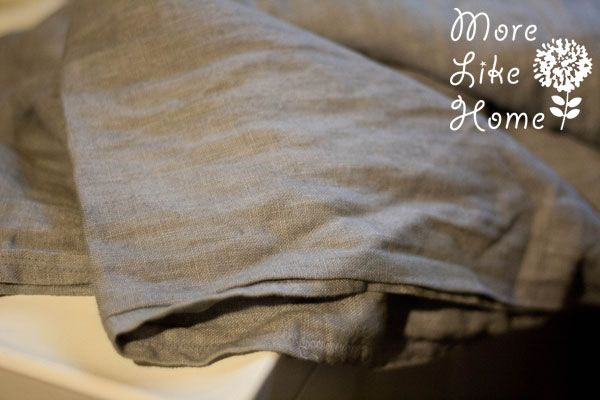
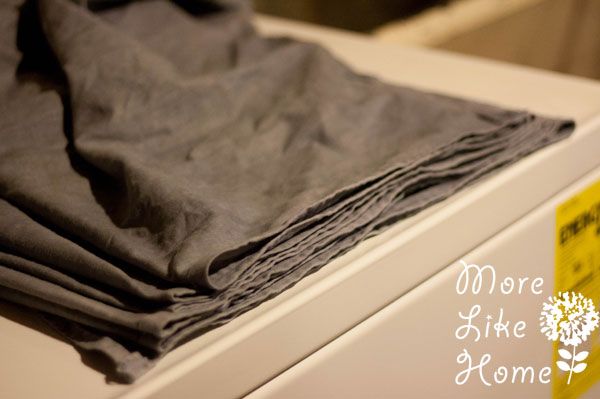
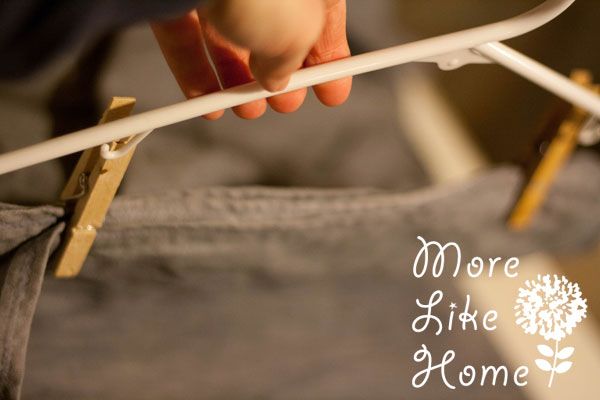
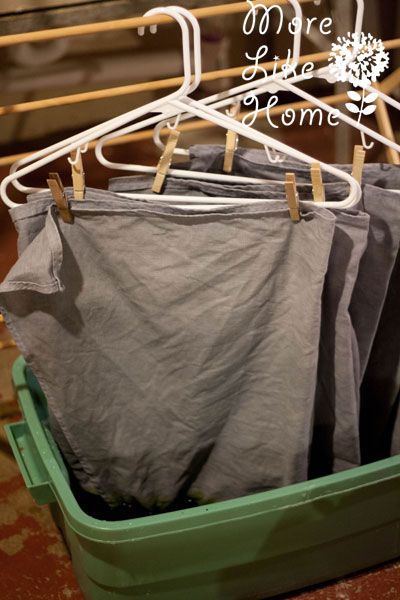
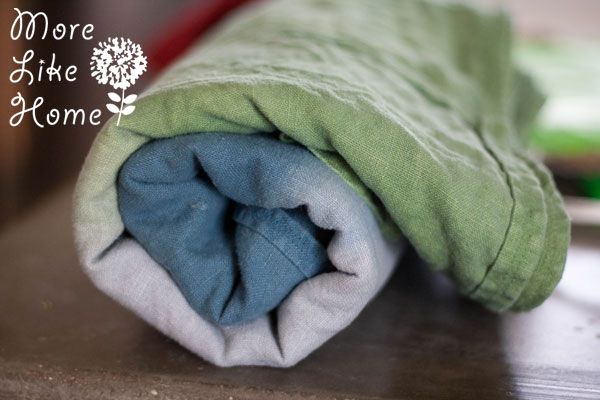
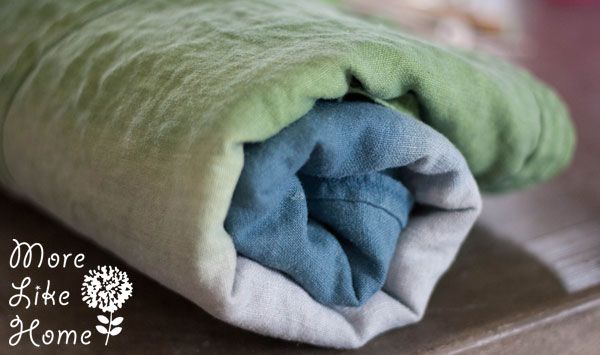
While it's still damp you'll want to get it ready to hang for the dip dye. Fold the wrap accordion style like this:
Then use clothes pins to the fabric two or three layers at a time to several hangers.
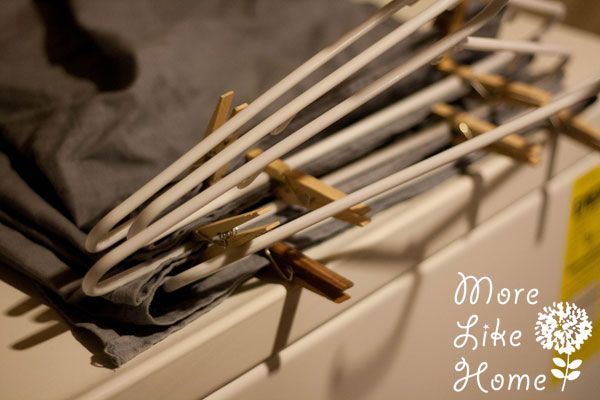
So each hanger has two or three layers. I hope this is making sense, guys.
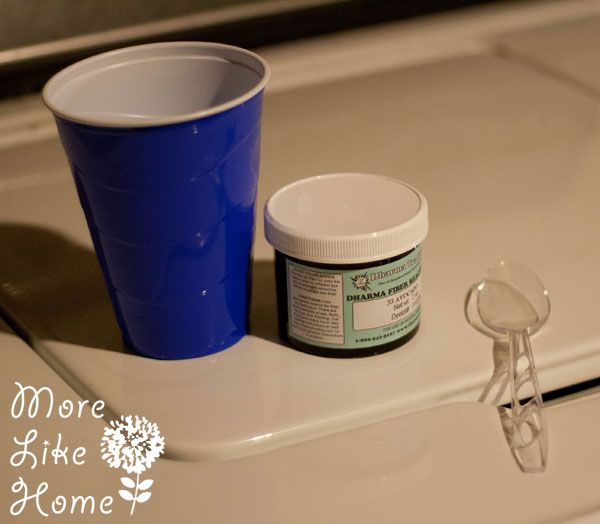
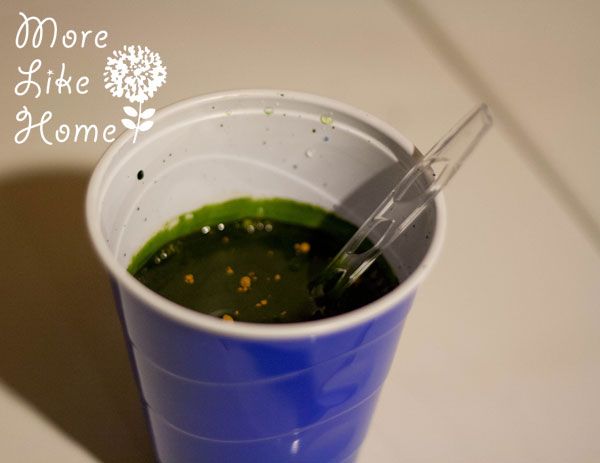
Use disposable cup and spoon to dissolve your dye in in warm water. The suggested amount is about 1/2 Tbs. to one gallon of water. I just did two big scoops because I had no idea how much water I was using! Dissolve it in a cup before adding it to the tub.
I couldn't get rid of all those lumps, but we'll address that in a minute.
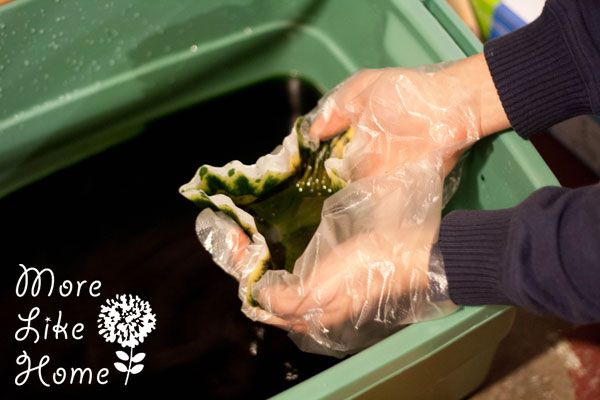
I wanted to match both sides of my wrap so I started by marking lines in my tub to show the water levels. I filled it to the bottom line with warm water and dissolved a cup of salt in the water. Then I cupped a coffee filter in my hands and had my helper husband pour the dissolved dye through the filter to remove any lumps. I've read that lumps leave darker spots... but mine ended up uneven for another reason so I don't think this was super helpful in my instance. :) Then I stirred to mix the dye. Mix carefully so you don't splash dye on the sides of the tub! You'll thank me later.
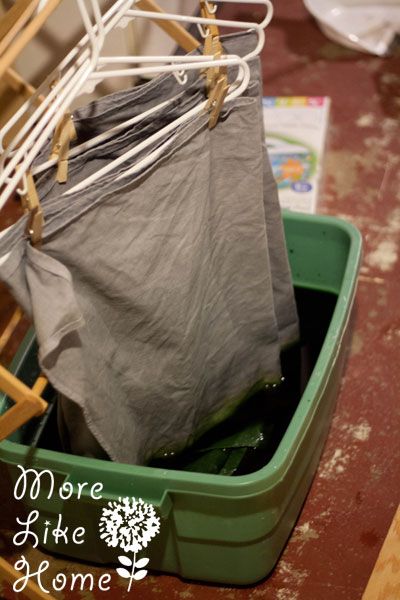
I put a drying rack over the the tub and hung my wrap to submerge the edge. Here's where I had trouble. My wrap didn't hang quite high enough and the bottom inch or so rested on the bottom of the tub. I think it turned out uneven because with it bunched and folded the dye couldn't flow freely into all the spaces. Hence a splotchy finish. I've read of people using a tension rod over a tub in the bathtub to get there wrap just the right height. Good idea, folks!
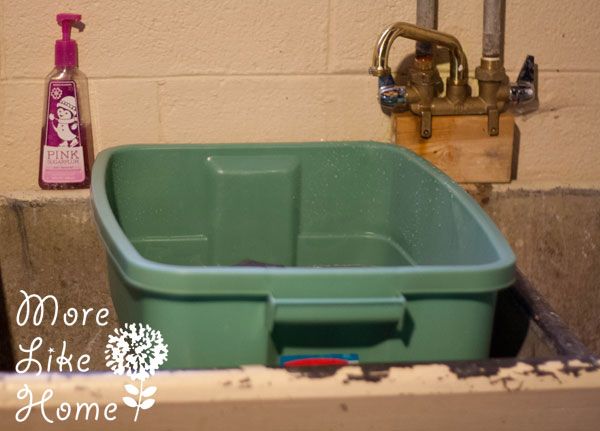
In addition to using a tension rod next time, I'll also try a container like a garbage can that is more tall and narrow. I think it will take less water (and therefore less dye) to achieve the finish height I wanted.
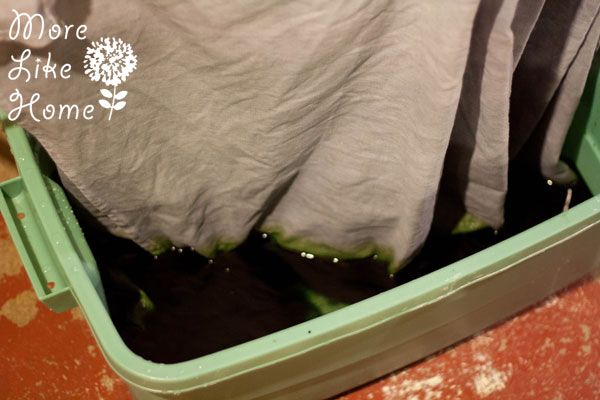
Anyway, I wanted a gradient kind of look with sharp lines so I let it soak at the first water level (about 7" deep) for 15 minutes. Then I added another cup of salt and enough warm water to raise my water level to the next marked line (about two inches) and let it soak 15 more minutes. Adding water makes the dye more diluted, which creates a lighter color.
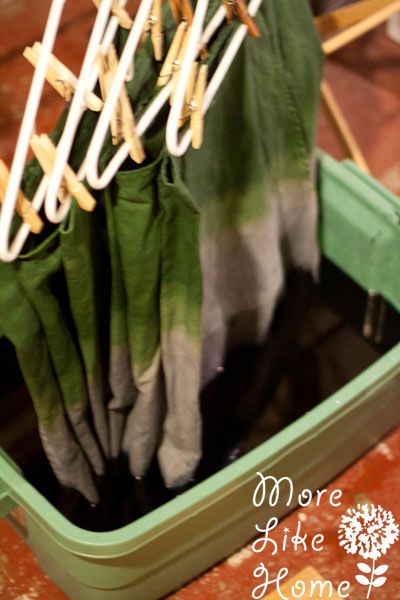
Then you can rinse that side out in the sink, but be careful not to rinse the soda ash out of the other rail. I rinsed as much as I could in the sink to keep it from bleeding while I dyed the other rail. If you're worried about it you run it through the washer to make sure any extra is washed out, then do a soda ash soak again... but I don't have that kind of patience. So for me it was a dip under the faucet. Then I pinned the green edge to the hangars and repeated the dye process with blue on the other rail.
That's when I got a hole in my glove. FYI, it was only blue for two days. Not so bad.
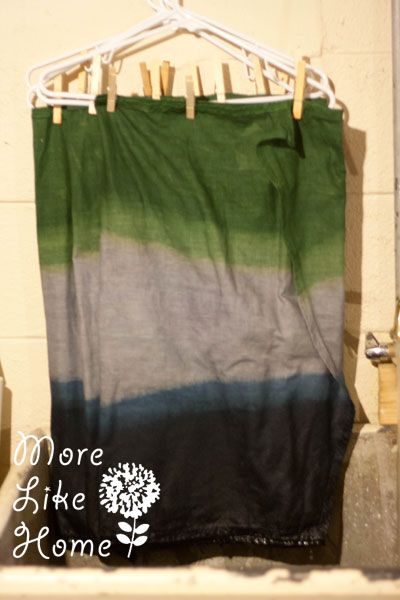
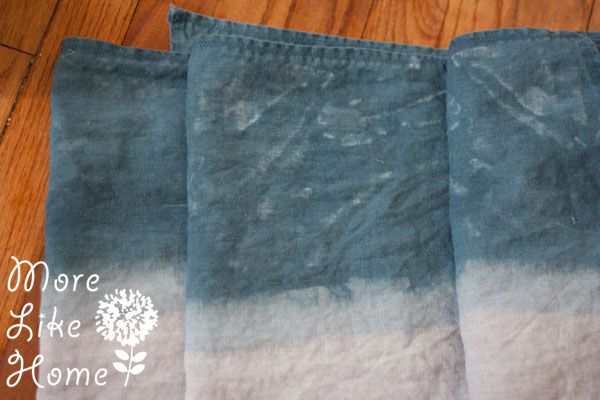
After I was done dying I gave it a quick rinse in the sink. You can see already I had a problem with crooked lines, especially on the green. I blame two things. Number one was my fabric dragging on the bottom of the tub making the hangers go crooked. Number two was having stiff hangers versus the kind where the hook pivots. I think if I had pivoting hangers I could have wrangled them around better to hang straight side-by-side. This is how we learn. :)
**Edited to add: I let is rest on the hanger for about an hour to let the dye set more before washing (I've since done a ring sling that I washed immediately and it faded quite a bit more in the wash). I finished off with a cold rinse in the washer to remove extra remaining dye, followed by a hot wash until the water ran clear (that was two hot wash cycles for me. Then I threw it in the dryer and tapped my foot impatiently until it was ready to wear!
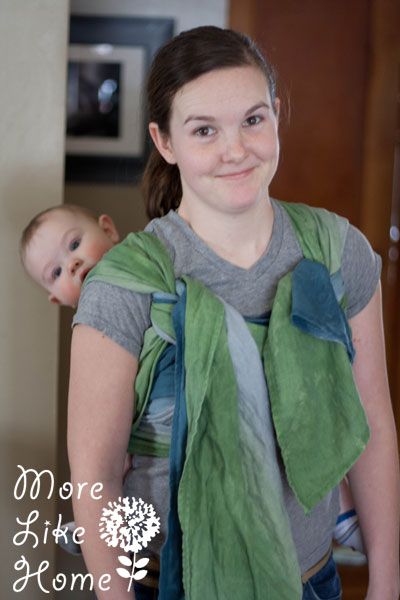
I'm really happy with the muted earthy tones it ended up with.
You can see the narrow line of lighter color at the edge of darker sections. If I did it again, I would make them even sizes instead of a super fat line and the thin line. Something like 5" for my first water line 5" more for the second.
Other dye options:
Like I said, we're going for sharp lines here. If you prefer a smoother grad finish I would start with just a couple inches of water and raise the water about an inch every two minutes until you reach the height you want.
If you like the sharp line/ombre look you could raise the level in smaller increments (2 - 3" at at time) and wait 5 - 10 minutes at each line to make them more defined.
To add a third color you could try folding the wrap in half lengthwise and dipping the center section. There are so many options, don't be afraid to experiment and try new things! I'd love to see pictures of whatever you come up with.

Things I learned the hard way:
Make sure the water can flow freely so you don't get uneven spots. (use a tension rod to hang your wrap)
Use a tall, narrow container so you don't waste water and dye.
Use hangers with moveable hooks.
Don't use gloves with holes in them.
Don't splash dye on the sides of the tub.
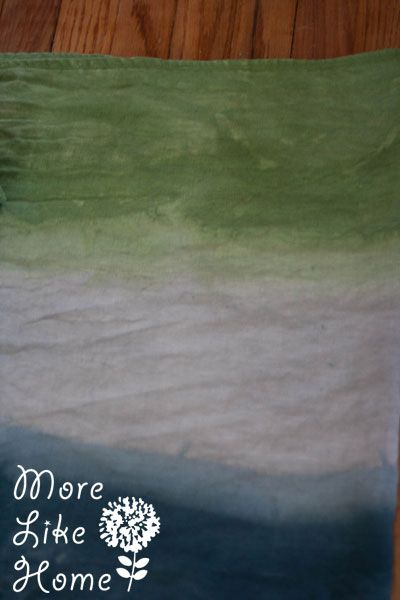
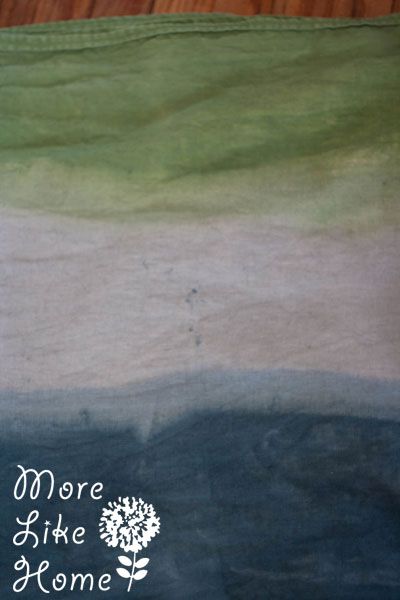
My green edge turned out better. I'm not totally sure why.

Remember what I said about not splashing dye on the sides of the tub? Well I totally did that. Then my wrap brushed against it. And I ended up with little spots and smears in my gray sections. Oops.
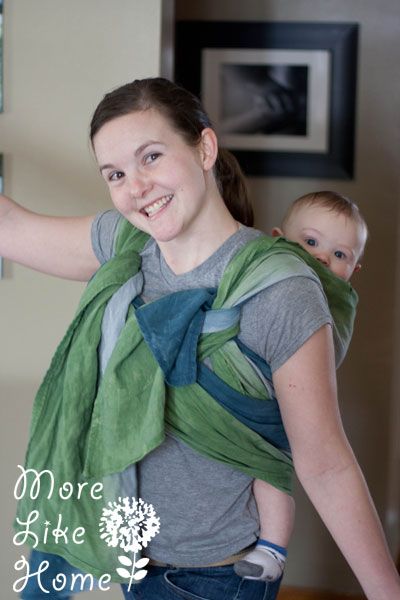
All that's left is wrapping up Baby Brother:
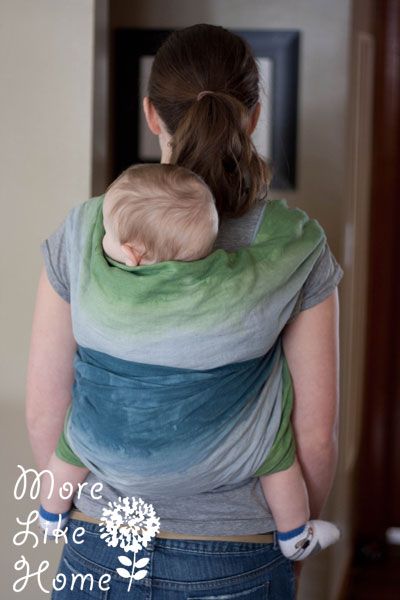
This is a reinforced ruck with knotless finish. My current go-to back carry is Gizelle's back carry with knotless finish.
Half the time he ends up falling asleep. This makes me happy. This happy:
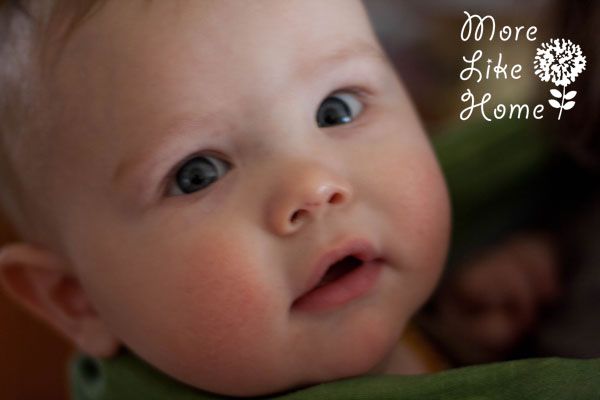
Baby Brother loves it, too. And he's the cutest thing you've ever seen. Just trust me on this one.
I'm finally brave enough to try back carries and it's been great! I have full reach of my arms without a tiny body in the was, and Baby Brother loves being able to peek around and see what's up.
This is when he spotted his daddy:
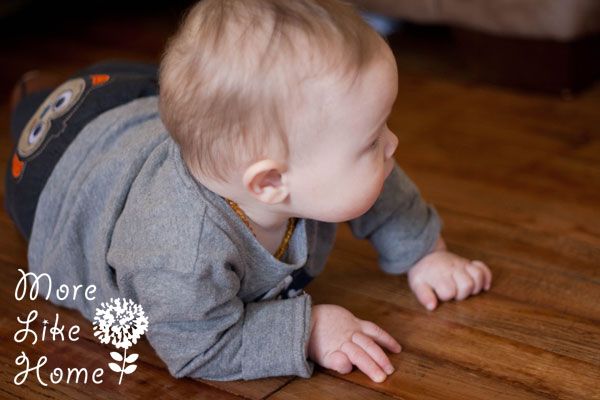
In other news, when Baby Brother isn't on my back (which is really most of the time, I like to let him move and roam) he is totally mobile. He's making the switch from army crawl to full-blown crawl.
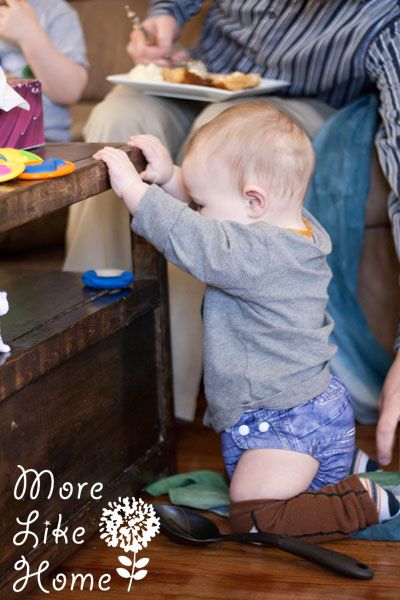
He pulls up on anything he can reach. Nothing on the coffee table is safe.

And we've caught him pulling up to his feet several times already. Oh my word.
From here he can get into a sitting position, then back down to crawl. Seriously, this kid is unstoppable. Until he loses his balance and bonks his head. Then he's stoppable for like two seconds until he takes off again.

"Who? Me?"
Have you done any dyeing? Have a baby on the move? Ever turned your fingers blue? I'd love to see pics and hear tips if you do any dip dying of your own!

Thanks for this tutorial!!! I am getting ready to dye my first wrap, maybe even today if I get brave enough! I am wanting to do a similar look, with yellow! I'm hoping I can pull of the gradual darker and darker look. I'm so nervous! I'm starting with yellow so I can redye it if it looks terrible!
ReplyDeleteIf I am using washing soda instead of the soda ash, are the instructions for the pre-dye-soda-ass-soak the same?
Thanks!
Yes, soak the same way. Let me know how it turns out! :)
DeleteOH. MY. GOODNESS. I'm so sorry for the horrible, horrible typo in the above comment!!!! Aaaaaaaa!!!!!! Soda-ASH!!! ASH!!!
ReplyDeleteI wish I could blame that on Autocorrect!!!!
Ha ha! That's okay! :)
DeleteThank you for posting! I was doing a last minute google prior to dip dyeing my wrap and I found this. Your tips are VERY helpful and yes, he is the cutest baby ever. :-)
ReplyDeleteThank you! I think so too. ;) How did it turn out?
DeleteThis comment has been removed by a blog administrator.
ReplyDeleteHi, thanks for the tutorial! I followed it to a T and mine turned out not nearly as great. I didn't use Dharma dye and I used osna fabric. I tried to get it gray and Aqua. The gray was so light you couldn't even see it. So I just did an Aqua ombre. That turned out more like mint or sea foam green with hardly any gradation. I'm bummed, do you think I just didn't use enough dye?
ReplyDeleteHi! I'm sorry you weren't happy with your results. :( What dye did you use? Everything I read seemed to say Dharma produced the most vibrant colors, which is why I sprung for it. Not enough dye could definitely cause that problem. How long did you let it sit before washing? I did a ring sling after this and was in a hurry so I washed it as soon as it came out of the dye. A lot of it washed out leaving my black & eggplant dyes light purple and pale gray. :/
DeleteI'm going to attempt it again with Dharma this time I think. I washed it immediately, I didn't realize you had to wait, bummer. I joined a FB baby carrier dye group, and they mentioned that putting it in a bag in the sun (batching I think) will help. I'll try that next time too!
DeleteLight purple and gray sound lovely actually!
You said you used a couple of large scoops,
Sorry I cut myself off, I was going to ask, since you mentioned you used two large scoops, were your containers only 2oz? Dharma comes in larger sizes too. Not sure it really matters.
ReplyDeleteThanks!
I did use the 20z, and probably used about half of each jar.
DeleteWhen you did the ring sling, did you removed the rings? I've been having a hard time finding a sling color I like and was just going to get a linen neutral and then dye it but I'm trying to decide if will hurt the rings (all one color dye job)
ReplyDeleteHi! I made my own ring sling, so I dyed the fabric before I put the rings on. If that helps. I don't know enough about dye to say for sure whether it would hurt the rings or not? BUT there is a carrier dying group on facebook and I've seen many people in the group dye slings with the rings on. So if I ever dye one that's already made, that's what I would plan to do. But again, no experience so take that with a grain of salt. :)
Delete