
I ended up spending $15 on this carrier by using fabric from the clearance bin at Hobby Lobby. Used Mei Tai's can sell for around $30 on Ebay, so if you use an expensive fabric you may end up spending more to make one. But of course it would be way cooler and you could pick a super-great print! So let's see how it's done.
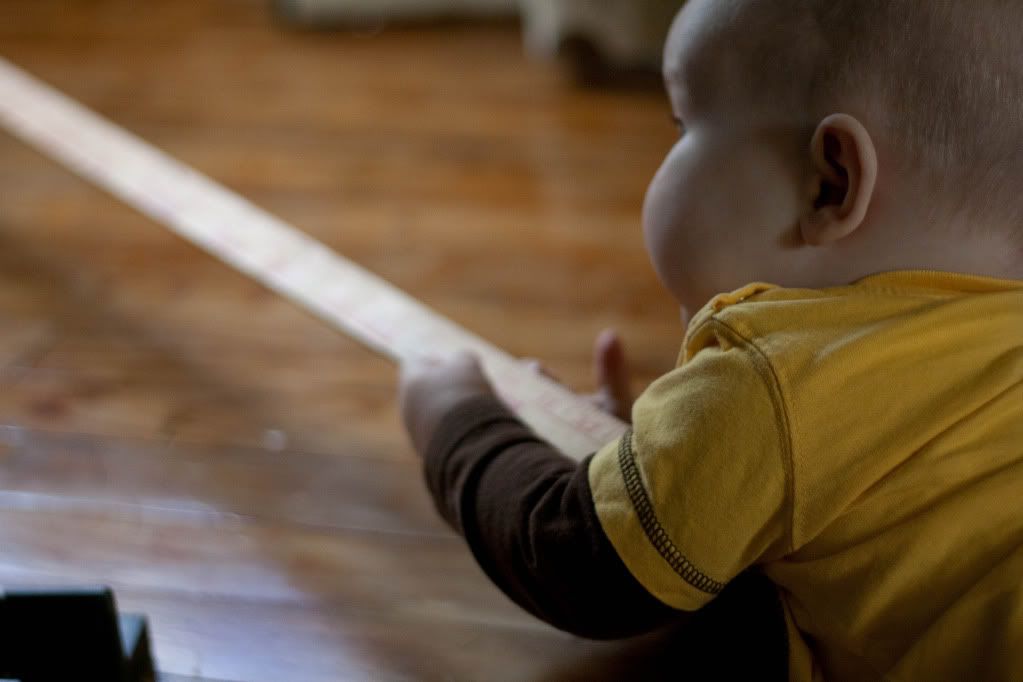
Step 1: Find a small boy with a yard stick to "help" you measure.
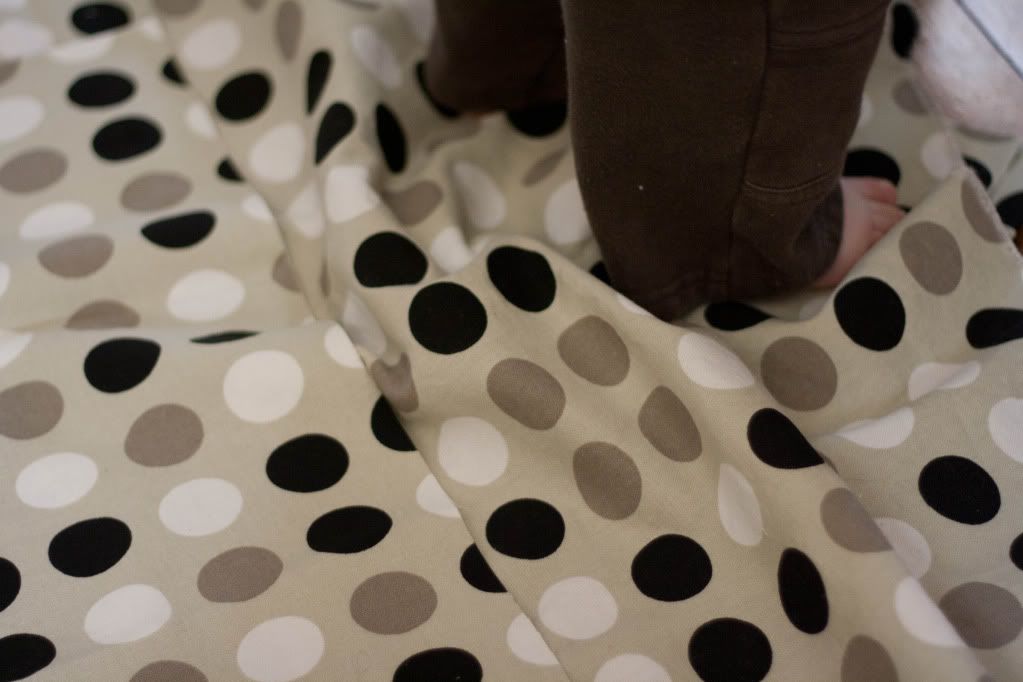
Step 2: Have small boy "help" with holding and marking fabric.
Step 3: Wait for nap time/daddy to get home so you can actually get something done. :) Okay, real tutorial time. :)
Fabric
3 yards duck cloth
You can find recommendations on Beth's tutorial and I ended up choosing duck cloth (like canvas) because it is sturdy but still soft and pretty lightweight. For me 3 yards was just enough, but if you have a directional pattern you may need more to get things facing the right direction. This was enough fabric for both the straps and body of my carrier. The only other things you need for this carrier are strong thread, a sewing machine, and tools like scissors and pins.
Cutting Your Fabric
Beth's tutorial has a list of the pieces you'll need to cut. They are all rectangles so it is simple to measure and cut your pieces. I just use a yardstick to mark the size. She also has more options for different sizes. I would recommend cutting your knot pieces a few inches longer just to be safe. See step 6 for details.
Making your Carrier
I'll number the steps to match Beth's tutorial so you can follow along between the two. Sorry if this isn't super convenient, but I don't want to steal someone else's tutorial. I just want to fill in the gaps with pictures and tips!
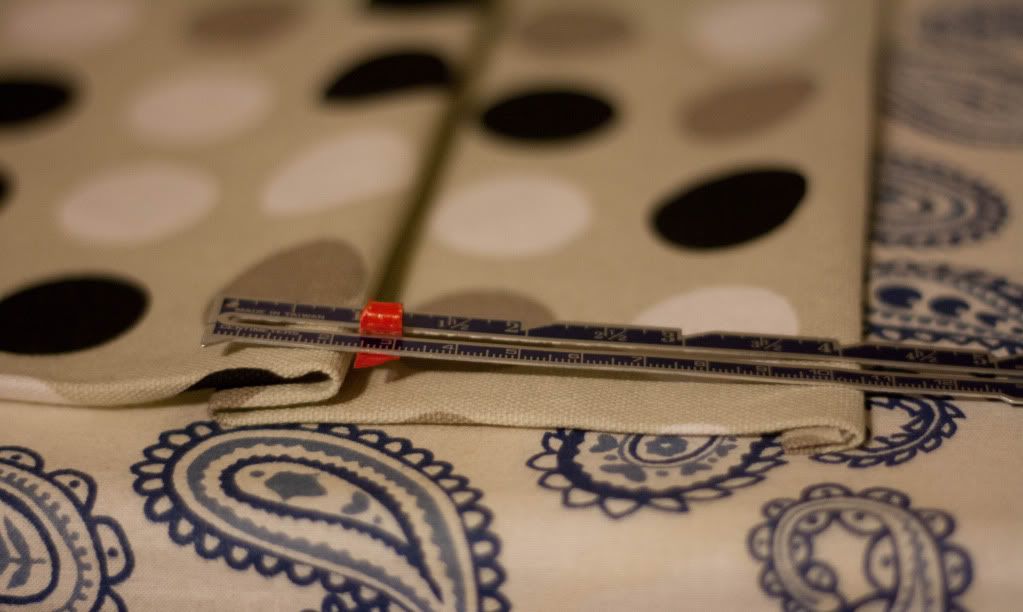
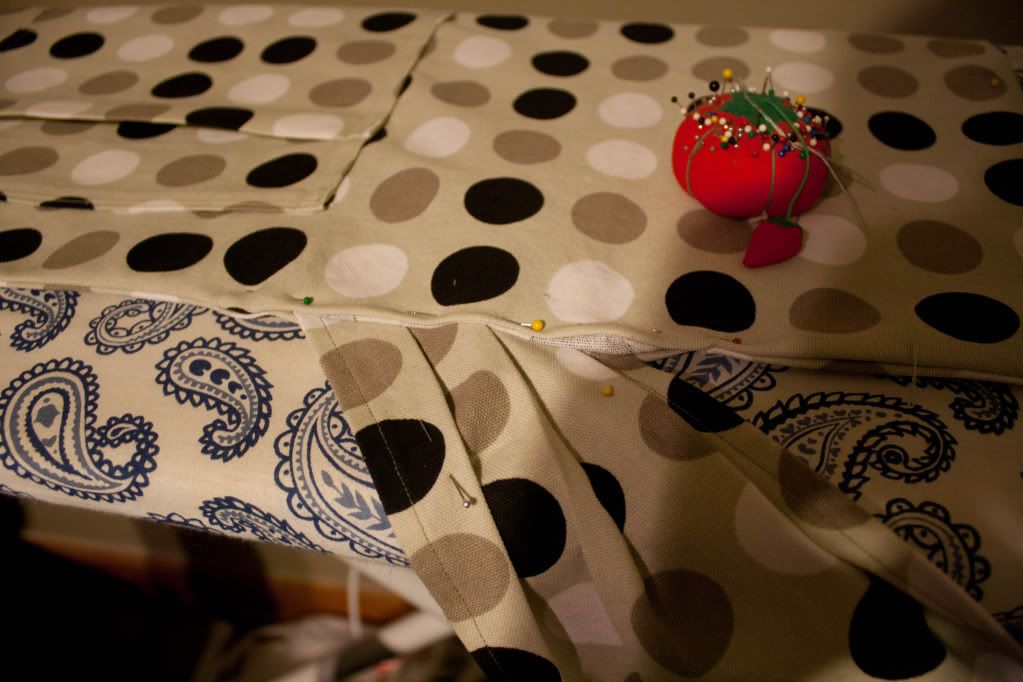
1. Hemming the long edges of the straps - fold under 1/4" and press, fold again and press (shown below).
Stitch close to the inside edges of the hems (shown below).

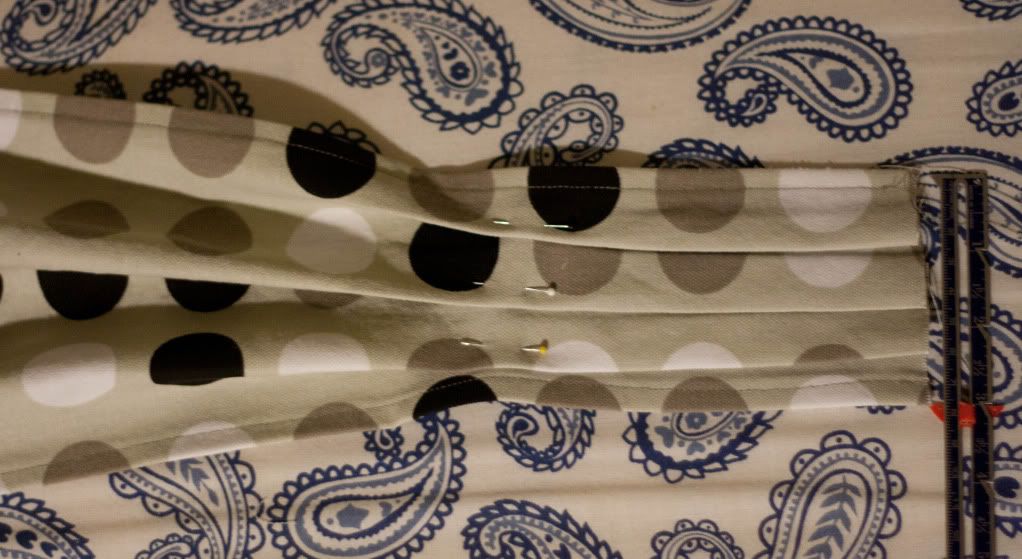
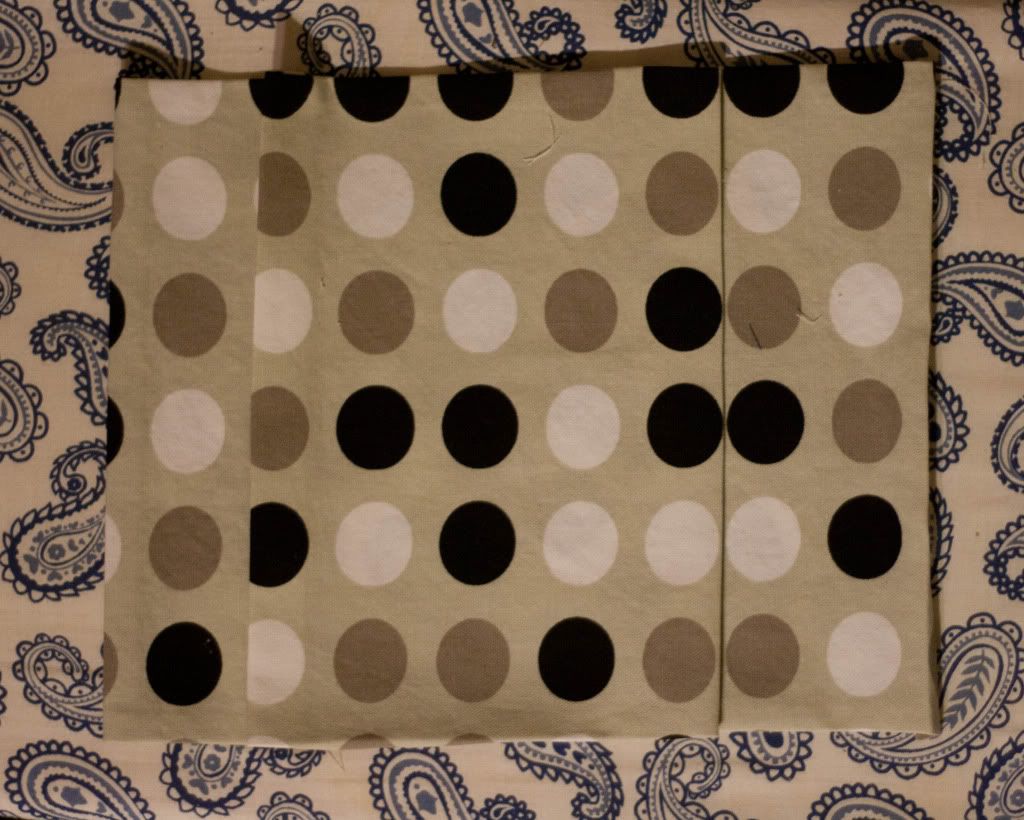
2. Pleat the ends of your straps - 3 pleats for this size of strap. Your total thickness after pleating should be about 3" (shown below).
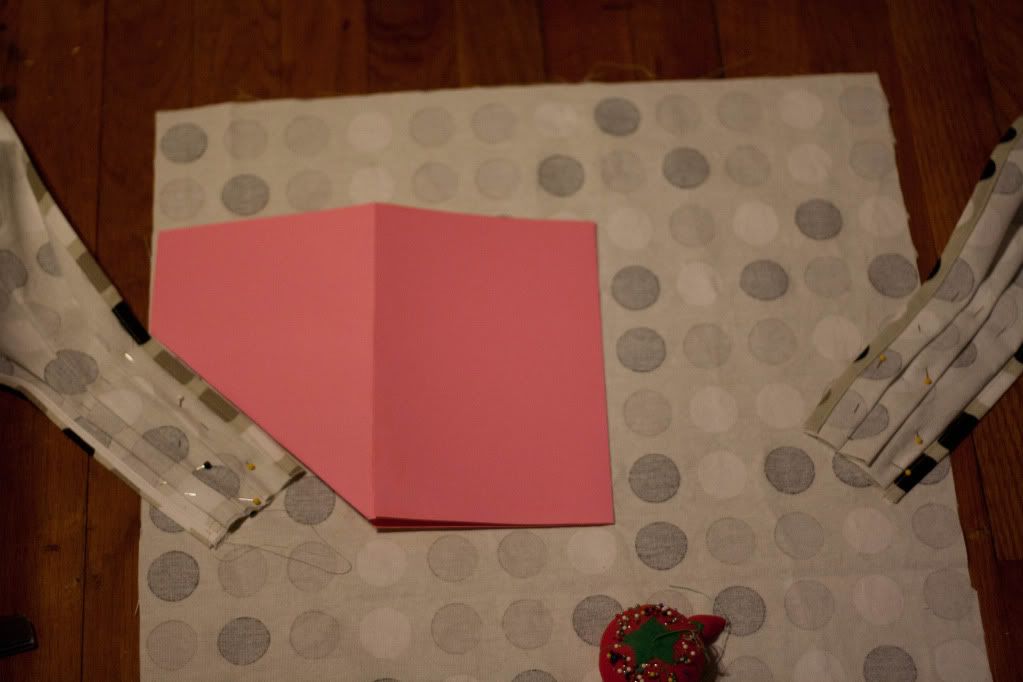
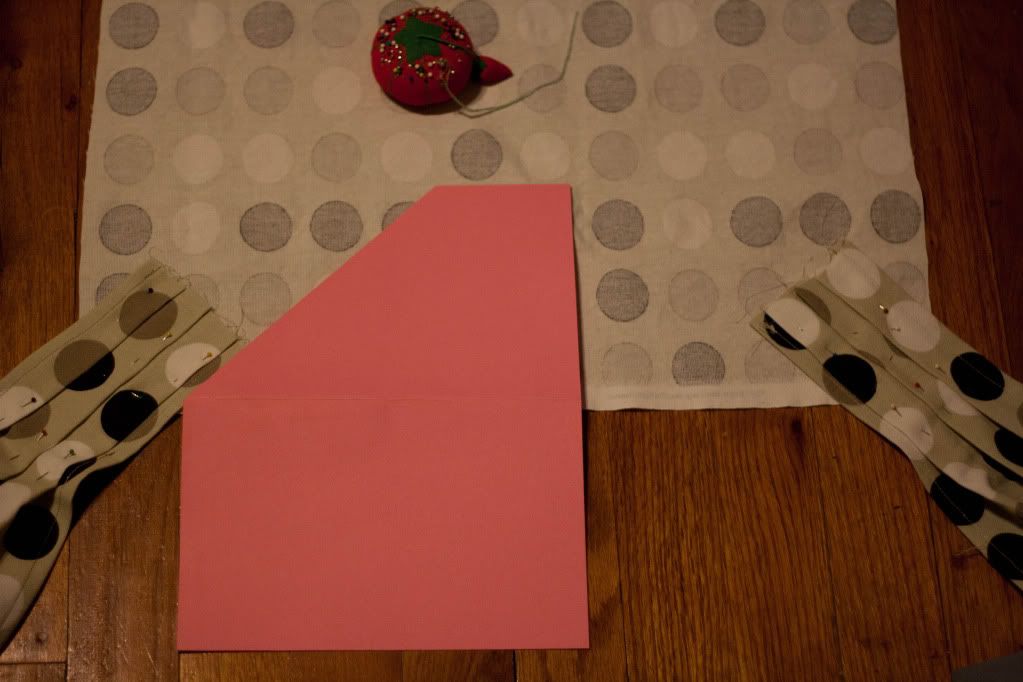
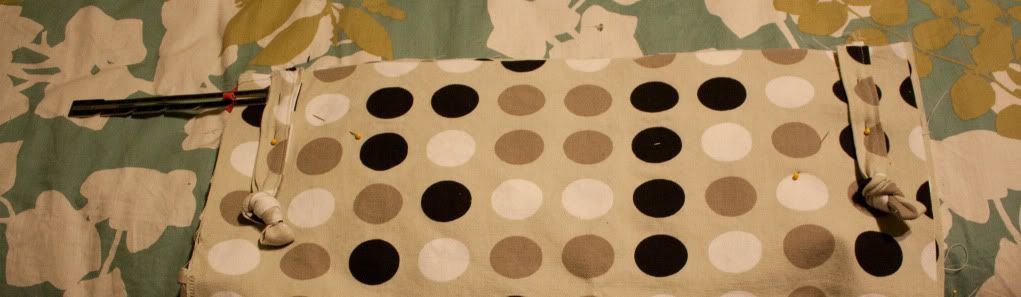
3. Attach the straps to the inside layer of the body - go by the layout drawing on Beth's tutorial to place your shoulder straps 7" down from the top of the body at a 45 degree angle. I found the easiest way to get the angle right was to fold a piece of paper in half, then fold one corner in to the center fold line to get a 45 degree angle. Then I could line a straight edge up with the side of the carrier and line the strap up with the angled side. Hopefully the picture below will make sense. The should straps will be placed face down.
Then place the waist straps on the bottom corners, also at a 45 degree angle. These straps are face up (paying attention to which way your straps face is very important if you are not using a reversible fabric, like me)
Pine those straps in place. So overall we have this:

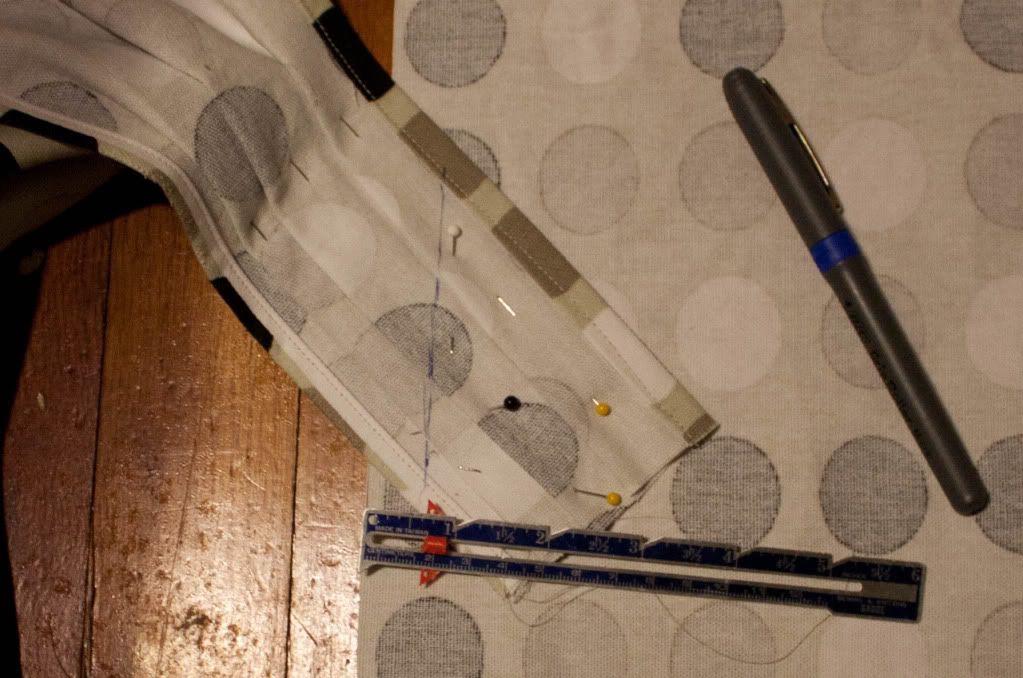
According to Beth's tutorial it's really important to NOT sew within 5/8" of the edge of the body, so I went ahead and measured in 5/8" and marked a line to make sure I didn't get too close.
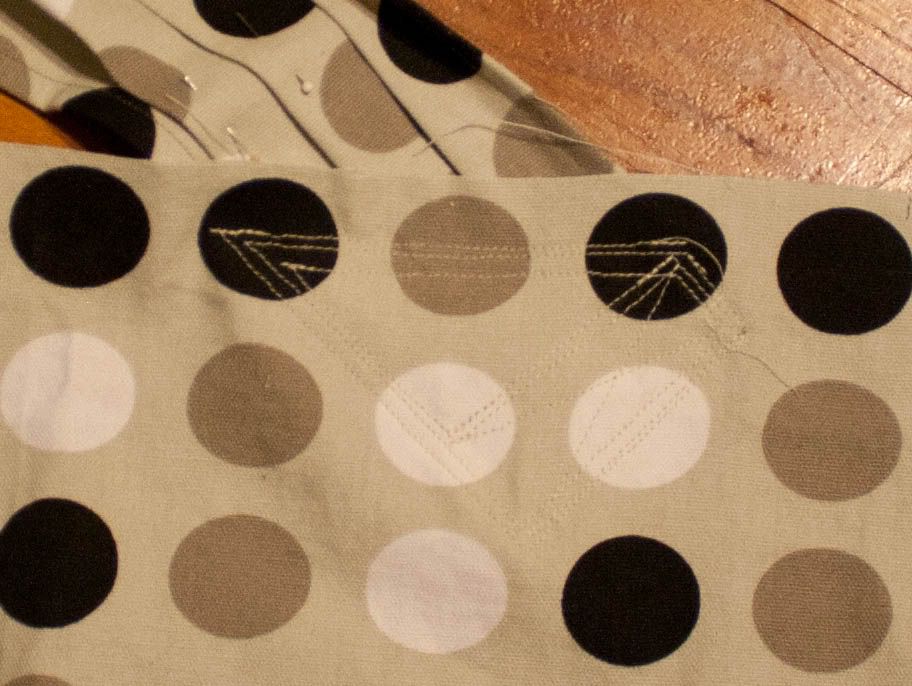
Then stitch it on the straps. I've heard that it's best to triple stitch things when making a baby carrier. You can see how I started by following my marked 5/8" and stitching near the edge around the strap. Then I did it two more times going in a little further each time so I have three lines of stitches. I also put an X across the middles.
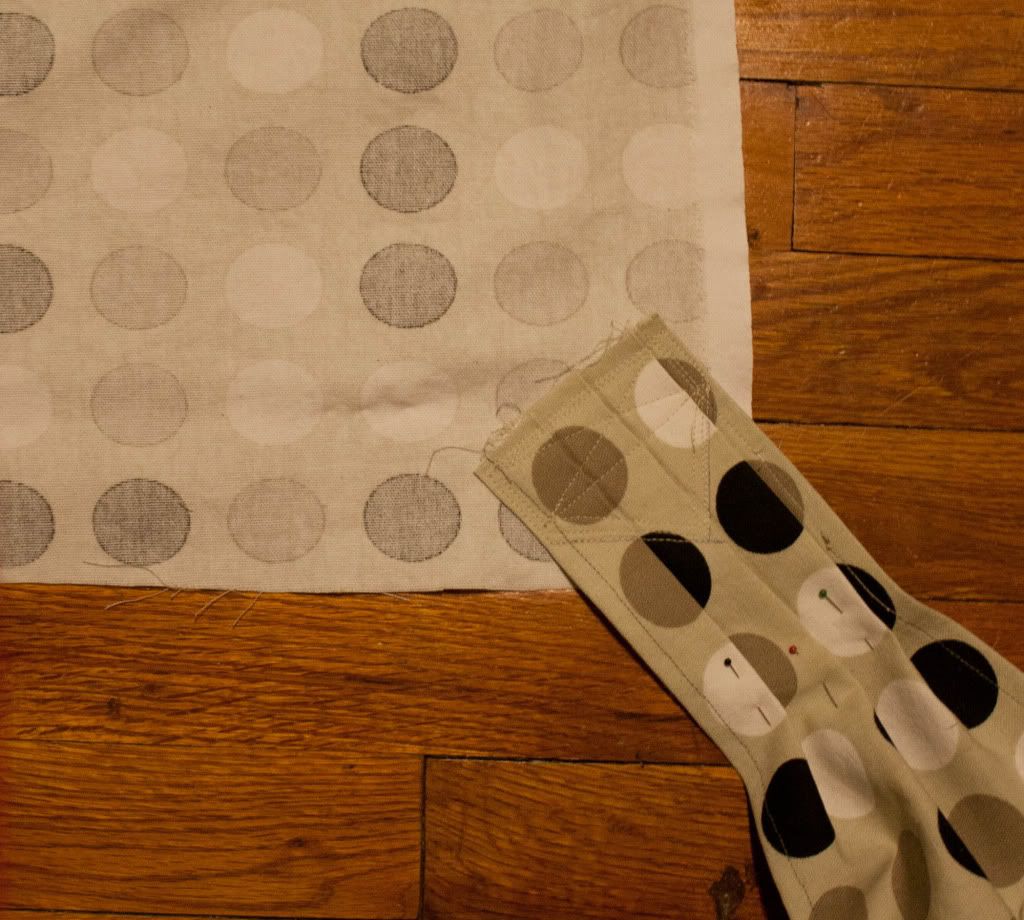
This shows the shoulder strap stitched on and you can see a little better how I did the three lines of stitching and an X.
4. Make the pocket - start by pressing the edges in toward the wrong side (see how much on Beth's tutorial)

Then flip your pocket right side up and fold a short end in 4" and press.
Open up the fold and tuck the crease under 1" like shown below. Repeat for the other side.

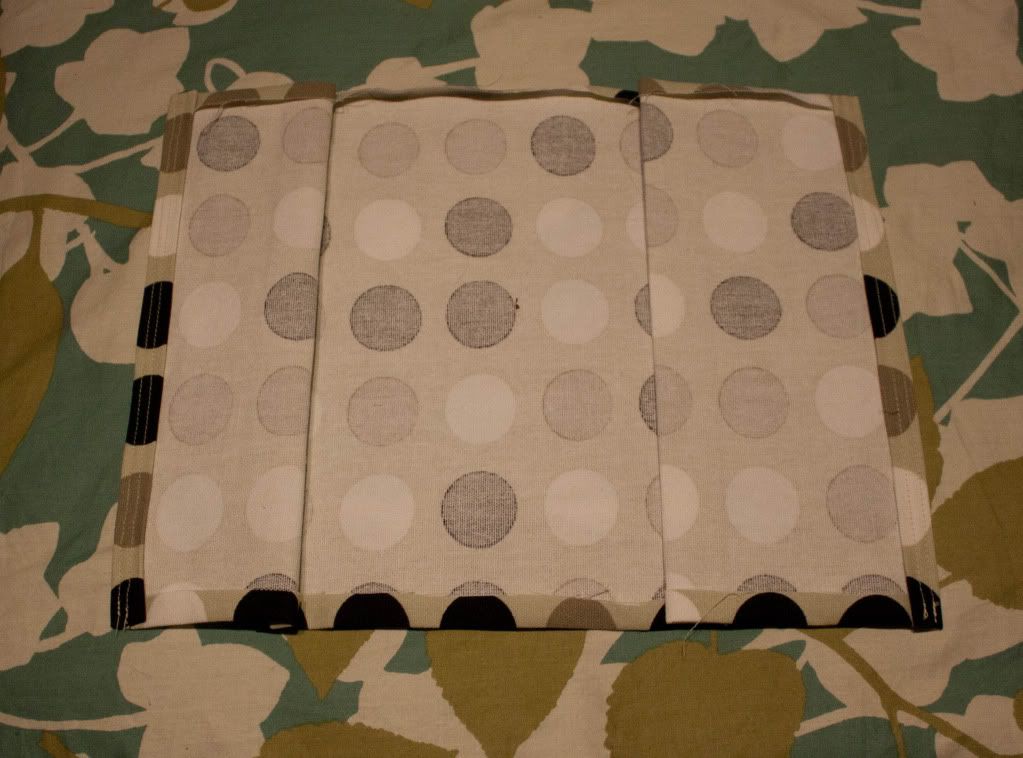
This is what it should look like when you're done:
Next sew two lines of stitching down the short sides of the pocket. There is a good illustration of this on Beth's tutorial. Also, I accidentally measured one side wrong so it's all lopsided. Oops.
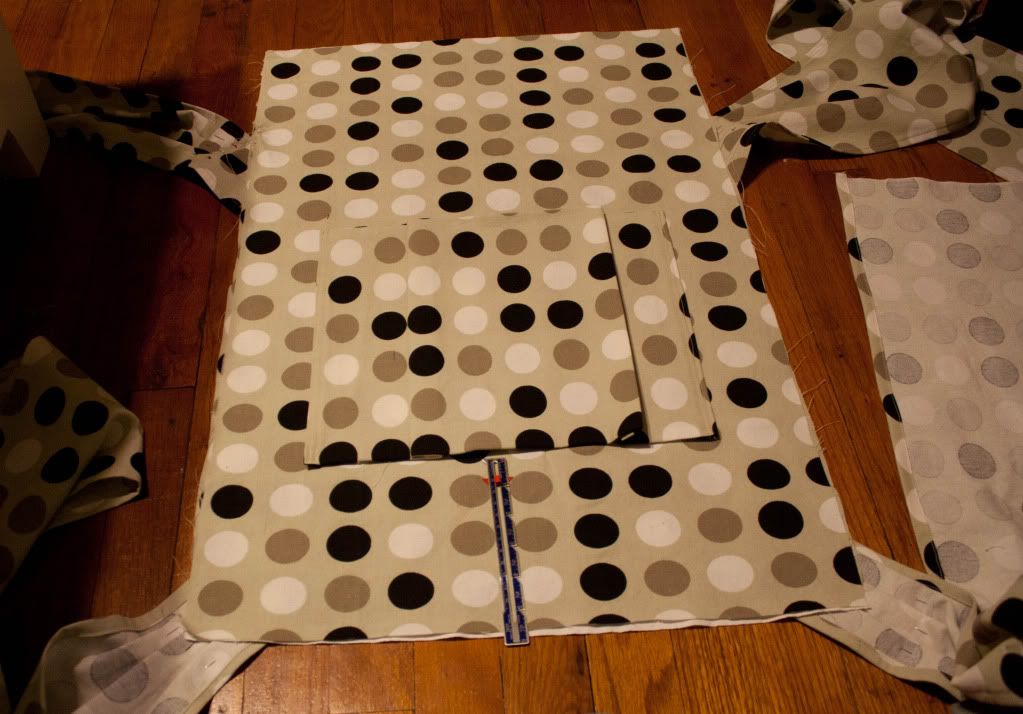
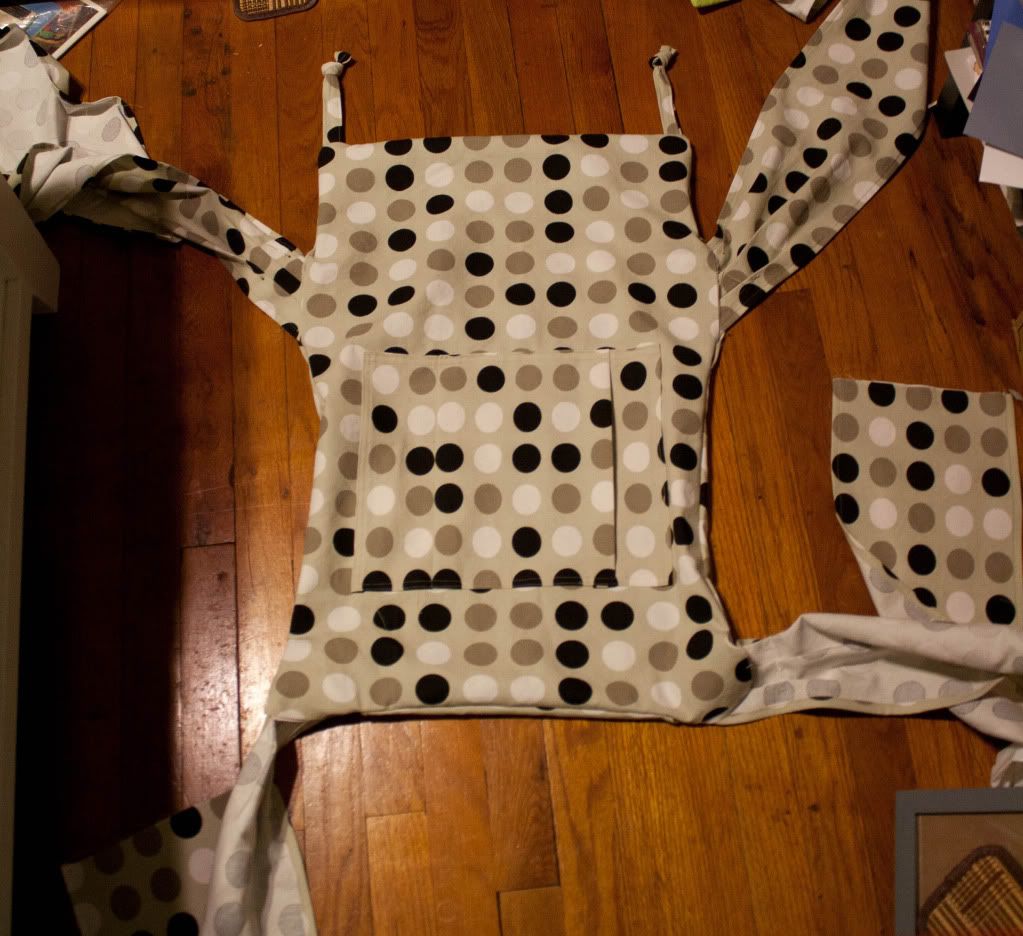
5. Attach the pocket -lay down your inside body piece (with straps attached) making sure the shoulder straps are right side UP. Then lay your front body piece directly on top, right side up. You might want to use a few pins to keep them from scooching around. Then, on top of both of those layers, place your pockets 6" from the bottom & centered horizontally. See the drawing in Beth's tutorial for more details
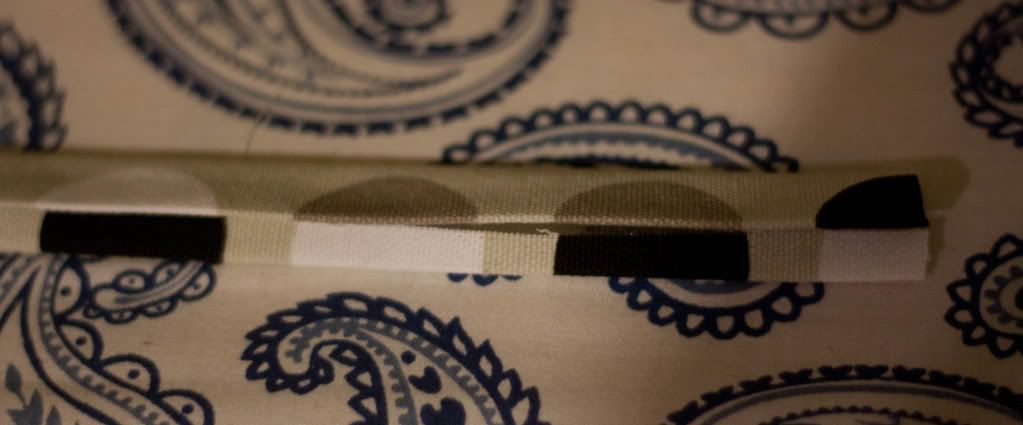
6. Make the knot loops for the hood/head support - Beth's tutorial has one kind of knot, but I tried it like 15 times and couldn't get a knot at all. So this is how I did it instead. Start by folding your fabric in half lengthwise (wrong sides together) and press. Then fold each long edge in 1/4" and press.

Then fold on the middle crease and press again, like below. Top stitch along both long edges, close to the edge. Repeat for the other strap.
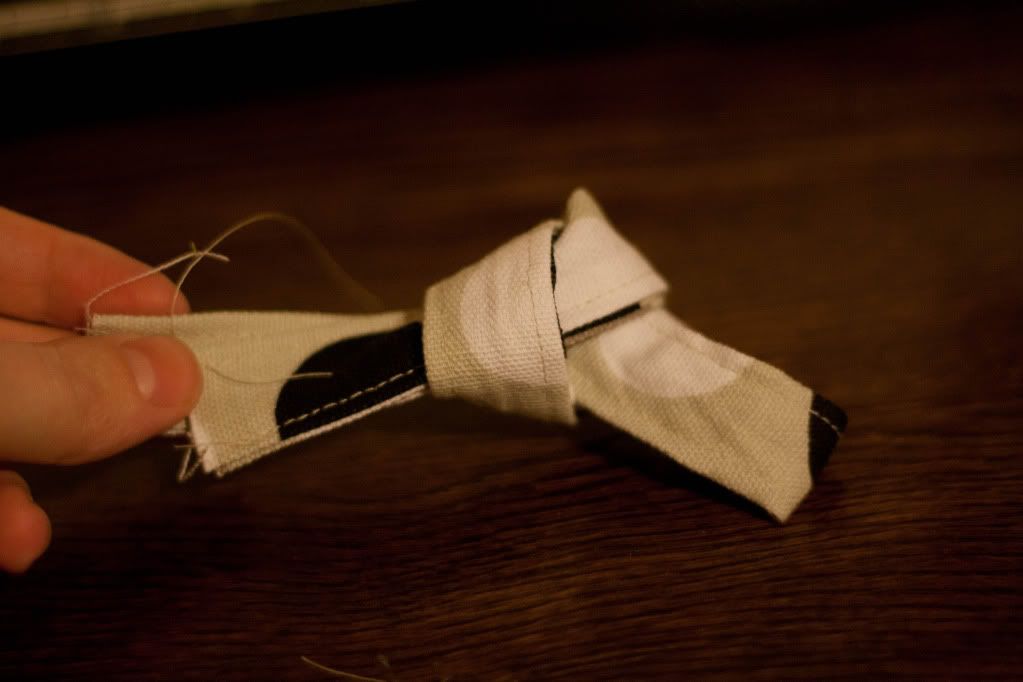
Now to tie the knot. I found that the simplest way to do it was to fold the strip in half...
tie a simple knot, like when you start to tie your shoe....
scooch it down toward the loop end....
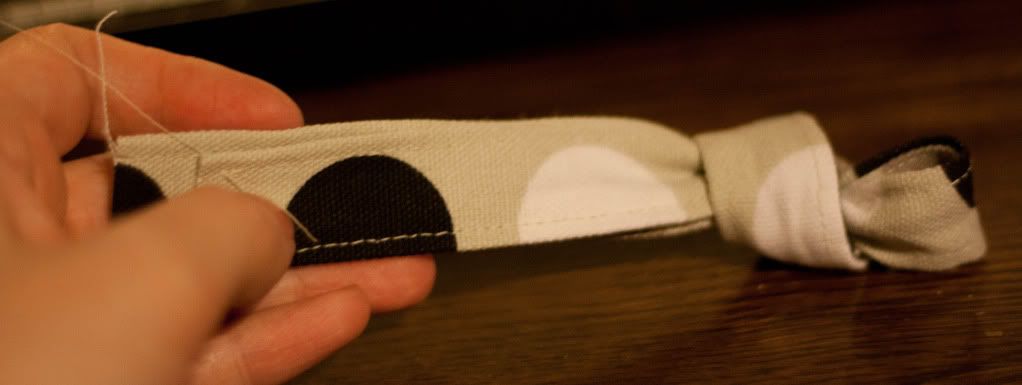
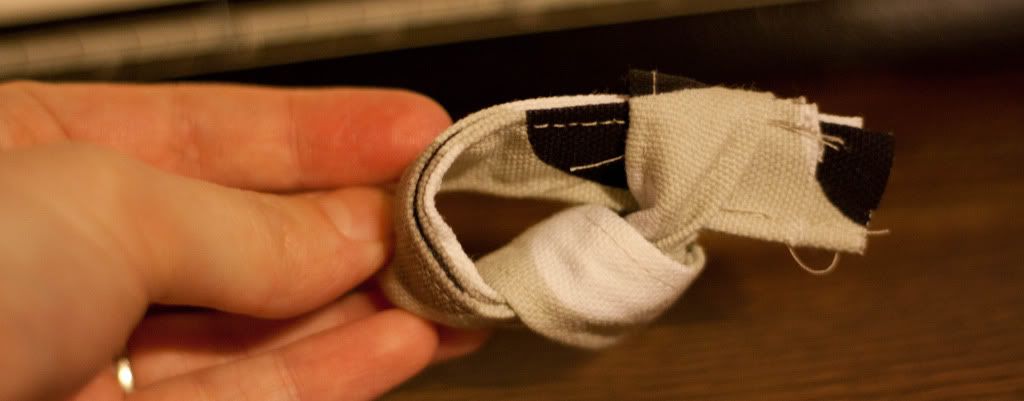
(that is where I ended up having to stop on mine because my strips weren't long enough. It will work okay, but the knot is smaller than I hoped. If you cut longer straps, you can keep going to get a more substantial knot.) Pull the loose ends through the loop at the end.
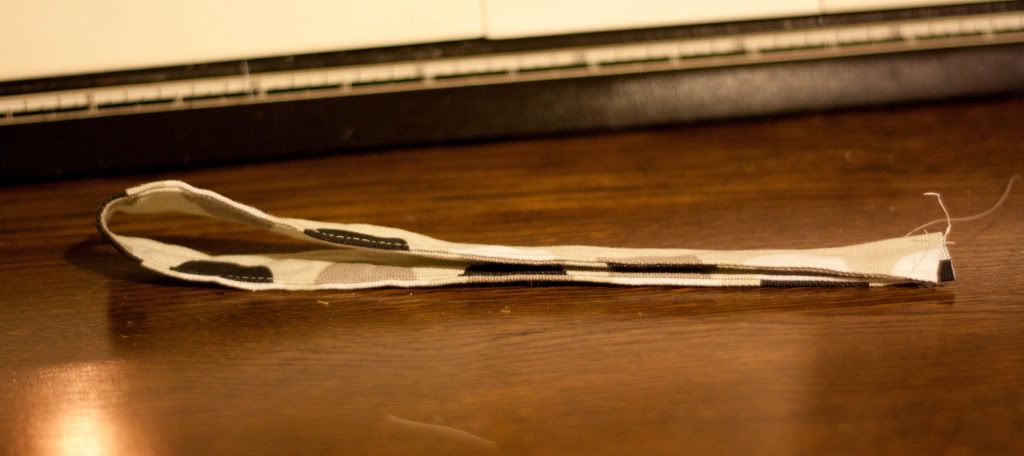
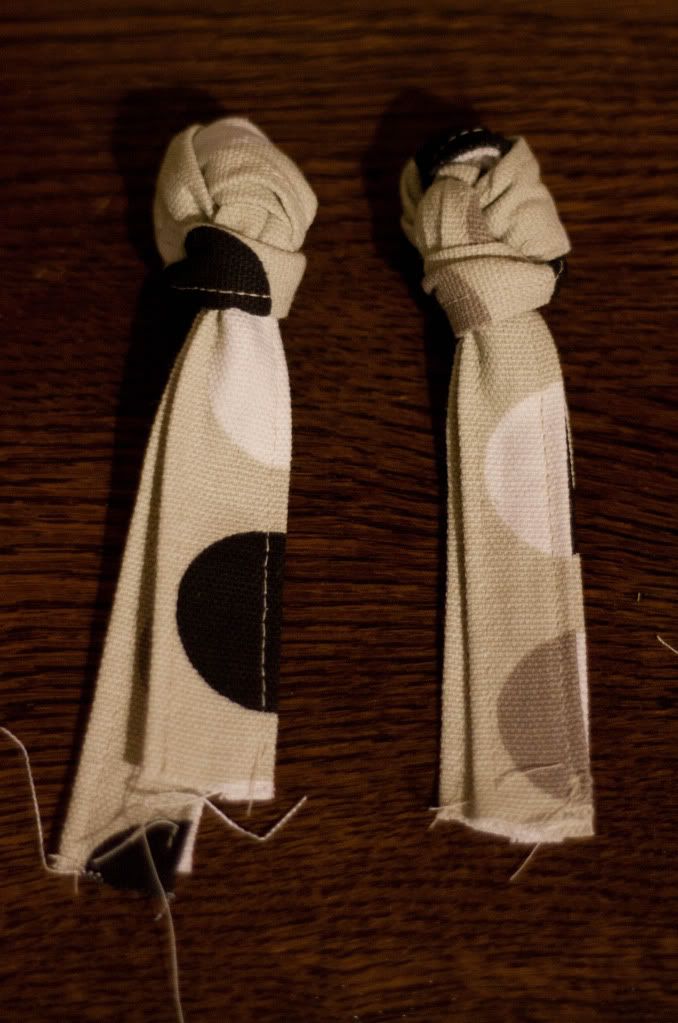
Your knots will look something like this when you are done. You want them to be about 5" long total, so cut off any extra to get the right length.
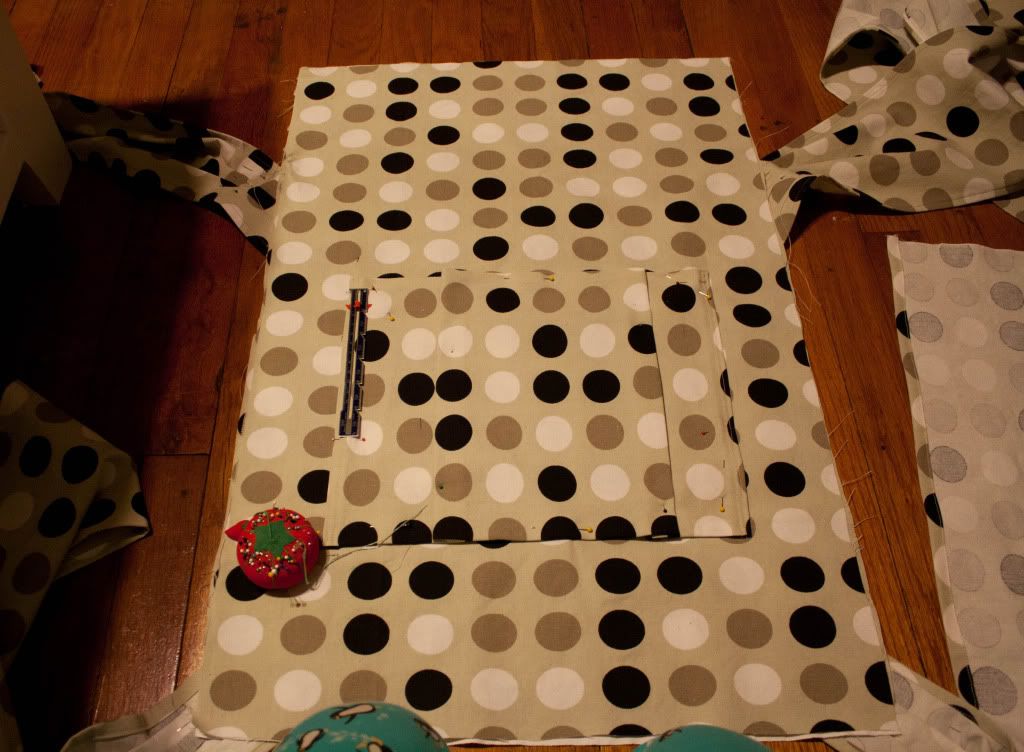
Now pin them to the top of the front body piece like below. Beth's tutorial says to leave at least 5/8" gap on the sides, but I went ahead and did a full inch to be safe.
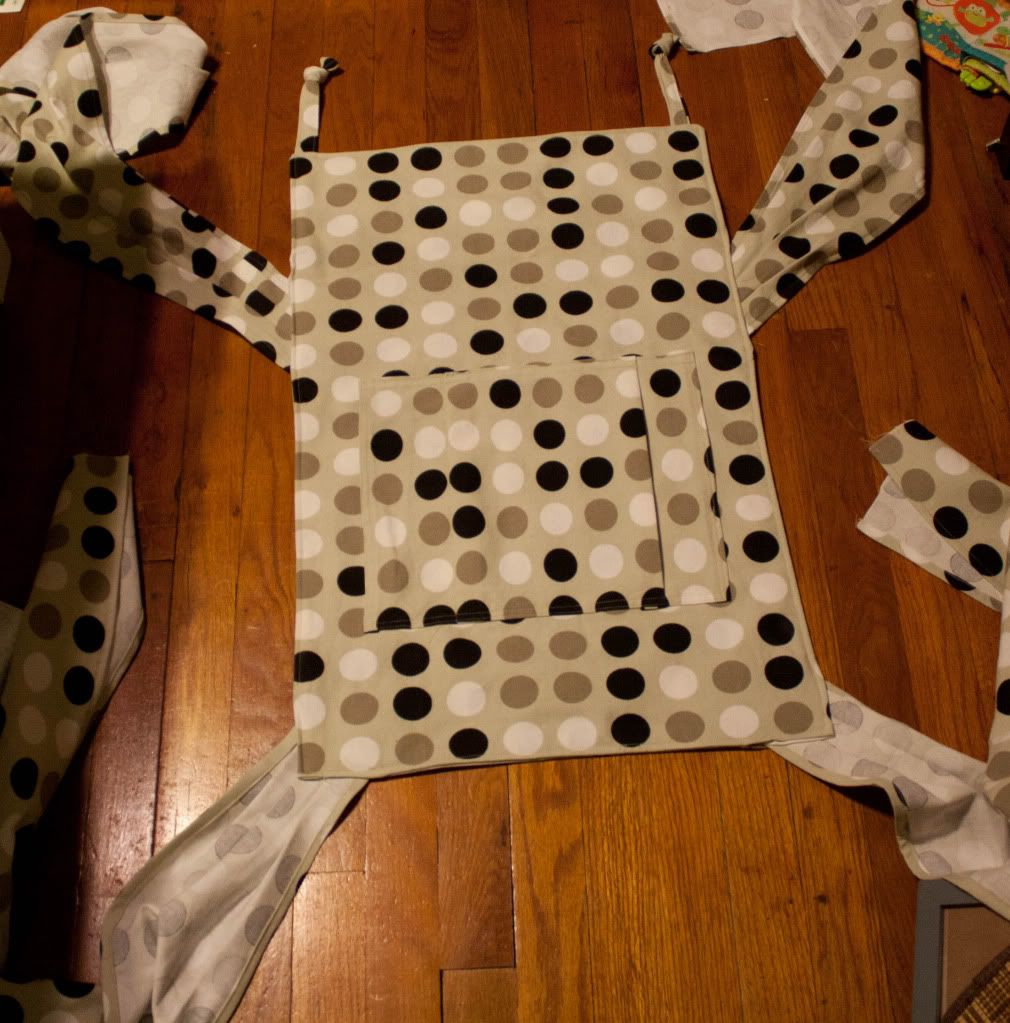
7. Attaching the back body panel - lay down your assembled carrier face (pocket side) up, lay the the back body panel face down on top and pin around the edges. Then sew a 5/8" seam all around EXCEPT where the straps come out. Beth's tutorial says to stop about 3/4" from each strap, so I went ahead and marked my stopping and starting points to make sure I didn't forget and go too far (it's the pen lines below).

After you sew, clip the top corners (see the illustration in Beth's tutorial) and turn the carrier right side out through one of the strap openings. You will have holes like this where the straps go, so just pull them through.
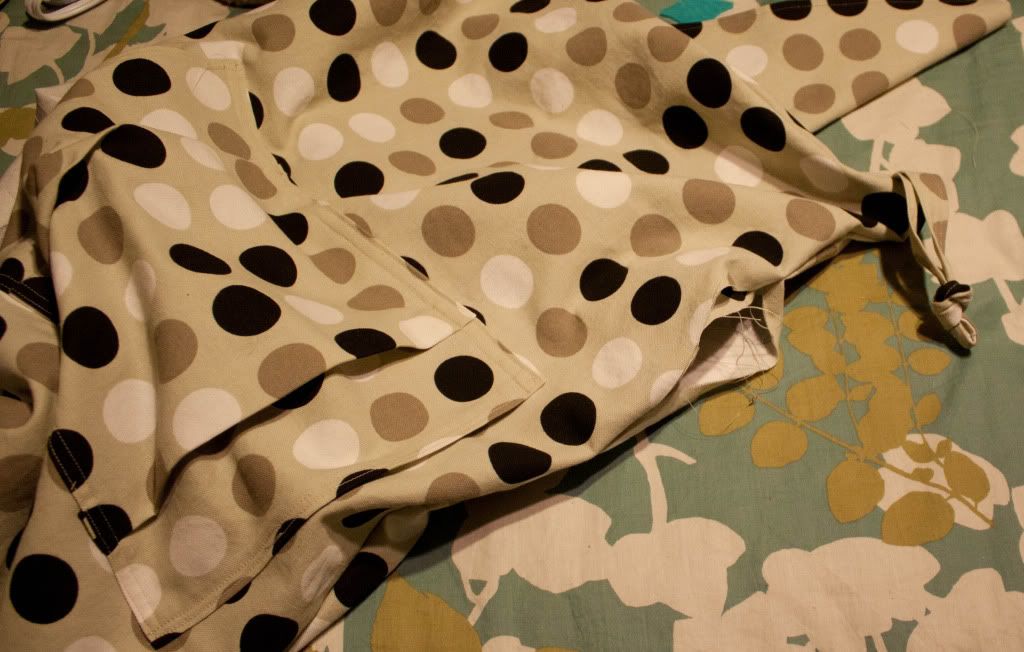
Does anyone else see a funny dancing monster guy?
This was the kind of tricky part. You need to tuck the edges of each strap opening in and press them so you get a nice finished edge. However, with the way this turns out the seams get in the way of each other so you can't get them tucked in right. So I just did the best I could and it turned out okay. If you want to have an easier time, you could try making a little change earlier on (in Step 3 place the shoulder straps face UP and the waist straps face DOWN. Then follow the rest of the directions as they are. I haven't actually tried it, but I think it should work. :))
Then just top stitch all around the edge. It wouldn't hurt to do a second line of stitching, too.
The next step is attaching the loops that the hood knots will go through. Beth's tutorial has great directions for this, so I'll just let you check it out there.
Finally, try your carrier on to check the length of your straps. If you are happy with them you can go ahead and hem the ends, of if they are too long you can cut them a little shorter and then hem them. All done!

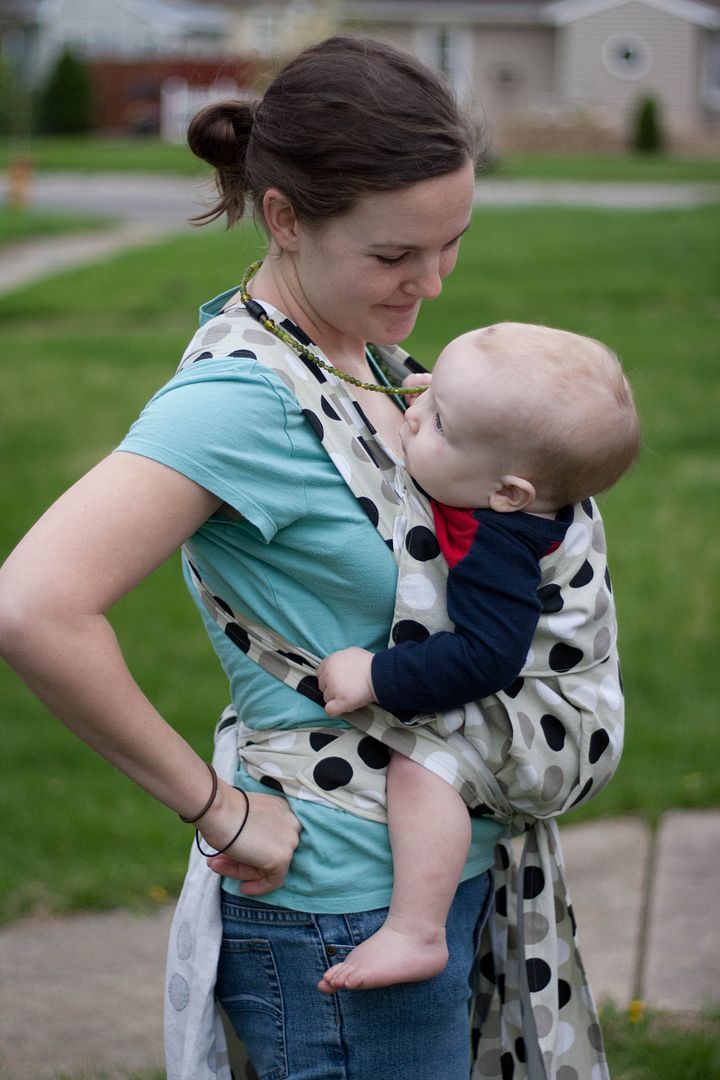
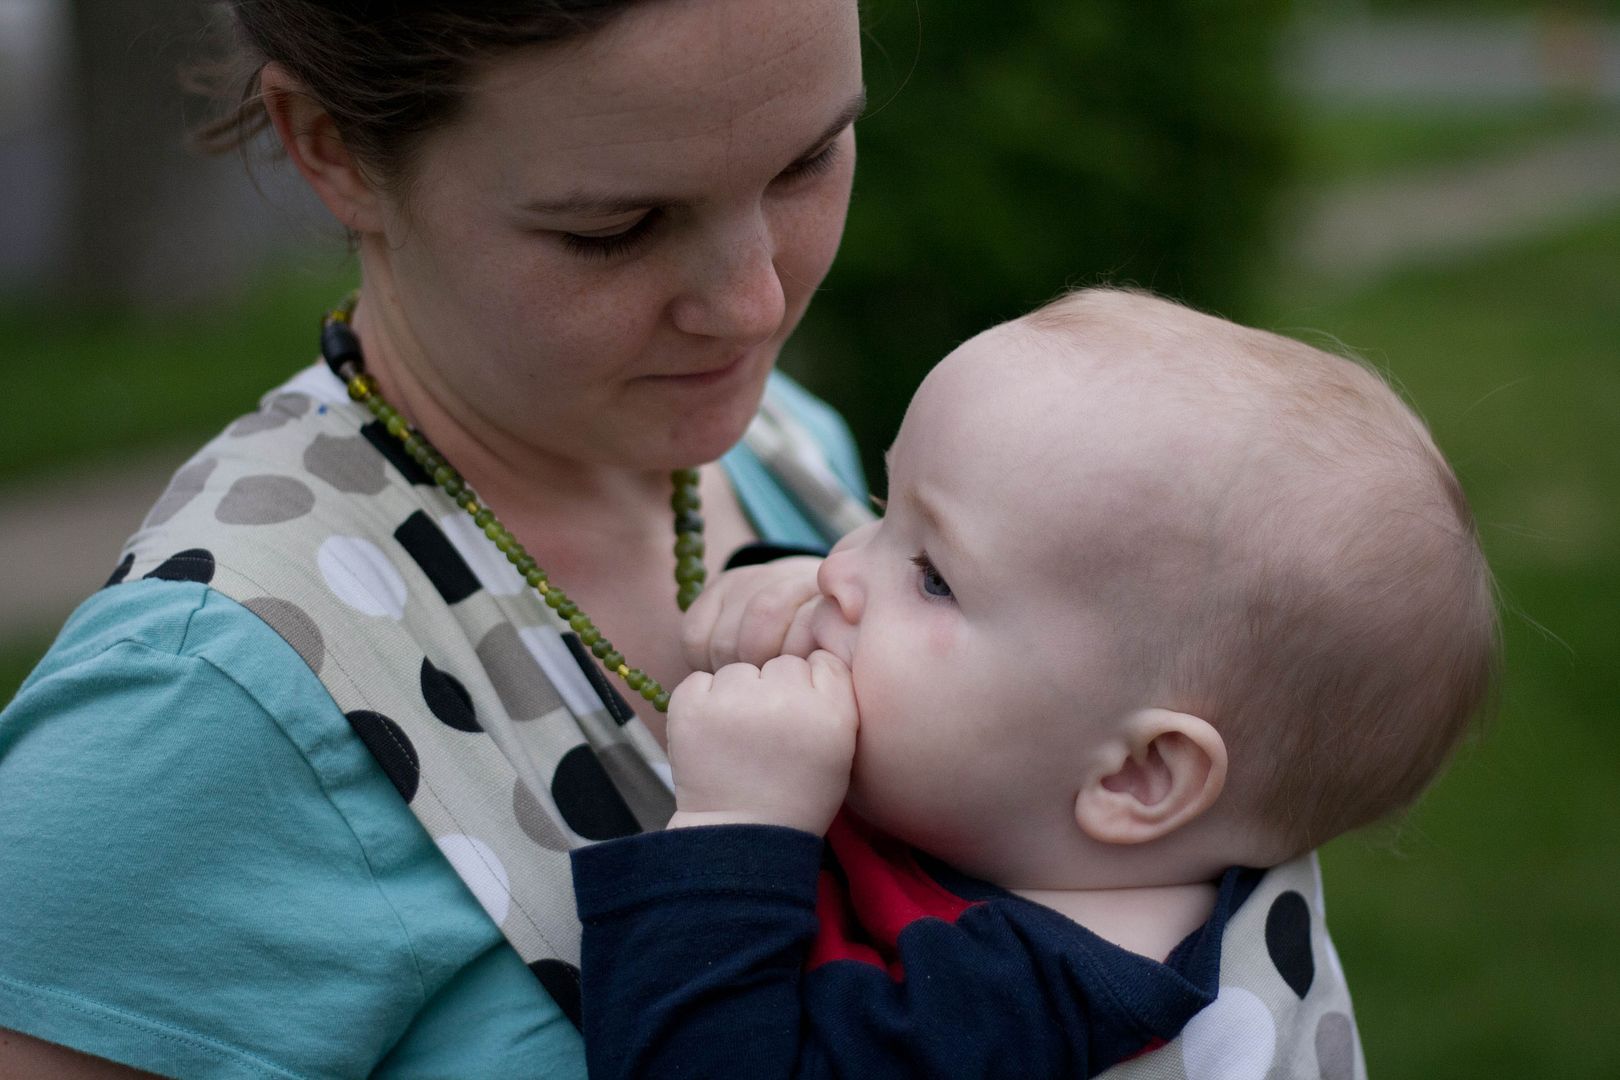
The wide straps actually give really great support and I can wear it comfortably for quite awhile. And Baby B has already fallen asleep in it a few times. :) See how I can keep both hands free? That's great for me and Baby B loves still being close to his momma.
I picked the most neutral pattern they had in the bargain bin so my Nathan can wear it to, which he actually did during a trip to IKEA. Yes, he took me to IKEA and carried a sleeping baby around while we were there. He's my hero.
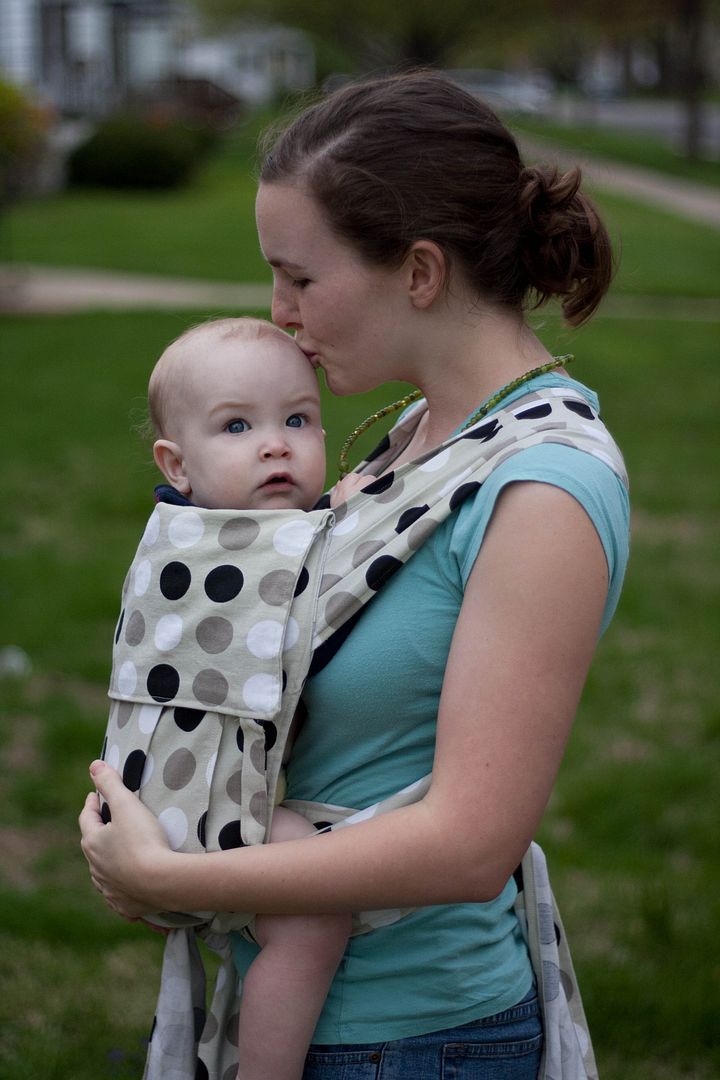
There are a couple different ways to wear your Mei Tai and Beth has great tutorials with pictures! One tutorial shows how to carry in front.
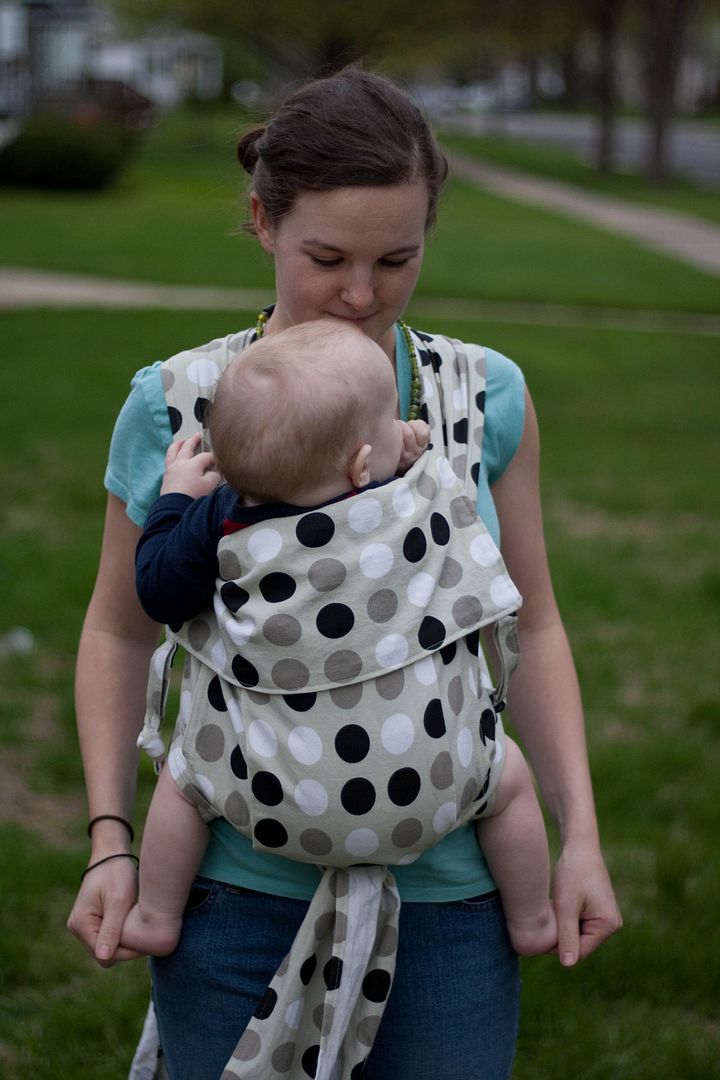

I still can't wait to try making a few more styles, but this one is definitely a keeper!
*******SAFETY NOTE: Use extra care if you make a baby carrier of your own. Remember, you are carrying precious cargo so read all instructions and suggestions carefully to make sure your carrier will be safe and comfortable for your baby. Always carefully read the instructions for proper fit and use of your carrier as well. Use a homemade carrier at your own risk, so if you have concerns about safety just don't use it!*******

Great, detailed directions and visuals for moms who want to make a carrier.
ReplyDeleteAs a grandma, I love this post because of all the great pictures of you and Baby B. They capture the love relationship between mother and son. Cool!
Thanks Rhetta! :)
DeleteSo I just finished making this carrier on Friday. Thank you so much for posting it! My second daughter is 5 weeks old, and I made the assumption that she would be perfectly happy in her seat like her un-cuddly older sister. Not so, I was having trouble getting anything done with little one wanting to be held all the time. Now we have the best of both worlds :-) Thanks again!
ReplyDeleteOh, I'm so glad! :D
Delete