
I think everyone who's ever had a baby also had a big pile of receiving blankets tucked in a drawer. We definitely did. They are good for swaddling tiny babies and super handy to carry around for wiping spit up, a light weight cover for naptime, making an impromptu play space, or a quick nursing cover. We used ours quite a bit those first couple months, but I was always disappointed in the size. It only fit to swaddle him a couple weeks and he could knock it off easily while nursing. I kept using them though because they were light weight and easy to pack along in the diaper bag. Then it finally hit me - why not just make a bigger one??? Duh.

I know there are lots of super cute quilts and blankets out there, but I was really going for fast and easy with these. Turns out with the right flannel, these can be both - quick to make and stinking adorable. I don't find a lot of time to sew, and when I do there is usually a little boy on my lap! So I kept things super simple this time around. B and I tackled these in about an hour (we're planning to make a couple girly ones too, just in case).

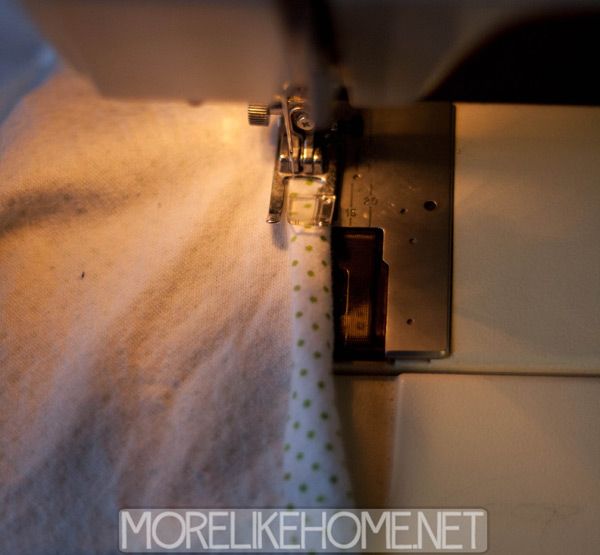
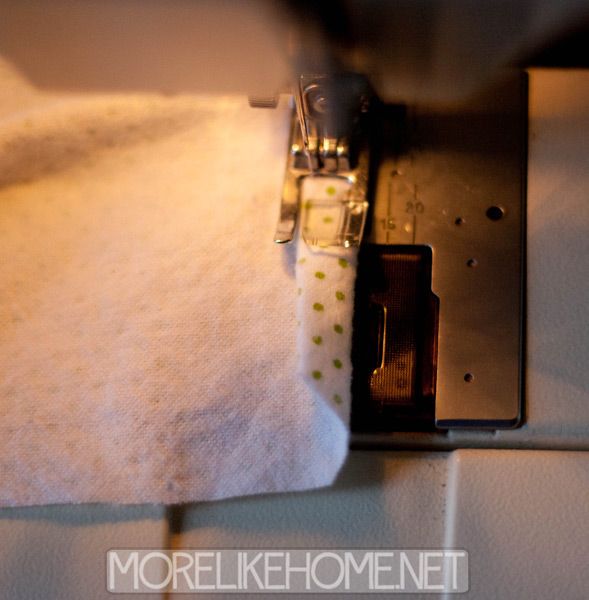
All you need is about a yard of flannel fabric (you could use a soft knit instead, but they're trickier to sew) depending on the size of blanket you want. I used the full width of the fabric and one yard was just short of making a square blanket so it's a bit rectangular, which is fine with me, just know if you want a square you'll need a bit more than a yard. :) I pre-washed everything and the cut the edges straight (I just eye-balled it. I like a little mystery.). Then I just did a simple rolled hem around the edges. If you want it exact, you can fold the edges under about 1/4", iron them in place, fold under another 1/4" or so, and iron them in place again. But if you're like me, you can just guesstimate and roll the edges under as you go. You can see in the pic below that I just tuck the raw edge under about 1/4" as I go along. I stitched right along the rolled edge.
I started hemming the edge in the middle of one side so I would have plenty of room to turn the corners. When I got to a corner, I clipped a small piece off at a 45 degree angle(ish) just so I wouldn't have such a thick stack to sew through.
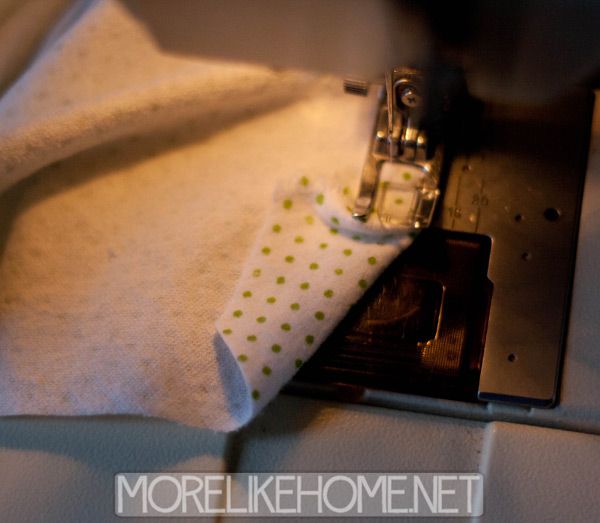
Then I tucked the raw edge under just like I'd been doing all along...
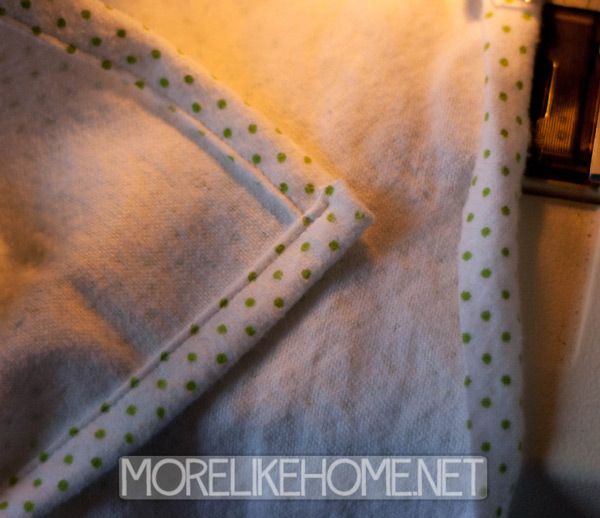
... and rolled the next edge in 1/4", then 1/4" again like in the pic below. I kept sewing along the rolled edge until I crossed onto the next folded hem and turned the corner. After I turned, I backstitched a few stitches to tack the corner in place. Then I just continued forward down that edge.

It left a nice tidy corner like this:
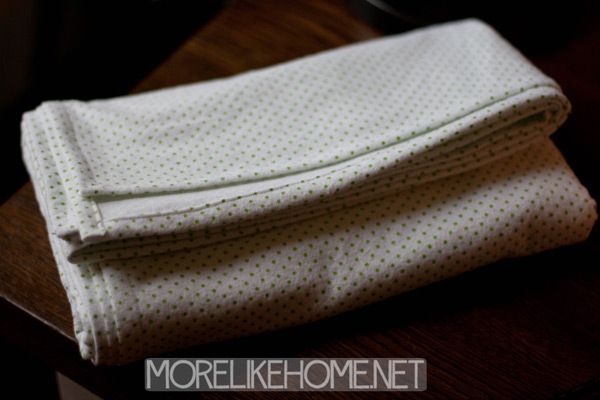
I just kept doing that until I made it all the way around.
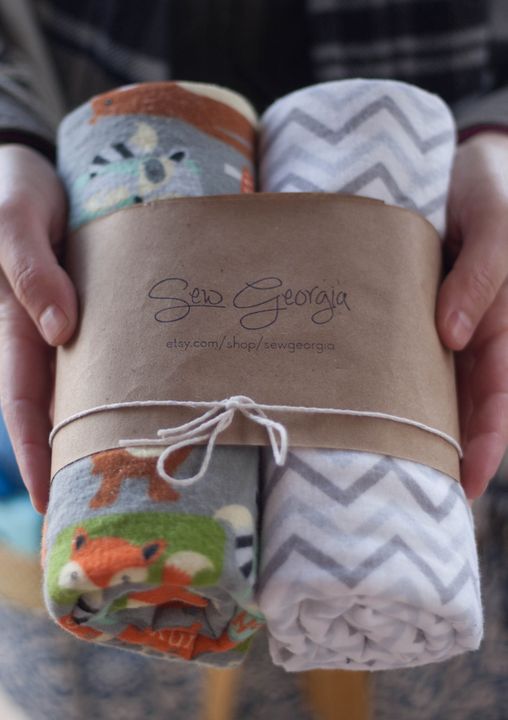
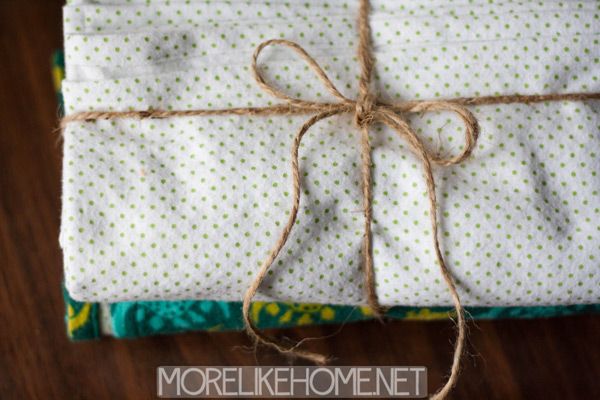
Now go ahead and make a couple and tie them up with a bow. What cute baby shower gift! Not to mention affordable. Joann Fabric always has some kind of coupon out for 40% off, and I bought my flannel back on black Friday and only paid about $1.25/yard! That's $2.50 for two nice big blankets!
I think I need to make one for B too. He's really liking these ones, but keeps telling me they are for the baby. :) He's going to be such a good brother! I'm trying to think of things for a gift bag for him when baby is born, and a blanket of his own might be a good idea to tuck in there.

Well, that's all there is to this tutorial for the easiest baby blankets ever.
What's your favorite homemade baby shower gift?

Thanks for this post; was looking for a super easy way to make about a dozen "nap" blankets for preschoolers at camp this summer. Will obviously have to modify the size but they should sew up quickly using your method!
ReplyDeleteThanks for sharing this easy project, I have several baby showers coming up and these will be perfect! I think I'll round the corners slightly though.
ReplyDeleteThanks for sharing this easy project, I have several baby showers coming up and these will be perfect! I think I'll round the corners slightly though.
ReplyDeleteYou're welcome! It's one of my favorite shower gifts, too. I'll have to try rounded corners, that sounds even cuter!
DeleteI have been doing thst gor years. I use lm which is just bigger than your yard. I curve the corners snd overlook edges. Very quick and easy. Cheers
ReplyDeleteThanks for the tips!! That does sound faster, I'll have to give it a try. :)
Delete