
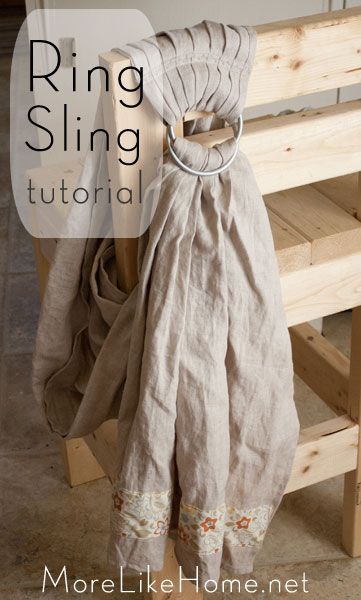
I can't wait to test it out! I tried to talk B into hopping in for a quick hip carry, but he totally didn't go for it. Like I said, he's apparently all grown up or something. So for now I just wait for a little squish to fill it up. In the mean time, I have a tutorial if anyone else wants to give it a try!
Supplies:
- fabric - 2 - 2 1/2 yards x 30 inches
- I used a single layer of 100% linen fabric. I've heard linen is a great choice because it's sturdy but still pretty lightweight and breathable.
- From what I've read, something of that weight is fine in a single layer but if you want to use something like a quilting cotton you'll need at least 2 layers to make sure it's sturdy enough.
- Also keep in mind that the tail of your sling will show the wrong side of your fabric, so get a fabric without a wrong side if you can or use two layers of cotton with the wrong sides together to make a reversible sling.
- If you use a 60" wide fabric you can get two slings out of it!
- pair of rings
- make sure you get rings that are designed for ring slings and tested to be safe! I ordered aluminum from slingrings.com
- the size depends on the weight of your fabric and the width of your sling. For my 30" wide linen they suggested the large rings, but be sure to read their recommendations if you are using something different!
- matching thread
- use a high quality thread that won't break! I always here Gutterman's is recommended for babywearing projects and available at most sewing stores.
- accent fabric (optional)
- this is just if you want to add a little extra pretty to your sling and can be any kind of fabric. I just used some scraps of quilting cotton.
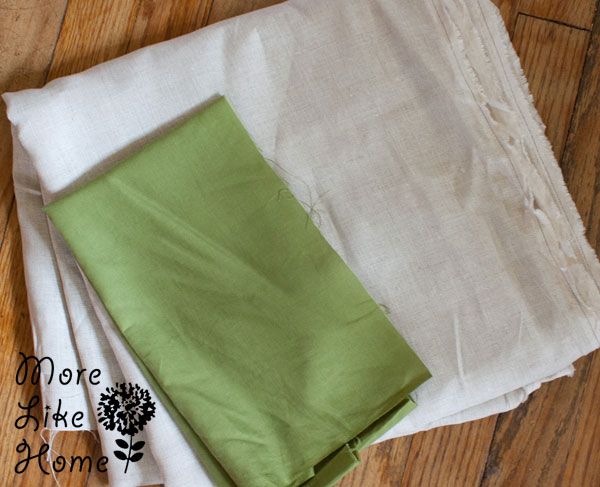
Before you do any sewing you'll want to wash and dry your fabrics to pre-shrink them. My local Joann's is pretty small and they only carried 100% linen in it's natural color so that's what I went with (but I like, nice and neutral!). You could always dye it if you wanted something different, or a bigger store might have more options. I also picked up a bit of green cotton that I didn't end up using. Oops. :)
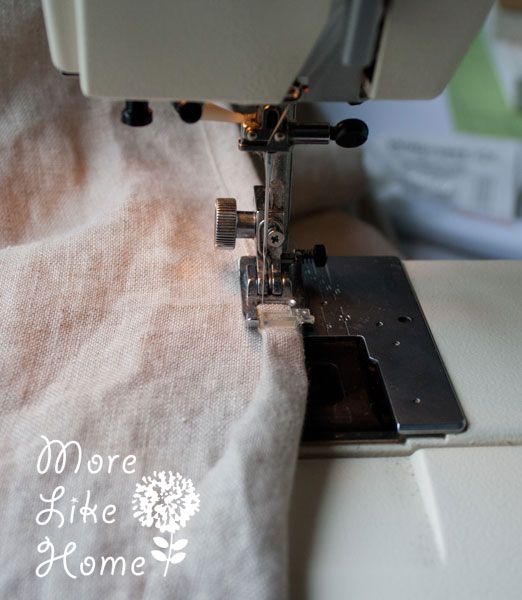
Once everything is washed, start by cutting your main body fabric to size. I went with 2 1/4 yards x 30" wide. If you're worried about it being long enough, you could always start out longer and cut some off after you try it on (I ended up cutting mine shorter once I tested it). You could do different widths too, but based on what I read 30" is pretty popular and can be used for both tiny babies and bigger toddlers. Once it's cut out, you'll want to do a rolled hem along both long sides to finish them off. If you want you can press the hems, just fold the edge in 1/2" and press, then 1/2" again and press. I'm too lazy for that so I just guestimate and fold the edge under as I go!
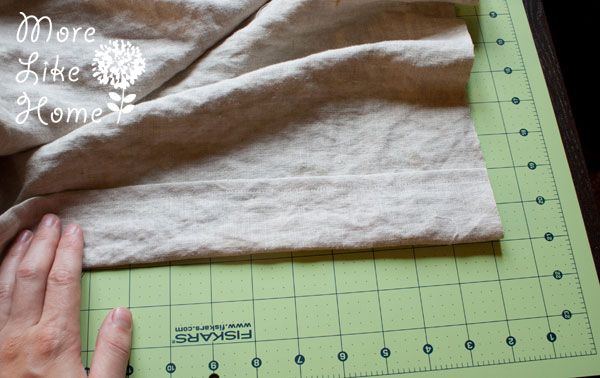
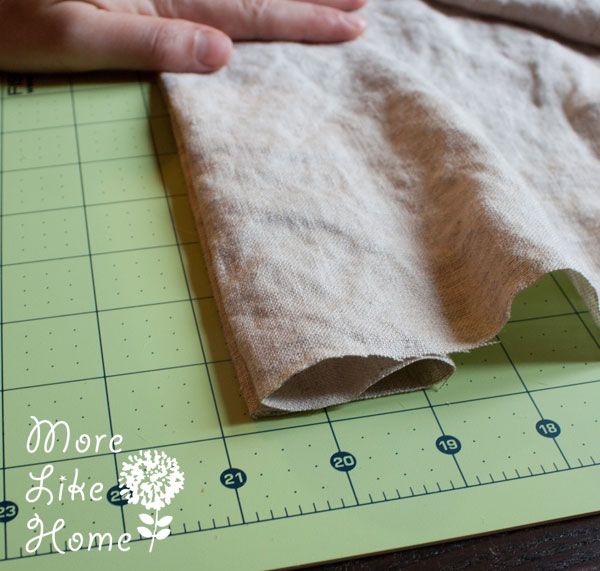
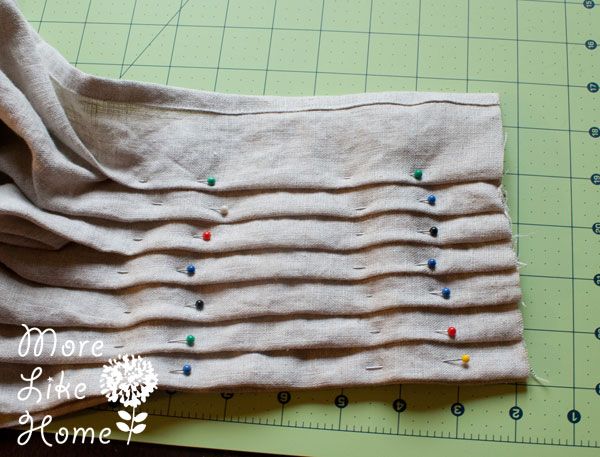
Now we're going to work on finishing the end of the sling that will hold the rings. The way you finish it will affect how it sits on your shoulder - there are lots of ways to do it, but my friends seem to favor a pleated shoulder so that's what I'm trying (you could do bigger or smaller pleats or skip the pleating all together. It's all personal preference). I really liked the sound of the pleating in Jan Andrea's Tutorial which would make a more narrow shoulder for my petite-ish build. Lay out the end of your fabric and get some pins handy. The long edges are running left to right, and the short end I'm pleating is on my right. (it was great to work on a cutting mat so I could easily see measurements and not have to use a ruler for each pleat) The side that's up now will be the pretty side of your sling (it will face out on the main body), so if your fabric has a wrong side make sure it is right-side up (since my fabric goes either way I put it with my side hems facing up so they won't show on the tail).
Start by folding the bottom finished edge up about 2".
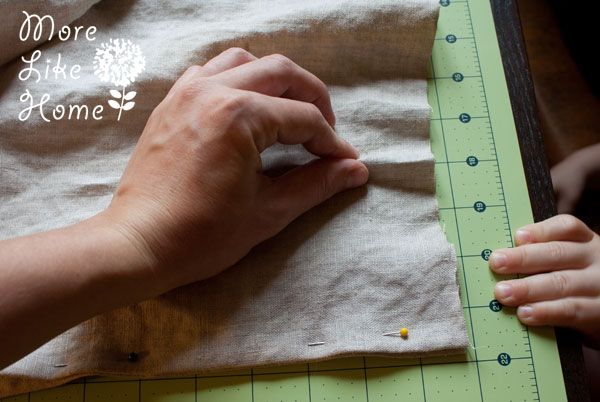
Then grab pinch both layers of fabric along the finished edge and flip both layers back under the body of the fabric. It should look like the picture below, hopefully that helps. My pregnant brain can't figure out how to describe it better. Pin the pleat in place near the raw edge and again about 6" in.
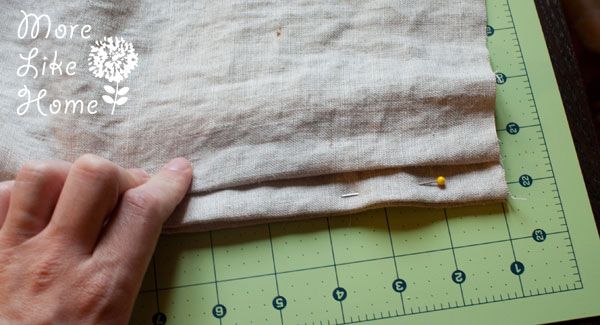
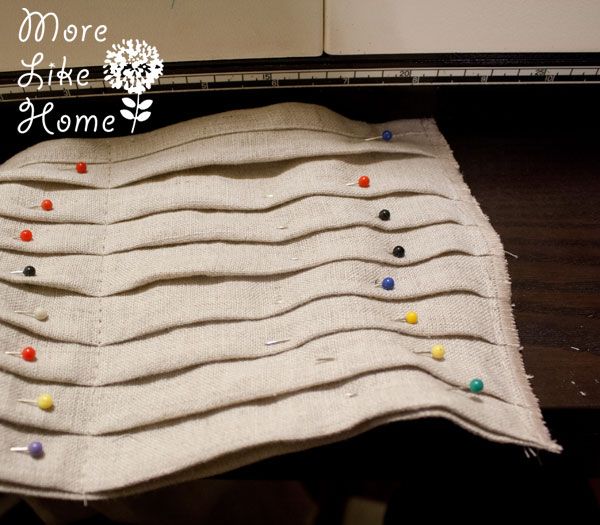
Now pinch the fabric 4" above the bottom edge.
Pull this ridge down so it creates a pleat about 1/2 - 3/4" above the bottom edge. Pin the pleat in place. (**I did my pleats 3/4" but next time I plan to try 1/2" to get the finished shoulder a little narrower still**)
Repeat that process - pinch the fabric 4" above the newest pleat and pull it down to make a pleat 1/2 - 3/4" above that one. Watch out for helpful little pinners.
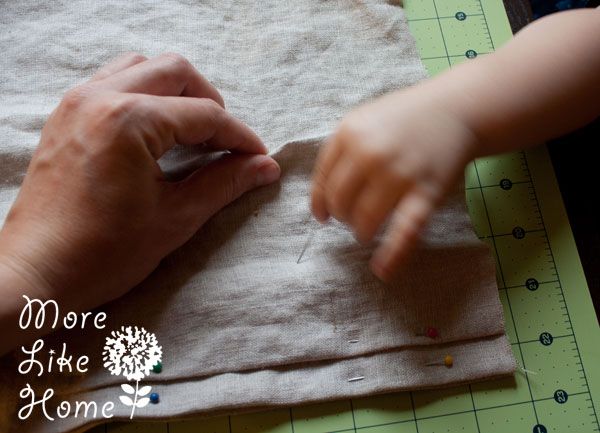
Continue this to pleat the rest of width of the fabric.
I had a little extra left over so I just folded it down to mimic the look of the rest of my pleats and pinned it in place. I wish I had taken a pic of the backside because it looks really different than the front, like it had wider pleats (Jan has pics in her post).

Now you'll want to baste your pleats in place. Stitch one line of basting along the raw edge, about 1/4" in, and a second line 6" in from the raw edge.

Now you can finish that raw edge. Use a tight zig-zag stitch to finish it off and keep it from unraveling. Set your zig zag so the stitches are wide and close together and just sew down the raw edge. (This was also from Jan Andrea's Tutorial and made a really nice edge that's not bulky, like it probably would be if you tried folding the raw edge under instead).
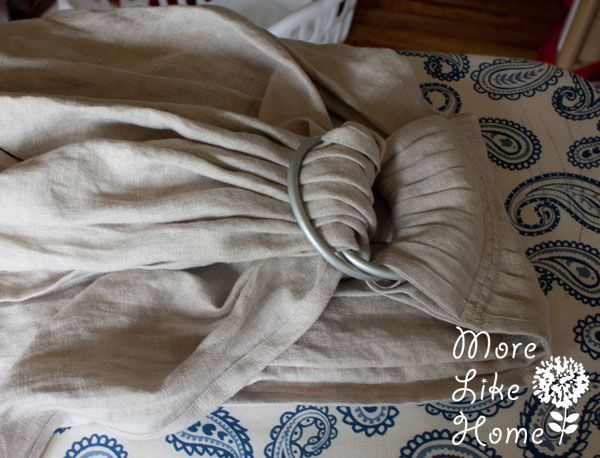
Now slip the pleated end through both of your rings. Fold the end down (wrong sides together!) to line up with your 6" basting line. Pin it in place. (you can see how the pleats look bigger on the backside, so make sure your pretty side is facing out on the folded part)
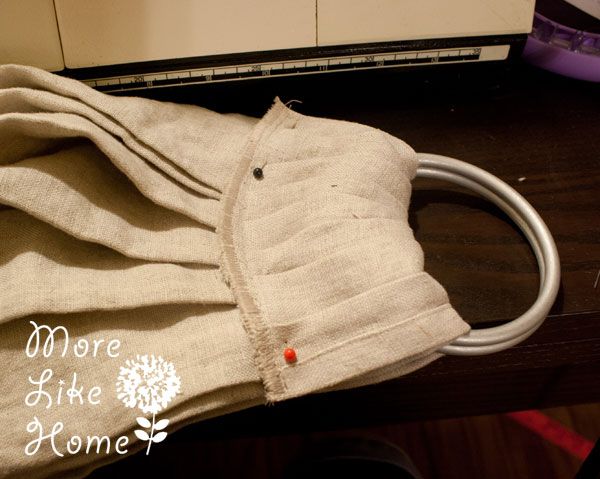
Stitch right along the edge of the zig-zagged end to attach it.

I followed Jan Andrea's tip to flip the sling to the right side and use a line of decorative stitching right above the the line you just stitched. If you don't want a decorative stitch that's fine, just do a couple lines of regular stitching. You want to reinforce this really well since it will be holding your baby! I did one more line of regular stitching above the decorative stitching. Go ahead and pull out any basting stitches that are showing.

Now is a great time to check out the length of your sling! Slip the other end (which is still unfinished) through both rings and slip it on to see how the tail hangs. If you want it shorter, just mark the length you like and cut off the extra. I wanted mine long enough that my husband could use it too, but short enough that it wouldn't get in the way of day-to-day activities. Mine ended up being under 2 yards when I was finished. Once you like the length, go ahead and finished the raw end with a rolled hem, just like you did with the long sides.
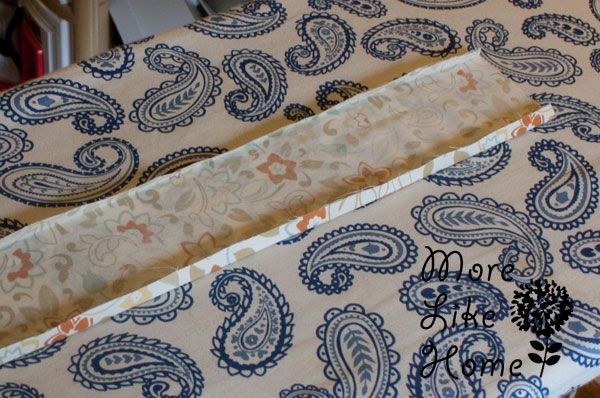
If you're happy with your sling like this, you're done! But if you want a little more flair you can add some accent fabric to make your sling super fun and unique. I had originally planned something really fun like this, but when my store didn't carry colored linen I made a back-up plan and just found a scrap of cotton that looked pretty with my main fabric (which ended up great because I think it turned out looking just perfect for me - simple, light, not to busy or crazy). I just cut a narrow strip to add a small accent (but you could do a wider strip or even applique different shapes on!). I started by pressing the long edges under about 1/4".
Then I laid it out on the end of my fabric on the wrong side (since the wrong side will show on the tail. Check which side is the right side up by the rings and attach the accent fabric on the opposite side) and just slid it around until I liked the placement and pinned it in place.
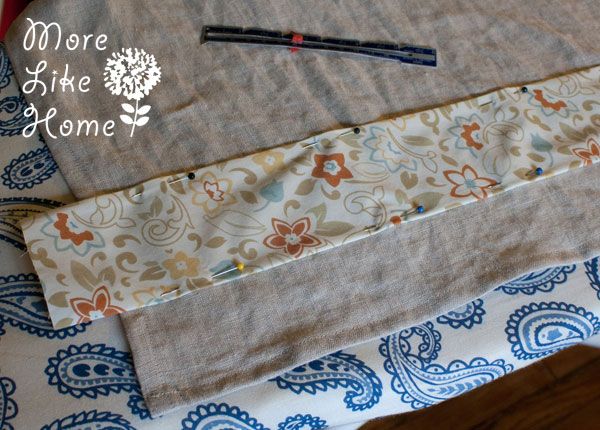
Then I tucked the raw ends under so they lined up with the edges of my sling and pinned them in place too.

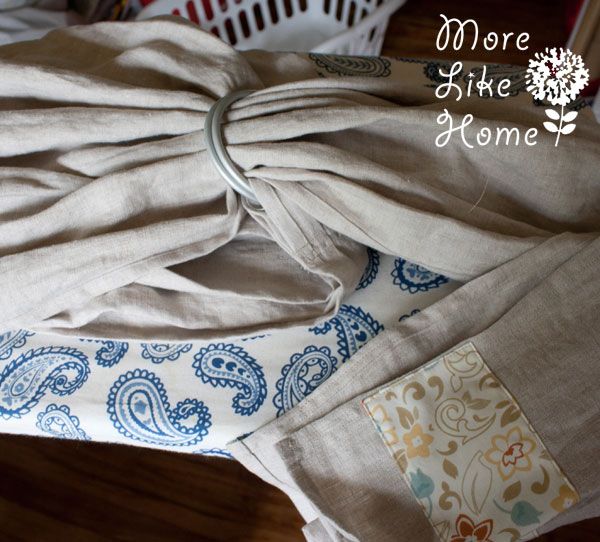
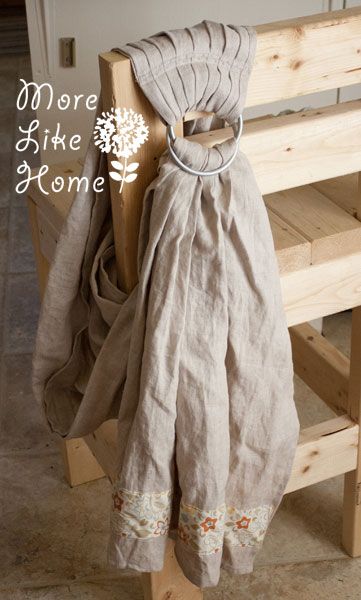
I stitched right along the edges of my accent strip to attach it. And then I was done!

Now you just have to loop it through the rings. Start by gathering up the end of the fabric.

Slip it through both rings. Make sure the wrong side of the pleated section is facing in, so your accent fabric should be facing in as well.
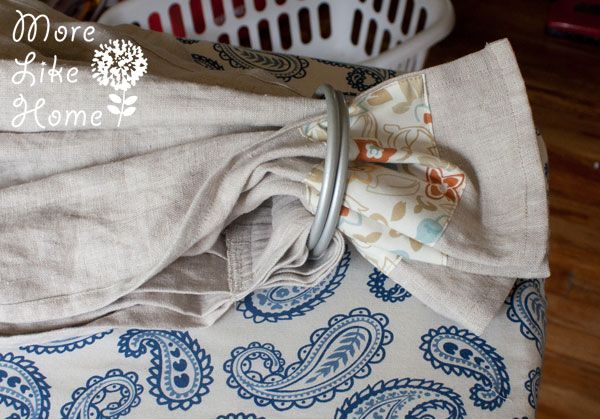
Pull the fabric through a bit.
Now flip the end of the fabric over the first ring (your accent fabric will face up now) and tuck it under the second ring, like in the pic below.
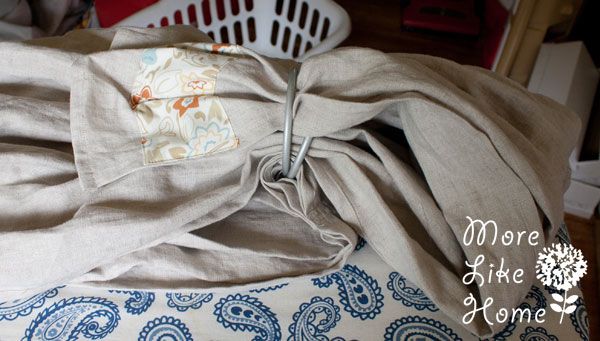
Pull the end of the fabric through until it's nice and tight in the rings, and shift the fabric around however you need to to get it to lay nice and even.
All done! Like with any baby wearing, make sure you are doing it safely so your baby doesn't fall or get hurt! There are lots of videos on youtube if you are more visual, and Jan Andrea has a great safety section on her site. **You use this tutorial at your own risk.**
So now the question is did I really save any money.... Here's the cost breakdown
$20 - fabric (originally $34 but I got it down to $20 with a 40% off coupon)
$7 - rings (it was $4 for large rings and $3 shipping, but I found out adding a second pair doesn't change the shipping so I ended up ordering 2 pairs for $11 in case I want to make another)
$0 - thread (I already had it!)
$27 Total
So it came out to half the price of buying a basic sling (and way less than some of the fancier versions). Not too bad! Of course you could probably score a used sling for a great price too, so I don't know if I came out ahead on that front. But for a custom sling that's oh-so-pretty, I'm okay. Now I'm hoping to make a smaller version for B (stay tuned for a tutorial!) so I wish I had ordered a small pair of rings when I ordered mine. Oh well. I'll think of something.
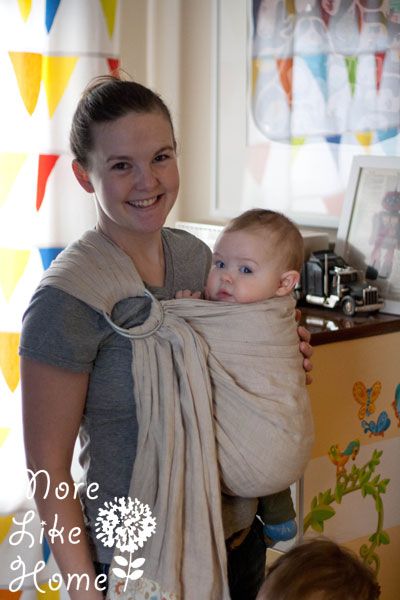
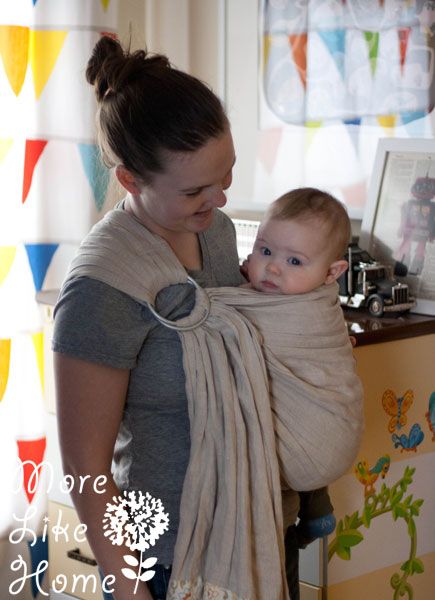
****UPDATE**** This has been my very favorite carrier for Baby Brother! It was PERFECT when he was a tiny squishy thing, and it's still my favorite when I need something quick or need to get him in and out (like when we run errands), although it's not as comfortable for long hauls now that he's getting heavier. I don't think I have pictures from when he was tiny, but here are a few current ones:
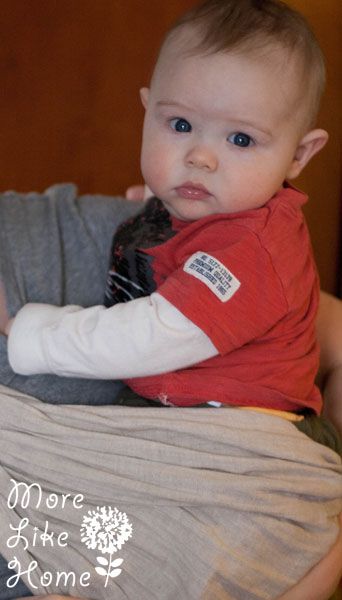
This is his "save me" face when I start putting him in. But he comes around. Usually.
Nice and cozy.
We like it so much I'm planning to make a second one to keep in the car. And it's probably going to be my go-to baby sower gift now.
Here's my babywearing stash now:
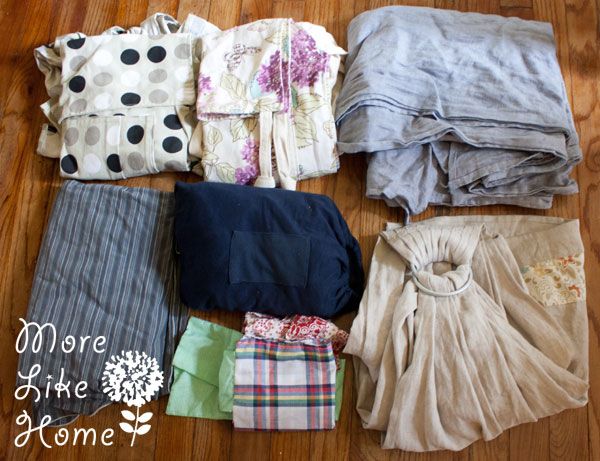
Two homemade mai tei's, a WAHM linen woven wrap, a WAHM cotton woven wrap, a stretchy wrap, a WAHM doll mei tai for B, and my new ring sling. Plus I have a Boba that didn't make the picture. Oops. I guess I'm still finding what I like the best so I'm trying a little of everything!
Have you ever made a ring sling? Any other baby carrier? What is your favorite? I'd love to see if you guys give this a try, and especially if you try anything different or more adventurous with the colors and accent fabrics.

Awesome tutorial! I just made a beautiful wrap with fabric I got in Uganda. SlingRings was awesome... I got bronze ones to match my wrap. Thanks for all the helpful details. You and your family are adorable :)
ReplyDeleteThanks so much! I'd love to get my hands on a international fabric like that. The bronze rings are my favorite, I just got a pair for a friend and now I wish I'd used them for mine!
DeleteMade 2 of these this afternoon. My pleats do not look as nice as yours! On the second one, I just serged the entire rectangle. No folding, stitching, etc. It looks good. Now my daughter and grammy have a sling. These will make easy and beautiful gifts. Thanks!!
ReplyDeleteGlad to hear it! Hope you both enjoy your slings! :)
DeleteThis is so awesome! I just don't have a sewing machine for all the stitching. Have you ever made any to sell? I'd love to buy one from you
ReplyDeleteUnfortunately I don't sell slings. I looked into it a couple years ago and found out I would have to have a license to sell them and insurance! Sorry. :(
DeleteI love this tutorial and can’t wait to make one to use! I’ve got some rifle paper co scraps that will be a perfect accent. Question: where did you find the 100% linen at Joann’s? (Which section)?
ReplyDeleteHi! I found it in apparel fabrics (near the knits). They had a section of "linen and linen-look" fabrics, so you need to check the labels to be sure it's actual linen (synthetic imitation fabric isn't as strong and will be much hotter to wear). Have fun! :)
DeleteThanks a lots ! It’s the the clearest tuto I have found.
ReplyDelete