
A couple weekends ago was our last trip away from home before we hunkered down to wait for baby day. We headed up north to celebrate my SIL's wedding. It was a fun time with lots of family. Being super-pregnant, there wasn't too much for me to do to help. But I did whip up a no-sew pennant banner for the reception.

Supplies
- pennant fabric - I used plain quilting cotton (the amount depends on the size and number of pennants you need)
- mid-weight fusible interfacing - enough to back the pennants
- letter fabric - I used white quilting cotton
- double sided iron-on interfacing - for attaching the letters to the pennants
- ribbon
- hot glue gun
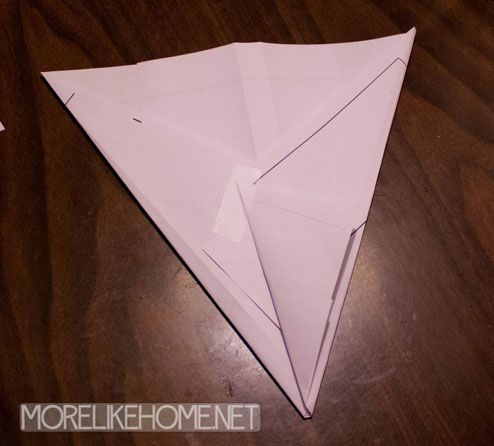
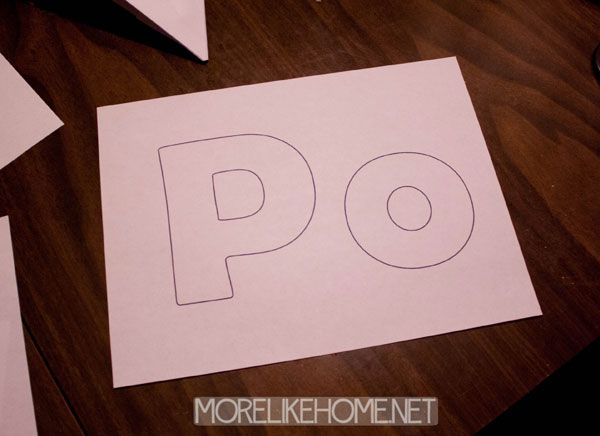
Then I picked a nice fat font (so it would show up across the room) and printed out a sample letter to see how it would fit on my pennants. Once I was happy with the size I printed all the letters I needed and cut them out (remember if you need more than one of a letter, like 2 o's, you still only need to print out one).
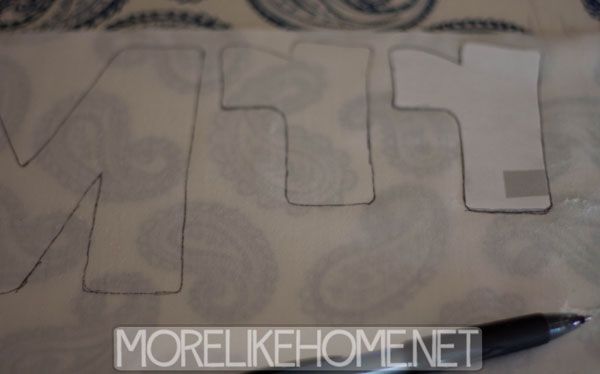
Then I went ahead and used my iron to fuse the white letter fabric to the double-sided interfacing (just follow the directions included with the interfacing). After that I traced all the letters and cut them out. I traced on the back of the interfacing to make sure no marks were left on the front, so I had to flip my letters upside down when I traced them.
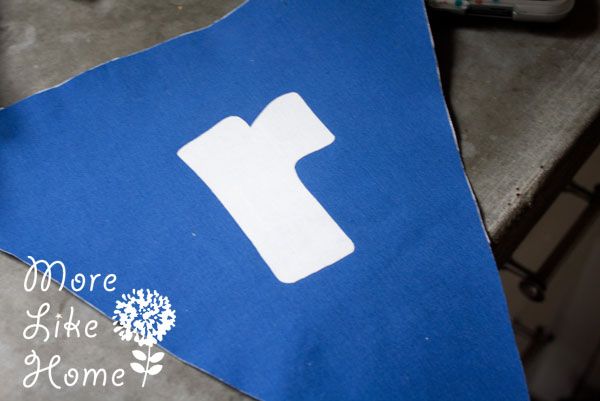
Then I peeled the backing paper off of the letters and ironed them onto the centers of the blue pennants (I measured up from the bottom of the pennant to make sure my letters would all sit at the same height, I think it was about 4")
Then I was ready to attach the pennants to my ribbon. I left a couple feet of ribbon at the beginning for tying, then used a hot glue gun to attach the ribbon across the top of each pennant. I used a ruler to make sure they were evenly spaced (I did 1 1/4" apart, but you can do whatever you like!). Just be really careful as you go to make sure your letters are in the right order!
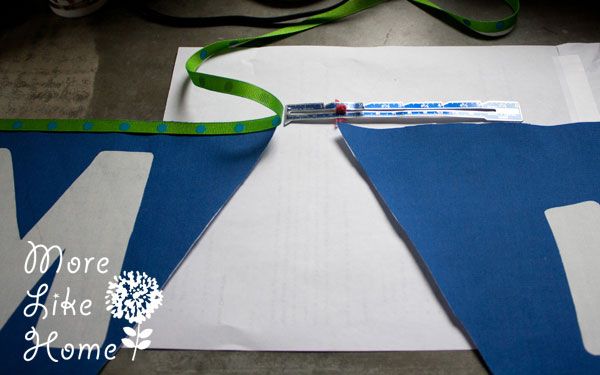
I needed more than one spool of ribbon so when one ran out I just lined up the beginning of the new spool and kept on gluing. You can see below where I did that. At the end I left a couple more feet of ribbon for tying the banner up.

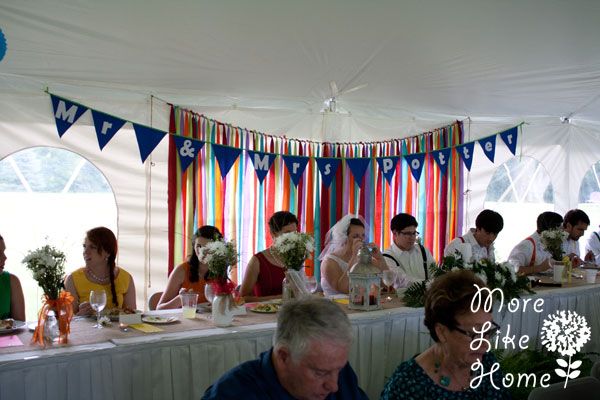
And that was it! We put it up with a rainbow strip curtain (my SIL made it by cutting cheap flat sheets into strips and tying them to a piece of twin) and it was a great backdrop for the head table at their rainbow themed reception.
So let's talk weddings! What's your favorite DIY wedding project? What's the coolest thing you've ever seen at a wedding or reception?
p.s. I'm hoping to have some blogging interruptions in the near future. This baby is DUE! Happy 40 weeks to us all!


I see Don and Ruthie!
ReplyDelete