

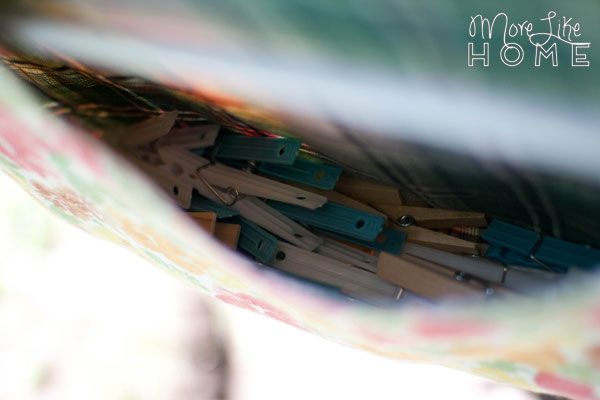
It's perfect for keeping my clothes pins corralled and within reach (for even the littlest helper), and makes it easy to bring them inside after I take down the laundry. Bringing those pins in out of the weather will help extend their life and keep them working smoothly.

My bag is full with roughly 140 clothespins in it, and we use almost all of them when the line is full. Granted, I do have some clothespin enthusiasts helping on the lower line. I counted 9 clothespins on one shirt this morning.
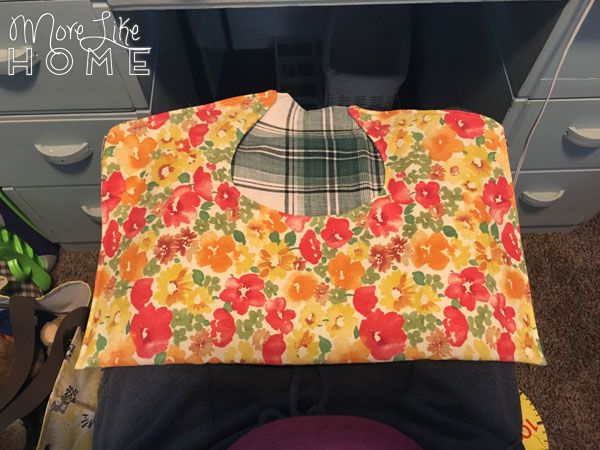
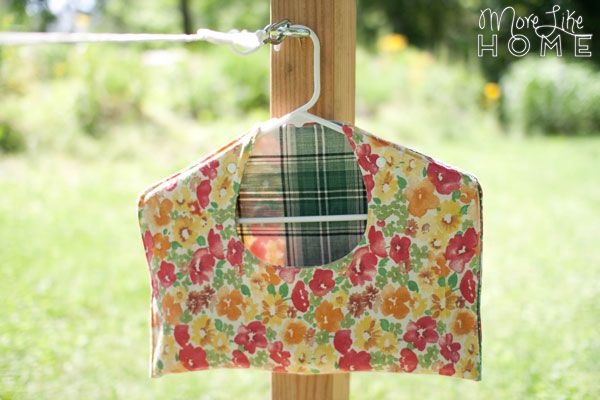
I made my bag using a scrap of duck cloth leftover from the apron I made for my mom and lined it with a light canvas fabric that's been sitting in my stash for a couple years (maybe a yard sale find? I don't remember).
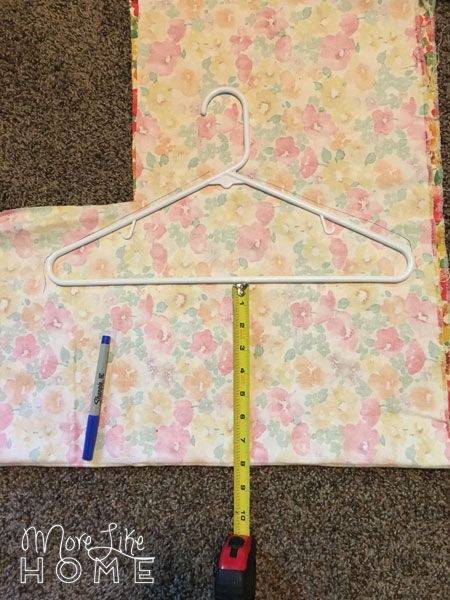
But if you are buying fabric, I would say get 3/4 yard of each fabric to be safe. Your finished size will depend on the hanger you use, and how deep you make your bag (I recommend a couple inches deeper than I made mine). I used an average size plastic hanger, but you could even use a child size hanger if you want a narrower bag.
To get started, fold the fabric in half andlay the hanger on your fabric with the bottom edge of the hanger 10-12" from the edge of the fabric. Mine was only 8" from the edge, but that's all I could fit on my fabric scrap. Use a fabric marker to trace the top and sides of the hanger.
I used a sharpie, but I feel like I shouldn't recommend this. Sharpie at your own risk. ;)
Cut the fabric 1/2" past the line you traced to leave a 1/2" seam allowance, and cut straight down both sides to the folded edge.
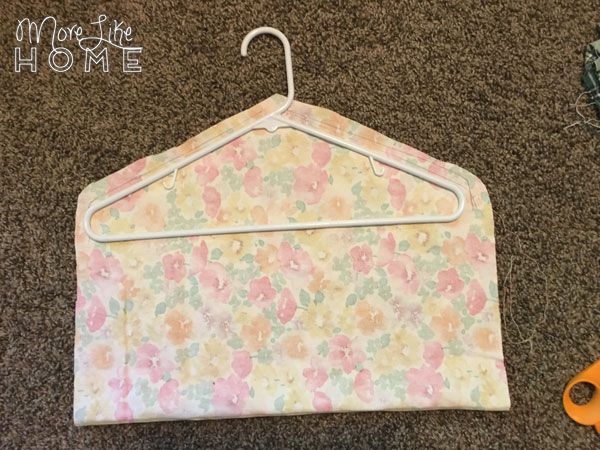
Cut a little notch at the top to make the neck hole for your hanger.
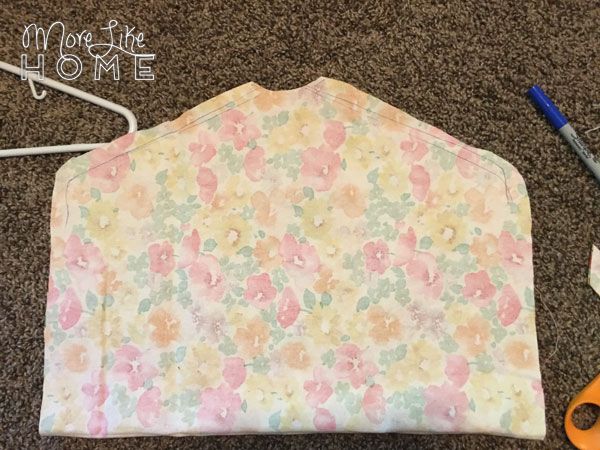
Then on only the top layer of fabric cut a deeper scoop like this-ish:
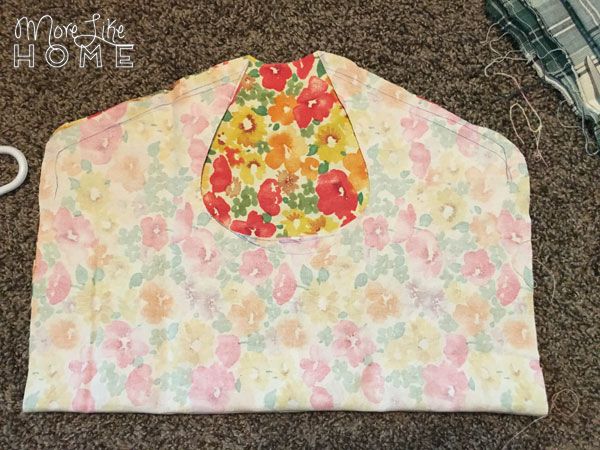
I cut my scoop about 7.5" deep, and it's roughly 5.5" at the widest part.
Open up this folded piece and use this as a pattern to cut a matching piece from the lining fabric.
Stack the two pieces with right sides together and sew all around the outside, including around the scoop, with a 1/2" seam allowance, leaving a 4-5" gap for turning. It won't be bag-shaped at all at this point, you'll have the fabric laid flat with the small scoop at one end and larger scoop at the other. Sorry, I didn't take any photos at this point.
Turn the bag right-side out and push out the corners. Top-stitch around the deep scoop.
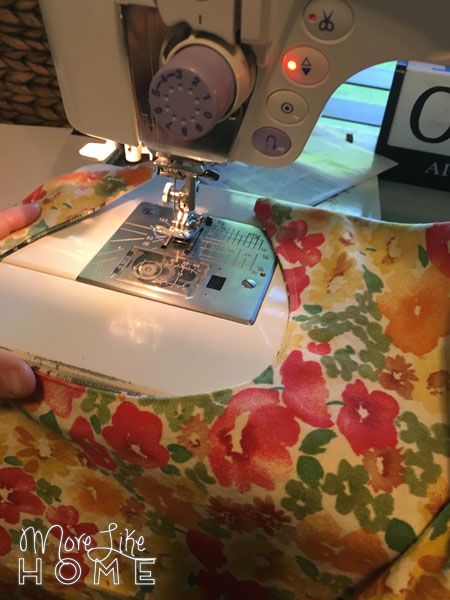
Fold the bag in half with the lining fabric on the inside. Topstitch around the sides and top (make sure you tuck in the seam where you left an opening so the top stitching will close it up).
Fit your hanger into the bag and fill that bad boy with clothespins. Note on clothespins: Heritage Wooden Clothespins are supposedly the bomb diggity of clothespins - super sturdy and made in the USA to boot - but the price definitely reflects that. So at this point we opted instead to go with regular cheap pins ($1 for 30 at dollar tree, or $2 for 100 at Wal-Mart). They've held up fine so far, with a few weeks of steady use.
I added plastic snap on each side to help keep the bag in place (though I doubt it could slip off once it's full, but who knows with all these kids yanking on it). Can you spot them in the photo below? You could also sew in a piece of velcro, or skip it altogether.
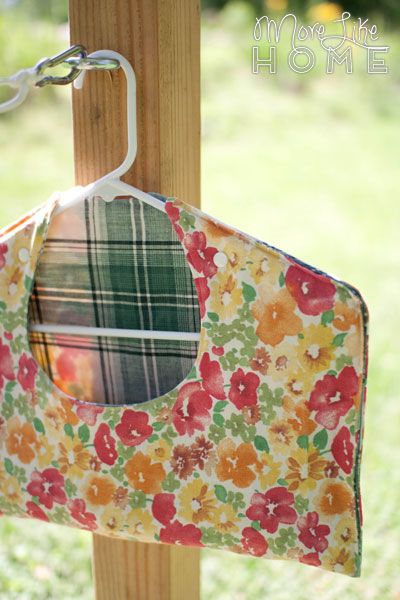
We've been hanging it on the eye-hook for our lower clothesline (it's a kid-level! read all about it here!). You could also put in a separate hook to hold it, or hang it right on the line.
Now get out there and enjoy the sunshine (and save a little energy while you're at it)!
Thanks for this super easy to follow tutorial, I made one for myself today!
ReplyDeleteOh that's great! Glad you enjoyed the tutorial!
DeleteMade a couple for the grandchildren to drop in their mitts & hats and hang their coats on when they visit
ReplyDeleteThankyou for this pattern, I will be making it for my friend, as she got one from the cheap shop & it’s rubbish! Thanks 😃🇦🇺
ReplyDeleteThank you for the pattern. I made one it turned out great.
ReplyDelete