Showing posts with label bedroom. Show all posts

Thursday, January 9

DIY Easy Headboard Shelf

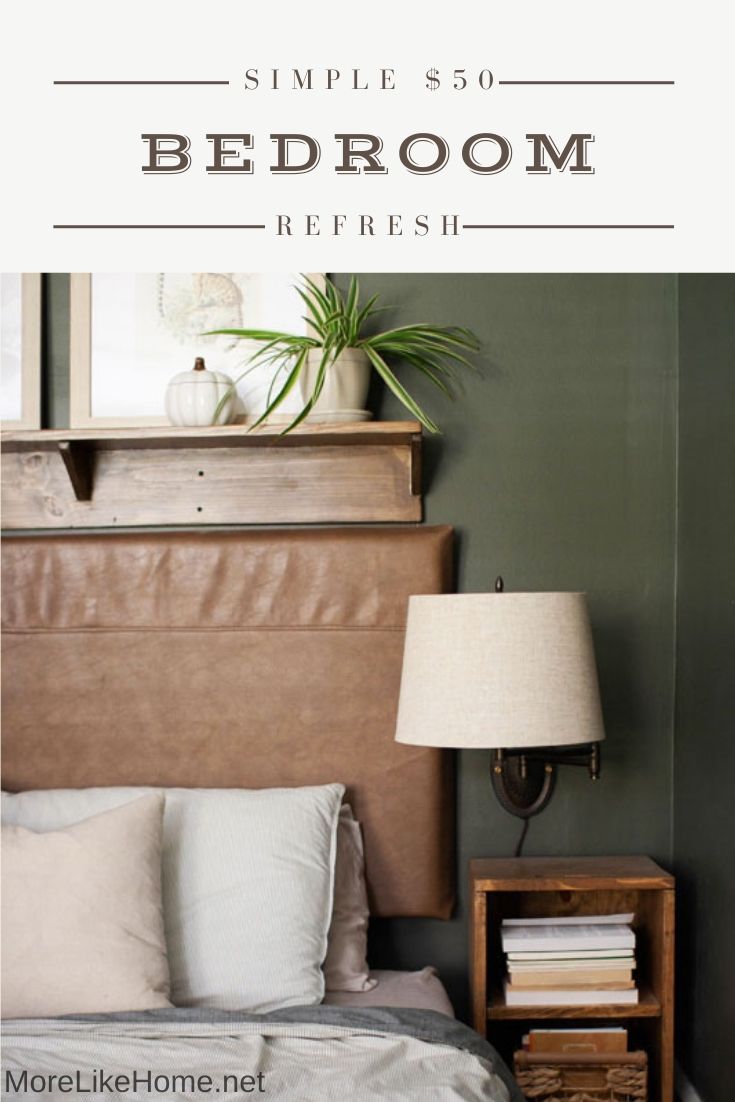
Remember the $50 low-budget bedroom refresh we did in the fall? I know, it's been awhile. But today we're throwing back to that fun project and showing you how to build that sweet (and super affordable) shelf we installed above the headboard! It's so easy to build and totally makes the space. Plus it's easy to customize to any length you need!


Want more refresh ideas on a super tight budget? Check out these room reveal posts:
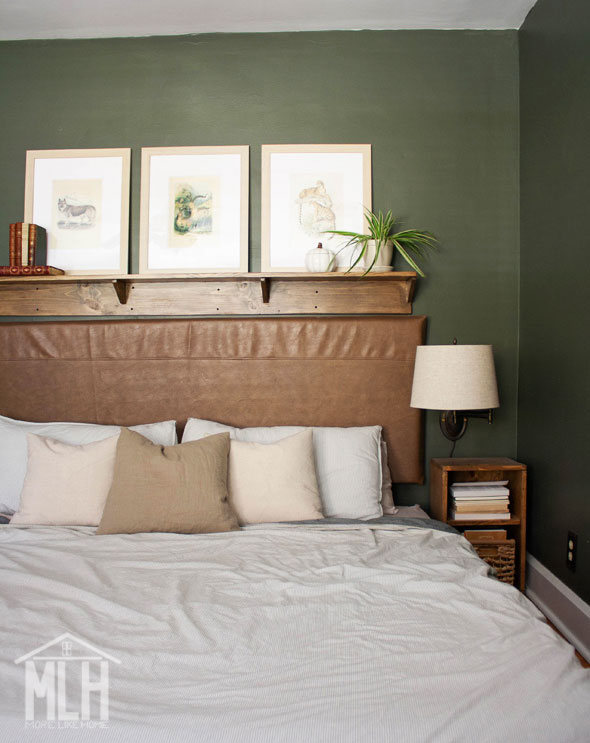
For this refresh, we also DIY'ed the easiest upholstered headboard EVER. You can see how we made it here. Other than that we just tweaked a few details and accessories to totally transform the space! You can check out all the details - the budget, what we bought, what we moved around, etc - in this post.
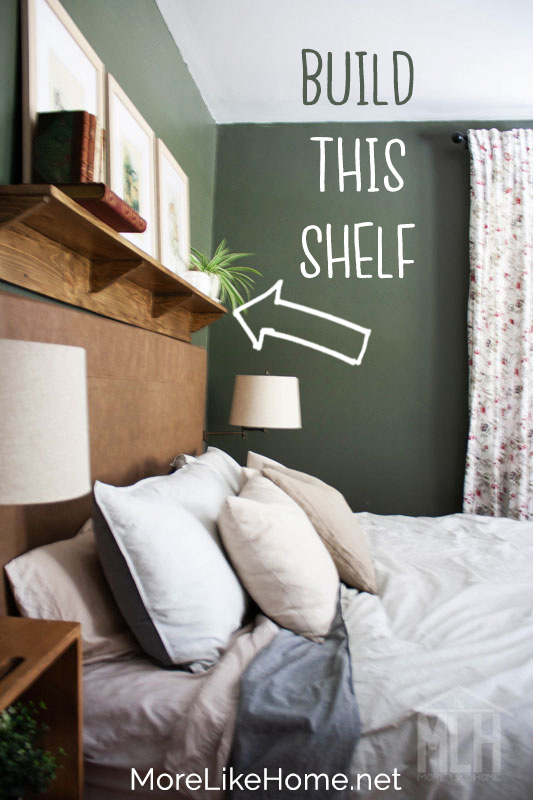

To make your own shelf, this is all you need:
  • 1x8 board for the shelf - the length you want your shelf to be
  • 1x6 board for the back - the length you want your shelf to be
  • 1x4 board for the brackets - scraps or a 4' board would be plenty (you need more brackets for a longer shelf, less for a shorter shelf)
  • 1 1/4" wood screws
  • optional: Kreg Jig + 1 1/4" pocket hole screws (definitely don't need it but I used it so I didn't have any holes to fill) 
  • optional: finishing nails (I just really don't like to fill holes, guys)
  • wood glue
  • wood filler, if needed
  • sandpaper and whatever paint/stain/sealer you want
  • screws for attaching the shelf to the wall (we used 3" screws and drilled directly into studs)
Start by cutting the shelf and back the length you want your shelf to be. I was planning to do my shelf the full width of our King bed (76") but my longest 1x8 board was like 72" and... the budget. I didn't want to spend the money on a new board for an extra 4" so I went with what I had. It's close enough. Just make sure your 1x8 shelf and your 1x6 back board are the same length.

Attach the back board to the shelf board - the shelf should rest on top of the back board, not butt up against the side of the back board. Attach it with wood glue and by drilling down through the top board into the edge of the back board with 1 1/4" wood screws. Or use pocket holes along the back of the back board to attach it - then the holes will be hidden against the wall!

So in this pic, since the whole shelf is upside down right now, the shelf board is laying down and back board resting on top of it and attached with Kreg Jig pocket holes:
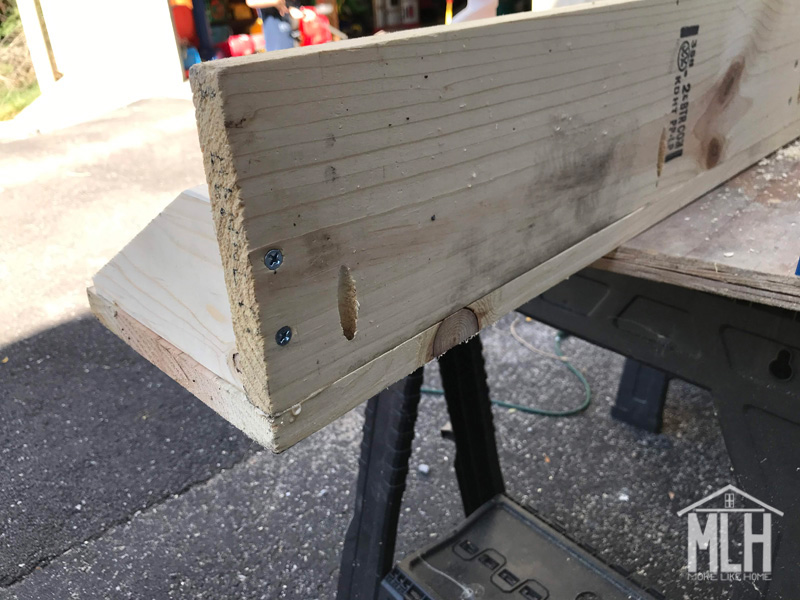
You can see the pocket hole along the bottom edge. Those two screws on the left were used to attach the bracket - we'll get to that later.

Don't forget the glue.  And don't forget to put the glue up when you're done or a little helper might make himself helpful.
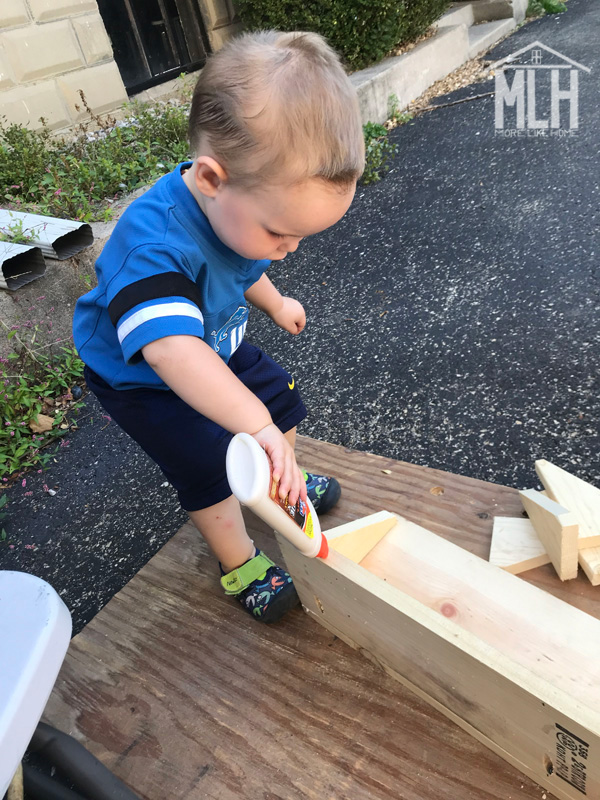
 
 Look at that precision. Totally don't need any glue there, though.

Next you need to make the brackets. Start by cutting pieces of 1x4 that are 6" long. I cut four for this shelf, but you can do more or less as needed for the size of your shelf and to fit the look you want (but remember more is always better if your shelf will be carrying a load!).

Then you need to cut each of those 6" pieces into the bracket shape. I set my miter saw to a 30 degree angle and cut a practice bracket to make sure I liked the proportions. I'm pointing at a pencil mark. That will be important in a minute.


The piece on the left is the bracket. I cut it so that there was a straight edge left at both the front and back (it doesn't go all the way to a sharp corner like the scrap piece on the right). Once I was satisfied with the bracket shape, I lined it up against the saw blade and used a pencil to mark a line at the edge of the board. That line I was pointing at two pictures back. Then I just had to line up each of the other 6" boards with that mark and knew I was getting perfectly matched brackets. You could also trace your cut bracket onto the top of each piece of wood instead. Whatever floats your boats, peeps.
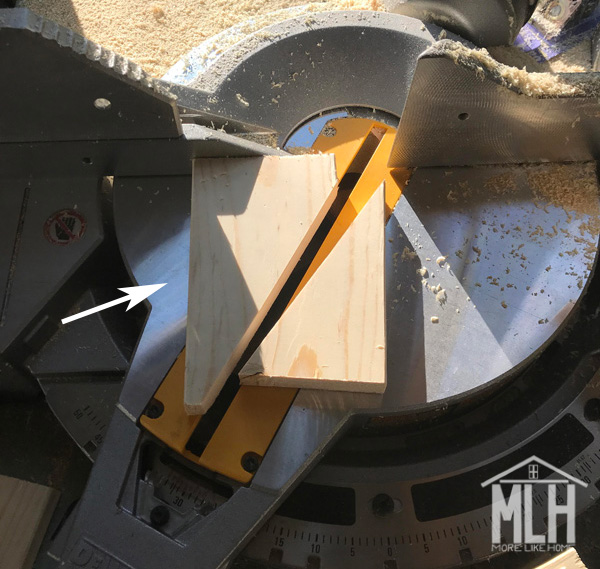

Go ahead and cut as many brackets as you need. Actually, I think I cut five but when it came time to install them I decided I liked it better with four.

As is always the case, but especially when your miter saw is set to an angle you're not accustomed to... PLEASE DO NOT CUT YOUR FINGER OFF.

K, thanks.
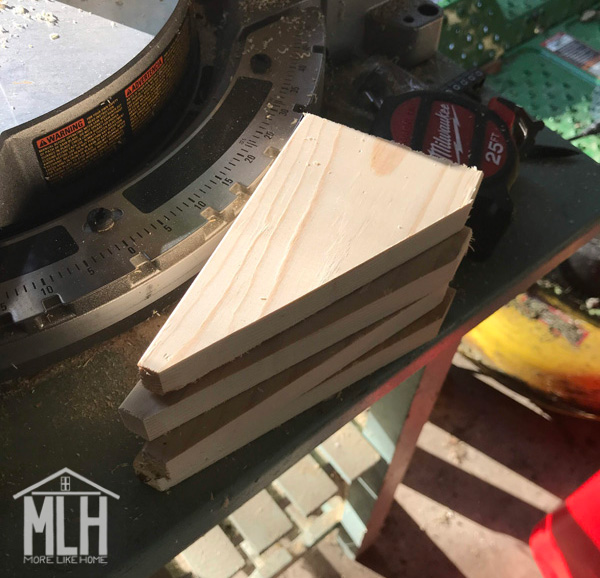
Perfectly matched brackets. Not perfectly stacked brackets.

Now you can install your brackets. The long side of the bracket goes against the shelf (remember that's on the bottom in this pic) and the short end goes against the back board.
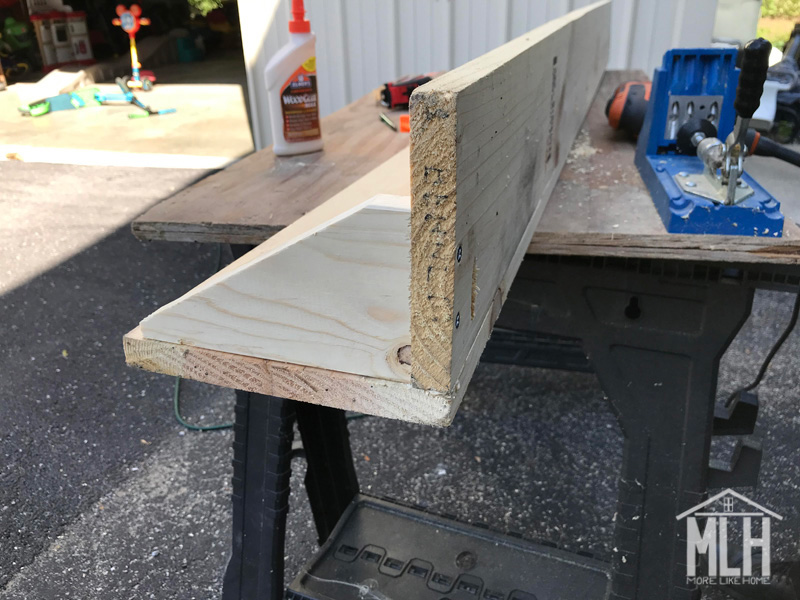

I did one bracket flush at each end, then spaced the other two evenly in between. Use a square to make sure the are straight. 

To attach my brackets - since I don't like to fill holes - I used 1 1/4" wood screws to attach the back side of the bracket by drilling through the back board into the end of the bracket. I wanted to use screws for at least part of it to make sure I got a good, strong hold. Then I flipped the shelf right-side-up and nailed down through the shelf into the top of the bracket with finishing nails. You can attach the top with screws if you don't have finishing nails, or if you want to reinforce the hold a bit more.
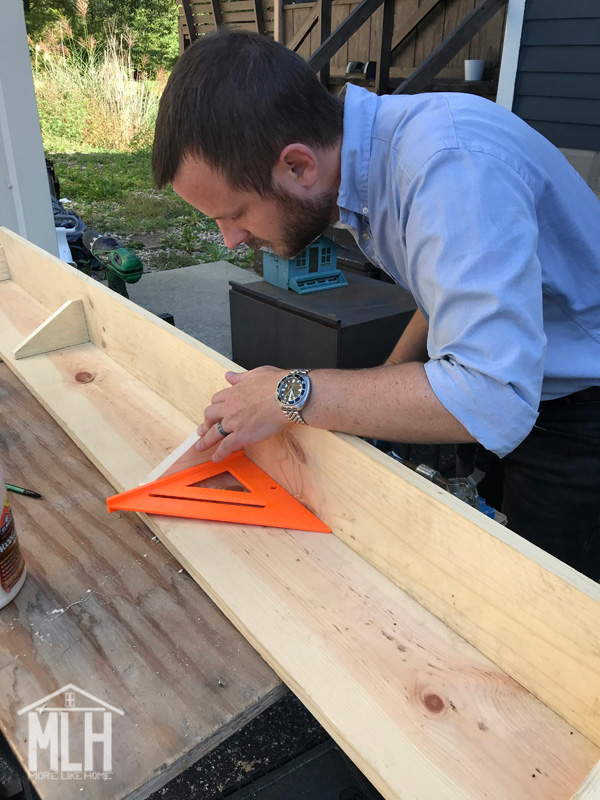
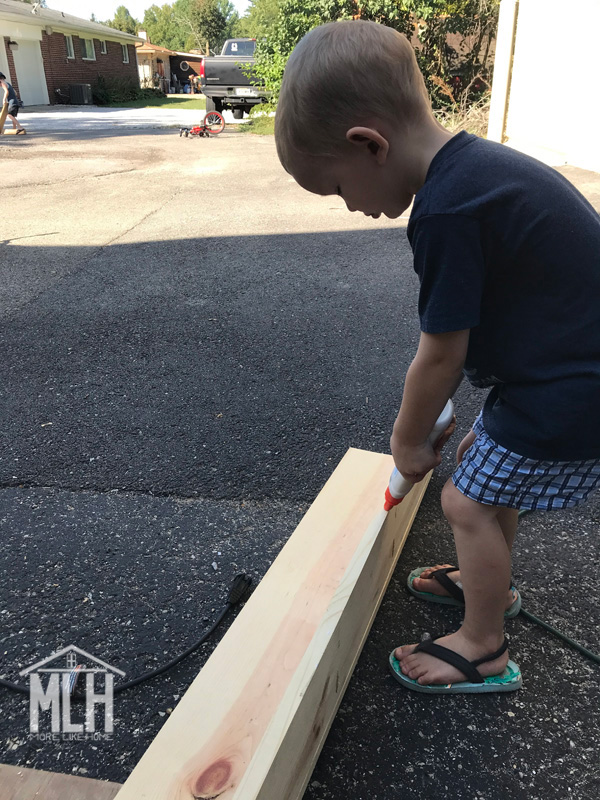
*cough*don'tforgettheglue*cough*

Second helper helping. Still don't need glue there, folks.

You're almost done! To finish your shelf, fill any visible holes with wood filler (be sure to get a stainable type if you're using stain instead of paint) then sand everything down really well. This is the most important step for a professional finish! Start with a rough sandpaper, then go over everything with a medium paper, then again with fine paper. Once it's super smooth, finish it with whatever paint or stain and sealer you like.

I tried out a few leftover stains on a scrap board to see what would work with my walls and headboard (budget project = no $$ for new stain). I tried Early American, Weathered Oak and Coffee, and decided on a layer of Weathered Oak topped with a layer of Early American. It hit that sweet spot of not-too-gray-but-not-too-brown.


Full disclosure: I used to read about people mixing or layering stains and think it was flat out crazy. Like who has time for that? Just pick a stain already! But here I am. Turns out it was the best way to make the most of what I had.
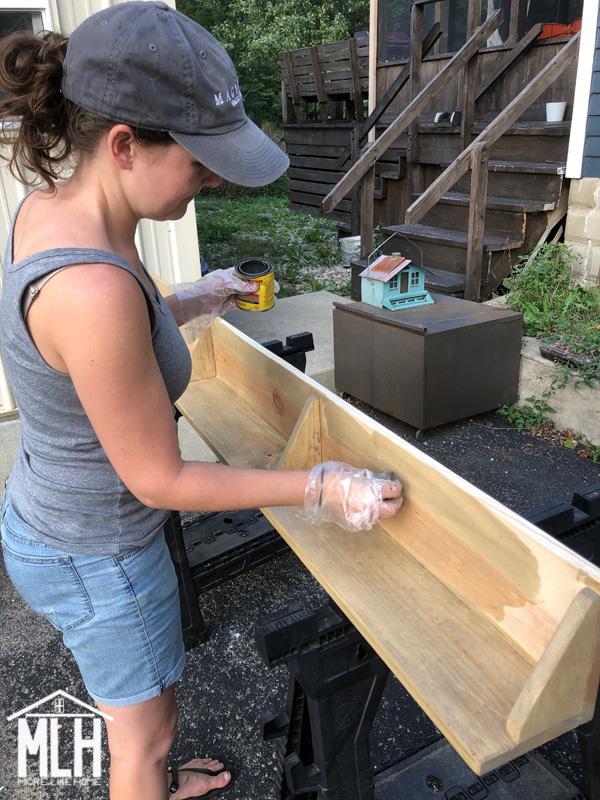
Weathered Oak going on first.

Once it dried we hung it centered above the headboard. We drilled straight through the back board into studs in the wall. Yes, the screws are visible, but we're sleeping with our heads under this thing and didn't want any chance of a shelf-falling wake-up call. We used black 3" drywall screws since we knew the heads would be show (still not super pretty, but better than shiny silver heads!). 
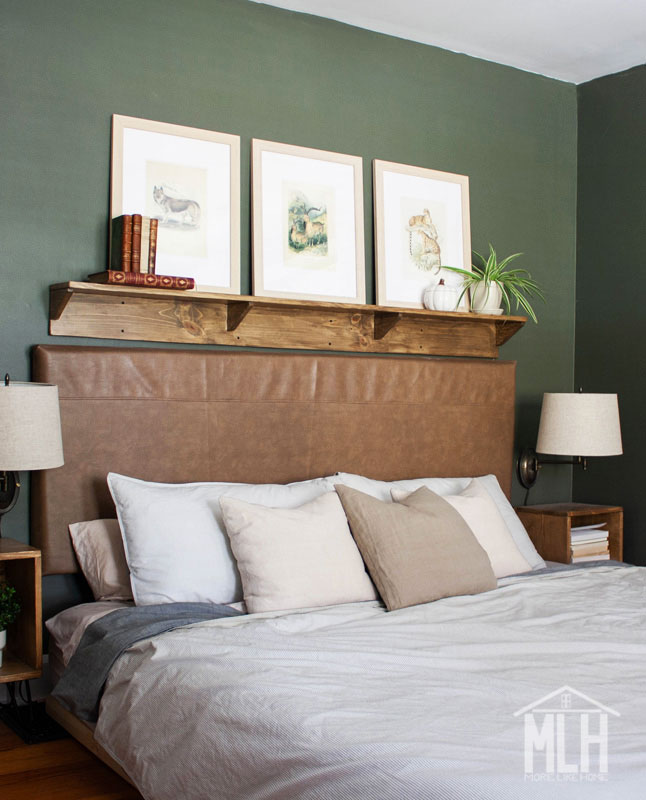

All done!
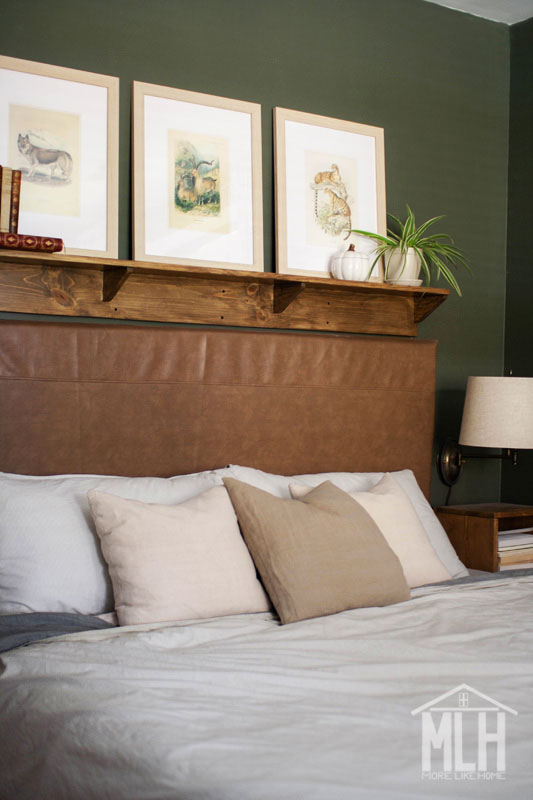

I know I've shared this before, but it's still my favorite side-by-side before + after of the space. What a difference a few simple changes can make!
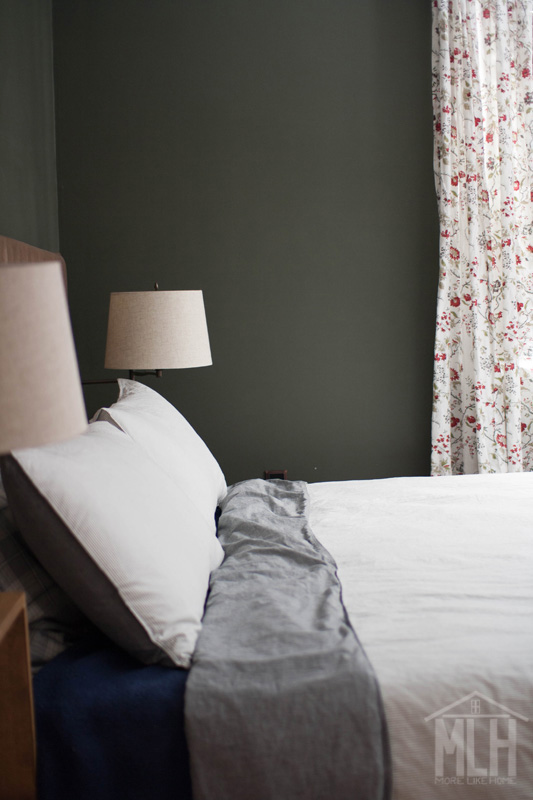
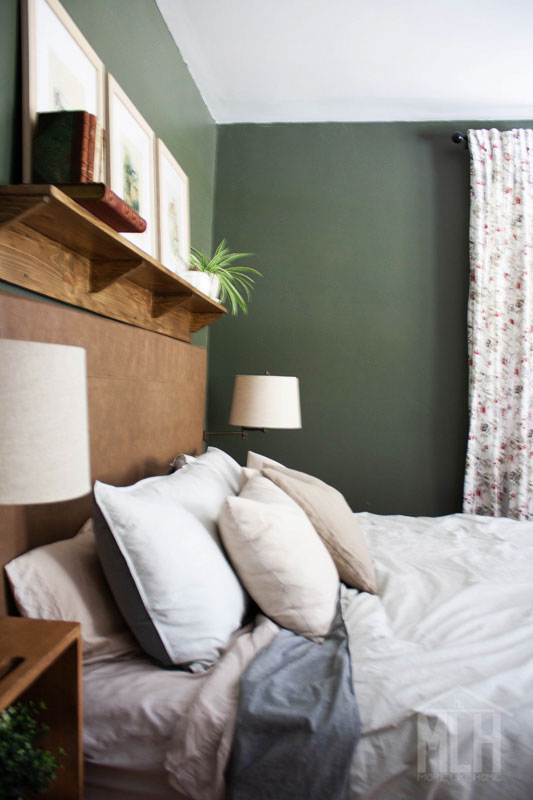
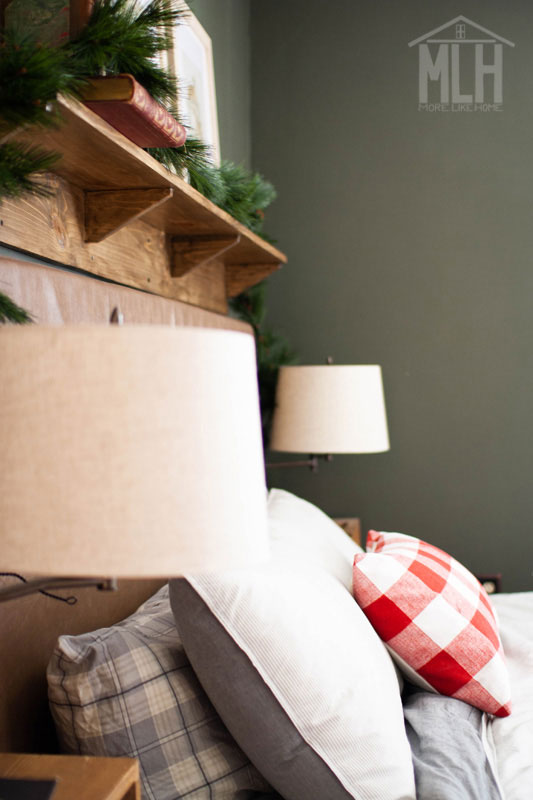
And here's an update with it decked out for Christmas:

Now I'd love to hear - what's your favorite thing about your bedroom? Is it a special piece of decor? The layout or flow? Something you made yourself? Let me know in the comments!

Thursday, October 24

$50 Master Bedroom Refresh (Our Fall Challenge Reveal!)

It's reveal day! Did you join the Budget Refresh Challenge?

Today I'm sharing how we totally refreshed our master bedroom and made it so much cozier for under $50! If you love a good before + after, hold on to your hats. This is your time.


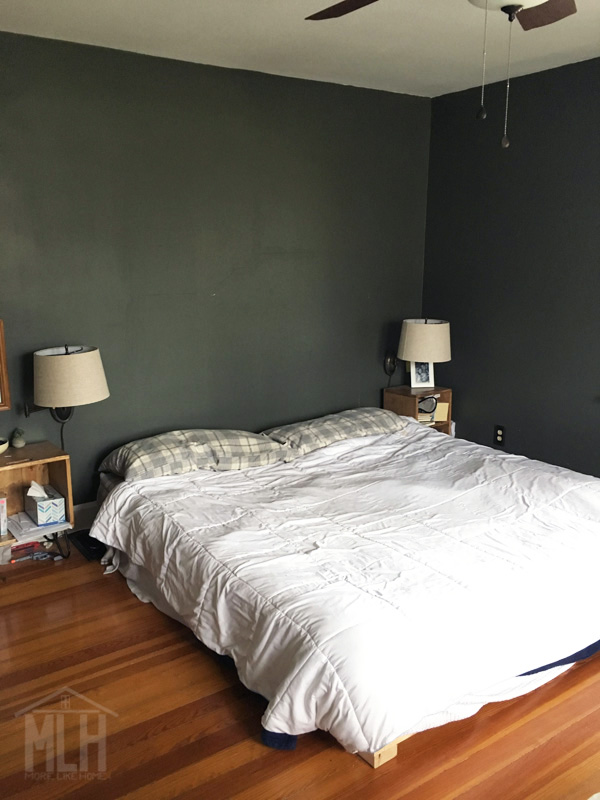
Let's start with the before (you can read more about it here). This picture was take almost two years ago:


Thursday, October 17

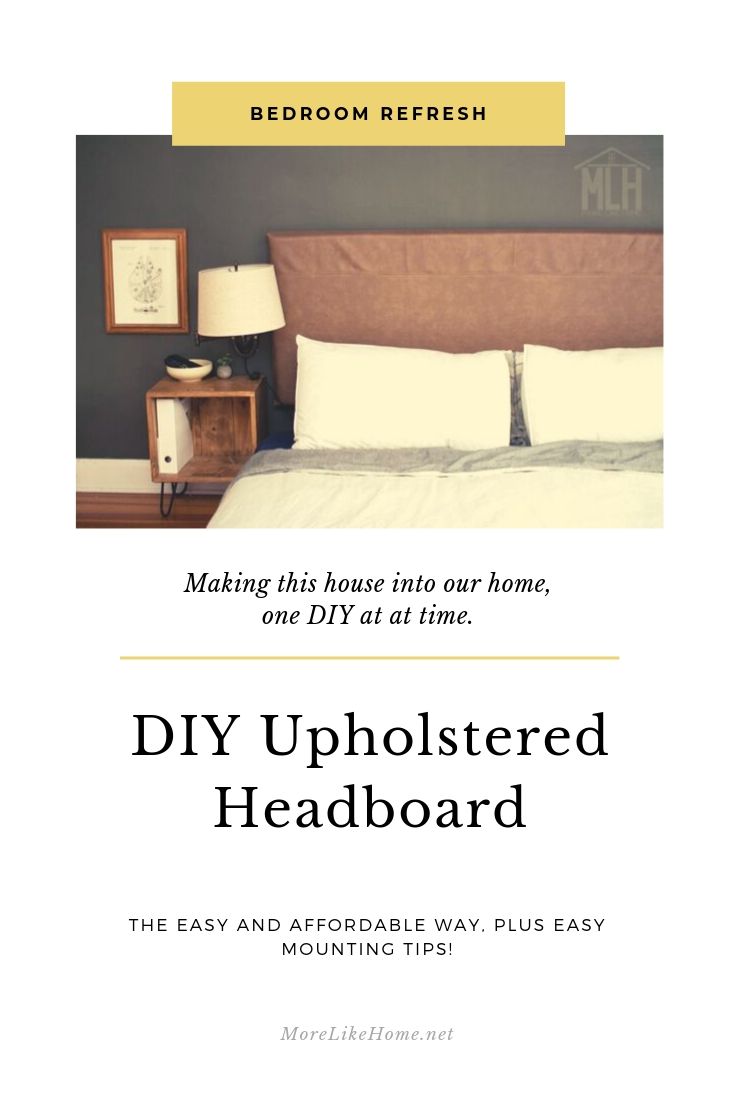
Easiest Upholstered Headboard (and the easy way to mount headboard on the wall!)

We're finally giving our master bedroom a little during our Budget Refresh Challenge! (Get all the details here - there's still time to tackle your own space!) 

So today I'm going to show you how we made the easiest upholstered headboard ever!


We have barely touched this space since we moved in. I mean, we've addressed a few functional issues over the years. Two years ago when we upgraded to a king size mattress I had to build a frame for it (check out my posts on why we chose a floor bed and how we built it). Then I built a pair of crate night stands to match our new bed height and added a pair of thrifted sconces so we weren't living in darkness. But after all that it still felt like a bare-bones room!


Thursday, August 8

The Stack-a-Bed (converts from twin to king!)

To quote my three-year-old:

"THIS IS MY BEST MOMENT."
 
Because it's a clever design?
No.
Because it's super easy to build?
No.
Because it's affordable?
Also no.
I mean, sure, it is all those things. But here's the deal: all on my own, with no help from my lead advisor (a.k.a. husband), I, Georgia of the More Like Home, came up with the name "stack-a-bed". This is my best moment.


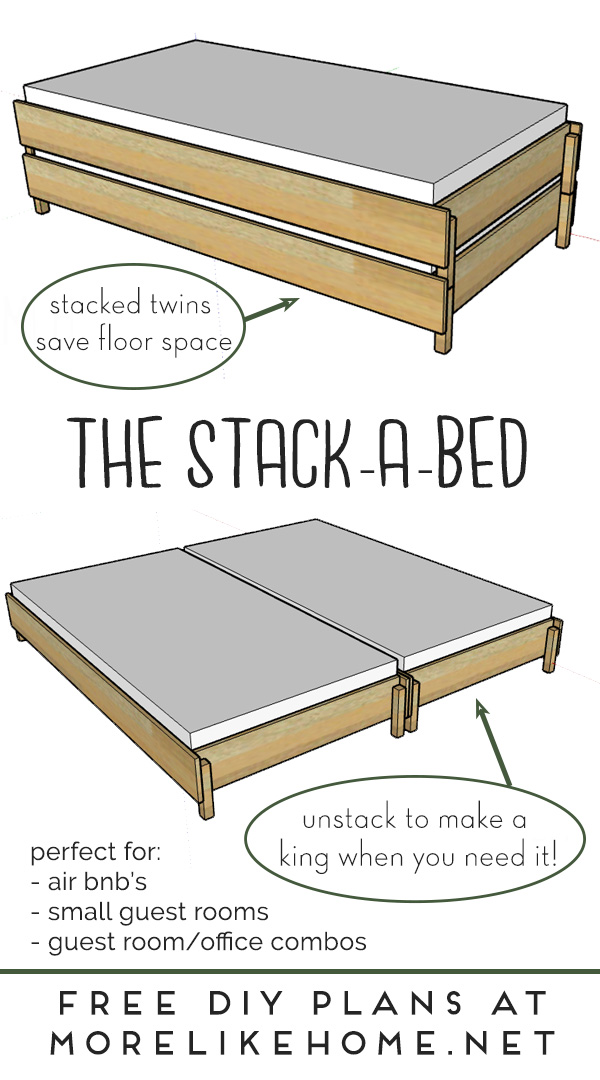
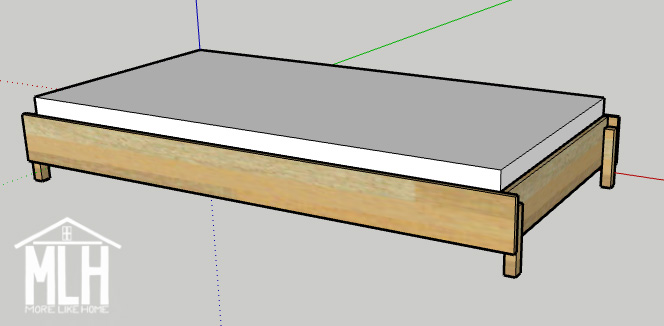
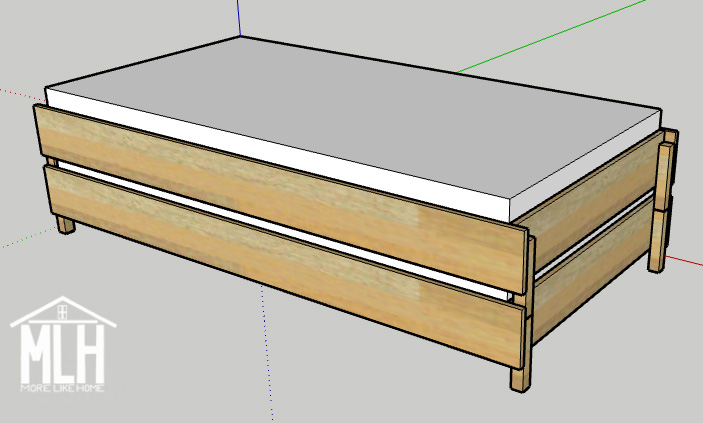
And now it can be your best moment when you build your own stack-a-bed. Why is it called the stack-a-bed, you ask? Well I'll tell you. The whole system is based on two of these super simple (and easy to build) bed frames:


When you just need a twin bed, you can stack the two bed frames (with their mattresses) to save floor space! This makes it great for a small guest room, a guest room/office combo, playroom/office combo, a kids room for sleepovers, or even an air bnb where you need a flexible sleeping area:


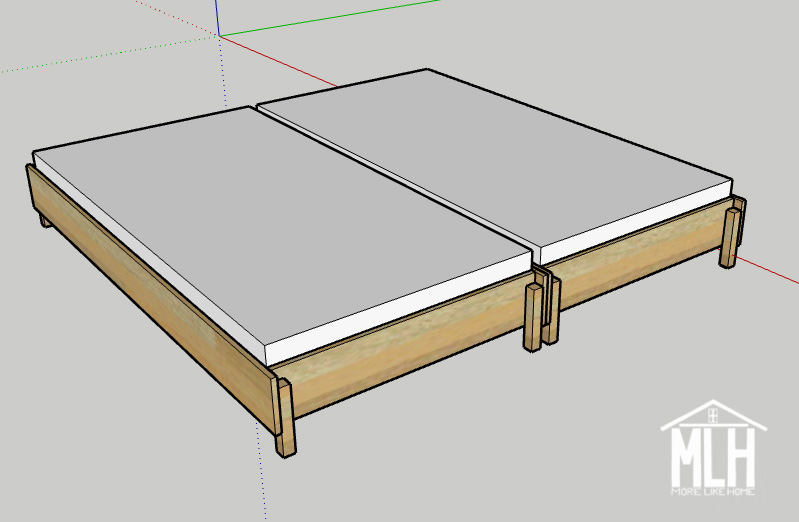
Then when you have guests and need a bigger bed, the beds unstack and sit side-by-side to make a king size bed! Just like that, you have a real, comfortable bed with room for your guests to stretch out:

Don't worry about the gap between the mattresses! Amazon sells a converter kit that fills it in to make a seamless bed!

Then when the guests leave? Stack it back up and regain your floor space! Ikea just came out with a stacking bed and it's genius, but I thought you guys might like a DIY version that's:
  • super easy to build and doesn't require any special tools (just a saw and a drill!)
  • affordable (all the lumber at my local Home Depot would be under $100 for two bed frames, or even under $80 if you use 1x6s instead of 1x8s for the sides!)
  • accessible for anyone who doesn't live near an Ikea
Ready to build your own?

Saturday, March 11

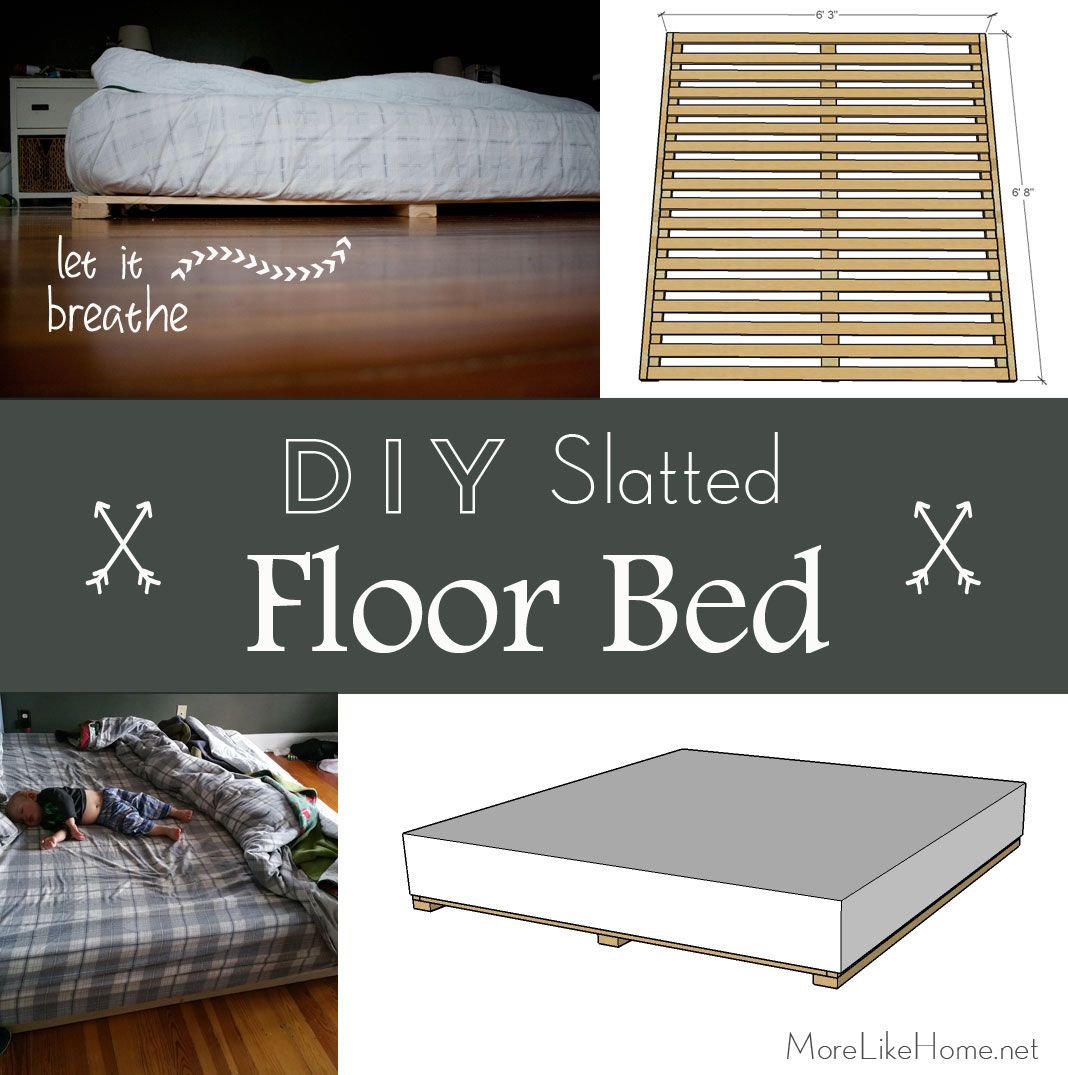
DIY Slatted Floor Bed

You may have already seen we switched to a floor bed (and built new crate nightstands to go with it) but today we're talking about what's under the bed. Yes, I know the floor is under the bed. It's a floor bed. But it turns out we actually needed to get it off the floor... without getting it too far off the floor.


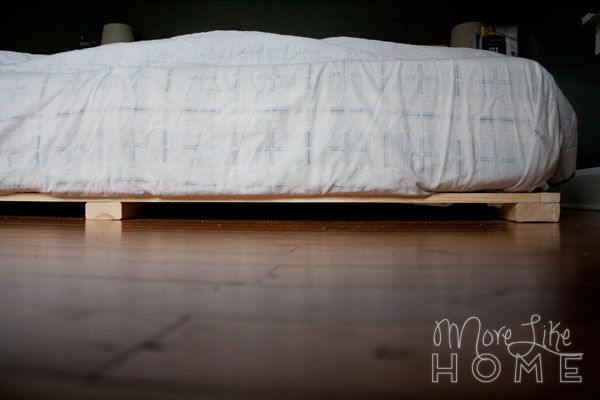
A mattress straight on the floor can trap moisture and land you in a terrible world of mold and mildew. So I'm told. I don't intend to test that theory, but it does make sense. So while we want our bed as near the floor as possible, we also want to allow airflow underneath to keep things fresh. And sanitary. So we built a simple, low-profile slatted bed frame for the mattress to rest on. Problem solved.


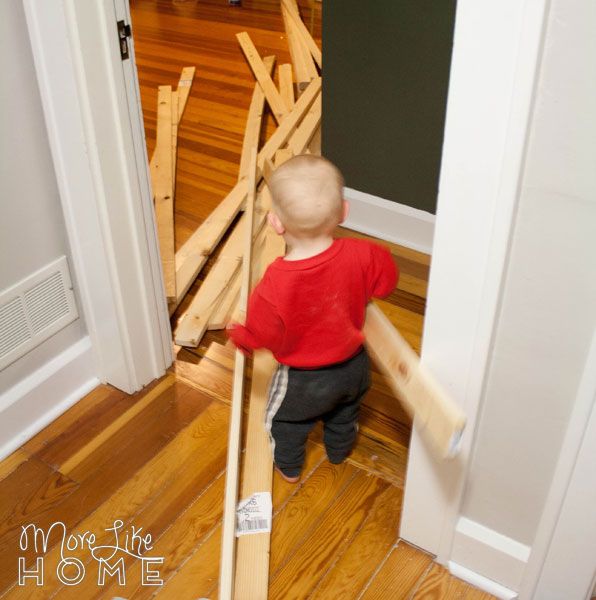
It was a quick little family project. We squeezed it in one evening after dinner with our little troop of minions at our knees. The littlest one might be the heftiest board-carrier.


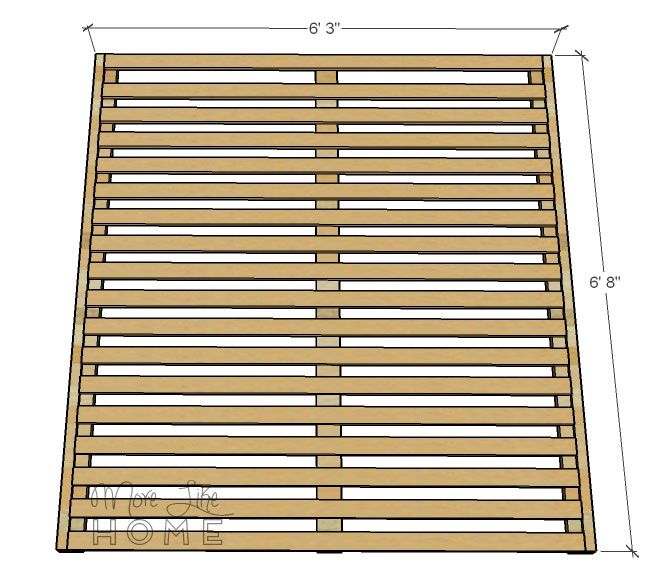
Here's all we needed to make our king size bed frame (you can easily make a different size by adjusting the length of your boards):
  • 3  -  2x4  @  8'
  • 2  -  1x2  @  8'
  • 18  -  1x3  @  6'
  • 1 1/4" wood screws
Finished size is 75" wide x 80" long x 2.25" high


Friday, March 3

Crate Nightstand Plans

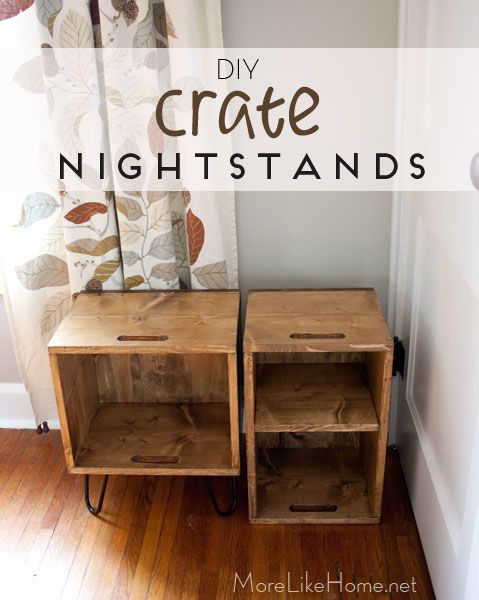
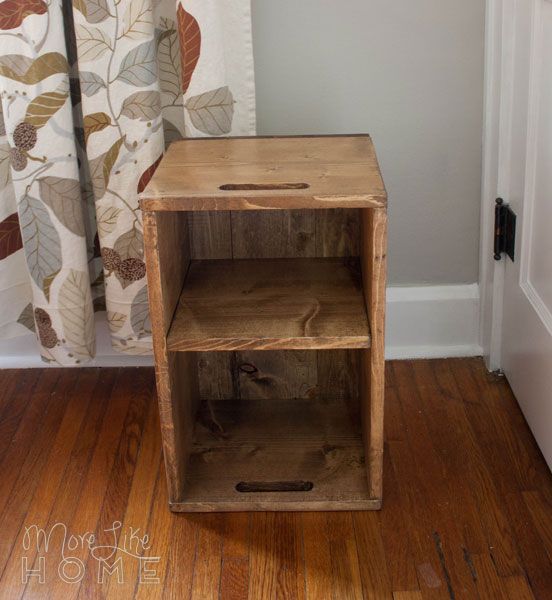
Are you ready for this? These little crate nightstands are some of the easiest things I've built, and they're some of my favorites, too! They are so cute and I love the rustic, casual feel they bring to the room. Today I'm posting the plans so you can make some too!


The whole crate nightstand idea came about a few months ago when we got a floor bed. Our old nightstands were just too high for the new setup so we needed a change, and I happened to stumble across a pinterest photo of a floor bed with... crate nightstands. Bingo. I started searching craigslist and ebay for a few crates to call my own and discovered two things:
  1. Real, vintage crates are expensive. At least on craigslist and ebay.
  2. I couldn't find any crates the size I wanted anyway. 
Thank goodness for DIY. With just a couple boards we made our own custom crates!


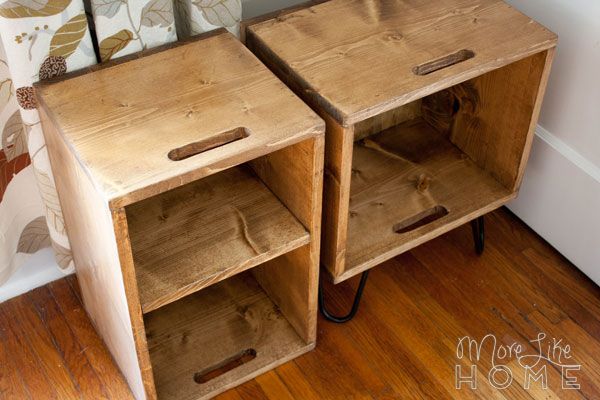
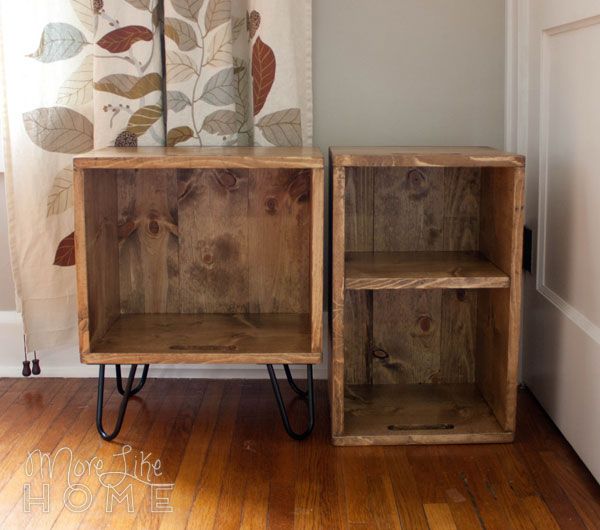
We made two different styles because we needed different things for each side of the bed. For Husband's side we raised the crate on hairpin legs because it sits over a vent and we didn't want to block that air flow (bonus = the legs are super cute).


For my side I made the crate full-height with a shelf for books, but it's super narrow to fit between our mattress and the wall.


I love that they don't match perfectly, but they still go together! It just adds to that crate charm.


Thursday, February 23

Floor Bed Inspirations (and our Tuft & Needle Mattress)

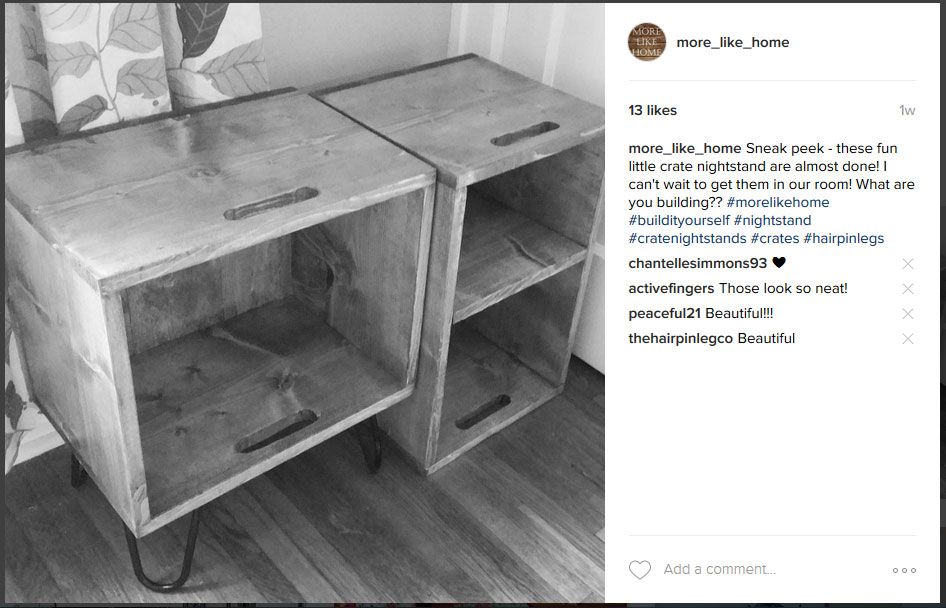
I've been working on new nightstands (I shared a sneak peek on Instagram and Facebook) because we made a pretty drastic change in the bedroom and our old nightstands were not up to the challenge. We put our mattress on the floor. Okay, it may not be all that drastic. But bear with me, here.


It all started in what the boys call our "tiny house." That's the rental we lived in for a few months at the beginning of last year. We moved suddenly and put most of our belongings in storage, taking only what fit in my parents van. The mattresses came, but the bed frames didn't make the cut. And so we had our first floor bed.


Husband tolerated it to save money on a frame (we had a perfectly good one in storage), but I loved it. Besides the obvious (no monsters under the bed), there were two main reasons I was digging the floor bed:
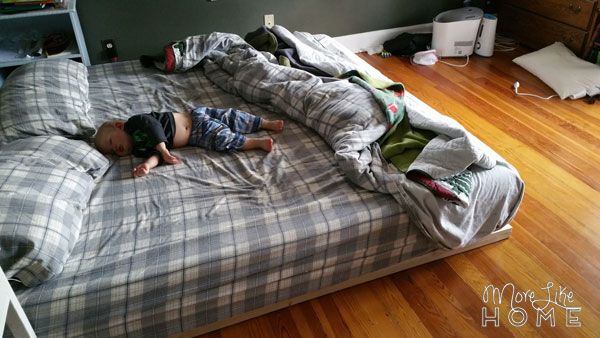
  1. I don't have to worry about babies falling off. There's actually one napping in that picture. He could probably roll off and not even wake up. the boys have had mattress on the floor for years for this very reason, and as soon as our mattress hit the floor I was all "THIS IS GENIUS." 
  2. I've read several Katy Bowman books about natural movement and adding more movement into your lifestyle. Sleeping on the floor gets your body moving in a whole different way to get up and down. No extra time commitment or reminders to fit it in, it's just part of our day now.
But then we moved to our new house and our bed frame came back. Boo. I think Husband missed it just a little. I mentioned from time to time that I liked when it was on the floor. He wasn't convinced. Then the conversation changed to talk of upgrading to a king-size mattress.Would it take up too much space in our bedroom? Would it be worth it to sleep better when kids are in the bed? The verdict: WORTH IT. We started searching through several mail-order mattress options (the price and convenience were both attractive, but we were wary of a mattress we couldn't even touch before we ordered). Fortunately I had several friends who had tried Tuft and Needle, and the combination of their recommendations plus one of the lowest price points we had seen sealed the deal. A few days later, the rolled up mattress arrived. I pulled off the plastic and it puffed right up. We've been sleeping on it for a few months now, and so far it has been great!

Napping baby approved. You can see our now too-tall nightstands in the corner.

One of the best things about getting a bigger mattress... we didn't have a frame to put it on! So we really had no choice but to leave it on the floor, right? I was crazy excited about it, and Husband noticed and he loves me so he said we can keep it like this. He's a keeper, himself.

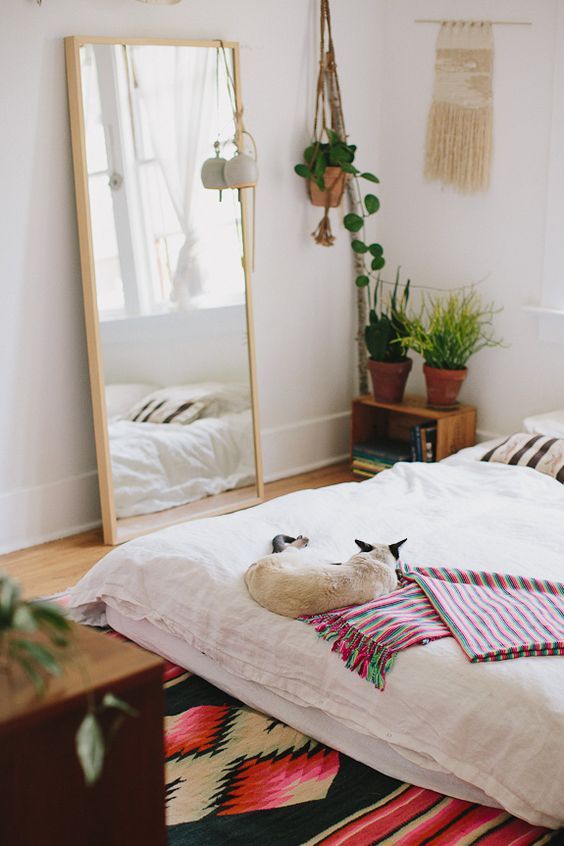
Fortunately I'd been pinning a few favorite floor bed inspirations fort his very occasion! One thing I've noticed about floor bed photos is that they tend to feel cozy and super-chill. And I love it. This is one of my favorites with a warm, eclectic style. Even with white walls it feels personalized and inviting, and I love a little greenery to warm up the space. And see that nightstand? That was the main inspiration for our little crate-style nightstands. I can't wait to share those plans with you!

image via pinterest

This image is another favorite for a lot of the same reasons. I love the peaceful white that's warmed up with a little plant life, the cozy bed I just want to melt into, and the rich layered textures. But it's probably worth noting that our bedroom is currently a super dark green. So basically the opposite of these pictures. Hmmm.

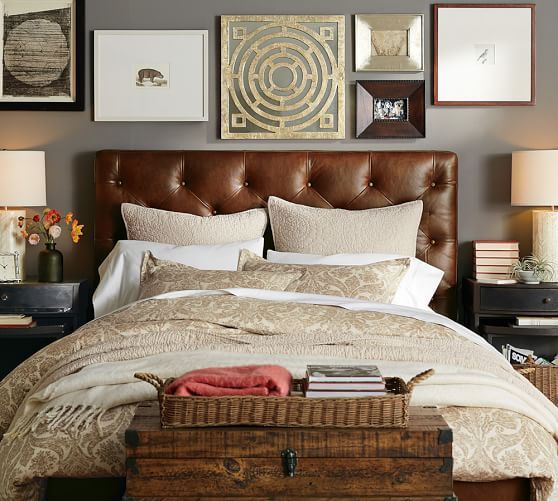
Now let's talk headboards for a minute and think about this question: should a floor bed have a headboard? Because most of the ones I've looked at don't. The photo above does, but it's totally not what I'm looking for in a headboard. Which would be something more along these lines:


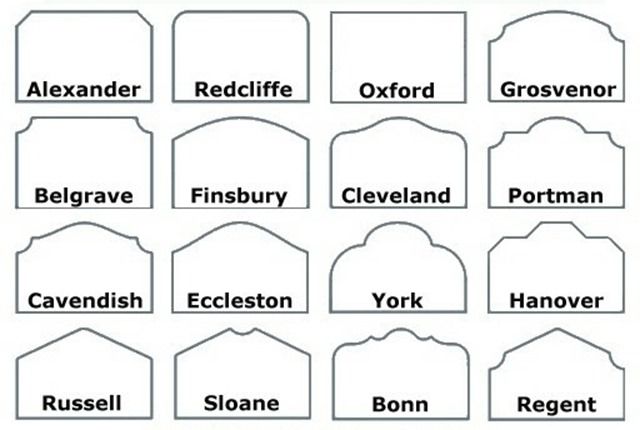
Upholstered (comfy to lean on), probably tufted (because I like it), and most likely a faux-leather type material (easy to clean because children). But I'm having a lot different feelings about how tall, what shape, color, and whether we should even have a headboard or not!


Choices, choices. Anyway that's where we are. I'd love to hear your thoughts on a headboard - what would you do???
Subscribe