
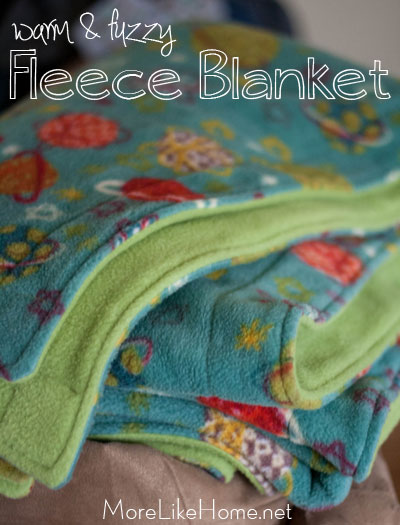
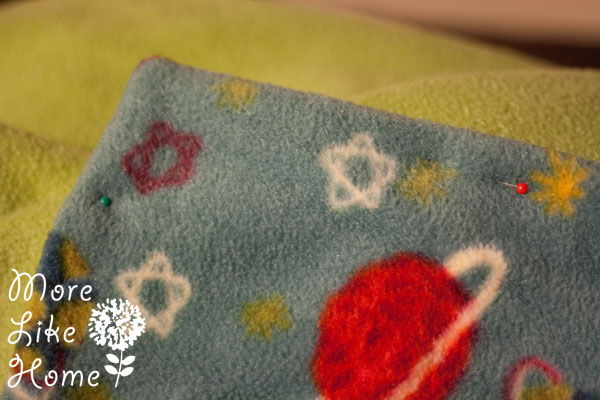
Our first blanket is plain solid colors but they have some seriously fun prints and with the super sale/coupon combo I decided to spring for something a little more special that the boys would love. And went with my favorite green on the back. It's super easy to make, and I prefer to the cut and tie method because I think it's faster and it gives a nice tidy edge when you're done. If you want to make one all you need is:
- 2.5 yards printed no-pil fleece
- 2.5 yards solid no-pil fleece
- matching thread
Start by pre-washing and drying your fabric. Even though fleece won't shrink, you'll want to make sure there aren't any nasty dyes or chemicals hanging on from the factory before you snuggle up with it. Cut off the selvage edges so it looks nice and tidy. Stack the pieces with right sides together and line up the edges as much as you can and trim any edges you need to get the pieces to match up perfectly - my green ended up being several inches wider and one end was cut crooked so I trimmed it down to match the printed piece. It helps to lay it out on the floor so you can make sure it's flat and lined up right. Pin around the edges. Sew around the edges with a 5/8" seam allowance, leaving an 8 - 10" opening for turning.
Clip the corners.
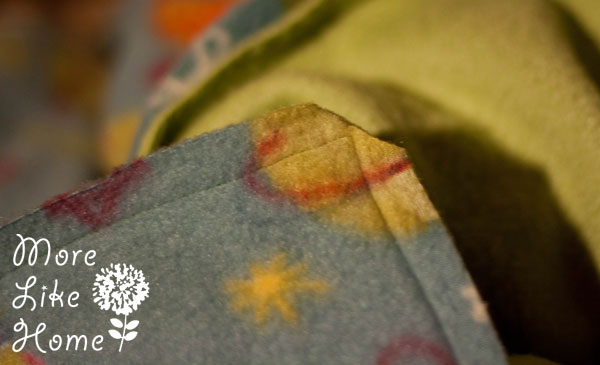
Flip it right side out and push the corners out nice and square. Lay it out flat on the floor again to make sure it's all lined up right. Tuck in the fabric at the opening and pin it closed. Pin all around the edges, and put several pins across the center of the blanket to keep the layers from shifting while you work.
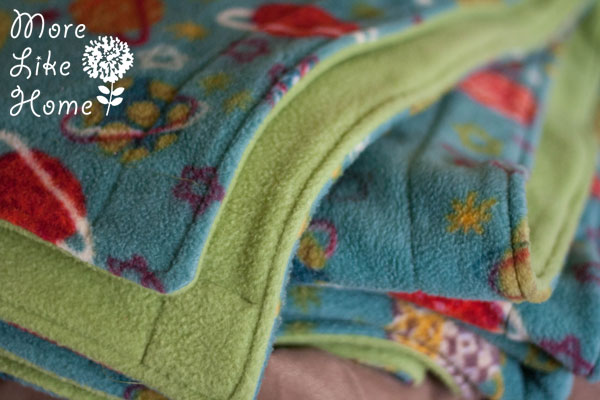
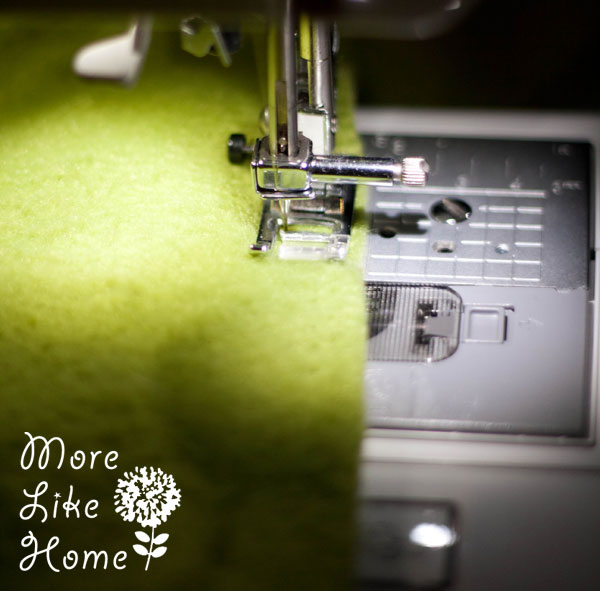
Topstitch all around the the outside of the blanket with a 1/4" seam allowance. Then go around again with a 2" or so seam allowance - I just followed the edge of the ruler on my sewing machine.

With the 2" line I went all the way to the ends of the blanket like the pic below. So it made little squares in the corner. Just for cutes. If you want you can be done here (that's where I stopped with this one) or you can add some quilting lines all across the middle to keep the layers from shifting (I did that with my first blanket in a squiggly free-style pattern). With this blanket we haven't noticed the layers shifting out of place, but it does seem to get more static than the one with quilting lines. I wonder if it's because the layers aren't as locked in place and can slide against each other more, but I don't know for sure. Just something to consider. :)

And that's it! Snuggle up and wait for spring! With the sale and coupon it still cost about $22 to make this blanket. So fleece isn't very cheap... but it was definitely cheaper than the $55+ it would have cost full price. And I was able to make it much bigger and thicker than the cheap little throw blankets from the store!

Now our household lives in harmony once again. Although you should probably know these are actually big enough to fit two people... unless you turn it into a highly competitive game. ;) If you're feeling a little chilly there are probably some good fleece sales coming up with spring on the horizon, so keep your eyes open and make yourself a nice fleecy blanket... or two!

So excited to find this link on Pinterest.. Exactly what I'm looking for to make and send to my hubby overseas!
ReplyDeleteOh good! These are still our favorite blankets. I hope he loves it! :)
DeleteI also bind mine with fleece it makes a nice edge and I just cut across the width to make the binding. Cute in a different color.
ReplyDeleteOh, that's a great idea! Do you do double layer fleece for the blanket or a single layer?
DeleteGeorgia - Do you have any pointers for adding some quilting lines on an adult size blanket? I did some on a baby blanket many years ago, but this is so much bigger.
ReplyDeleteHi! I should start by saying I'm not a perfectionist with my quilting lines, but here are a few tips I've used:
Delete1. Use squiggly free-form "lines" so there's no pressure to get them straight.
2. Use a printed fabric with striped or a repeating pattern you can follow to keep you lines straight.
3. Use a yard stick and fabric marker to mark the lines before you begin (this is the best way if you want really straight lines).
4. No matter which method you choose, put lots of pins across the entire blanket before you start sewing to help prevent the layers from slipping.
Hope that helps! :)
I forgot to reply to yours. Thank you for all the pointers. My daughter was very pleased. I decided to do 2 quilt lines evenly spaced. It was easier to do them straight because the print side had a pattern of blocks through the out so I was able to follow the lines with ease. I look forward to making more blankets like this so I'll keep all your pointers in mind, especially when I don't have a print side with lines for a guide.
DeleteI'm glad she liked it! :)
DeleteI did one of these for my son-in-law in Denver Broncos fleece. It was my first one and it turned out great and he loved it.
ReplyDeleteThat's great, and I'm glad he liked it! I just made another one for a Christmas gift, too.
DeleteI've had this pinned for a few years. I have made sewn fleece blankets before, but I like the added detail of the extra 2" border. My daughter and I are making some blankets for our local children's hospital using this pattern. We are always checking the remnant bin at Joanns for fleece that we could use. We stocked up on 1 yd pieces and that will make 2 infant/toddler sized blankets. Thanks for posting!
ReplyDeleteYou are so welcome, and I LOVE that you are making these for the chidlren's hospital! What an amazing idea! Keep up the good work! :)
DeleteI took full advantage of Joann's after Thanksgiving 70% off on fleece and got enough to make 5 blankets! One for me and gifts for the rest. Starting tomorrow.
ReplyDeleteThat's great! You can't beat the price! Hope everyone loves the blankets! :)
DeleteFound you when I was "gifted" 9 tote bins full of fleece! I made one huge one and I thought, "no way can I get all this made into blankets. This looks so much easier, faster, and sewing is more fun for me! Thank you for the helpful info. Oh by the way, these are going directly to a place that helps homeless folks. So I want to get them done asap. Thanks again.
ReplyDeleteFor the quilting couldn’t a person simply hand bast instead of pinning?
ReplyDeleteI love fleece blankets! I like to use embroidery thread to tack it down in the middle so it doesn't shift as much.
ReplyDelete