

I am SO glad I went with white frames for this wall. I love how they stand out nice and bright against the wall and they work really well with my color pictures.

Most of the pictures are of Baby B...he's just so darn cute. Here are his teeny tiny newborn feet. :)
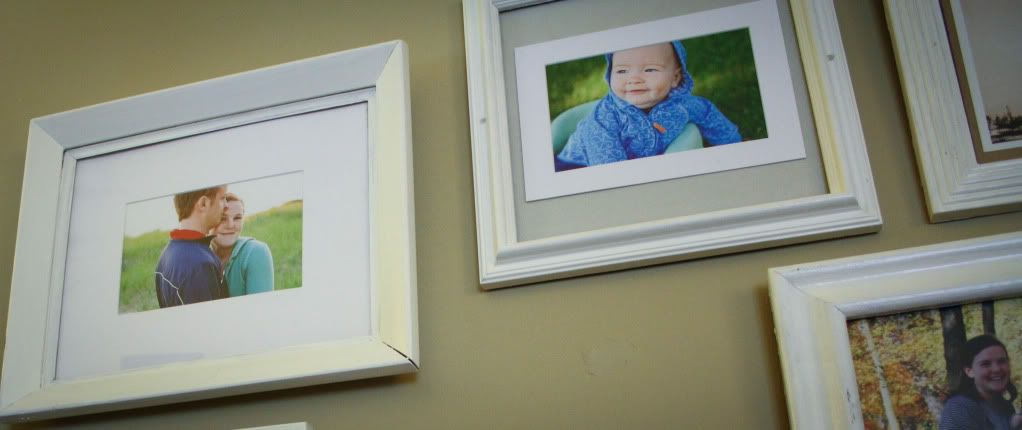
I LOVE the colors in these two pictures. I was able to find pictures that carried a lot of these blues and greens which helped keep the wall looking unified.

I also included things like a post card from Paris (from Auntie B) and an old key from the chest we dug up in the backyard filled with pirate booty....okay, I don't really know what it's from, so pirates seem like a good guess.

We took new family pictures to fill the big frame front and center. How did we do it? A tripod. And LOTS of takes. With lots of dancing and waving to get Baby B to look the right direction. I know, we have mad skillz. (p.s. Christmas came early and I edited these pics with Lightroom! Woot!)

And this has to be my single favorite picture on the wall. I love that it has our whole family in an unexpected way, and Baby B's face make me laugh every time I look at it.

This picture shows my newly found matting trick. I found the mattes for my frames at Dollar Tree, of all places! I got packs of 2-3 depending on the size for $1 each. And since I'm cheap and didn't want to buy specialty mattes for my oddly shaped frames I used the small mattes and backed them with colored card stock to fill in the extra space! Easy and fun! I used gray to make the pictures pop, but it would also be fun with a coordinating color if you wanted a brighter theme. If you look closely you can also see in the pic below that I used the same technique to put two pictures into a larger frame.

So let's take a quick look at the cost of this project:
- $8 - frames (I bought all my frames at yard sales & didn't pay more than $0.50 for any of them. Some were less than that, even 2/$0.25 or from a free box, but for the sake of the cost breakdown I'm going to just say they were $0.50 each)
- $6 - mattes (in multi-packs from Dollar Tree)
- $3 - 8x10 family pic (printed at Walgreens - it turned out kind of dark, I'm not super impressed)
- $2 - 16 4x6 prints (bought on sale from Snapfish - they turned out great)
So 3 months (ha!) and $19 for a fun feature wall in my living room. And one that I can easily update by switching out pictures! I'm so happy it's done and it turned out so good. Are you thinking about making a gallery wall? Or have you done something similar already?
P.S. I'm one frame away from finishing the upstairs gallery, so I should have final pics of that soon!
Pin It
Looks great! I love how it all came together :)
ReplyDeleteThanks, Anna!
ReplyDelete