
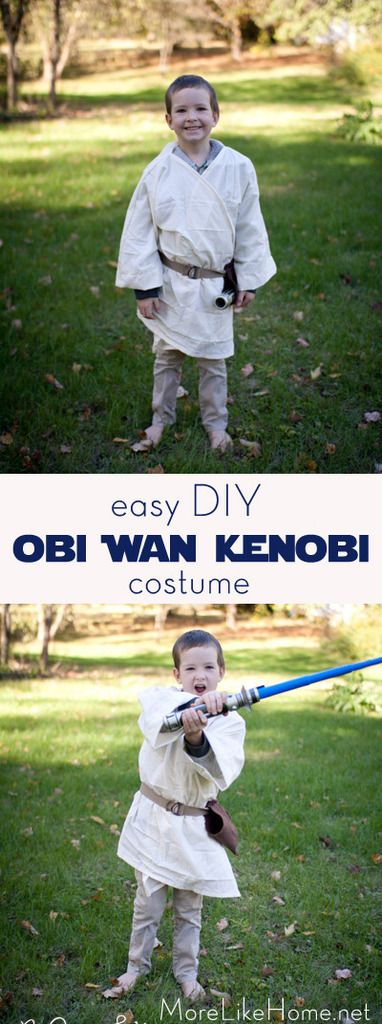
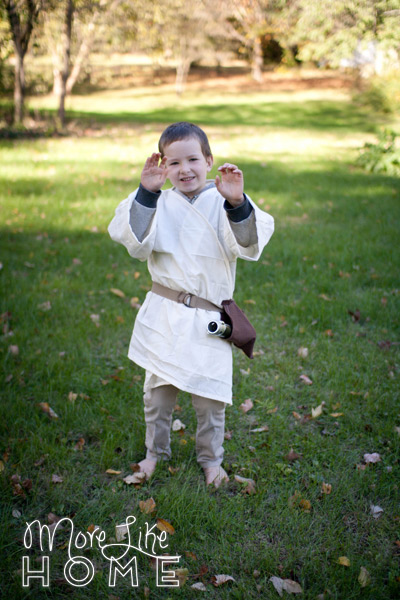
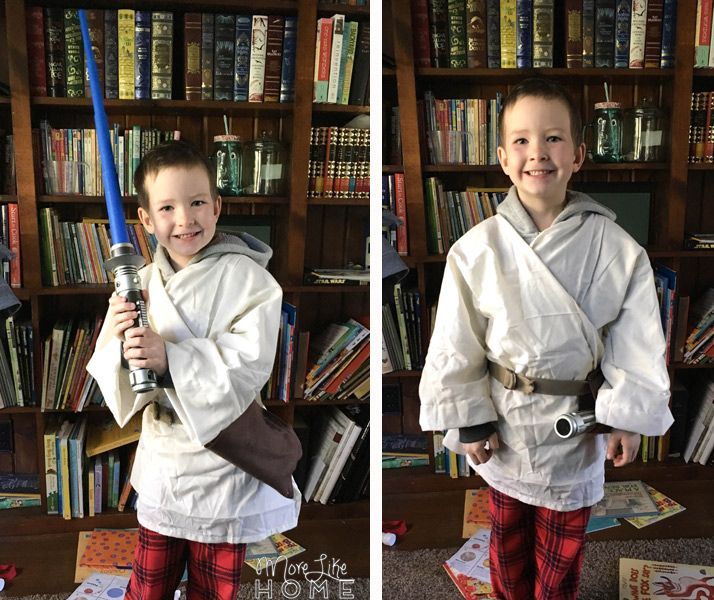
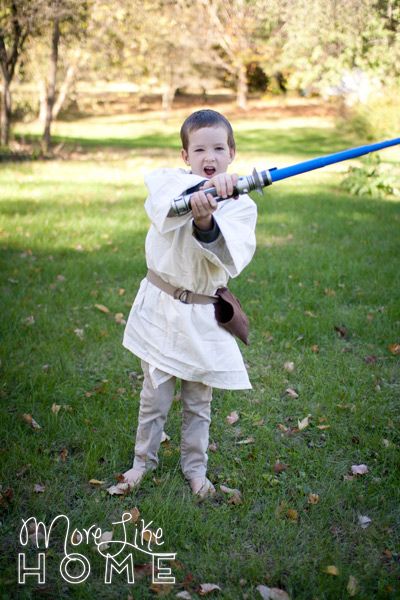
He loves his costume, and I love that we only spent about $5 to make it!
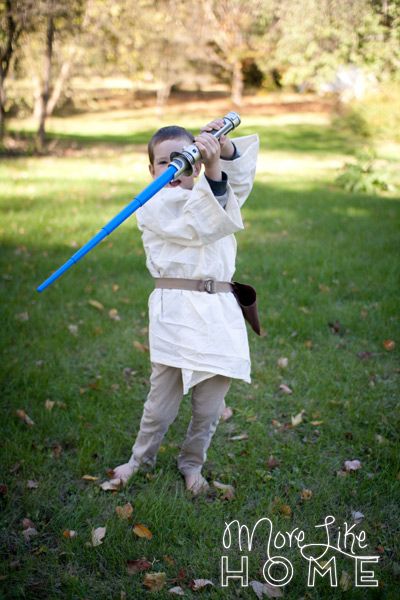
Using The Force.
One big bonus of a DIY costume is that I was able to make it big enough to fit over his coat (so his costume won't be hidden if it's chilly that night). Plus you can easily alter the size to fit any age of child.
You only need a handful of things to make your own Obi Wan Kenobi costume (in any size!):
- an off-white sheet ($5 at Walmart)
- matching thread
- a piece of brown felt (less than $0.50 most places)
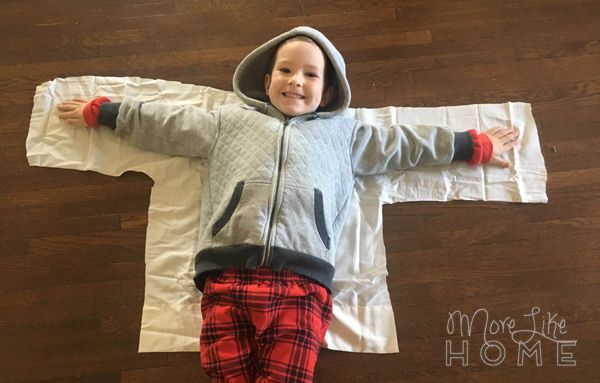
Start by using your child as a template to cut the back of the costume from a sheet. I had him go ahead and put his coat on to make sure the costume was big enough. Have them lay on the sheet with their hips at the edge (I used the finished edge of the sheet for the bottom of each piece so I didn't have to hem it when I was done) and put their arms out. Cut around their body leaving several inches of extra fabric all around (I left about 5-6" on this sides and more like 3" across the top). The great thing about costumes is they don't have to be perfect!
Fold that piece of fabric in half and use it as a template to cut one of the front pieces. Made sure to line up the bottom with a finished edge of the sheet.You want the arm and side to be cut the same, but at the top stop about 3" short of the folded edge and cut down from that point at an angle like this:
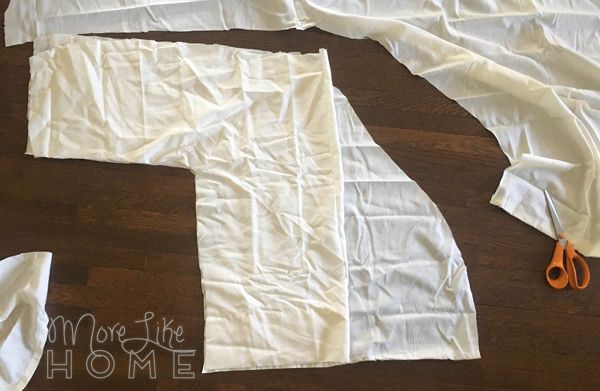
Cut a second front piece just like that. Lay the front pieces on top of the back piece, lining up the sides, sleeves, and shoulders. The angled sections at the front can just overlap to stay out of the way for now.
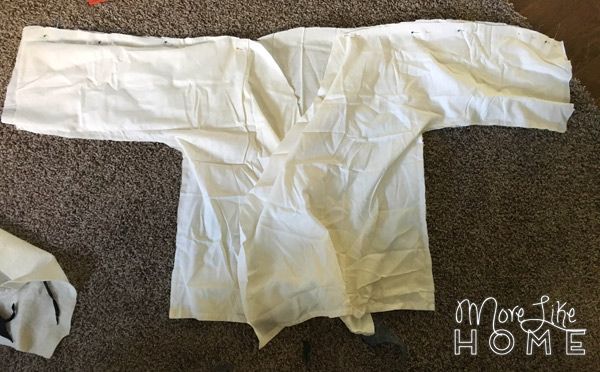
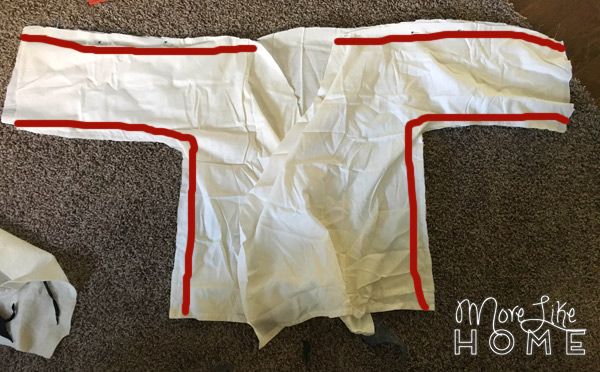
Sew along the top of the sleeves until you get to the neck opening with a 1/2" seam allowance. Sew up the sides and across the bottom of the sleeves with a 1/2" seam allowance. You can serge the edges to prevent fraying if you'd like, but I wasn't worried about that for a costume.
Open up the front of the costume and fold the raw edge under 1/4", then 1/4" again (ironing it as you fold will help keep it neat). It should make a continuous hem up one side, around the neck, and down the other side. Sew along the inside fold to hem the opening.

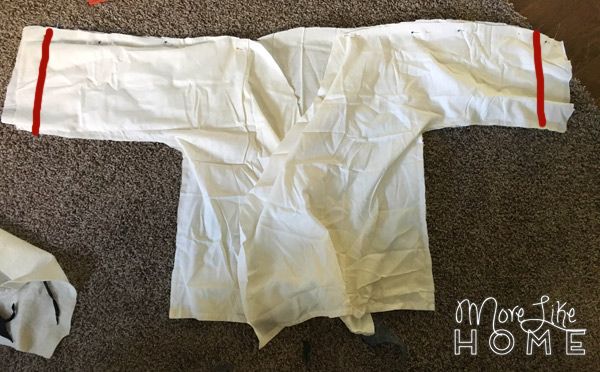
Turn the costume right-side out. Last but not least, hem the sleeves. I had him put the costume back on over his coat and marked how long they needed to be, then tucked the raw edges under and sewed them in place.
That's it for the shirt! To make the light saber holder, I folded a single sheet of brown felt in half and sewed down the side and across the bottom. Then I cut a loop in the back to slide his belt through. Easy! I made this whole costume in about half an hour.
We just added his khaki pants and a belt for the light saber and he was ready to go!

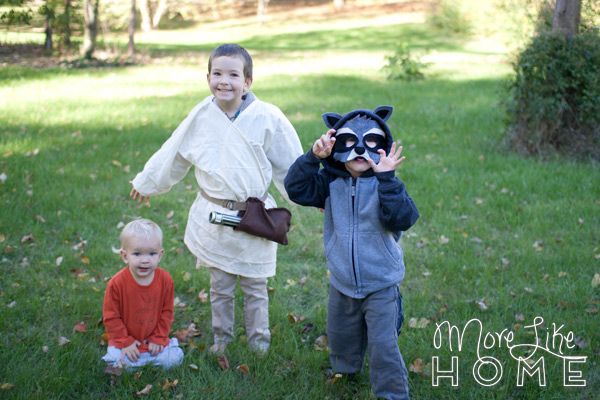
We also made an easy raccoon costume for his little brother (here's the tutorial for that one) and both costumes together only took a couple hours... including lots of "help."
Are you making costumes this year?
No comments:
Post a Comment