Tuesday, March 12
ORB - Take 2
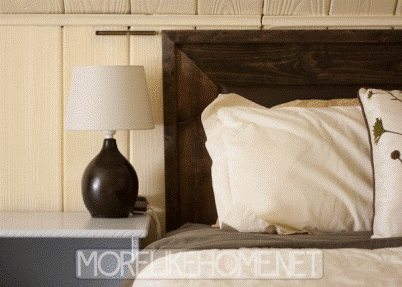
Remember when I first tried Oil Rubbed Bronze spray paint? I used it to spiff up the thrift store lamps I bought for our nightstands.
I also spray painted a little something else at the same time. Check out that green grass. That's a hint about just how long it took me to take these after pictures.
But first the before! These knife blocks are great because they can hang on the wall, freeing up drawer space and staying out of Baby B's reach. But not so great is that off-white color.
I wiped them off to make sure there was no dust or grease (since they hang by the stove) that would interfere with the paint sticking. Then I just gave them several light coats of spray paint and let them sit overnight to make sure the paint was nice and cured. Then we just popped them back up on the wall. So much better! They look more expensive and totally updated. And it's a great contrast to our ............. white cabinets! Eeep! More details on that soon. :)
The paint/built in primer is amazing! Even after sliding knives in and out for a couple months, there isn't so much as a scratch in the paint!
Have you painted anything lately?
Sunday, March 10
Sunday Favorites
We didn't go to church today. A sick little boy has us quarantined at home. Boo! He seems to be feeling a little better now, just chilling with daddy playing an animal game on the galaxy player. So I thought I'd take a minute to share some of my favorite pinterest finds of the last couple weeks. None of these are my ideas, so if you want to pin anything please click through to the original pin first instead of pinning through my blog (I don't want to get credit for ideas that aren't mine!). Here we go...
Folding Chair Makeover - I'm totally planning to try this with our set!
Industrial Style Closet Shelving - we don't have the closet for this, but I'd love it in the office!
Raising Goats - someday, guys. Someday.
Monday, March 4
Our Shower's Dirty Litle Secret
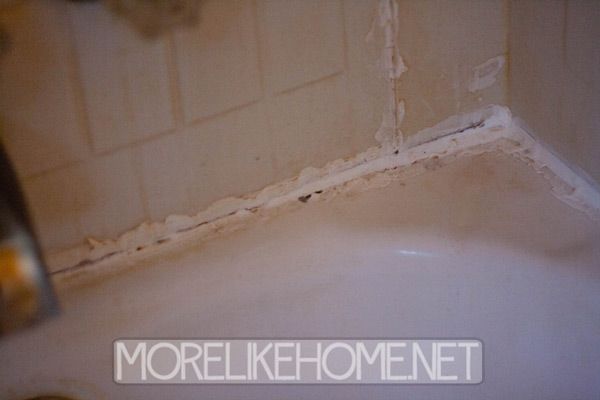
We have a problem in our shower. I'll warn you now, it's gross. And yes, we probably shouldn't have let it get this bad before we did something about it. But we're fixing it now, so no worries. So if you're ready for this, I give you... the caulk around the tub.
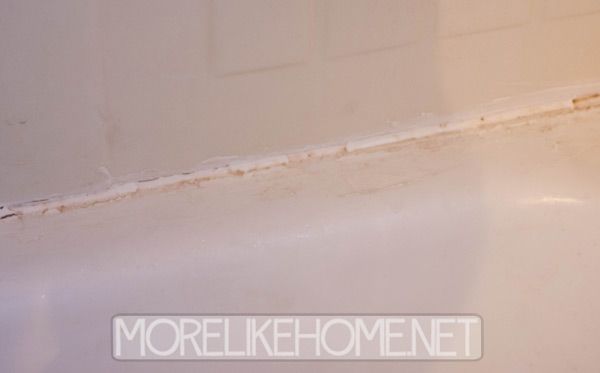
Happy Monday!!! When we moved in almost 2 years ago, the caulk was so old it was falling off so we cleaned it up and re-caulked it then, but cheap caulk + a super sloppy job = we're almost back where started. It was cracking in places and all the nooks & crannies collected mildew. Gross.
The biggest problem was definitely the cracks in the caulk. Turns out those tiny little cracks were enough for water to seep through and start leaking into the basement! What?! I'll give that a double-yikes.
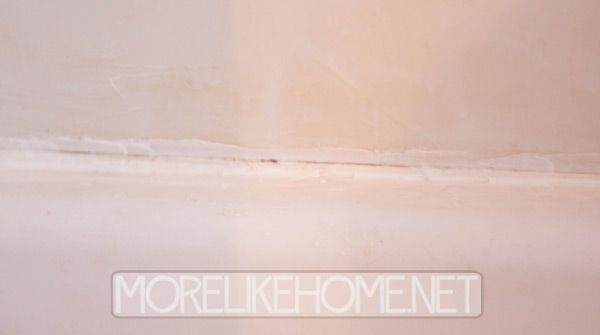
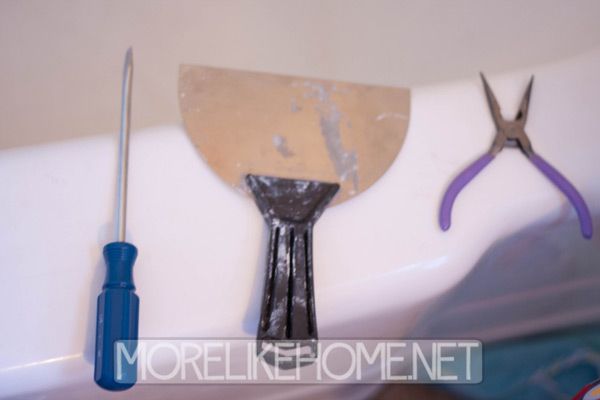
So it was clearly past time to clean things up in there. It took me a couple tools to find what worked best for me. I started with a plastic scraper that did a whole lot of nothing. Boo. But I ended up using a combination of a screwdriver, putty knife, and jewelry pliers (I was too lazy to go back to the basement for real pliers) to get the job done.
Oh, and I had an excellent helper. This is his "I get to use tools?!?" face. He would poke at the bathtub with whatever tool I put down. He had a really hard time putting them down long enough for me to take that last picture. ;)
Back to the nitty gritty...
Happy Monday!!! When we moved in almost 2 years ago, the caulk was so old it was falling off so we cleaned it up and re-caulked it then, but cheap caulk + a super sloppy job = we're almost back where started. It was cracking in places and all the nooks & crannies collected mildew. Gross.
The biggest problem was definitely the cracks in the caulk. Turns out those tiny little cracks were enough for water to seep through and start leaking into the basement! What?! I'll give that a double-yikes.
So it was clearly past time to clean things up in there. It took me a couple tools to find what worked best for me. I started with a plastic scraper that did a whole lot of nothing. Boo. But I ended up using a combination of a screwdriver, putty knife, and jewelry pliers (I was too lazy to go back to the basement for real pliers) to get the job done.
Oh, and I had an excellent helper. This is his "I get to use tools?!?" face. He would poke at the bathtub with whatever tool I put down. He had a really hard time putting them down long enough for me to take that last picture. ;)
Back to the nitty gritty...
Friday, March 1
Silhouette
I've always loved the cute silhouette projects on pinterest. It's such a great way to capture all the sweet features of little faces. So when I was looking back through some pictures and found this one from last summer, I knew it was time to tackle a project of my own!
At first I was going to be all fancy and and do it in photoshop... but the picture quality wasn't great and I couldn't get very clean lines. Also, I don't really know how to use photoshop. Minor detail. So after quite a lot of trying to tidy it up, I declared it more trouble than it was worth and made a plan B. (although now that I look at it again it doesn't look half bad. Oh well.)
Plan B was a good old fashioned approach. I started by printing out the picture.
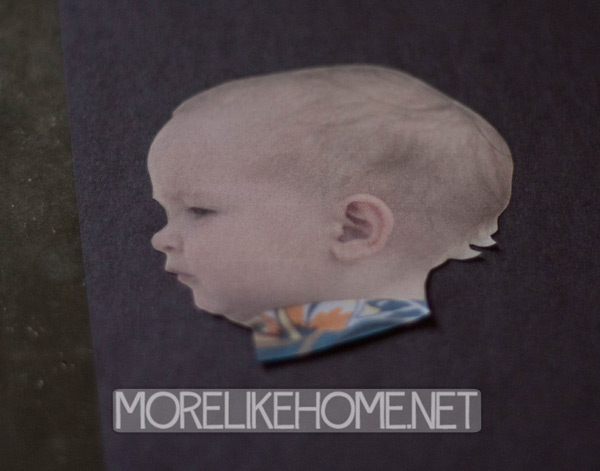
Then very carefully cut out around his little head.
At first I was going to be all fancy and and do it in photoshop... but the picture quality wasn't great and I couldn't get very clean lines. Also, I don't really know how to use photoshop. Minor detail. So after quite a lot of trying to tidy it up, I declared it more trouble than it was worth and made a plan B. (although now that I look at it again it doesn't look half bad. Oh well.)
Plan B was a good old fashioned approach. I started by printing out the picture.
Then very carefully cut out around his little head.
Subscribe to:
Posts (Atom)