Saturday, November 15

Our Favorite Christmas Gift Ideas for Boys

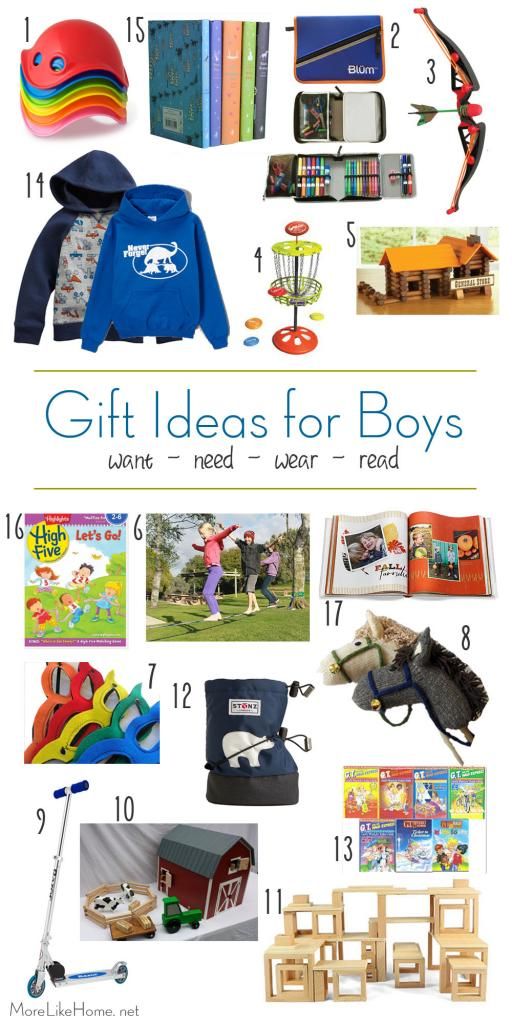
November is half over and we are well into the Christmas planning for our boys (check out our stocking stuffers)! It's my favorite season of the year and I love making it as fun and special as I can. And, of course, presents are definitely a part of that. But we've made a few decisions about Christmas (like keeping it Jesus centered, focusing on giving, and trying to reduce the amount of stuff we bring in) that have led to us cutting way back on how many gifts we give each year. I've heard of some families doing three gifts (like Jesus' three gifts from the wisemen), but this year we are going with four gifts. One gift from each of these categories:

Something they want,
Something they need,
Something to wear,
Something to read.

It is so hard to pick just a few things when we want them to have it all, so we'll see which things we finally settle on. But for now here are a few of our top contenders for the little fellas (ages 1 and 3).


Tuesday, November 11

Putting the Closet to Work

You may have forgotten we have a funky walk-in crawl-in closet in our master bedroom. Yeah, we kind of forgot about it too. And so it turned into the cluttered dumping grounds of everything that is in the way. Behold.


We at least kept this convenient walking crawling path that allowed us to climb into the back recesses of space below the sloped ceiling. I should have taken a picture that showed the back better, it reached back pretty far until the the ceiling meets the floor.


Oh, and all the dump-stuff didn't fit around the crawling path so we spread the dump-zone out into the landing. Oops.


So obviously some serious organizing was in order, but first we needed some storage space! My original idea was to use the same adjustable shelving we put up in the garage, but the detail & leveling needed to navigate that sharp ceiling slope was more than I was up for. So I went with my next best (basically free) option. I took a few of the wooden shelves from that adjustable system and screwed them together into a moveable bookcase thing like. I didn't have to buy any new wood and I used up more of the shelves that were stacked in my garage! This is what I ended up with:


We dragged it upstairs and after a couple hours of sorting & decluttering we were left with this... not so monstrous sight. Huzzah!

Monday, November 3

DIY Oversize Ruler {great as a height chart}

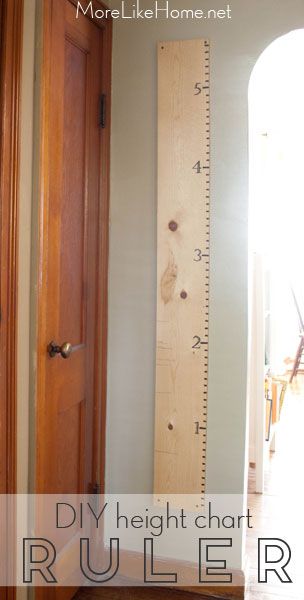
We've had a lot of fun keeping track of our boys' growth by measuring their height. I think the boys have even more fun than we do! I know a lot of people mark right on the door frame, but we wanted something that would be easy to take with us if we ever move. A simple board seemed like a good solution, but a little on the plain side. So I just painted on a few numbers to make it look like an over-sized ruler and BOOM - a height chart & fun art piece all in one!


And the best part is it SO easy to make. All you need is a little black acrylic paint and a board! We used a 1x8 (but you can use whatever width you like) cut to the height you want. If you buy a 6' long board you wouldn't have to cut it at all. We used a board from the garage and planned to cut it to 6' 6" so we would have room to paint a "6" on it, but had a mis-measure and ended up at 5' 6". Oops. Measure twice, cut once guys. My bad. It still worked out fine, though!


Then I just had to spend a few minutes painting it. I started by using my tape measure and a pencil to mark each inch along the side of the ruler. For the numbers I picked a font that looked old-ruler-ish and printed the numbers I needed in a large size. Then I did that deal where you color on the back of the page with pencil, lay it on the board, and trace around the numbers to leave their outline on the board. I used my black paint to fill in numbers and mark each inch along the ruler.

You can download my number template here

Of course you could do the same thing with any font you like if you want a different look!


We decided to mount ours 1' off the floor because that would be easy remember and replicate if we ever need to hang it somewhere else. Plus it looked pretty good and was low enough to mark newborn height and high enough that I'm pretty sure our boys will never outgrow it (tall genes? I think not.). We used a drywall screw in each corner to attach the ruler to the wall.


It fit perfectly in this little corner of the hallway that can't be used for anything else!


Do you (or did you) keep a height chart for your kids? Isn't it fun to look back and remember how tiny they used to be? I'd love to hear about your height chart!

Friday, October 24

Faucet Overhaul {and how to install your own}

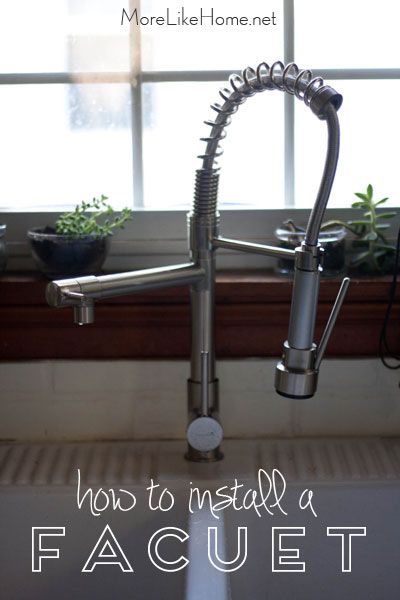
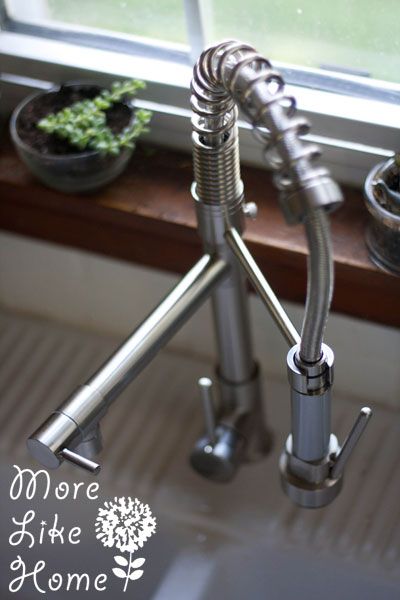
This story starts with a lesson we learned the hard way - don't buy a faucet from Ikea. At least not the cheap one. To make a long story short, the hot water started leaking non-stop and the only way to stop it was to turn off the water below the sink. We lived with it for a few weeks. But let's face it, I have a limited amount of sanity per day and I can't spend it crawling under the sink to get to the hot water. So we swapped our faucet for this guy.


One thing we learned through our faucet hunt was that they can be a little pricey. Even at Ikea most of the faucets are $150-250. So when Husband's search turned up this $105 version on Amazon with great reviews, we decided to give it a try. It had the single-hole design we needed and we loved the modern style. Plus after living without a sprayer we were glad to add one into the mix. Once it arrived Husband had our new faucet up and running in just a couple hours. If you're looking to get your feet wet (ha?) with DIY home improvement a new faucet could be a great place to start! So here's the simple guide to how we did it.


The first step is always turning off the water.
Subscribe