This week we learned that coat racks can be crazy expensive. Expensive enough to make me wonder "Do we really need to hang those coats up?" The cheapest we found was almost $30 for four hooks! Fortunately we found a DIY option that was much more affordable, and we ended up with two huge coat racks for under $25! (you may want to check out this super cute version we made with Ikea hooks, too!)
This is our first winter in our new house, and we've quickly developed a bit of a coat problem. It looks like this:
That would be all the snow pants and snow coats we own. And this is where we've kept them since November. The wouldn't fit in our little coat closet, and I didn't want snowy footprints through the house so we just dropped them by the door. Until this week, when I realized the crazy obvious solution I'd been overlooking. The hallway.
Monday, February 20
Friday, February 3
Rustic Front Porch Console - Friday Hack
Our new house has given us a lot of firsts, and one of my favorites is our first front porch. I have wonderful memories of our front porch growing up - eating breakfast with my dad and sisters, watching it rain, chatting with friends and family - and I can't wait to start making memories like that with my boys. So far our porch is pretty bare, but I'm excited to spruce it up this spring!
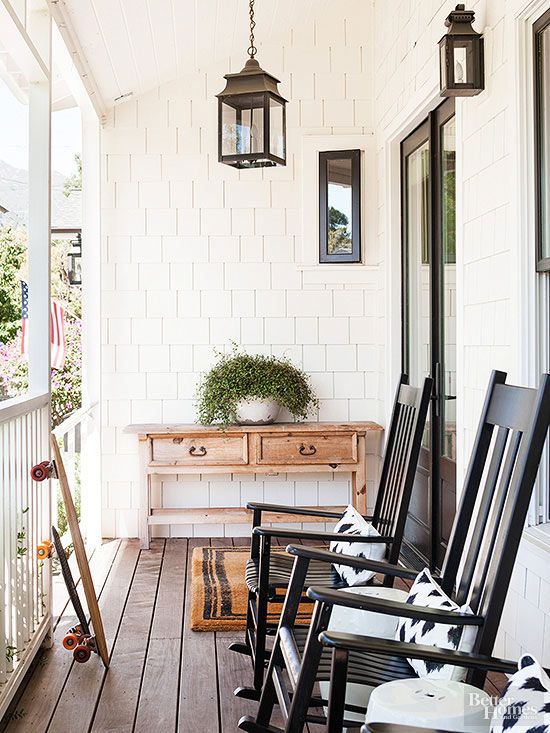
I keep going back to this porch I pulled out of a BHG magazine. I love the fresh mix of white and black that's warmed up with natural elements. And one of my favorite features is that rustic console by the door. I know console tables usually make an appearance in hallways or entertainment centers, but a porch is actually another great place to work in a console!
Bringing furniture onto your front porch makes it feel more like an extension of your home. It creates a warm welcome for guests and a comfortable space for you to relax. But... this rustic console is great addition for more than just its looks. It's also a functional place to drop your bags or groceries while you unlock the door, and a handy place to keep things like a deck of cards for chilling on the porch or a weeding tool you can grab for the front flower bed!
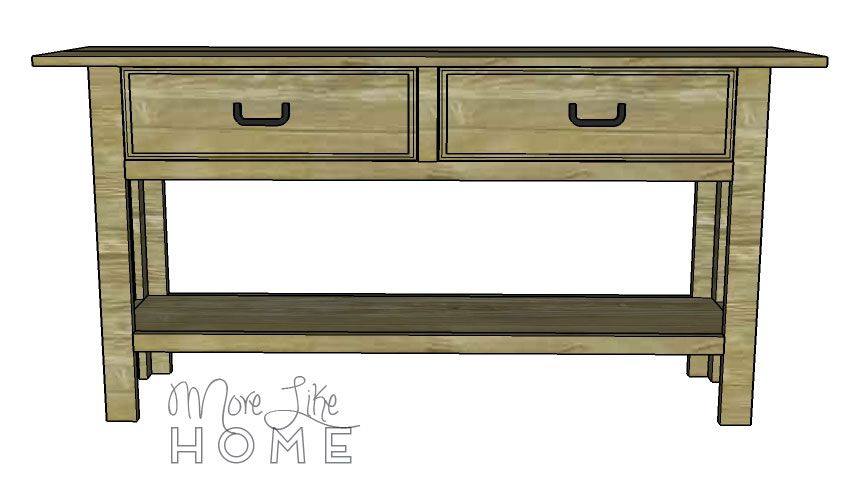
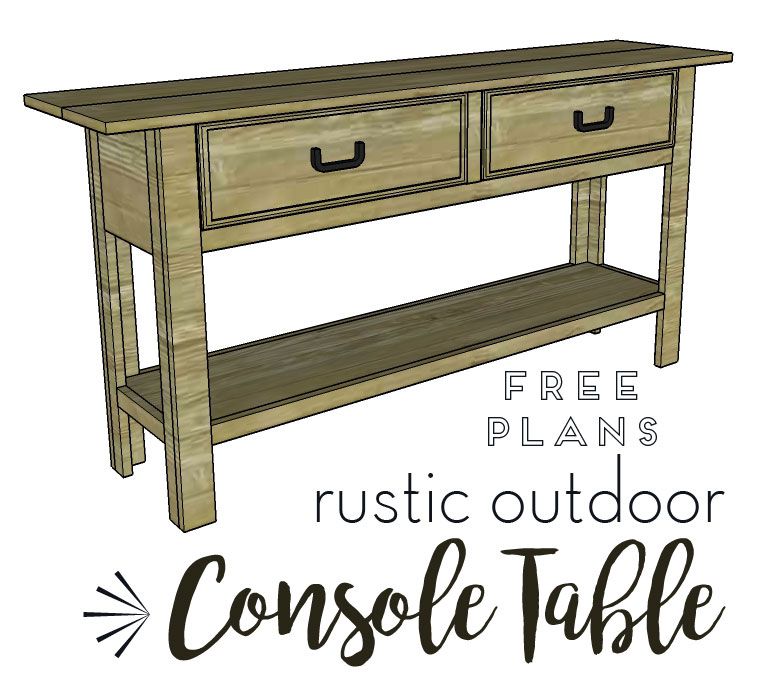
Here's what you need to build your own:
1 - 1x3 @ 10'
2 - 1x2 @ 10'
1 - 1x2 @ 8'
1 - 1x10 @ 6'
3 - 1x8 @8'
1 - 1x12 @ 10'
1x2" plywood - two pieces 21.5" x 10.5"
1/2" trim
Kreg Jig
1 1/4" pocket hole screws
1 1/4" wood screws
finishing nails
wood glue
Finished Dimensions: 61" wide x 22.5" wide x 30" tall
Cut List:
(A) 4 - 1x3 @ 29.25" (leg front)
(B) 4 - 1x2 @ 29.25 (leg side)
(C) 2 - 1x10 @ 8.25" (sides)
(D) 1 - 1x10 @ 48" (back)
(E) 3 - 1x2 @ 48" (stretchers)
(F) 1 - 1x2 @ 7.5" (stile)
(G) 2 - 1x2 @ 8.25" (side stretchers)
(H) 2 - 1x8 @ 65" (top)
(I) 2 - 1x12 @ 51.5" (shelves)
(J) 3 - 1x2 @ 11.25" (drawer dividers)
(K) 2 - 1/2" plywood @ 21.5 x 10.5" (drawer bottom)
(L) 4 - 1x8 @ 10.5 (drawer sides)
(M) 4 - 1x8 @ 23" (drawer front/back)
(N) trim
I keep going back to this porch I pulled out of a BHG magazine. I love the fresh mix of white and black that's warmed up with natural elements. And one of my favorite features is that rustic console by the door. I know console tables usually make an appearance in hallways or entertainment centers, but a porch is actually another great place to work in a console!
image via pinterest
Bringing furniture onto your front porch makes it feel more like an extension of your home. It creates a warm welcome for guests and a comfortable space for you to relax. But... this rustic console is great addition for more than just its looks. It's also a functional place to drop your bags or groceries while you unlock the door, and a handy place to keep things like a deck of cards for chilling on the porch or a weeding tool you can grab for the front flower bed!
Here's what you need to build your own:
1 - 1x3 @ 10'
2 - 1x2 @ 10'
1 - 1x2 @ 8'
1 - 1x10 @ 6'
3 - 1x8 @8'
1 - 1x12 @ 10'
1x2" plywood - two pieces 21.5" x 10.5"
1/2" trim
Kreg Jig
1 1/4" pocket hole screws
1 1/4" wood screws
finishing nails
wood glue
Finished Dimensions: 61" wide x 22.5" wide x 30" tall
Measure twice, cut once (seriously, though). Use glue in every step. Read through all the
instructions before you begin. Be safe, have fun, and let me know if
you have any questions!
(A) 4 - 1x3 @ 29.25" (leg front)
(B) 4 - 1x2 @ 29.25 (leg side)
(C) 2 - 1x10 @ 8.25" (sides)
(D) 1 - 1x10 @ 48" (back)
(E) 3 - 1x2 @ 48" (stretchers)
(F) 1 - 1x2 @ 7.5" (stile)
(G) 2 - 1x2 @ 8.25" (side stretchers)
(H) 2 - 1x8 @ 65" (top)
(I) 2 - 1x12 @ 51.5" (shelves)
(J) 3 - 1x2 @ 11.25" (drawer dividers)
(K) 2 - 1/2" plywood @ 21.5 x 10.5" (drawer bottom)
(L) 4 - 1x8 @ 10.5 (drawer sides)
(M) 4 - 1x8 @ 23" (drawer front/back)
(N) trim
Tuesday, January 31
Child-size Play Oven Mitts (and reversible apron)
With all these boys in the house, I jump at the chance to make
something floral and frilly for a little lady. So when my sister gave my
niece a little play kitchen for Christmas, I was thrilled to make the
sweetest little apron and oven mitt set to go with it. It's one of the
most fun projects I've made in a while! And my niece loved them so much,
she would hardly take them off!
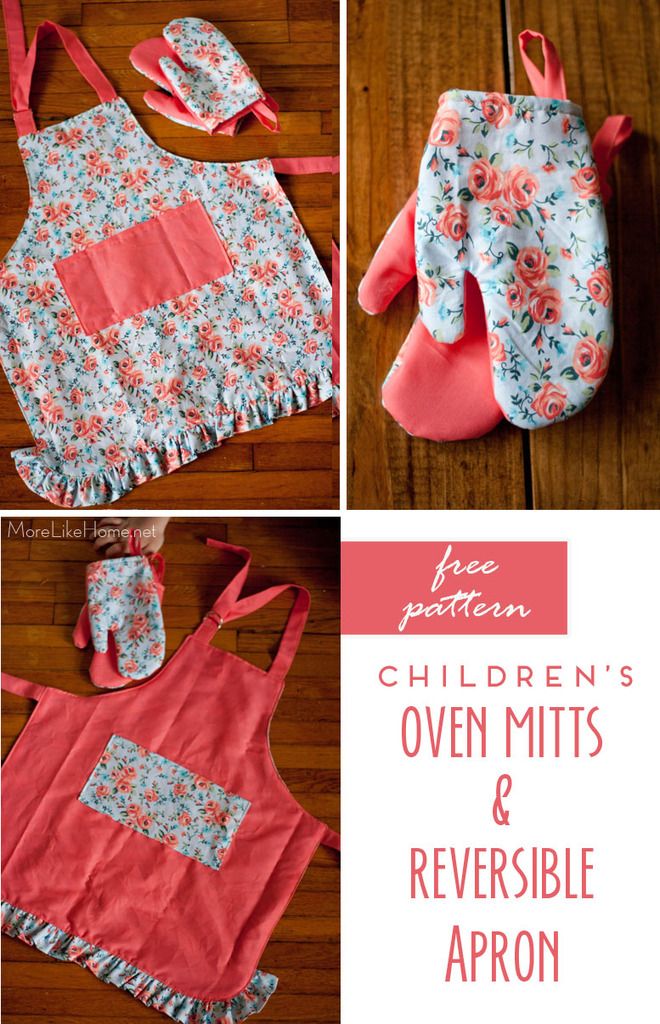
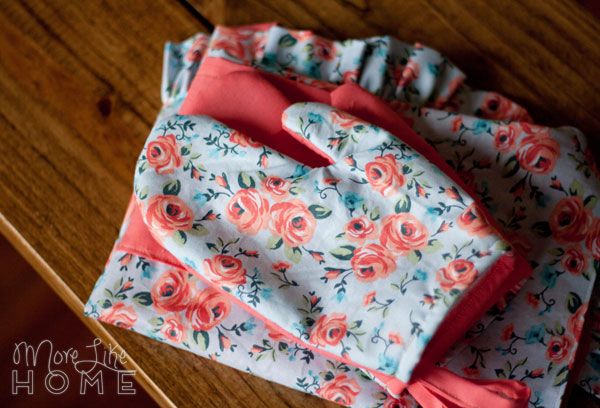
I've made aprons before, but this was my first attempt at mini oven mitts. I love how they turned out! I used the same fabric as the apron and lined them will fleece batting to help them hold their shape and feel like real oven mitts. I also added little loops for hanging them on a hook on her play kitchen.
It made such a cute little set!
I made the apron using my kid's apron pattern. It's a reversible apron with a pocket on each side, an adjustable neck strap, and a super cute ruffle around the bottom (but you can omit the ruffle if it's not your jam).
I've made aprons before, but this was my first attempt at mini oven mitts. I love how they turned out! I used the same fabric as the apron and lined them will fleece batting to help them hold their shape and feel like real oven mitts. I also added little loops for hanging them on a hook on her play kitchen.
It made such a cute little set!
I made the apron using my kid's apron pattern. It's a reversible apron with a pocket on each side, an adjustable neck strap, and a super cute ruffle around the bottom (but you can omit the ruffle if it's not your jam).
Tuesday, January 17
Wifi Password Printable for Guests
We like our spare room best when it's full. Spare rooms. We have two. Because we love having visitors. And with large families out of state, we're trying to make our house as appealing as possible. Hint hint, family. We haven't done much in the guest rooms yet, but I'm hoping to make them as inviting and guest-friendly as possible. So when I saw this idea on pinterest, I jumped on it! It's a super simple idea that can be really helpful to guests as they settle in.
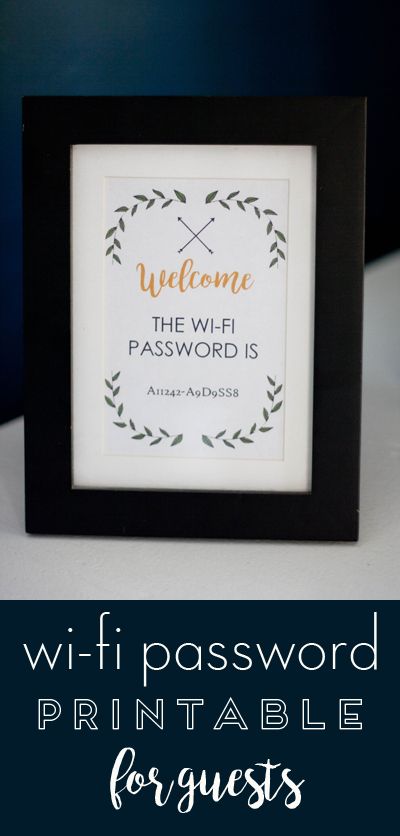
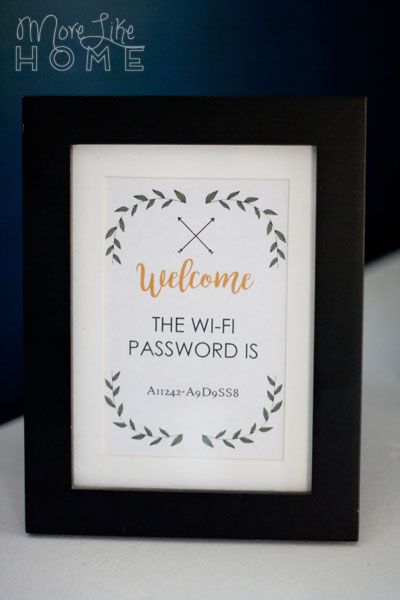
It's just a little frame to display the wi-fi password. So simple, but so helpful! And I made a printable version so you can print your own. You can download the pdf here in both 4x6 and 5x7 sizes.
We went with the 4x6 (we already had an empty frame that size) and put it on the little dresser we use as a nightstand by the guest bed. It's easier for them to have it handy, and easier for us to not scramble to find it when someone asks.
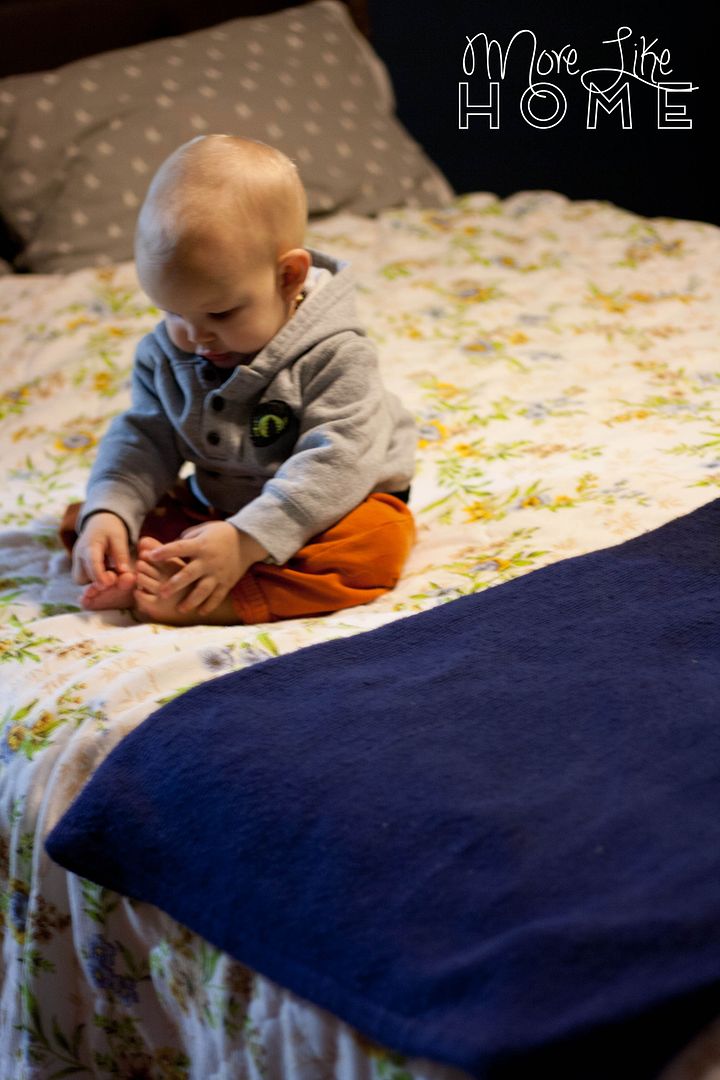
So... at least we have that. Did I mention I don't know what I'm doing in here? I'm doing a trial run with some thrift store bedding. And I might paint the walls. Or maybe get a new headboard. And shiplap.
So let's hear it: tell us your best tips for a guest room! Favorite colors, design elements, helpful amenities, anything. What makes your stay at someone's house enjoyable?
It's just a little frame to display the wi-fi password. So simple, but so helpful! And I made a printable version so you can print your own. You can download the pdf here in both 4x6 and 5x7 sizes.
We went with the 4x6 (we already had an empty frame that size) and put it on the little dresser we use as a nightstand by the guest bed. It's easier for them to have it handy, and easier for us to not scramble to find it when someone asks.
So... at least we have that. Did I mention I don't know what I'm doing in here? I'm doing a trial run with some thrift store bedding. And I might paint the walls. Or maybe get a new headboard. And shiplap.
So let's hear it: tell us your best tips for a guest room! Favorite colors, design elements, helpful amenities, anything. What makes your stay at someone's house enjoyable?
Subscribe to:
Posts (Atom)