
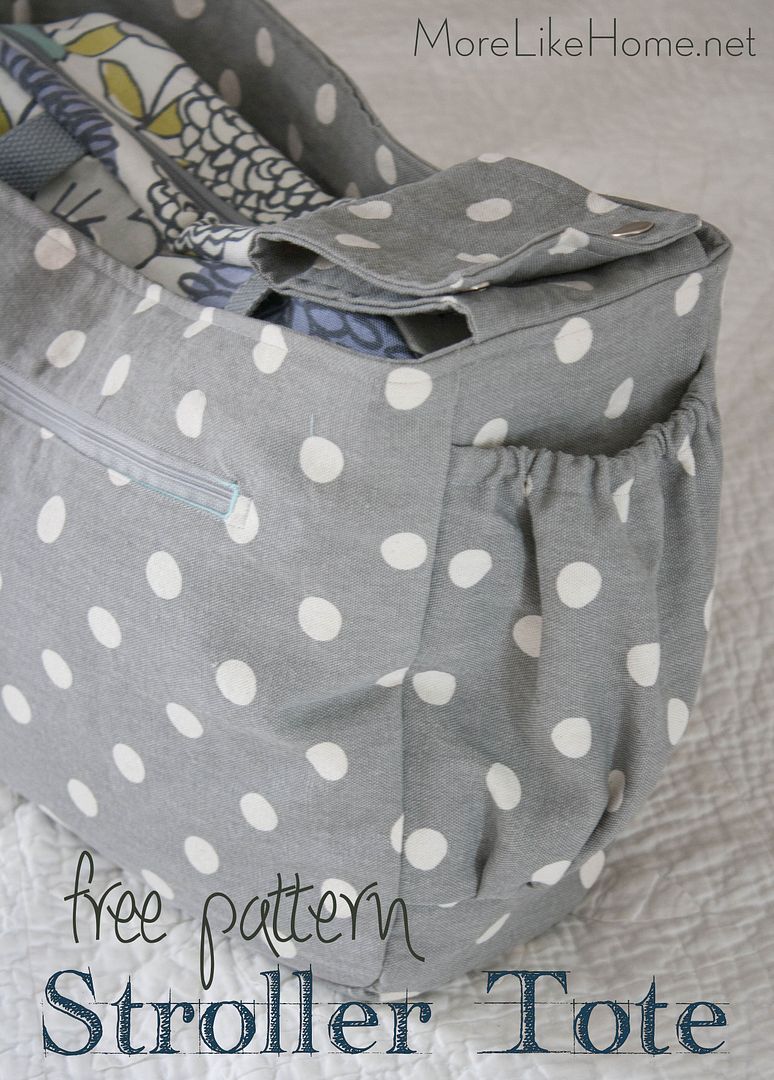
This tote is like the original in that it attaches easily to a standard stroller, but instead of being a full diaper bag it's simply an open tote that is a full-time stroller bag (it doesn't have the option to convert to a messenger style bag... but of course you could add a shoulder strap if you want to. DIY, guys!)
This is perfect for anyone who already has a diaper bag they love because you can just tuck your favorite bag inside the tote. Plus you can leave the tote attached to the stroller so it's ready to go any time. If your kids are a little bigger (like our four year old who doesn't really need a diaper bag anymore but still needs a stroller sometimes) this is a great option to tuck in a jacket, some snacks, and a sippy cup for while you're out.
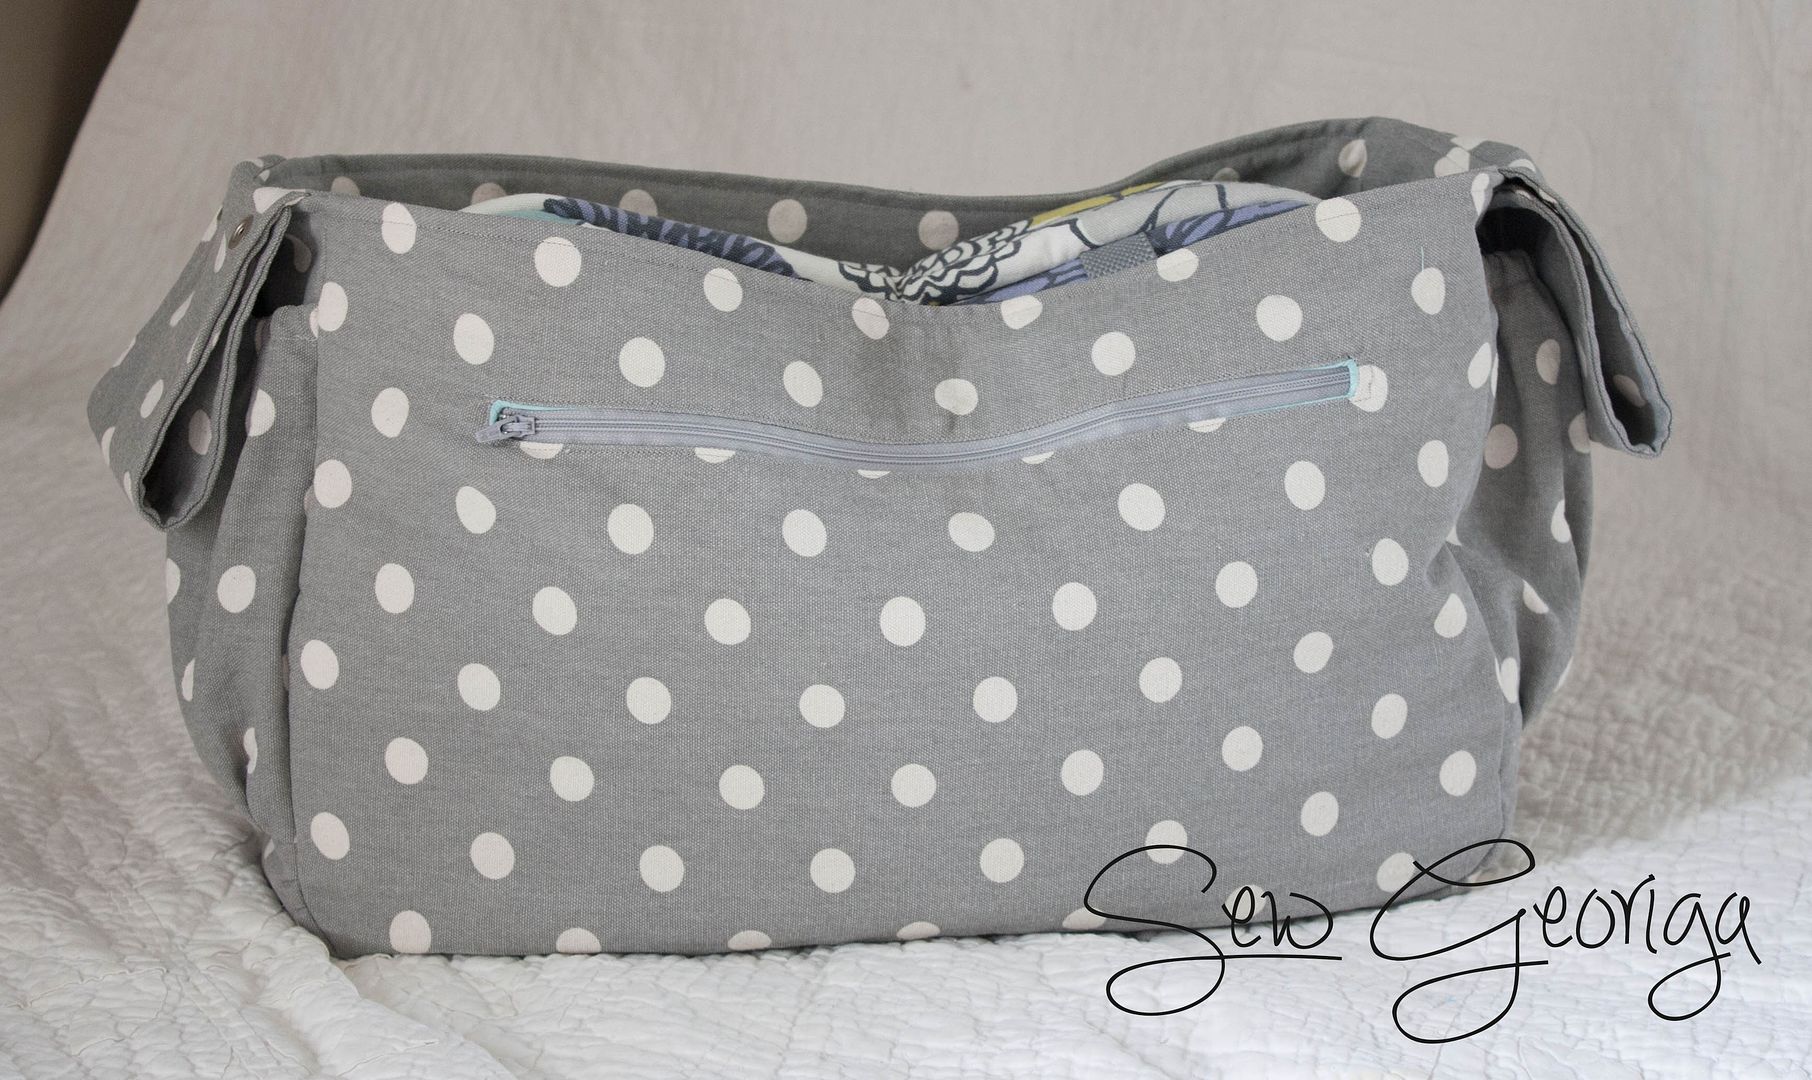
We've had several beginners make our stroller-friendly diaper bag already with great success (check out some of their finished projects here), but this is a simpler pattern with fewer parts (and fewer steps!) that's good for anyone feeling overwhelmed with all that goes into the original stroller bag. As-is, it includes two water bottle pockets and two hidden zipper pockets (one inside and one outside), but as always feel free to customize it any way you like! If you're a beginner and feeling nervous you could skip all the pockets and just make the shell, or if you want more organization go ahead and add some extra pockets!
This pattern is for personal use only. I'm happy to offer all my plans and tutorials for free but I've put a lot of work and planning into these stroller bags & totes, so please don't ask others to pay for the work I've done. Thanks! :)
What you need:
- 2 yards duck cloth, canvas, or similar weight fabric I used the same fabric for the outer fabric and lining. If you want a coordinating lining instead you could get 1 yard each of two different fabrics. You could also make the bag reversible just by adding an extra set of water bottle pockets to the bag lining.
- 1/2 yard quilting cotton for the hidden pockets
- 1 1/2 yards medium weight fusible interfacing
- 12" of 1/4" wide elastic
- 9" zipper
- 12" zipper
- 4 sets of heavy duty snaps
Main Fabric if you're using a coordinating lining cut half the pieces from each fabric.
- 4 bag body 18.5 x 12" use a bowl as a template to round the bottom corners of the bag
- 2 bottom/side 40.5 x 6"
- 2 water bottle pockets 9.25 x 9.25" cut four for a reversible bag
- 4 stroller straps 11 x 5.5"
- 1 large pocket 18 x 14"
- 1 small pocket 18 x 12"
- 2 bag body 18.5 x 12"
- 1 bottom/side 40.5 x 6"
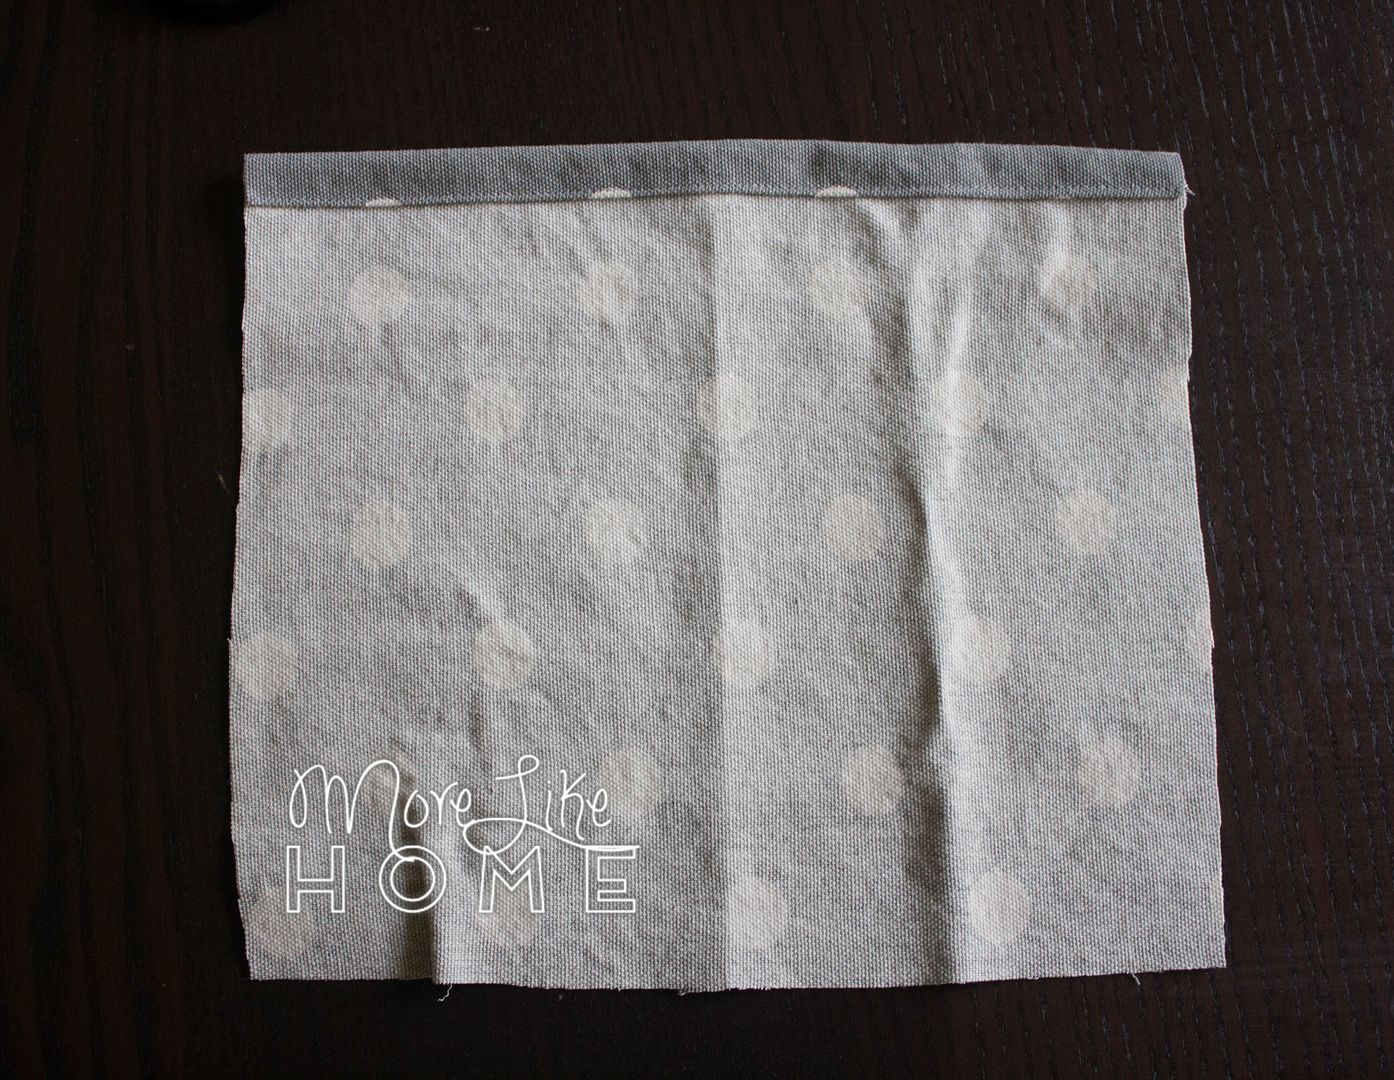
Fold down the top edge of each water bottle pocket 1/4" and press, then 1/2" and press. Stitch right along the folded edge to make a casing for the elastic.
Cut a piece of elastic 6" long and attach a safety pin to one end.

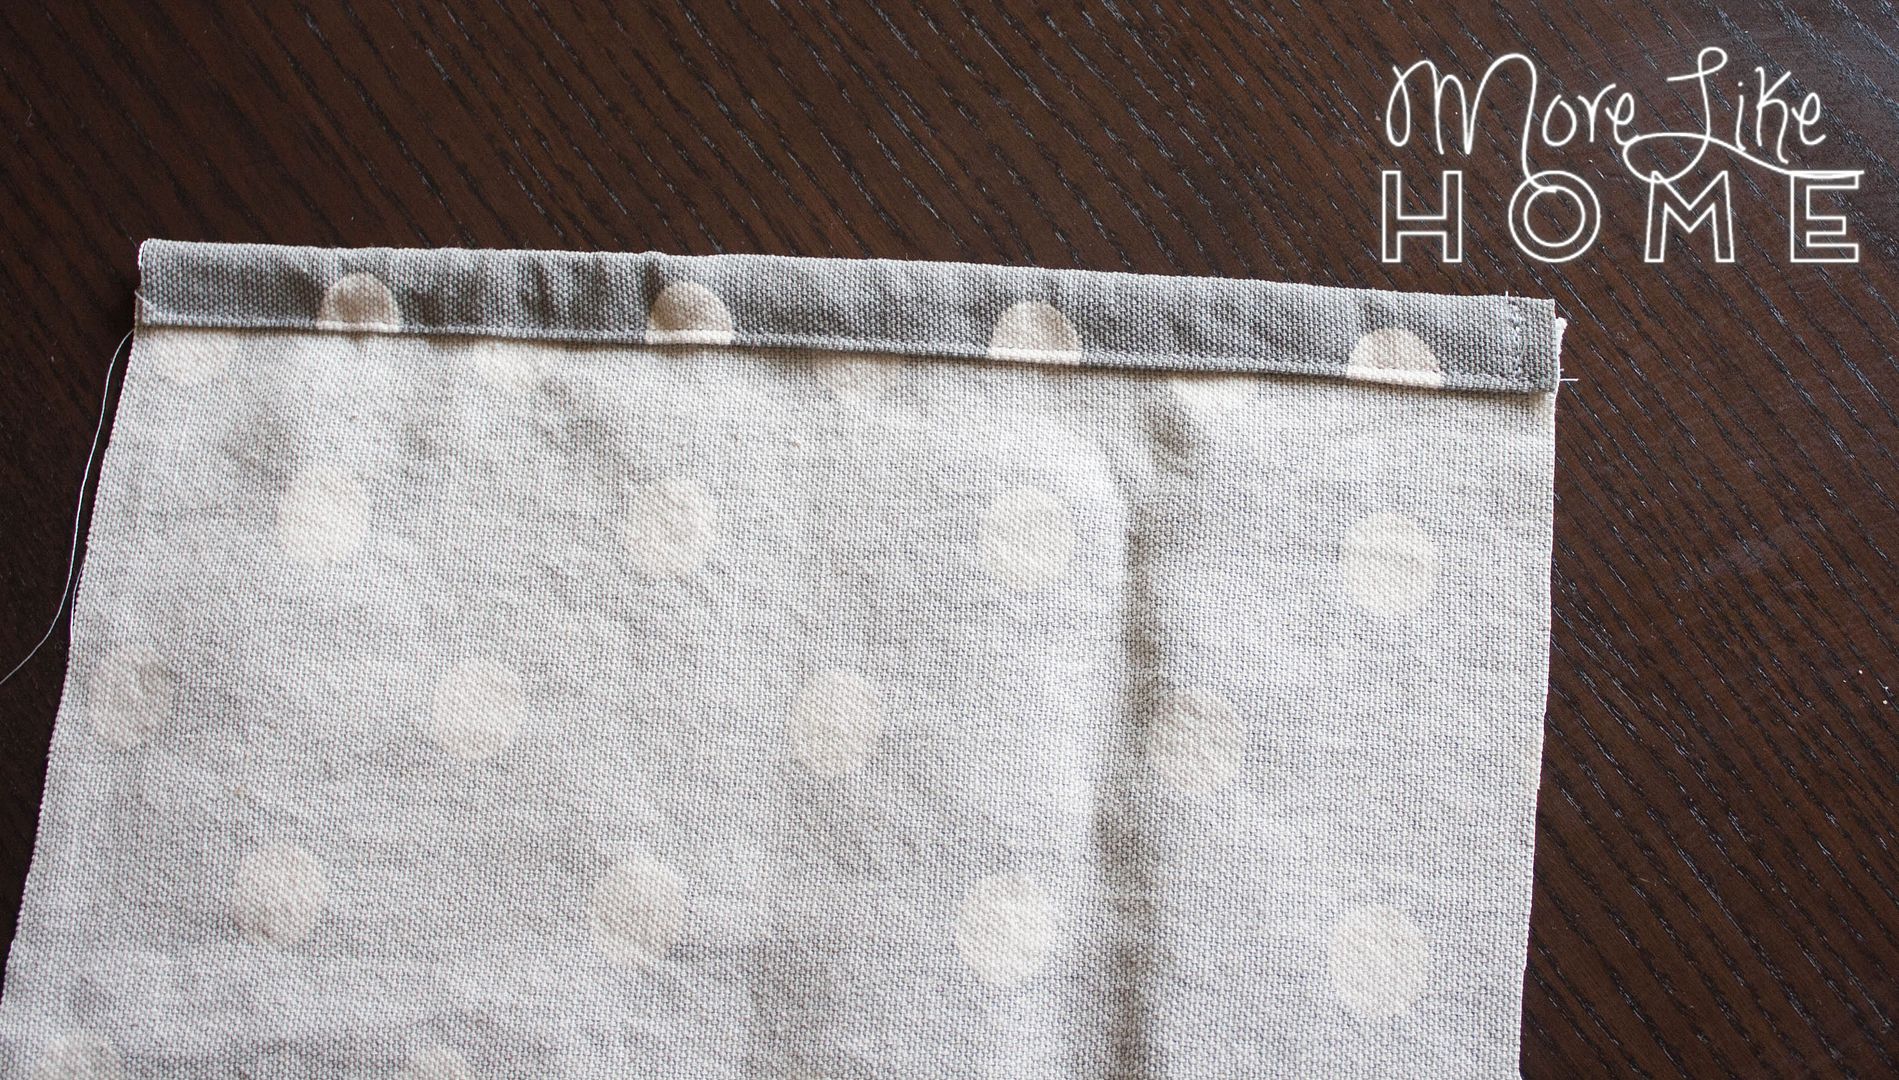
Slide the elastic into the casing just until the end of the elastic sits at the end of the casing. Stitch across the end of the casing with a 1/8" seam allowance to lock in that end of the elastic (the right side of the casing in the pic below).
Scoot the safety pin the rest of the way through the casing and pull the elastic until the end is even with the edge of the casing opening.
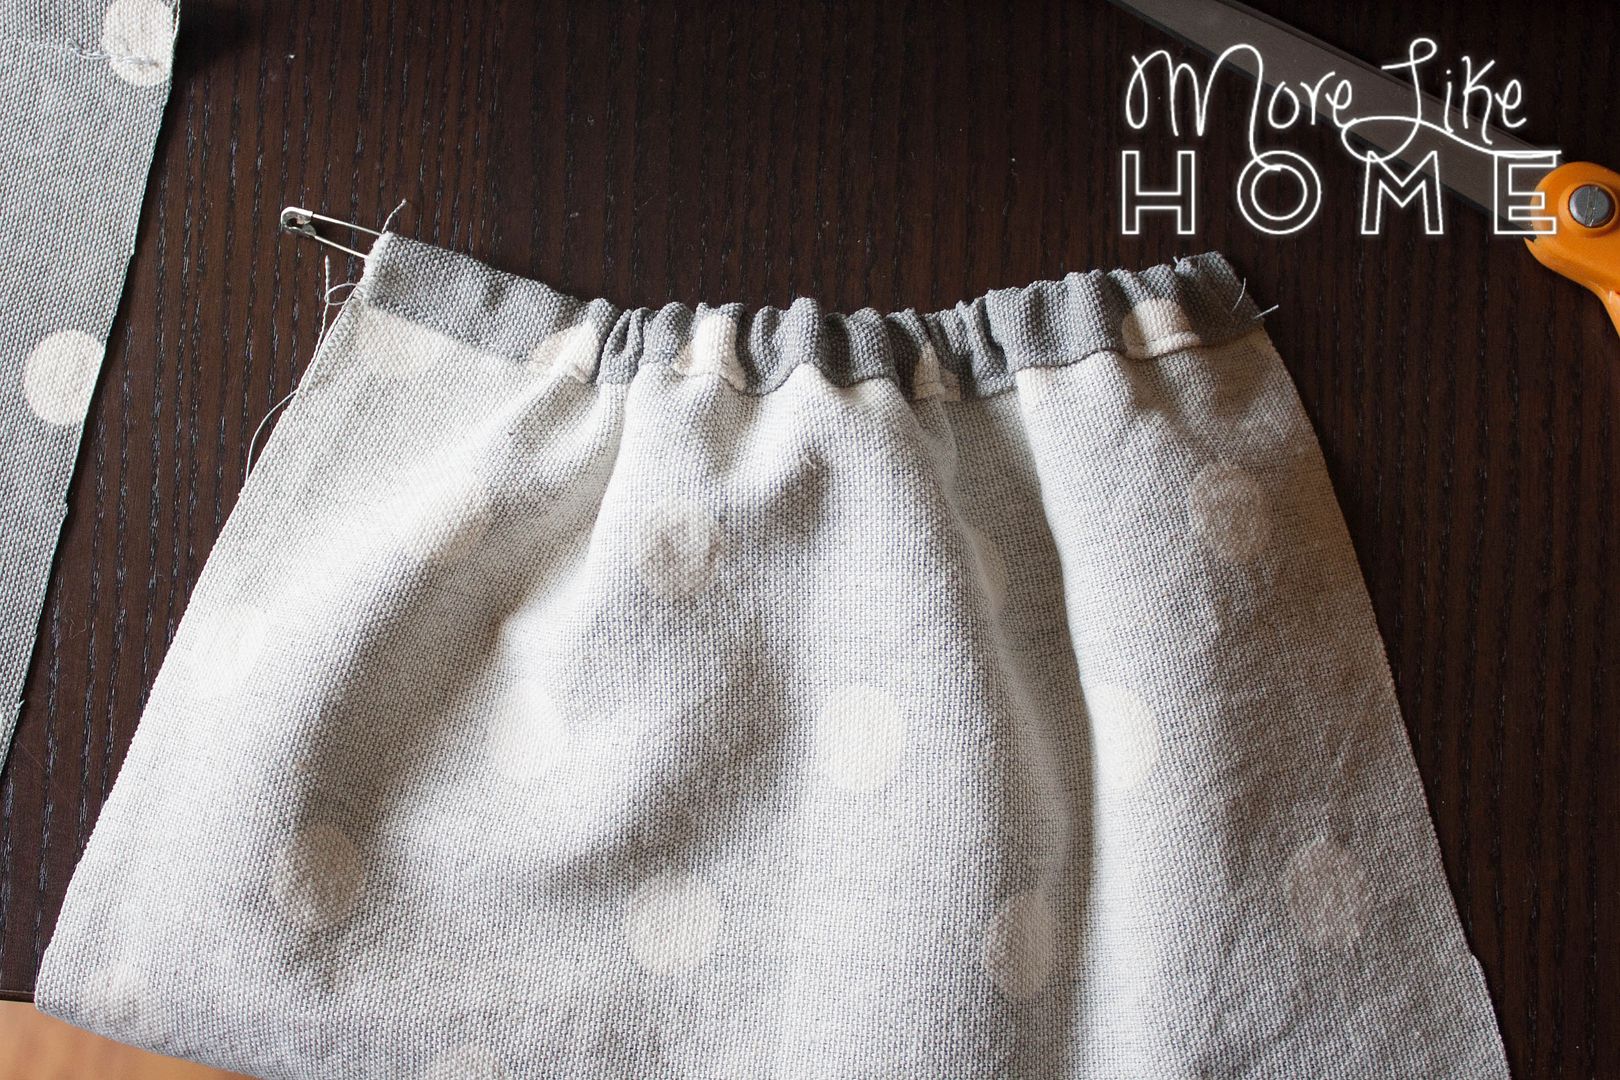
Stitch across this end of the casing with a 1/8" seam allowance to lock in the other end of the elastic.
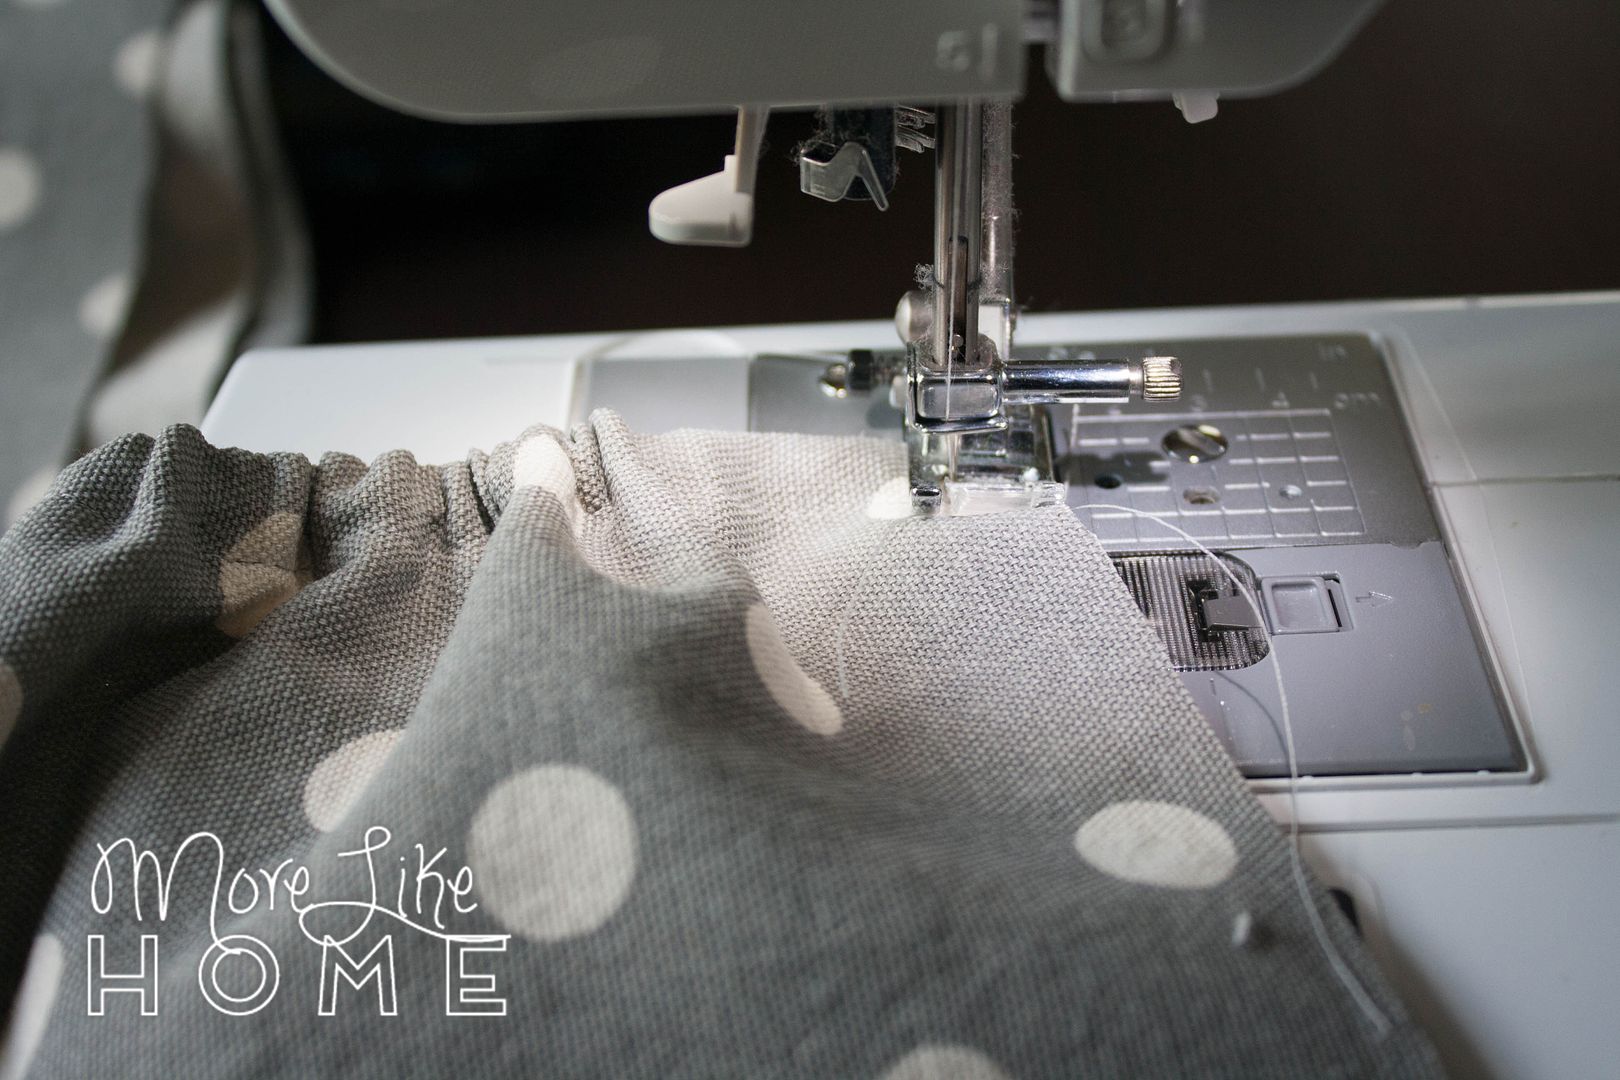
Next gather the bottom edge of each pocket (this is different than the original bag which had the pockets pleated at the bottom). I didn't take a picture of this step somehow, but it's pretty simple. Set your machine to the longest stitch possible and sew along the bottom edge of each pocket with a 1/4" seam allowance. Leave a few inches of tail when you clip the threads. Then pull the thread at either side of the pocket to gather the bottom edge until it is 6" wide.
Now you can attach the water bottle pockets to the outer bag bottom/side. Lay out the bottom piece face-up. Lay the water bottle pocket face-down on top, with the gathered edge pointing toward the short end of the bottom piece. The gathered edge of the pocket should be 9" from the short endt. Pin it in place.
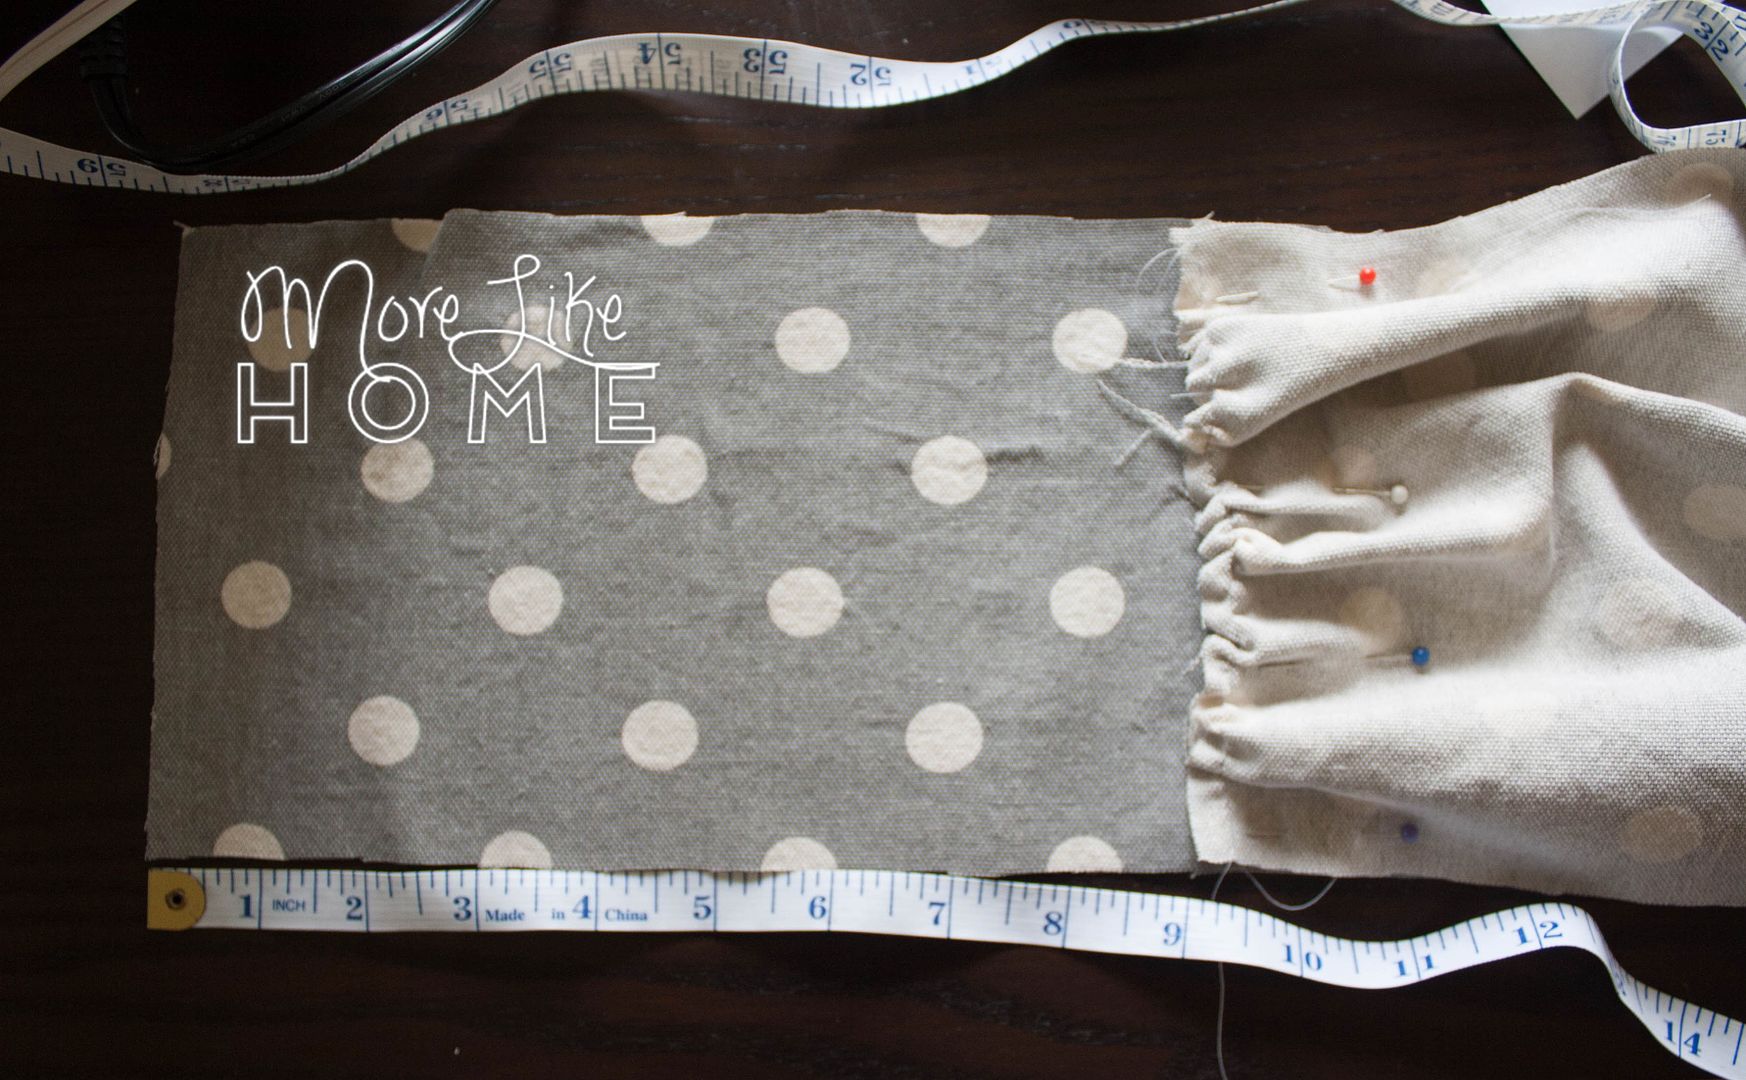
Sew the gathered edge of the pocket in place with a 1/2" seam allowance. Then use a zig zag stitch to sew right along the raw edge of the seam allowance to prevent fraying inside the pocket. (this pic is flip-flopped from the one showing the pocket pinned, but you can still see the line of stitching plus the zig zag stitching)
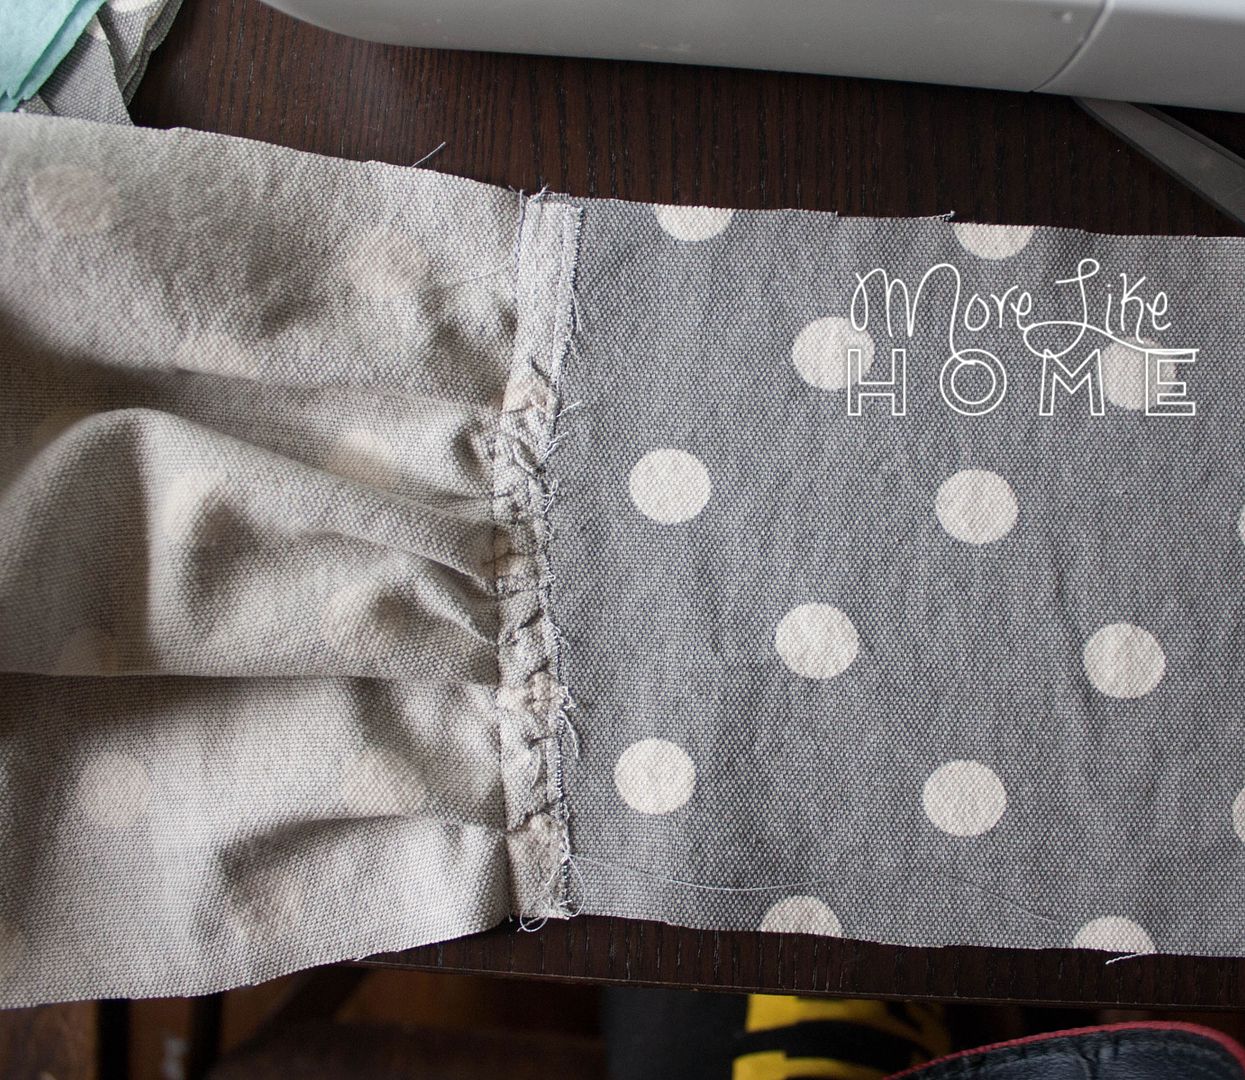
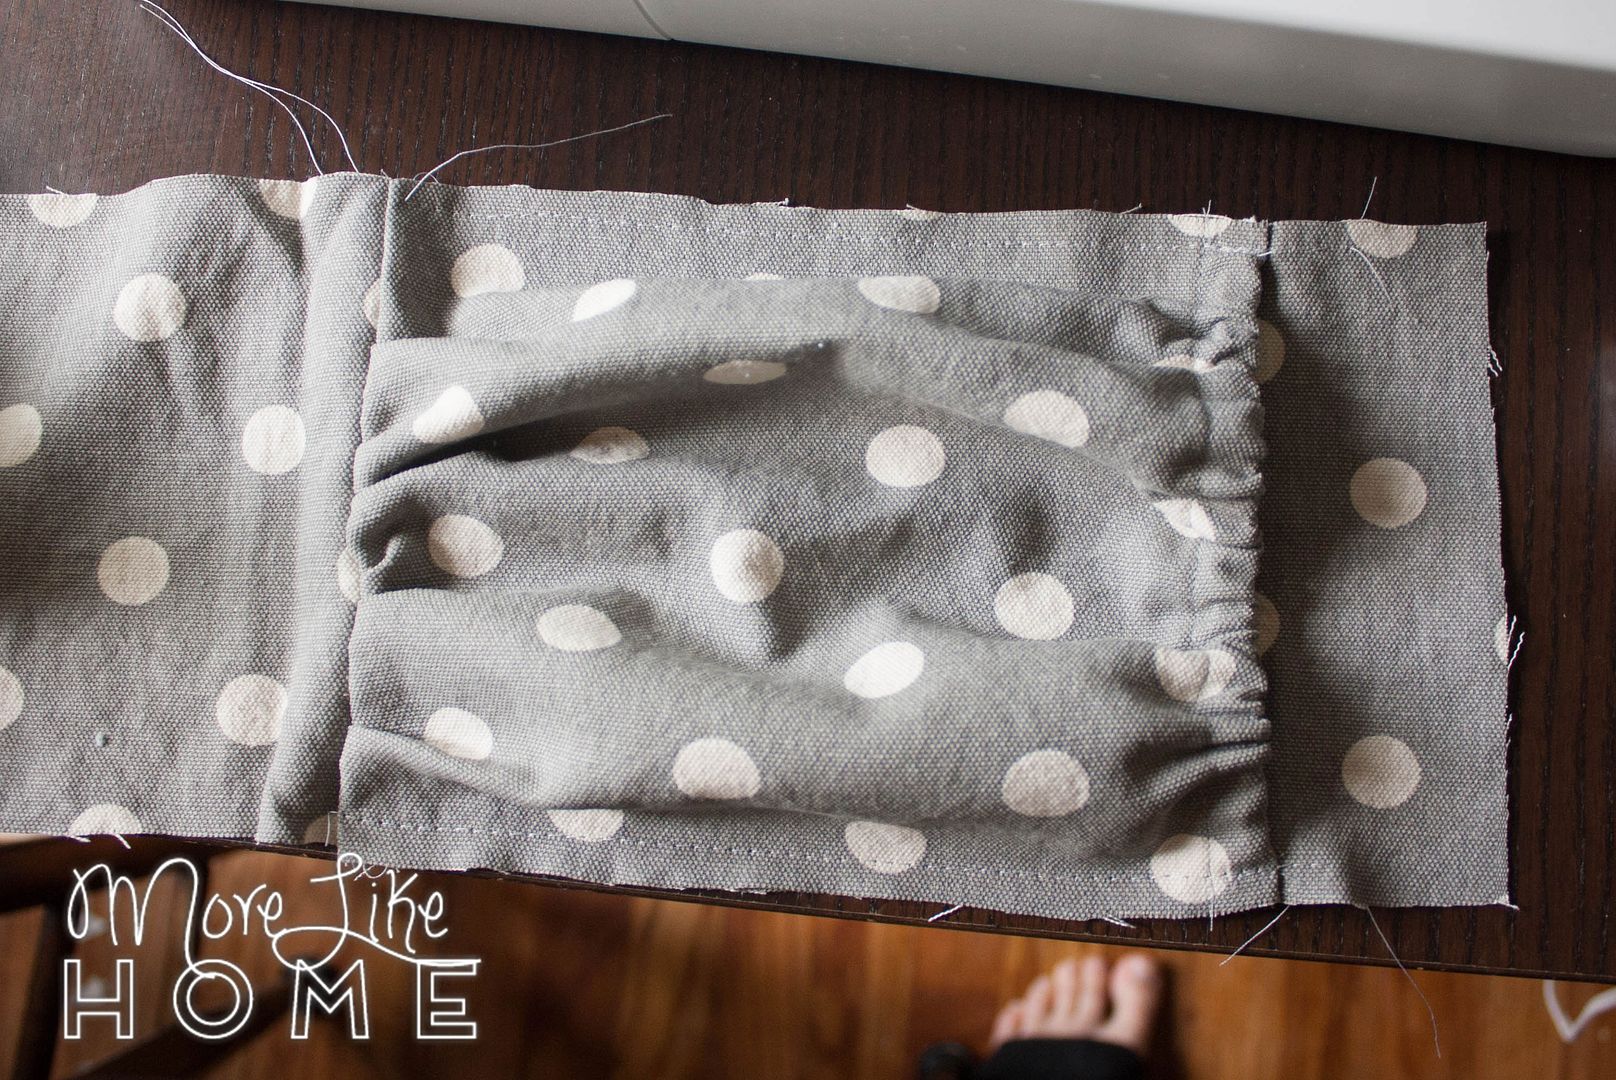
Now fold the pocket up along the seam toward the short end of the bottom/side piece. You should see the right side of the fabric now, and have a nice pretty gathered edge at the bottom of your pocket (the elastic edge of the pocket should be about 2" from the end of the bottom piece). Line up the sides of the pocket with the sides of the bottom piece and pin it, then baste along each edge with a 1/4" seam allowance to hold it in place. Attach the other water bottle pocket to the other end of the bottom piece in the same way.
Next up are the hidden pockets. I did one larger pocket and one smaller pocket to give a little variety, and because I couldn't decide which I liked better! I put one zipper pocket on the outer body of the bag and one on the lining, but you can switch them up anyway you like! I'll post the measurements for both pocket sizes in each step.
Small Pocket
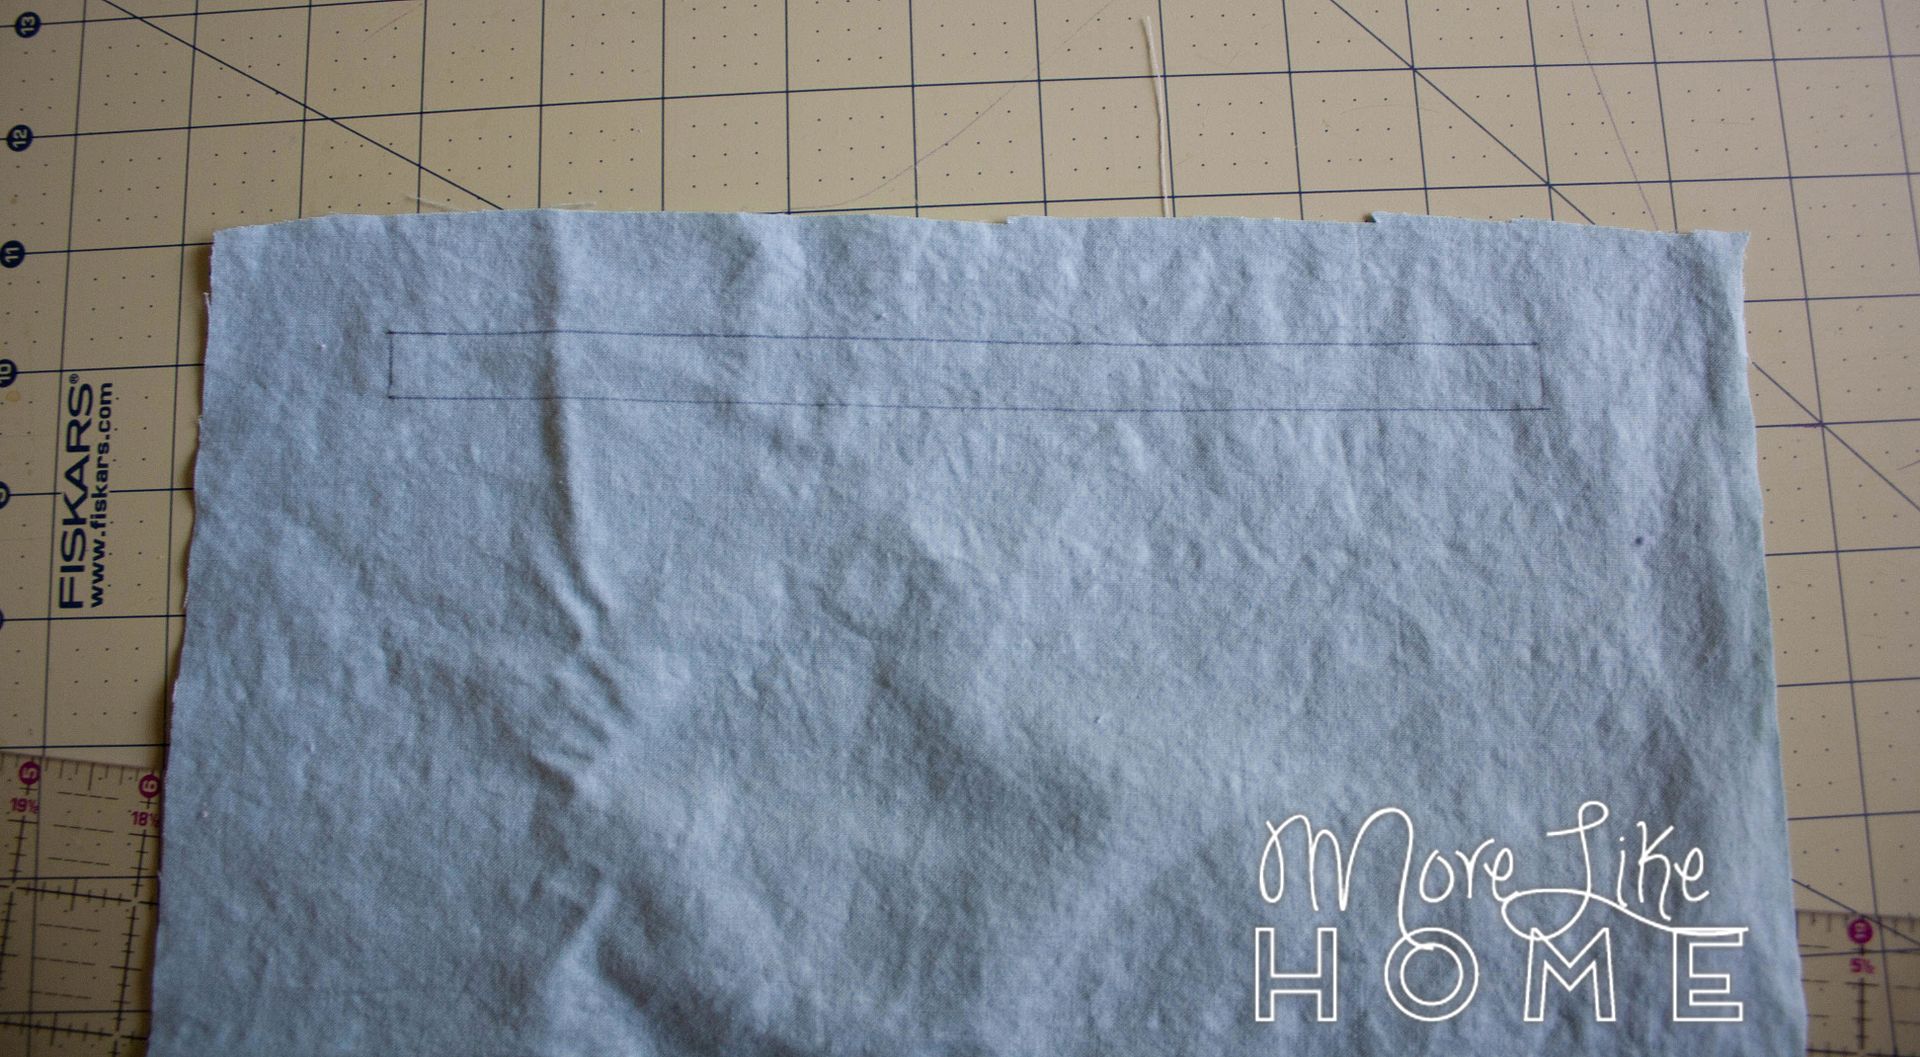
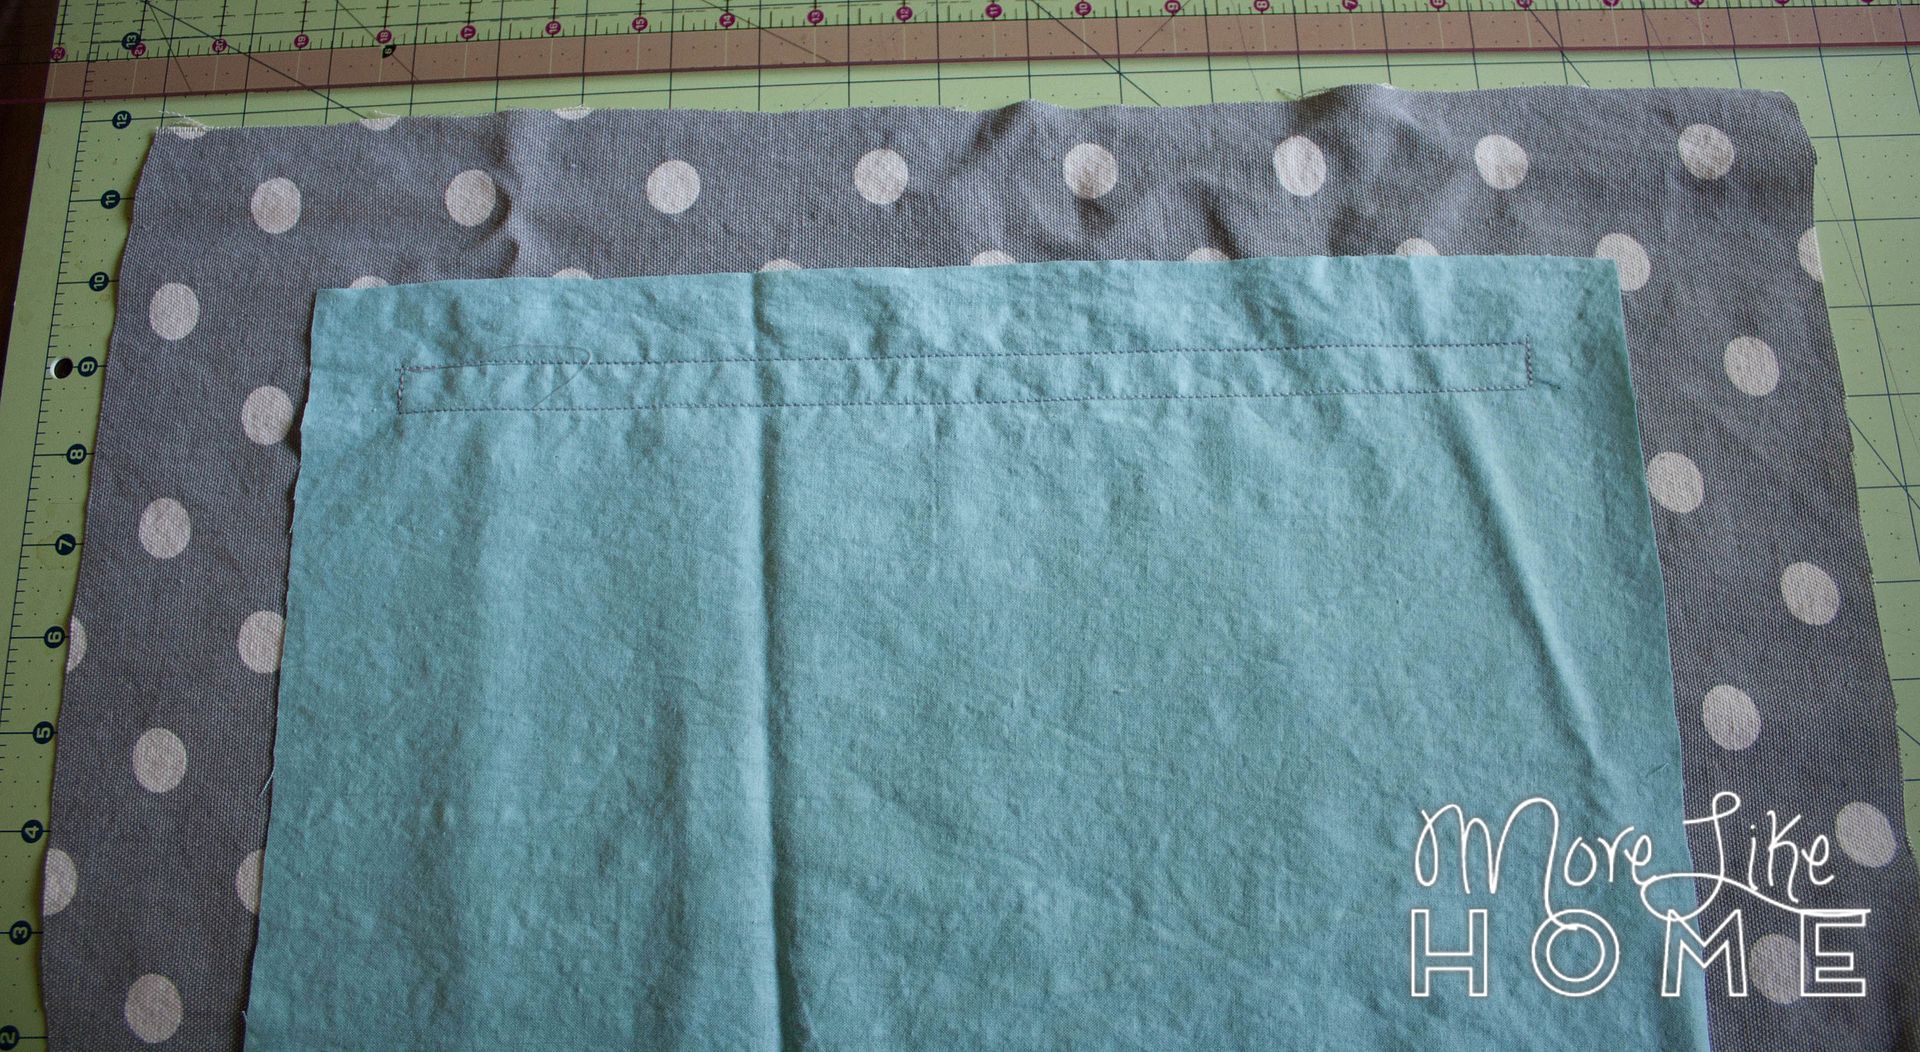
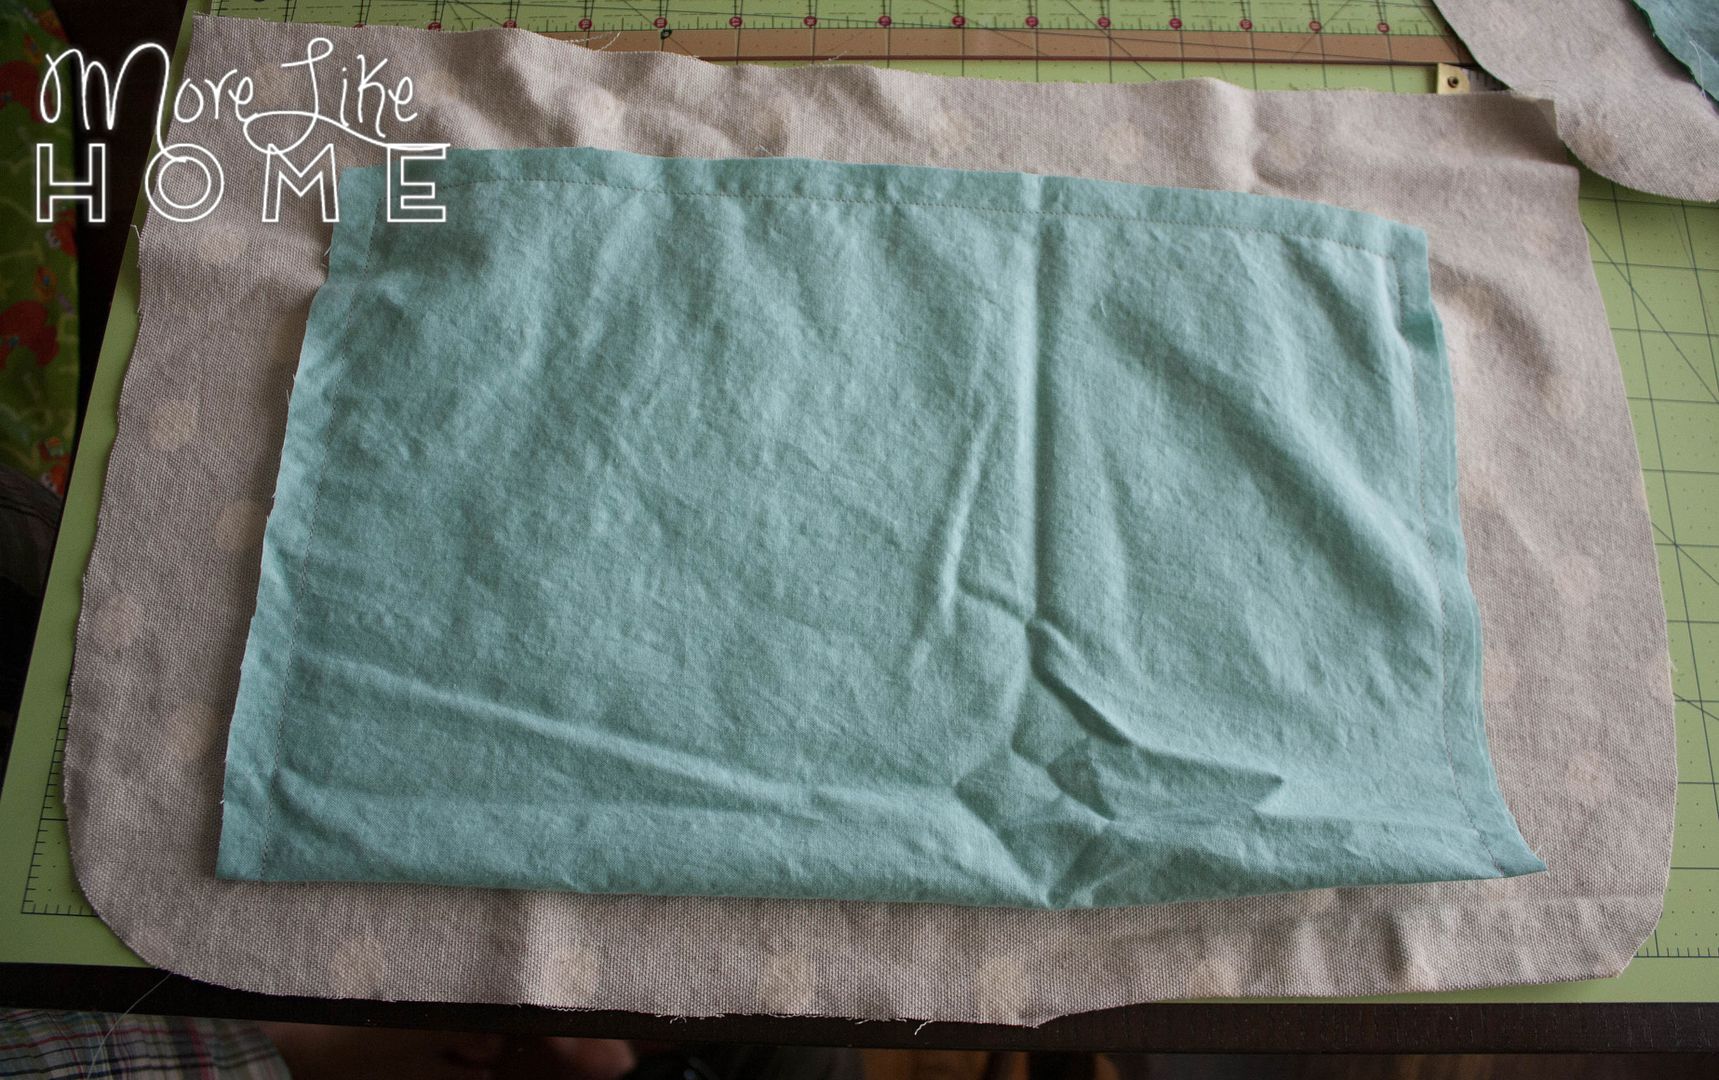
Lay the pocket right-side down, one of the 12" sides will be the top of the pocket. On the wrong side of the fabric, draw a rectangle 9" wide x 1/2" tall near the top edge. The rectangle should be set down 1" from the top edge and centered with 1.5" on either side.
Large Pocket
The 14" side will be the top edge of the pocket, on the wrong side of the fabric draw a rectangle 12" wide x 1/2" tall. The rectangle should be set in 1" from the top and both sides.
Small Pocket
Pin the pocket face down on the right side of one of the body pieces. Place it 2" down from the top edge of the bag, and center it with about 3.25" of space on each side. Pin it in place.
Large Pocket
Pin the pocket 2" down from the top and centered with 2.25" of space on either side.

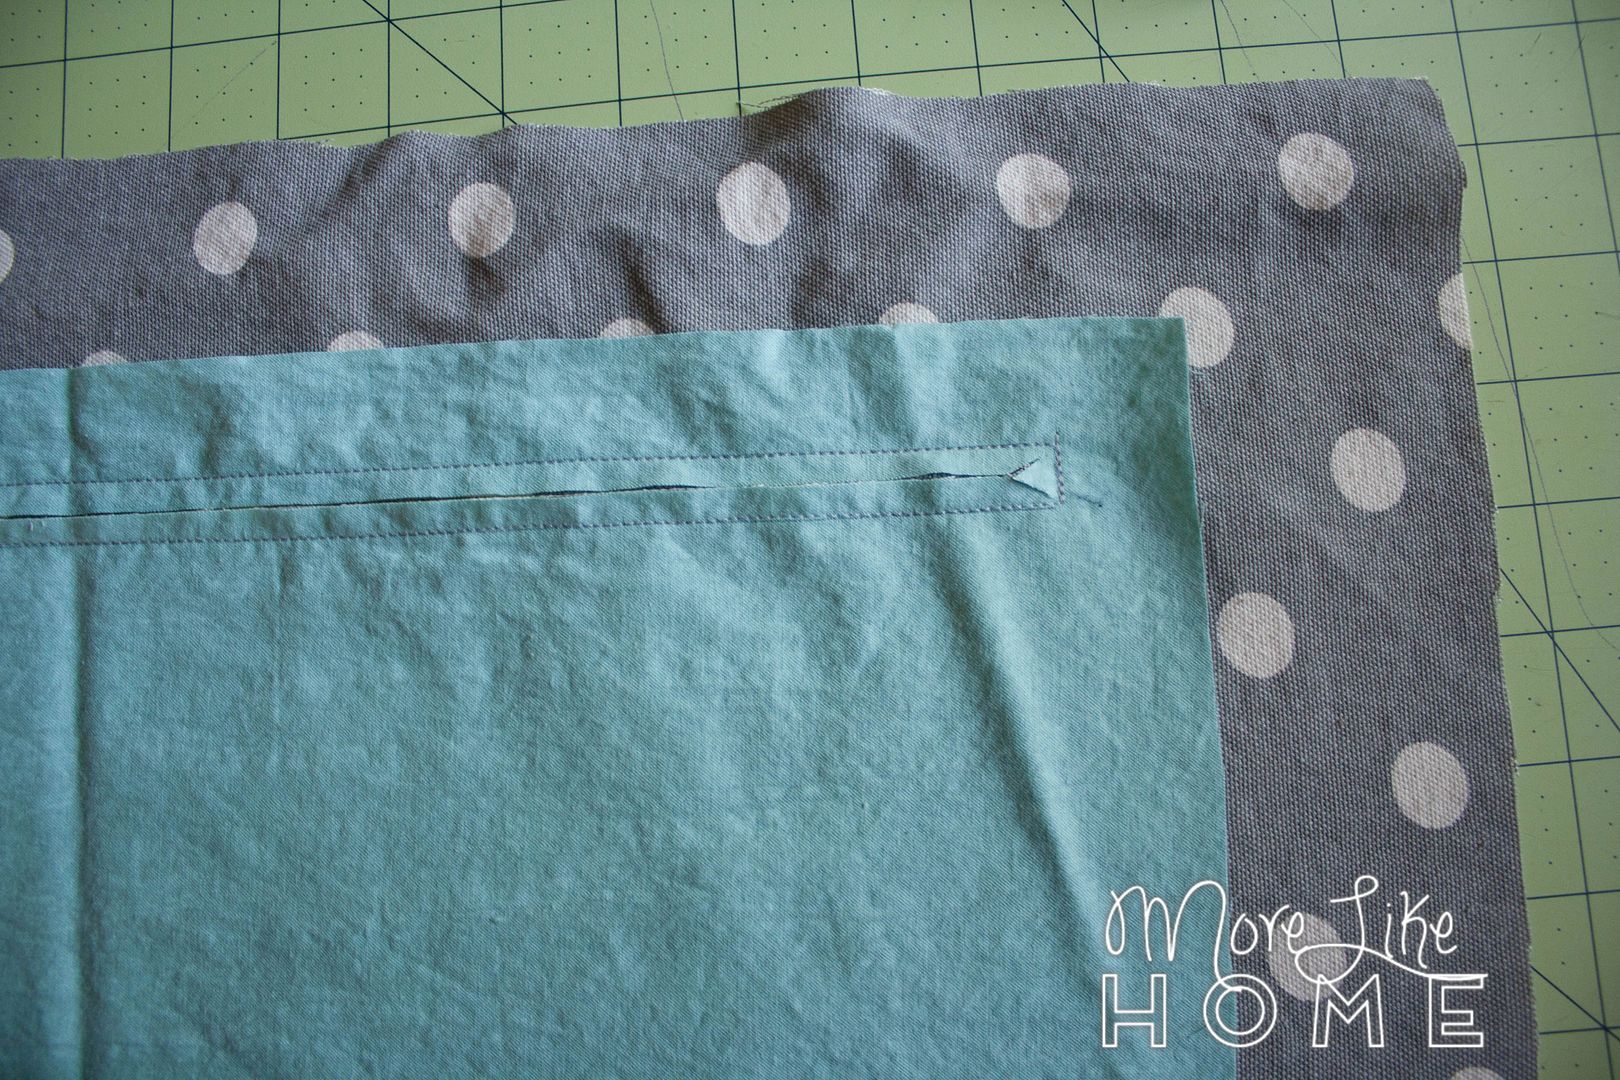
Sew along the lines of the rectangle you drew.
Use a rotary cutter to cut an opening down the middle of the rectangle, stopping about 1/2" from each end. Use scissors to very carefully clip from the end of the cut to the corners of the rectangle (you'll end up with little y-shaped cuts like in the pic below). Be careful not to cut through the stitching!
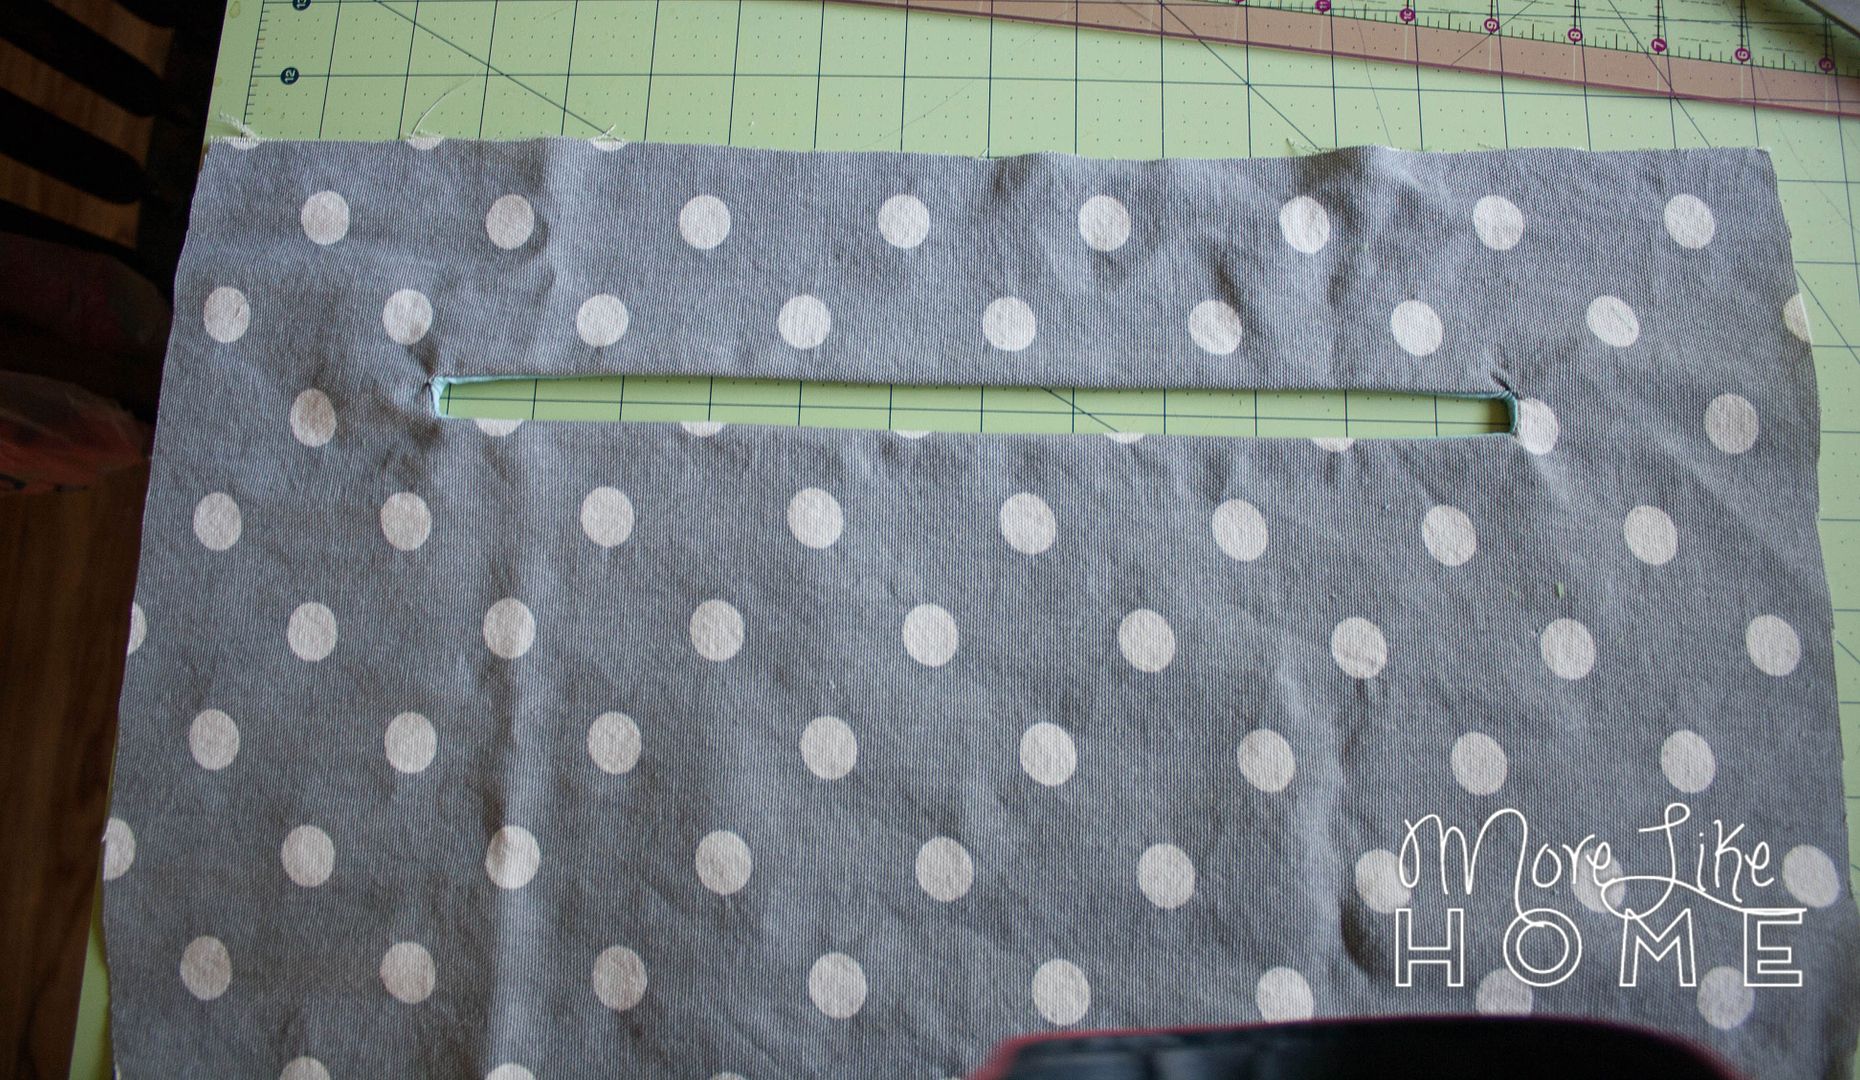
Flip the pocket through the opening and press the opening flat.
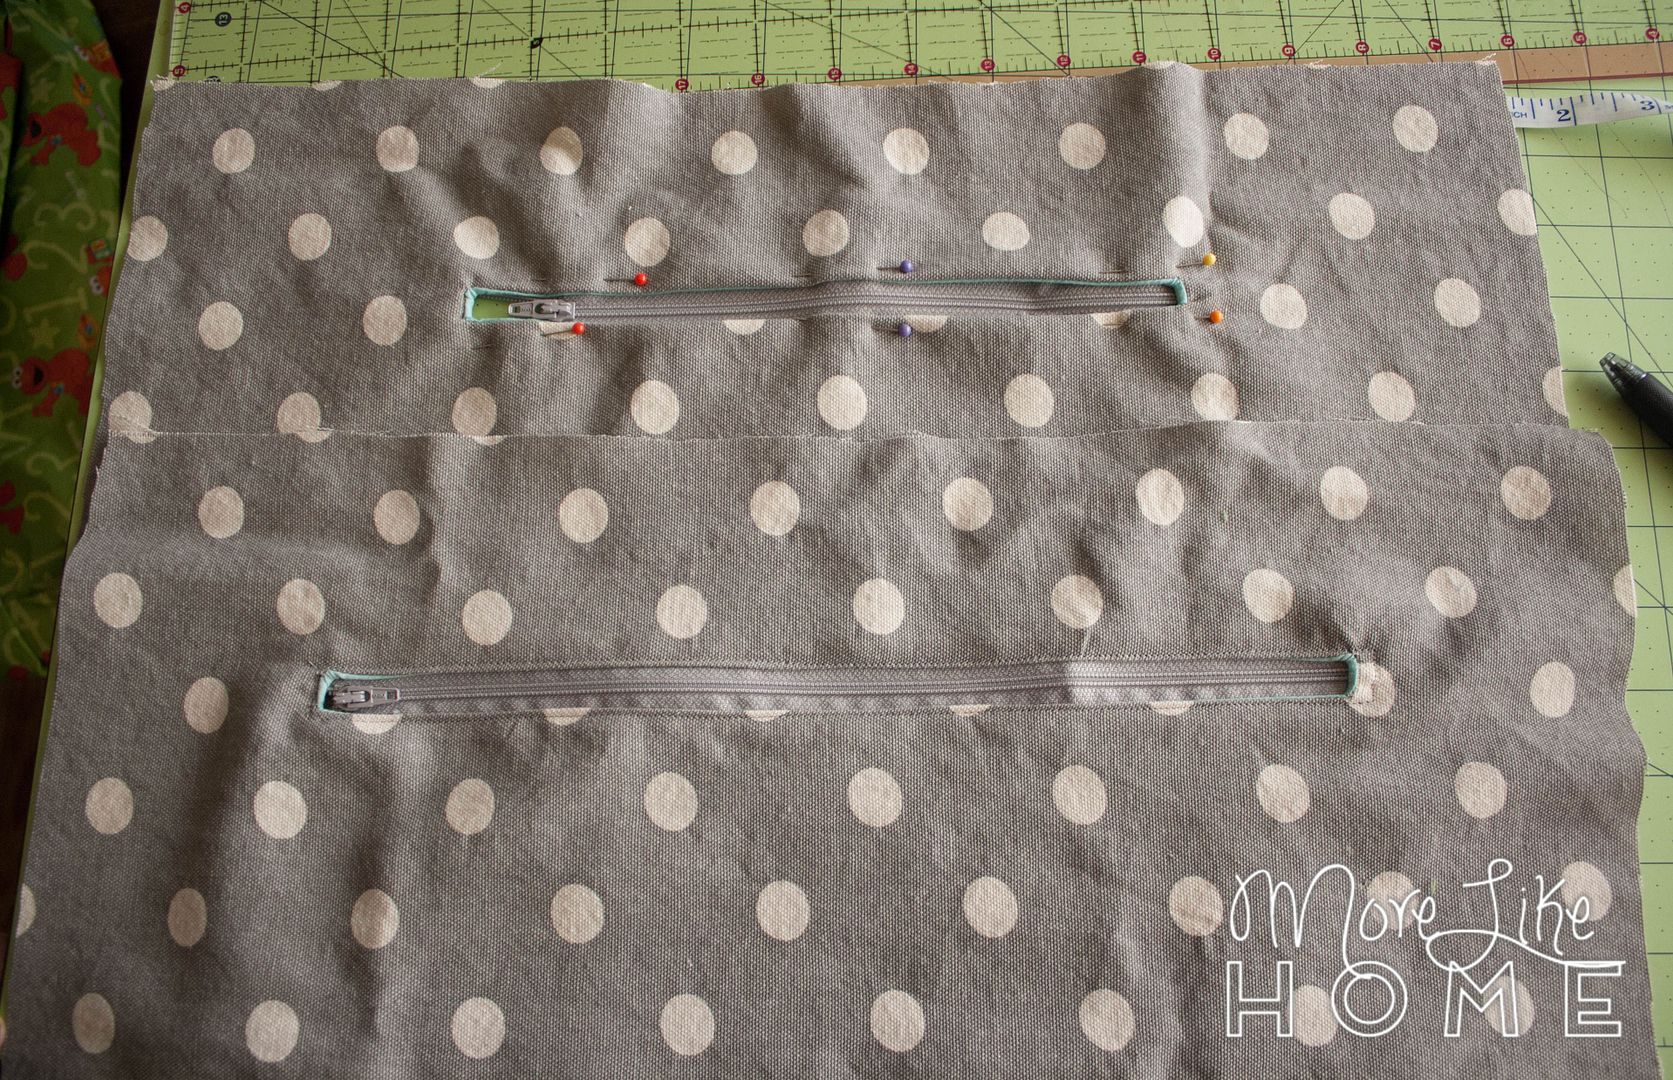
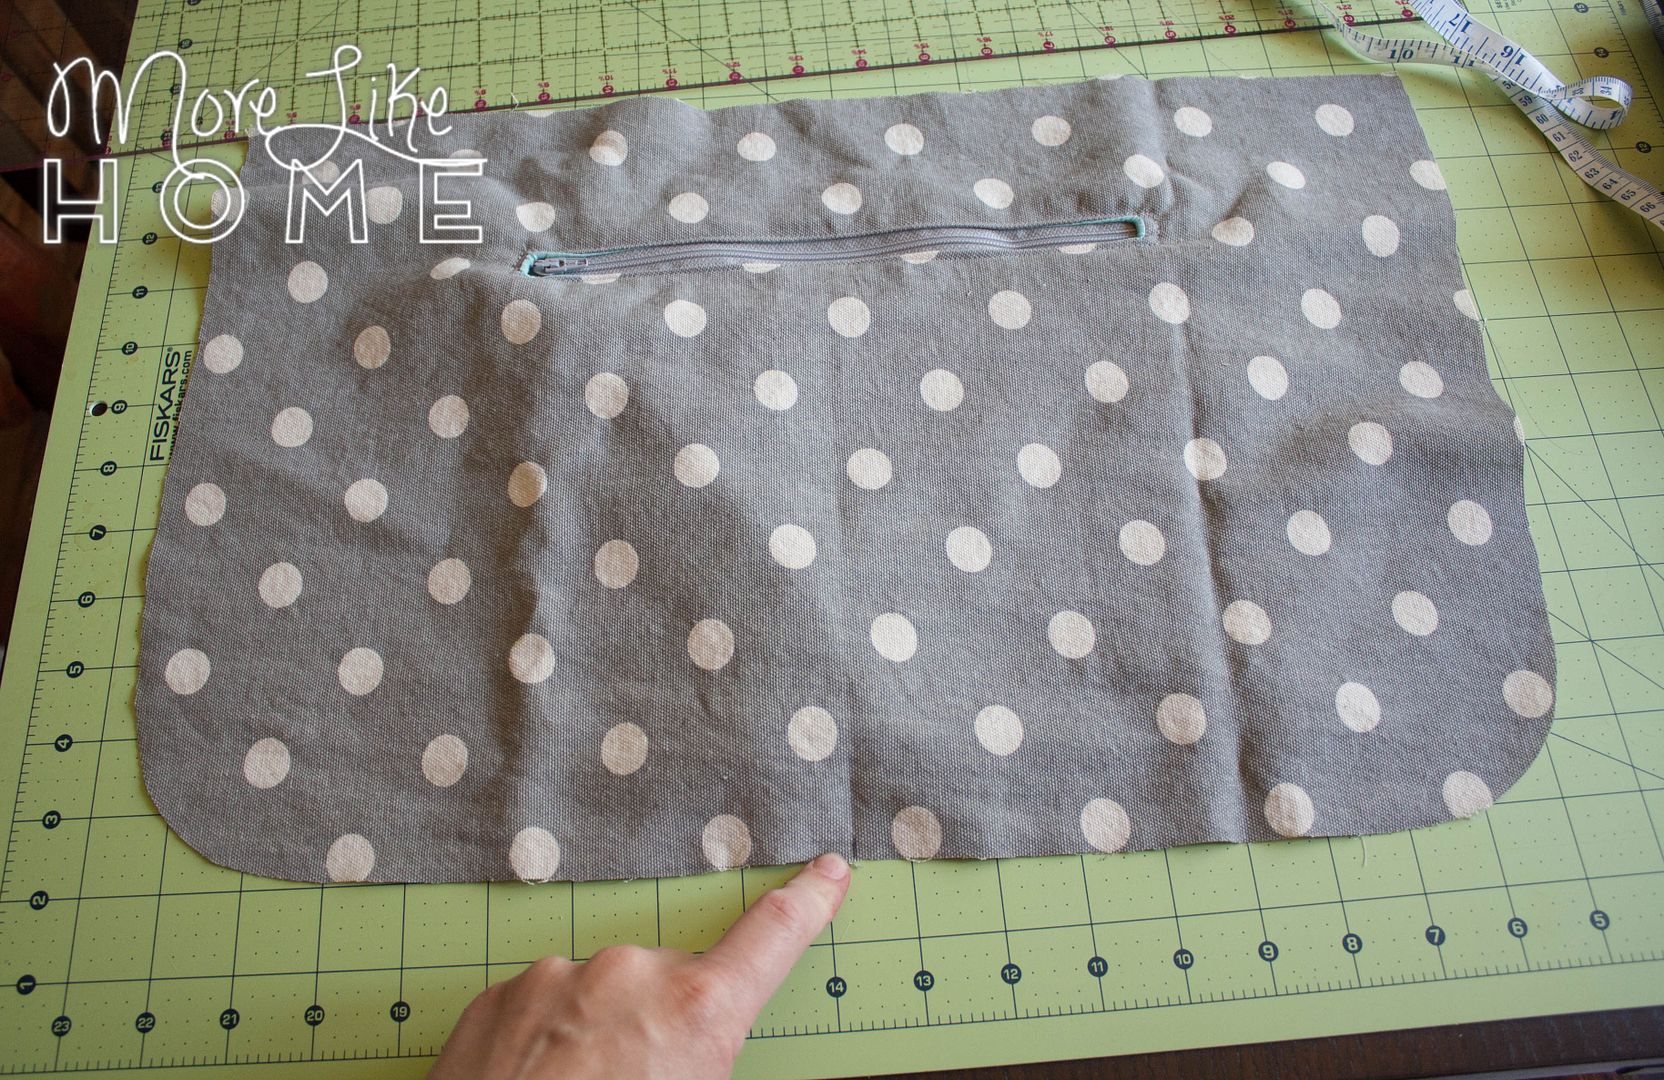
Lay the zipper under the opening (9" zipper for the small pocket, 12" zipper for the large pocket). Pin it in place (top zipper in pic below). Stitch right around the edge of the opening to attach the zipper (bottom zipper in pic below).
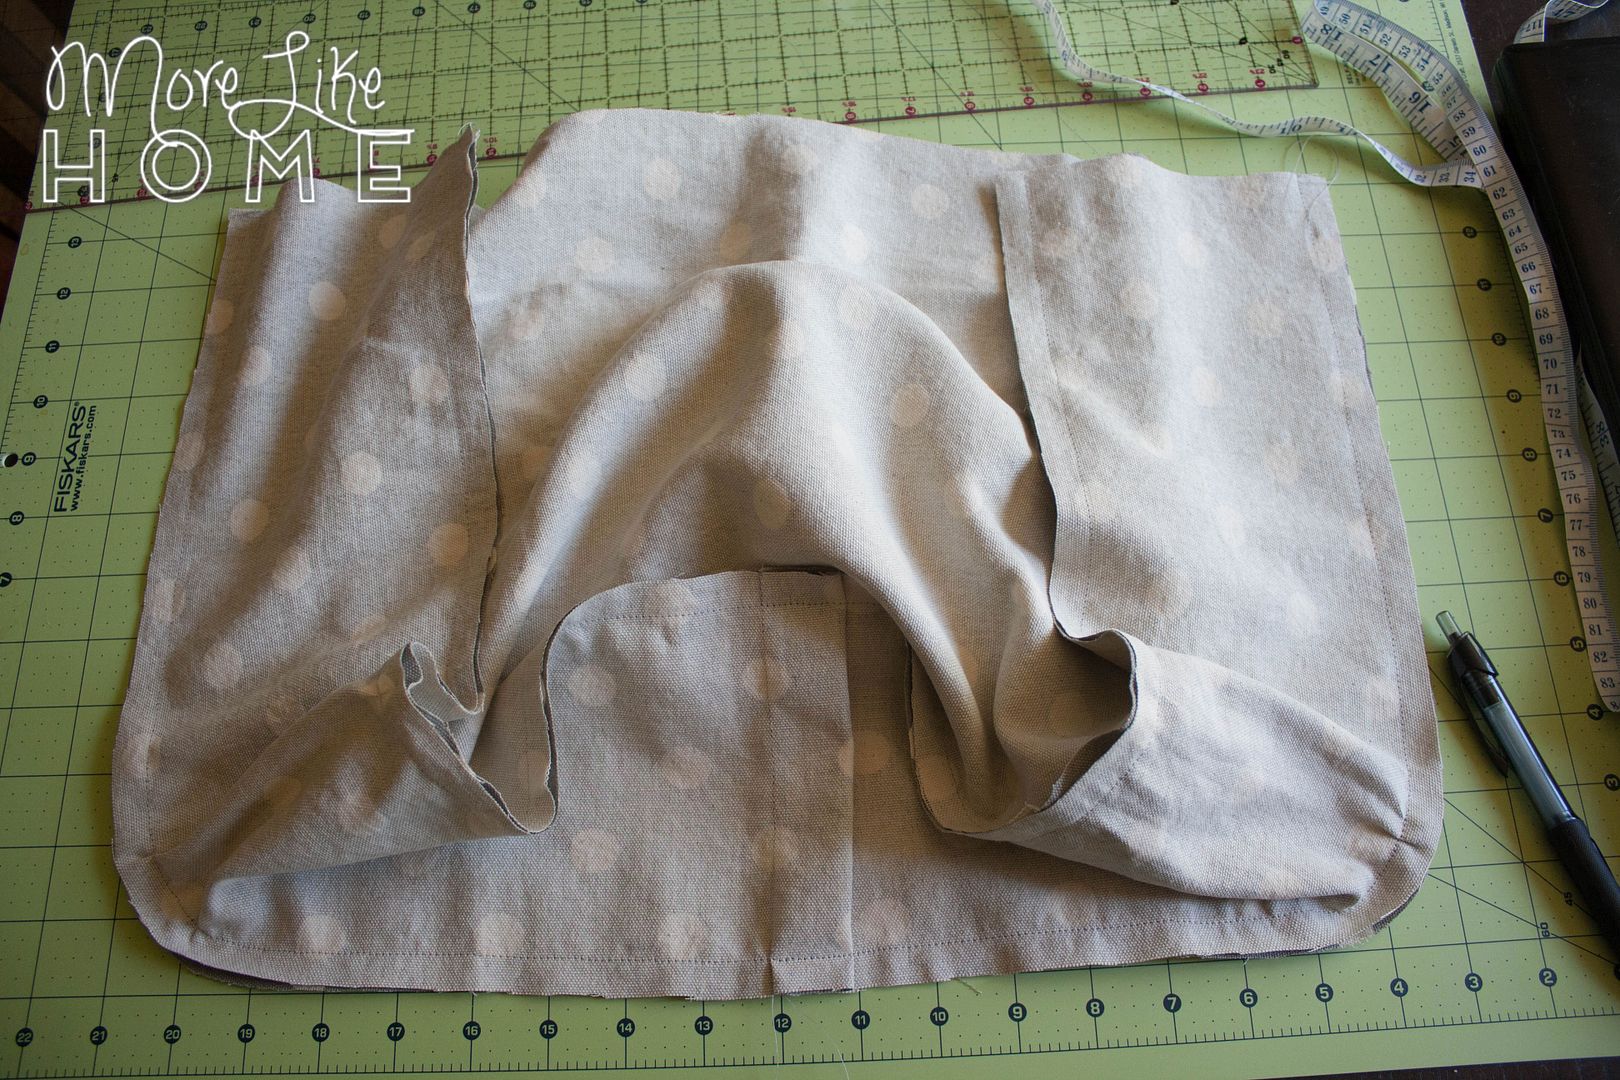
Turn the body panel over so you can see the hidden pocket fabric. Fold the bottom edge of the pocket up to the top edge, lining up sides, and pin it together. Sew along the sides and top edge of the pocket with a 1/2" seam allowance (be careful! you want to only sew through the two layers of the hidden pocket, not through the main bag!).
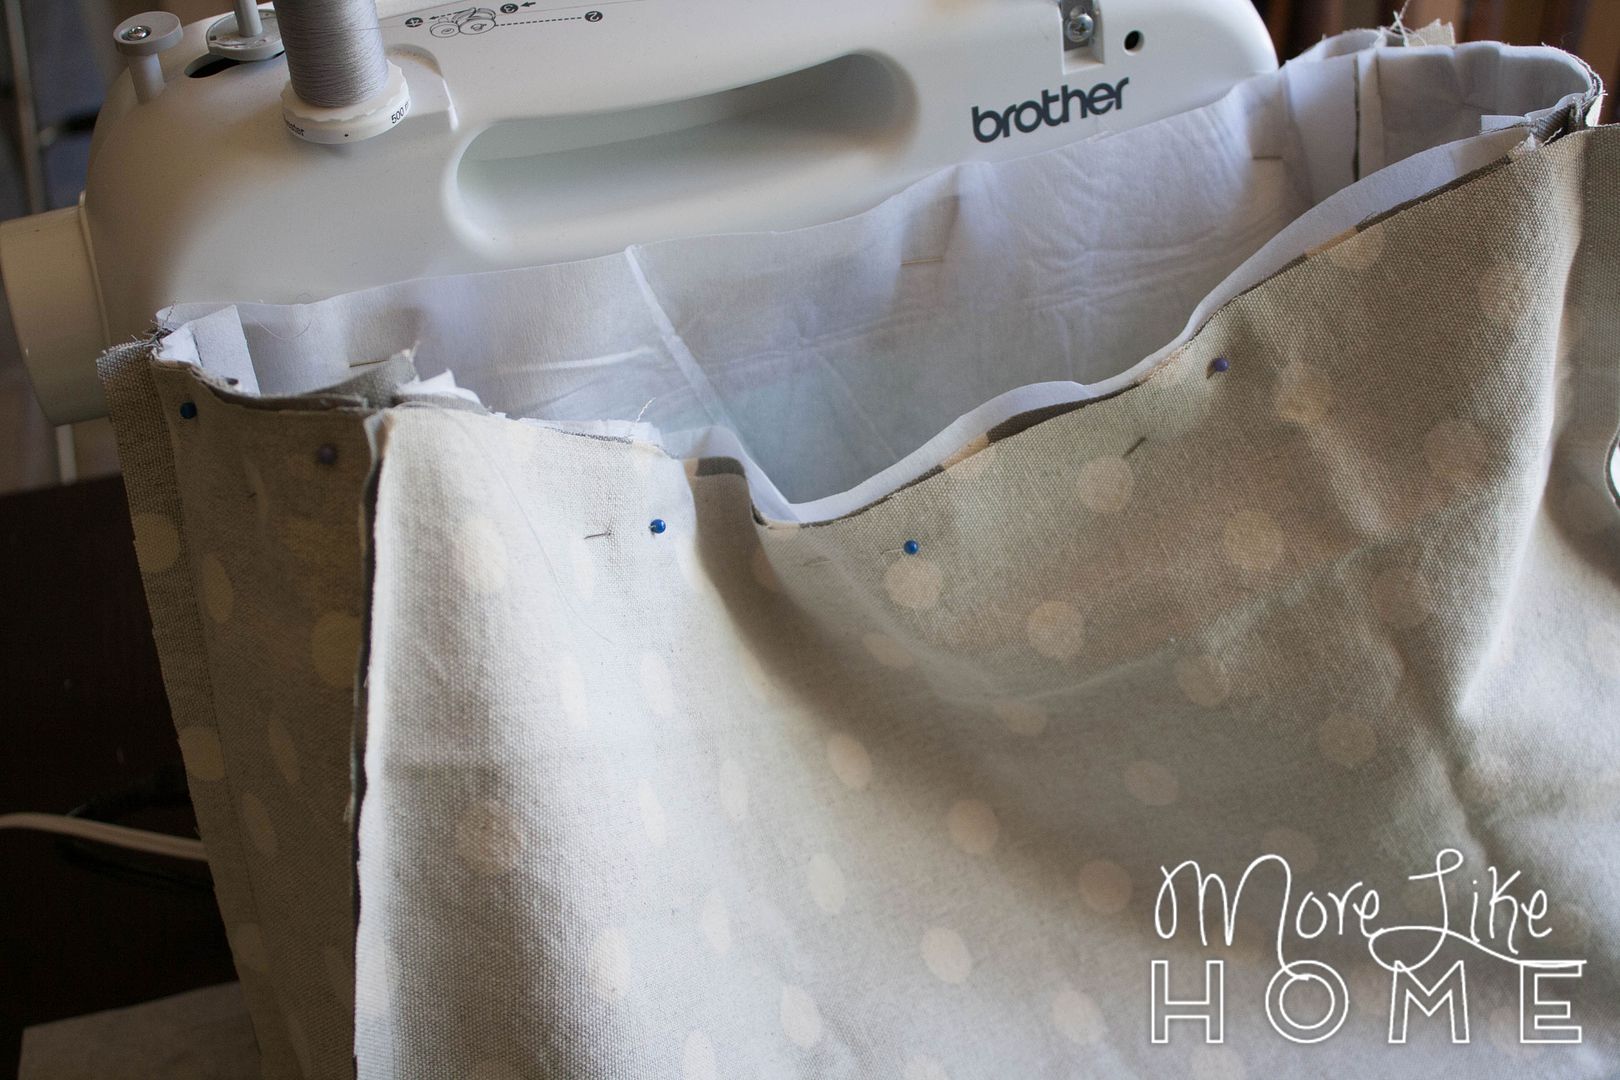
Fold one main body panel in half and mark the center point on the bottom edge (it's the crease in the pic below).
Fold the bottom/side piece in half and mark the center with a crease. Line this center point up with the center mark you made on the bag with right sides together. Pin. Work your way around the from the center lining up the edges along the bottom, corners, and sides, and pin it in place. Sew along the sides and bottom with a 1/2" seam allowance.

Attach the second main panel to the other side of the bottom/side piece in the same way. And repeat with the remaining body pieces and bottom/side piece to create the lining.
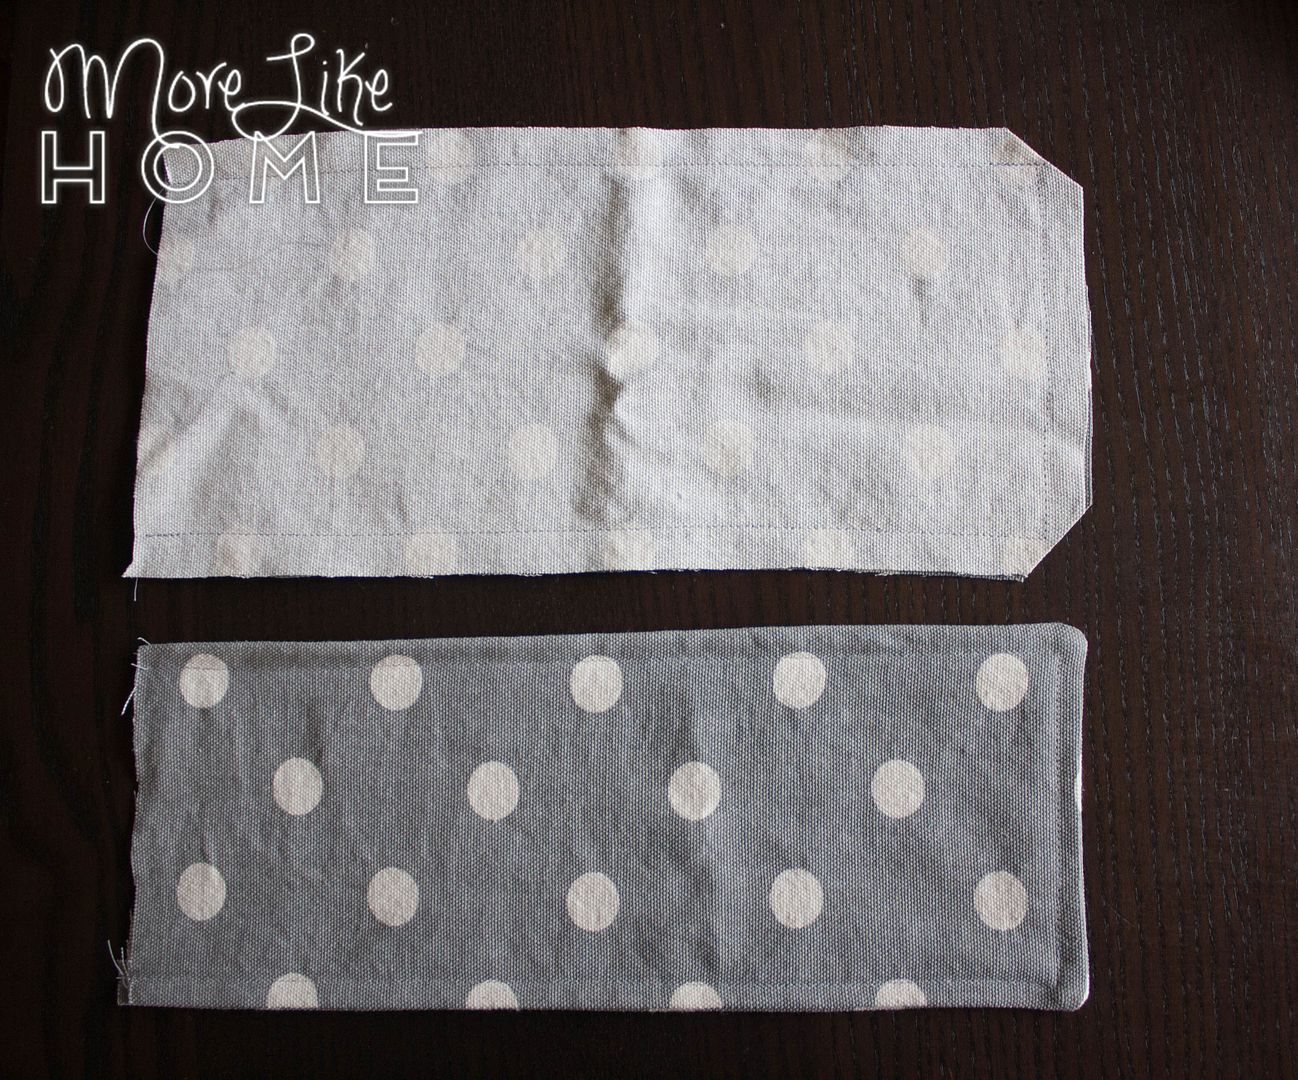
Now you can assemble the stroller straps. Place two straps with right sides together and sew along both long sides and one short end with a 1/2" seam allowance, leaving the other short end open. Clip the corners. Turn the strap right-side out and push the corners out nice and square. Sew along the sides and finished end with a 1/4" seam allowance. Repeat to make the remaining stroller strap.
Now you can assemble the bag! Start by pinning a stroller strap to each end of the bag exterior. Line up the raw edge of the stroller strap with the top edge of the bag, and center the strap on the side of the bag.

Turn the lining inside out, and slip the bag exterior (with the stroller straps pinned on) inside the lining. Match up the corners of the bag exterior with the lining, and line up the top edges. Pin all around the top edge.
Sew around the top edge with a 1/2" seam allowance leaving a 5-6" opening for turning.
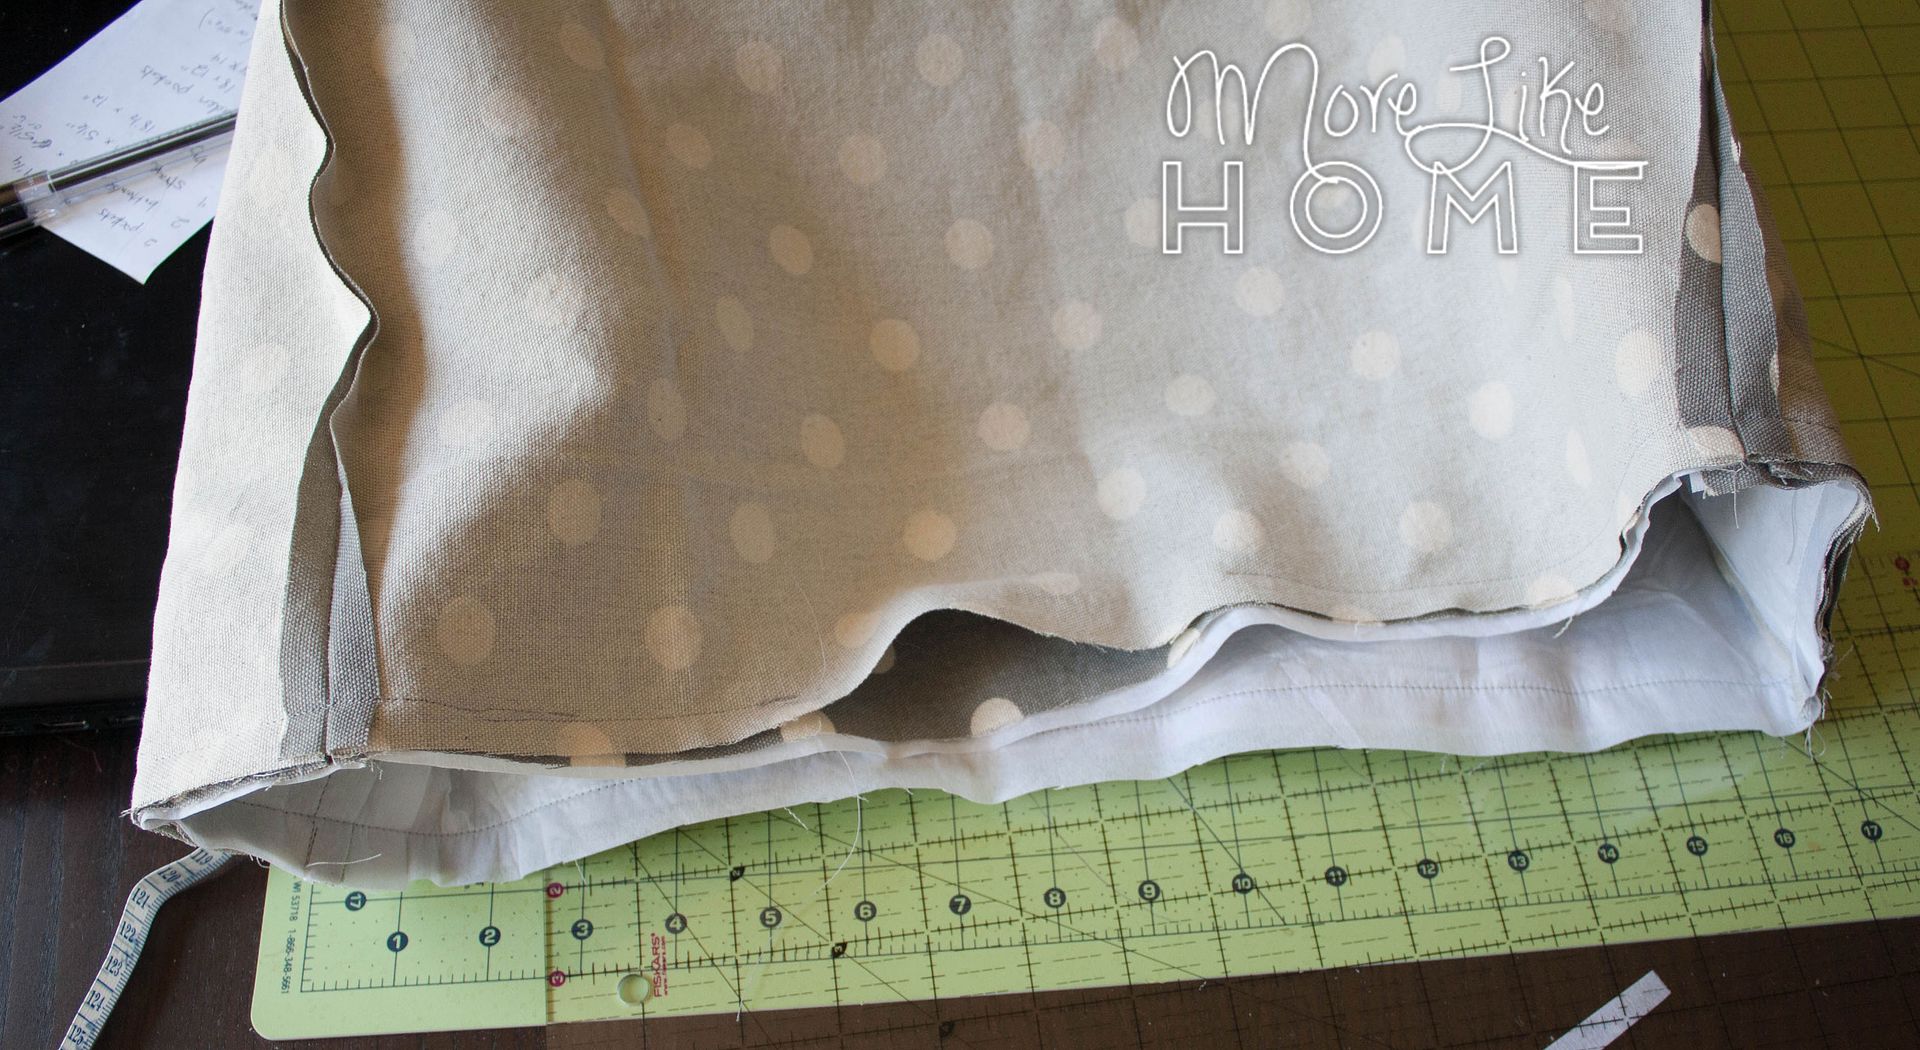
Turn the bag right side out, tuck in the fabric at the opening, and topstitch all around the top edge of the bag with a 1/4" seam allowance.
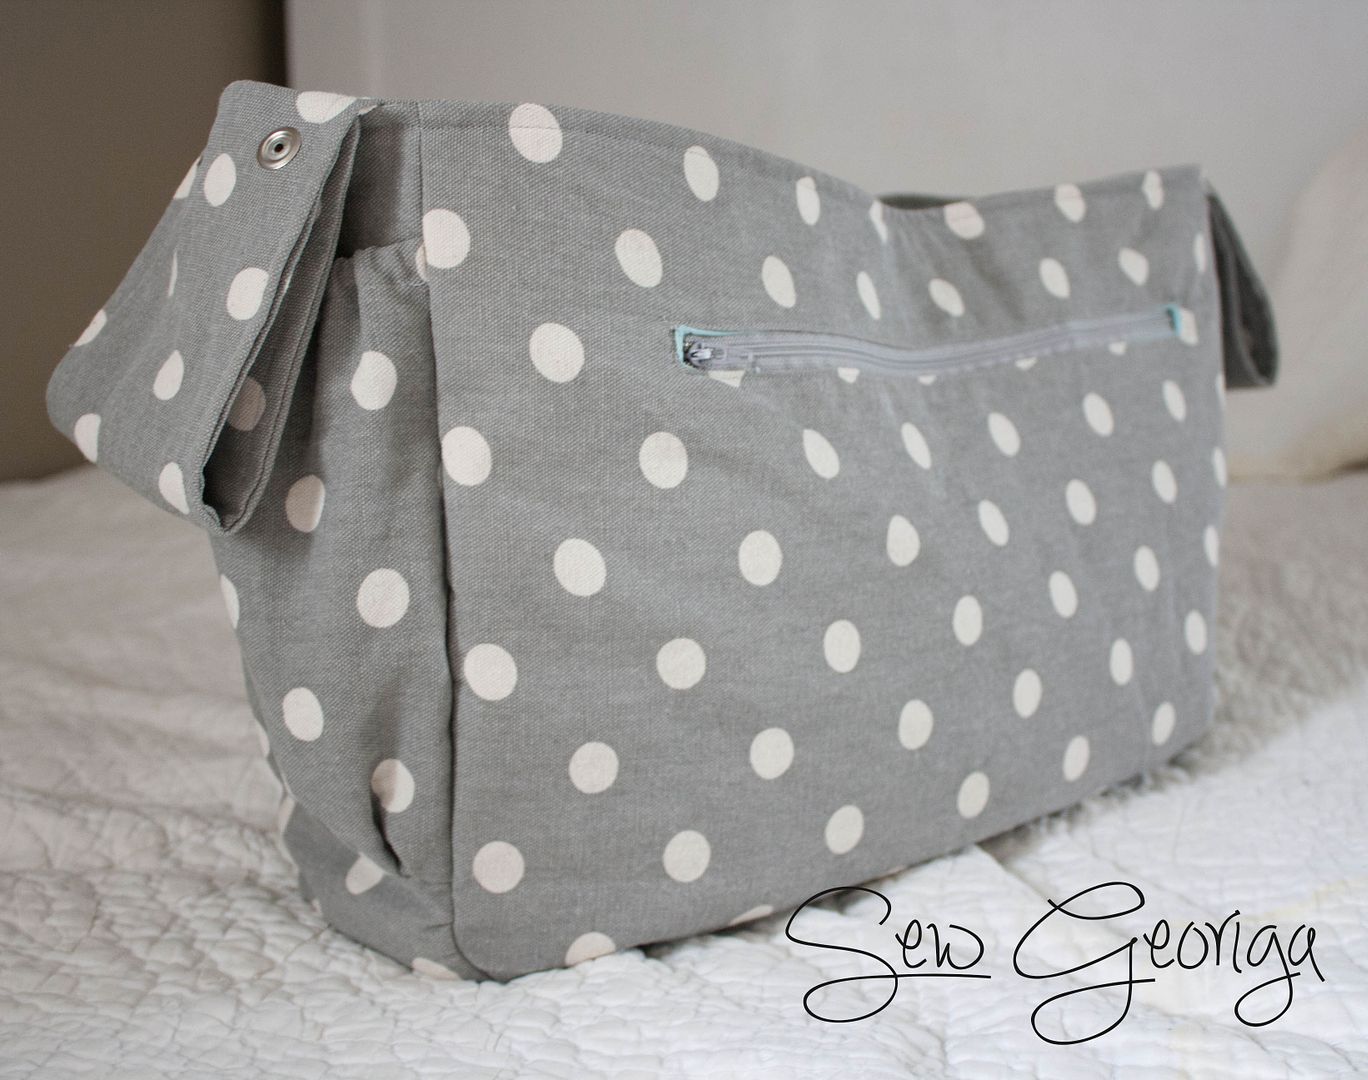
Now you just need to follow the instructions to install your heavy duty snaps. I didn't take a picture of this (sorry!) but I did it just like the original stroller bag. I installed the two caps near the finished corners of each strap, and two studs about 1" from where the strap meets the bag.
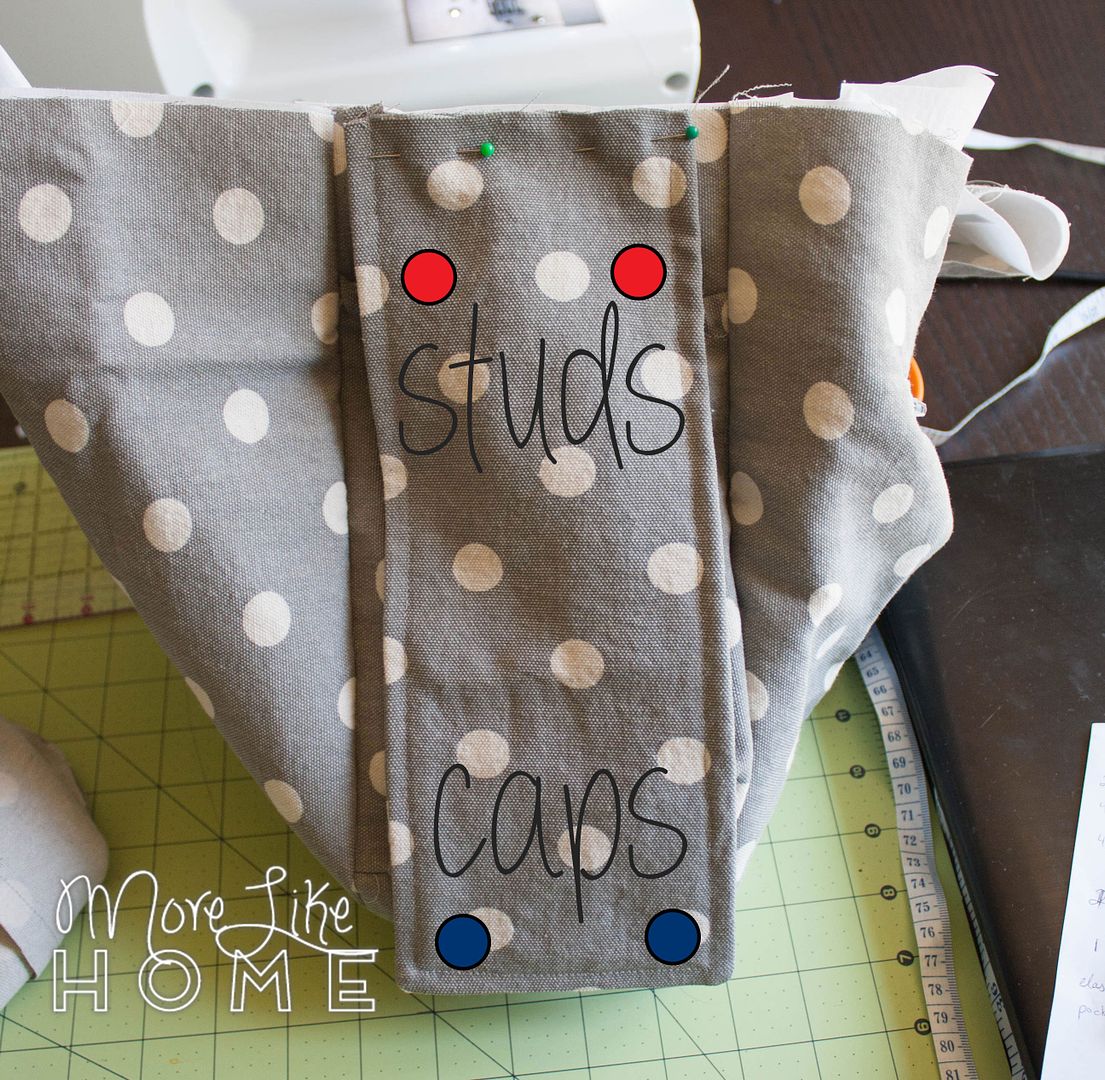
This pic is from an earlier step, it just shows placement for the snaps. :)
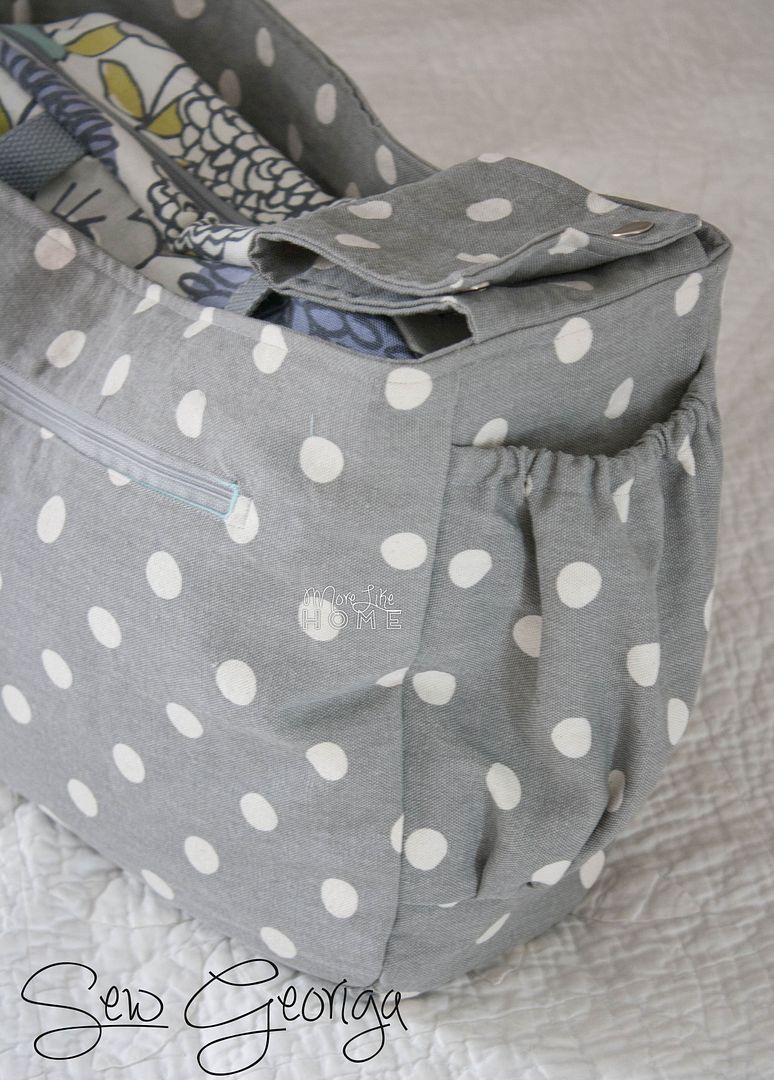
The straps will wrap around the stroller handle and snap onto themselves like this:

And you're done! Fill it up and hit the road!
For anyone interested, I sized this stroller tote to work perfectly with the Boston diaper bag from the book Little One Yard Wonders (which was the other half of this custom order) but it will work lots of other bags as well!
Have fun sewing, and I'd love to see a picture if you make your own! Don't feel like sewing? I take custom orders for both stroller totes and the Boston diaper bag through my etsy shop!

This looks like fun... I actually made that Boston bag a few months ago so this will be a great complement to it!
ReplyDeleteNice bag!! I've got a Craft Gossip post that features your tutorial here: http://sewing.craftgossip.com/tutorial-stroller-tote-bag/2016/01/24/ --Anne
ReplyDeleteGreat! Thanks for the share!! :)
DeleteThis is making me want to break out my sewing machine again. If only my 8 month old would take longer naps!
ReplyDeleteOh, I feel that. Our baby is almost the same age. It's hard to get much of anything done! :)
DeleteI want to make this bag for our upcoming trip to disney world, but I can't get the pictures to lead. Says they can't be foundon photobucket. Any chance you could fix it?
ReplyDeleteHi! Are you looking on the mobile or desktop site? It's loading on my computer and phone right now, so hopefully it's a bug that worked itself out? Let me know if you're still having trouble and I'll have my computer guy (a.k.a. Husband) take a look. :)
DeleteHey Georgia,
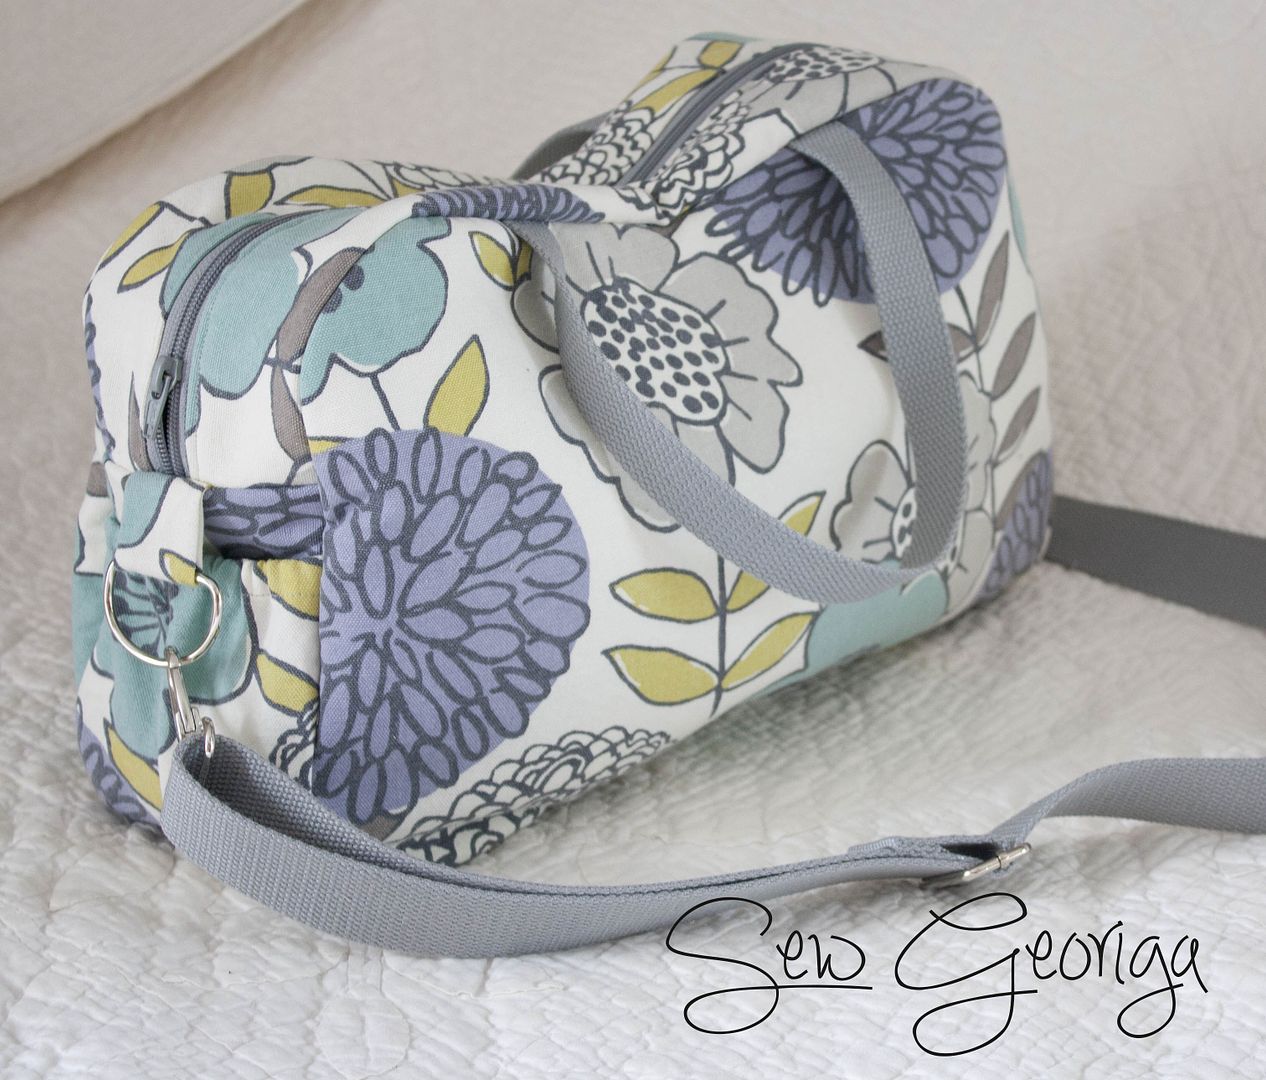
ReplyDeleteon the pictures I can see that you can close your whole bag with a zipper. But in the Instruction I can´t find it. Can you please help me?!?
Thank you so much!
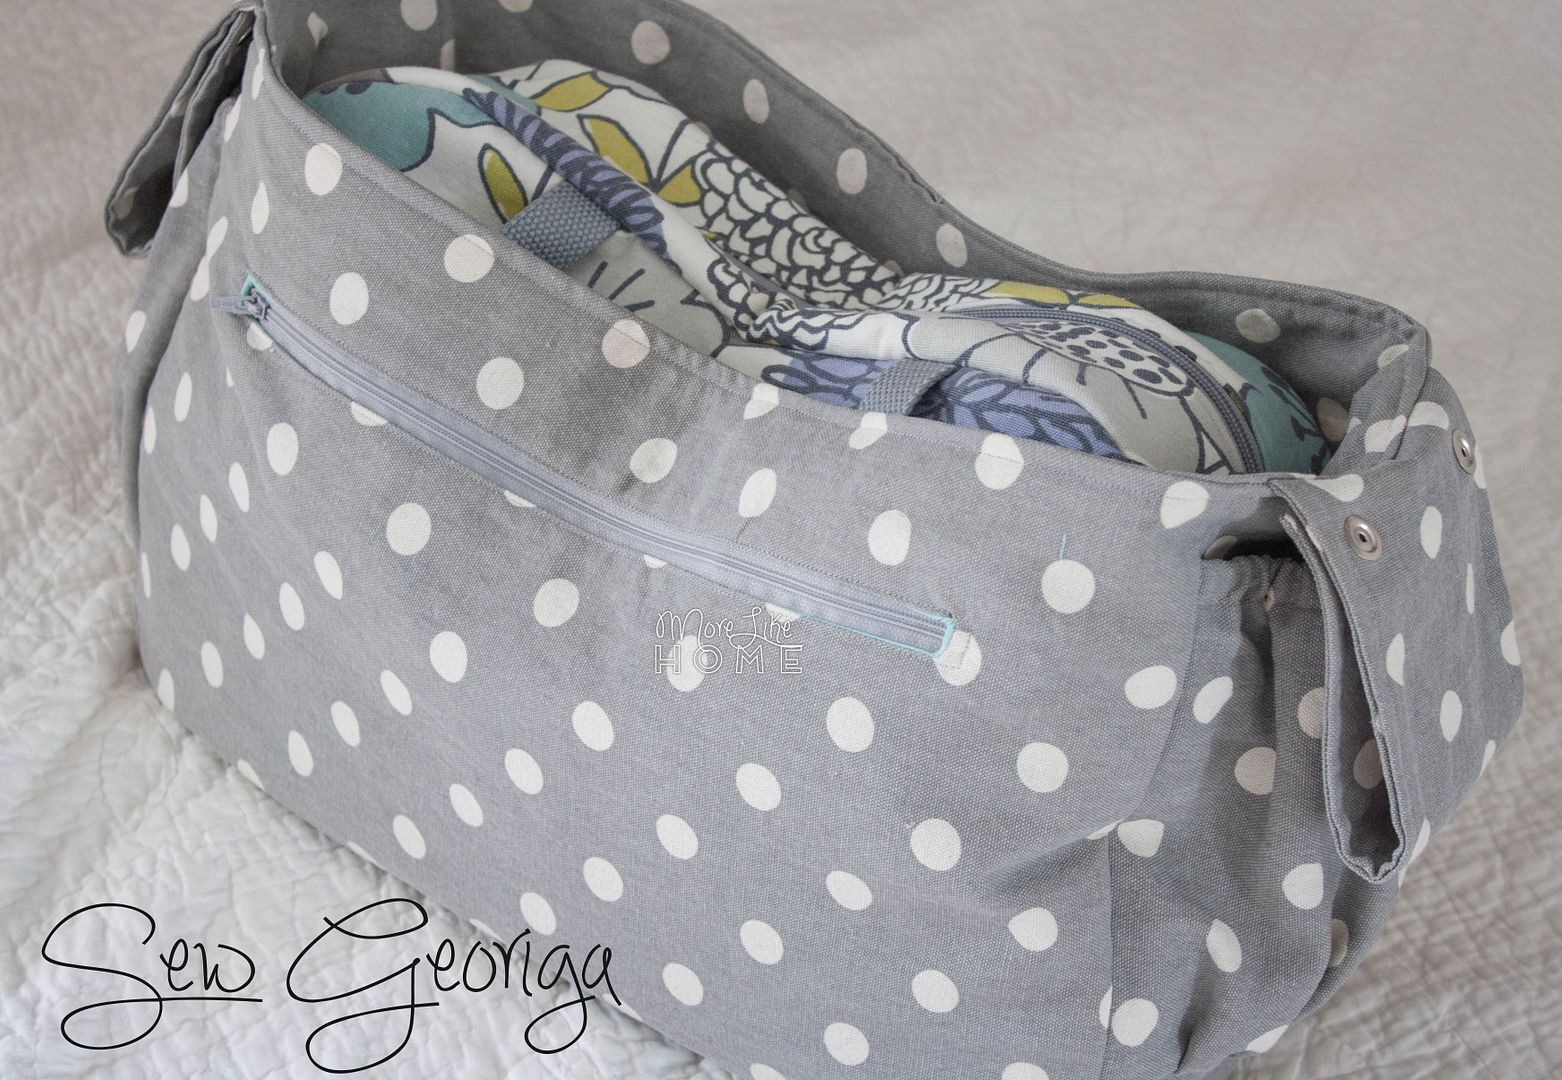
Hi! That's actually a diaper bag tucked inside the tote, no zippers on this tutorial. But if you'd like to add a zipper check out my stroller diaper bag pattern here: http://www.morelikehome.net/2014/07/stroller-friendly-diaper-bag-free.html
DeleteJust skip down to the part where the separating zipper is added and you can add those steps to this bag! It's easier than it looks. ;)
Parabéns essa bolsa é linda amo os seus trabalhos !@
ReplyDeleteAmazing! And thank you for sharing!! We are expecting our first grandchild/daughter in September, and I will definitely be making one of these. Awesome!
ReplyDeleteThis is a great gift for new parents! And congrats on the grandbaby!! So exciting! :)
DeleteI got the required amount of fabric but you didn't bother to say which way to lay it out . I searched pattern lay outs but it is endless and I have been sewing for 35 years. Even with that I didn't have enough for the pockets. I am very disappointed and the money wasted on quality fabric. Will not use this pattern ever again.
ReplyDelete