
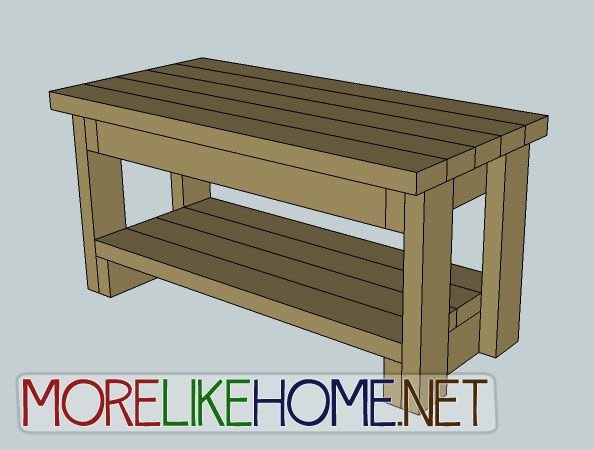
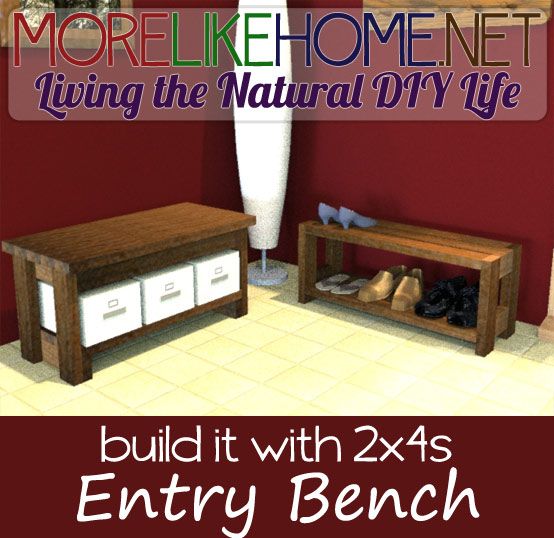
Day 9, here we go! You can see links to the complete series here, and read about my Lowe's gift card giveaway here. In this series, we're seeing what we can make out of 2x4s. I want to keep it cheap, keep it easy, and keep it totally doable for anyone. Today's project is a really fun one. It's a sweet little 2x4 bench!
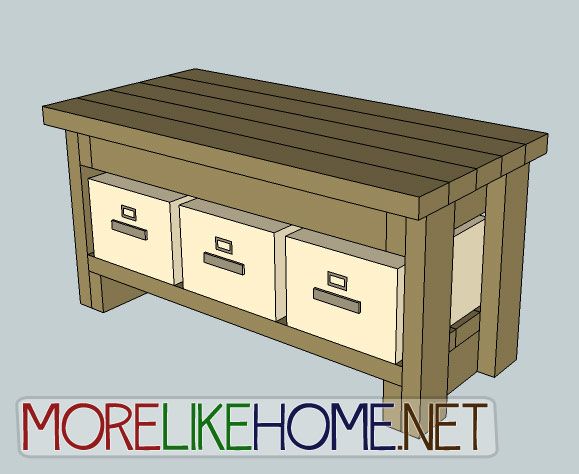
This fun little guy would be perfect for an entryway or at the foot of your bed. Try adding one to your patio or using it for extra seating around the table. Tuck some bins underneath to store extra shoes, winter hats, or linens. Ready to build a bench?
2 - 2x4s @ 10' long
3 - 2x4 @ 8' long
Tools:
Saw
Drill
2 1/2” screws (or Kreg Jig & 2 1/2" self tapping screws)
4" screws (or Kreg Jig & 2 1/2" self tapping screws)
Wood glue
Wood filler
2x4 Cut List:
(A) - 4 @ 16 1/2" (legs)
(B) - 4 @ 14" (sides)
(C) - 4 @ 32" (shelf)
(D) - 2 @ 29" (top supports)
(E) - 5 @ 36" (top)
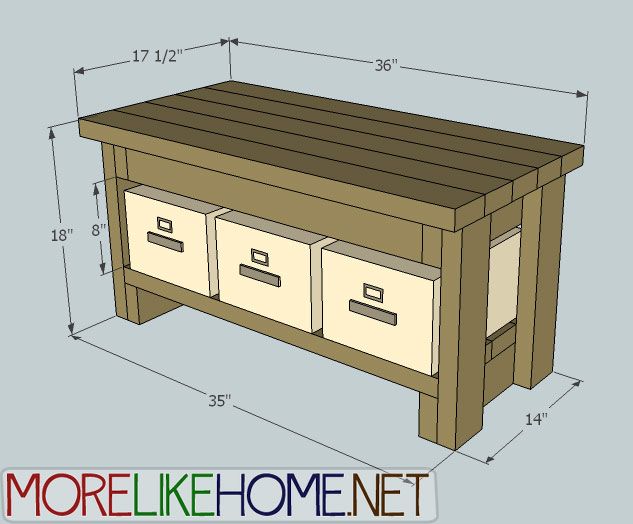
Dimensions: 36" wide x 18" tall x 17 1/2" deep
Please read all the directions before beginning, and cut your pieces as you go, measuring before each cut. Use 2 1/2” screws or pocket holes with 2 1/2" screws unless otherwise indicated. Always use glue. Pre-drill and countersink your screws. I have not built from these exact plans, so measure lots to make sure things work out!
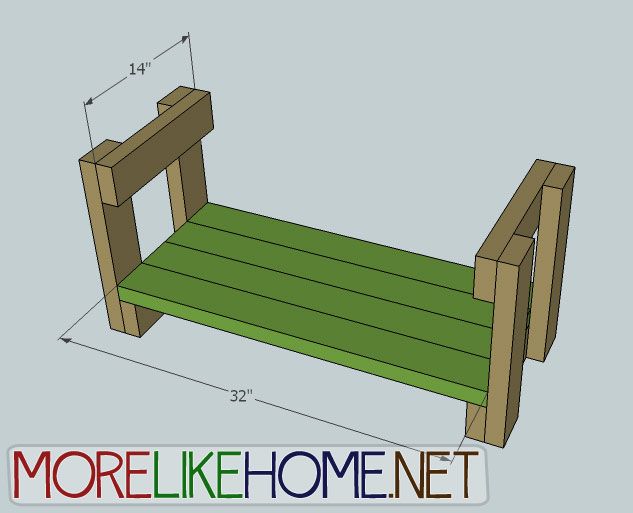
Step 1: Build the Sides
Use two side pieces (B) to attache two legs (A). One side should be flush with the top of the legs, the other flush with the bottom as shown below. This will leave 9 1/2" between the top & bottom side boards. Drill through the side boards and into the legs with 2 1/2" screws and glue. Repeat to build the other side.

Step 2: Build the Shelf
Install the four shelf boards (C). These boards sit on top of the bottom side boards you attached in step 1 as shown below. Attach them by drilling down through the shelf boards and into the bottom side board. The shelf should be flush with the front and back of the side sections.
Step 3: Top Supports
Now you can install the top supports (D). They run between the two top side boards. One should be flush with the front and top edges of the side board, the other with the top and back edges. You can attach this using your Kreg Jig and glue. If you don't have a Kreg Jig you can carefully angle in 2 1/2" screw from the back of the board, or you can assemble this in a different order (first attach the top supports to the top sides by drilling through the sides into the top supports, then attach this box by drilling through the legs into the side supports. Hopefully that makes sense. :)

Step 4: The Top
Now install the top boards (E). Line up the boards so they are centered with 1/2" overhang on all sides (if you have a Kreg Jig you can start by joining all the top boards together side-to-side to make one solid top piece). Attach the boards by drilling down through the top boards into the sides and supports with 2 1/2" screws and glue.

Step 5: Finishing
Start by filling and holes and sanding everything nice and smooth. Then finish with stain & polyurethane or a coat of paint.
Get some boxes to put on the shelf, or just use the extra space to stash your shoes or the kids' backpacks. All done!
Project 2x4 Cost:
$12.80 - 4 2x4s @ 10' long ($3.20 each)
$2.50 - 1 2x4 @ 8' long ($2.50 each)
$15.30 Total
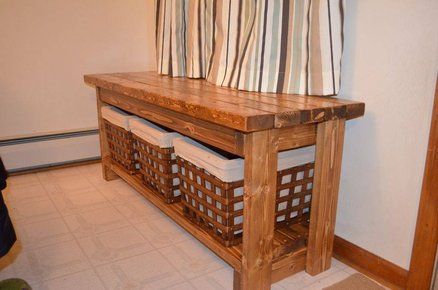
Here is a modified version built by a reader. Thanks so much for sharing, it looks great!
Here is another sent in by a reader with a beautiful finish. Thank you!
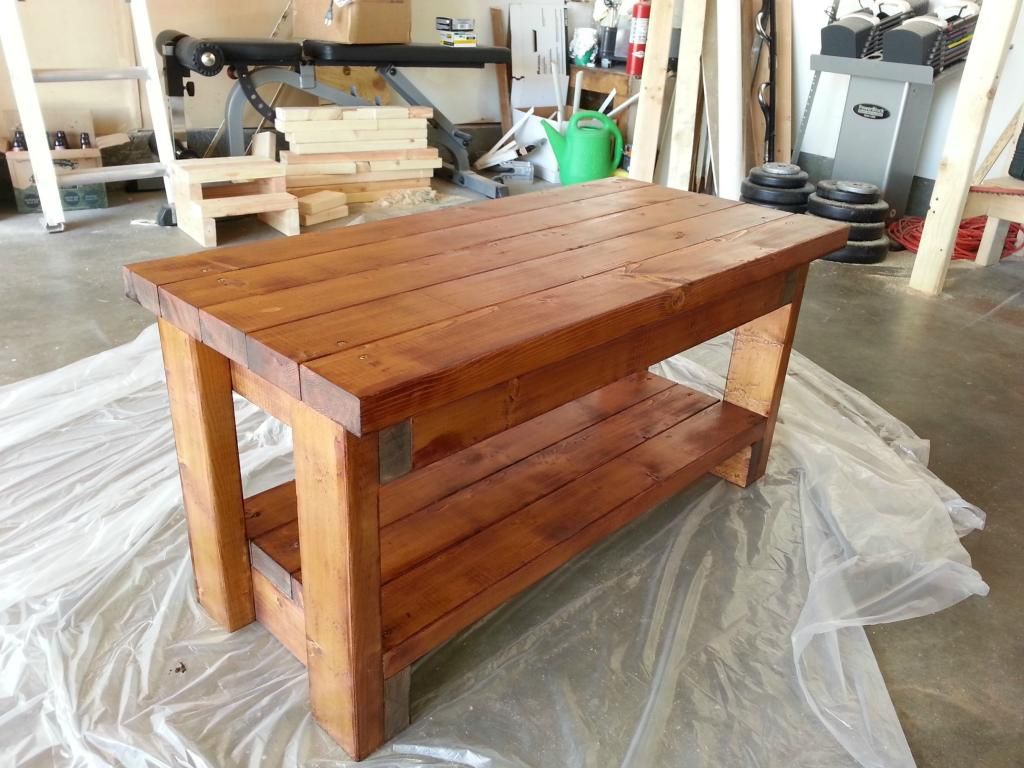
Megan built one to use as a coffee table.

See giveaway winners here.

Share on Facebook

Maybe Baby B would like this for Christmas. He does love shoes. Maybe some puppy ones.
ReplyDeleteI could see this on my porch and in my home. Thank you for the ideas!
ReplyDeleteThis is a nice simple design that could work anywhere!
ReplyDeleteI think I could jump on this bench, and it would hold up. I like sturdy!
ReplyDeleteYou could indeed! I build furniture using 2X4's and this particular design is very, very strong. I would recommend it as a hall bench.
DeleteLooks sturdy and useful!
ReplyDeleteThis would look great in a playroom!
ReplyDeletehttp://lumberjocks.com/projects/91854
ReplyDeleteI was inspired by this and figured I'd share my results.
I increased the dimensions but was very happy with the outcome.
That turned out great! Love the big baskets underneath. Would you mind if I share this in my post?
DeleteHow many screws do you need for the bench?
ReplyDeleteThis was my first project in 20 years. I had a lot of fun making this bench. Looking forward to making more!
ReplyDeletehttps://m.facebook.com/arthur.goodman.585/albums/10203016796755241/
http://ana-white.com/2014/07/2x4-bench
DeleteIf the other link doesn't work.
That looks great! I like how deep you made it for those big bins. Great use of the space!
DeleteHere are my results (2 pics):
ReplyDeletehttp://imgur.com/GVG7tkK,mdS3WKG
It will be going in our laundry/mud room
You can reduce cost a little of your shopping list by purchasing three 8' boards and two 10' boards. Using your cut list you can do the following cuts:
ReplyDelete10 ft board - 36", 36", 32", 14"
10 ft board - 36", 36", 32", 14"
8 ft board - 36", 32", 16.5"
8 ft board - 29", 16.5", 16.5", 14", 14"
8 ft board - 16.5", 29", 32"
Thanks so much for the tip! I'll change the shopping list in the post to match this. :)
DeleteThis comment has been removed by the author.
ReplyDeletei built two of these benches and slightly modified the plan love them how do i send yoU A PIC?
ReplyDeleteYou can email them to me at MoreLikeHome (at) gmail (dot) com. Thanks so much. I love to see pictures! :)
DeleteThank you for the plans and walk-through. This is my first furniture build and now I'm addicted! My bench is built exactly to spec but is now being used as a coffee table:
ReplyDeletehttps://www.instagram.com/p/BHAHw1AEA4j/
This is BEAUTIFUL. Do you mind if I share your pic up in the plans?
DeleteMy boards weren't cut perfectly so I had a tough time making it level, but it turned out fine. I made it wider and only used 4 boards for the seat. My drill didn't work on the lower shelf as it was too close to the legs so I used nails.
ReplyDeleteGood job! The beauty of DIY is making it your own. Hope you love it! :)
Delete