
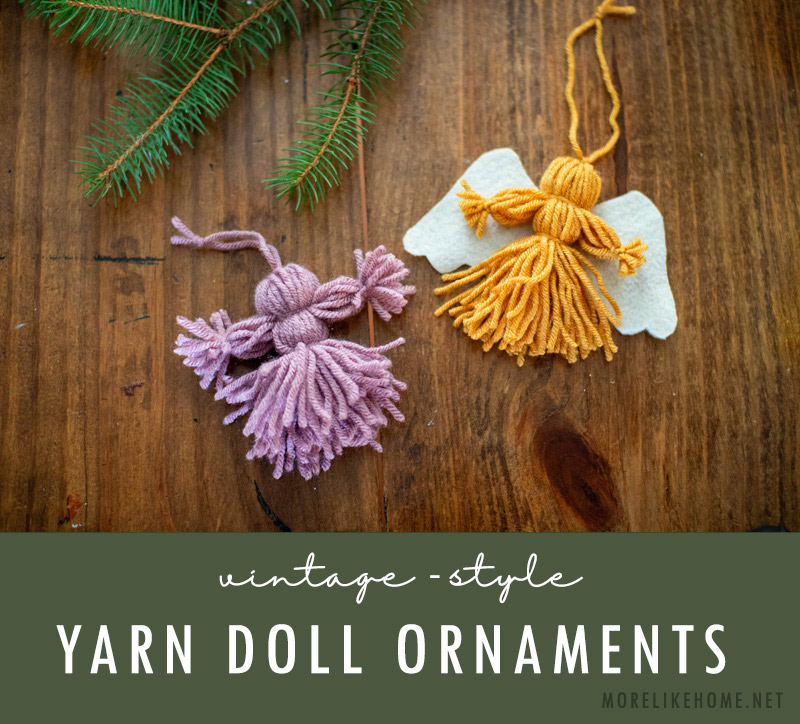
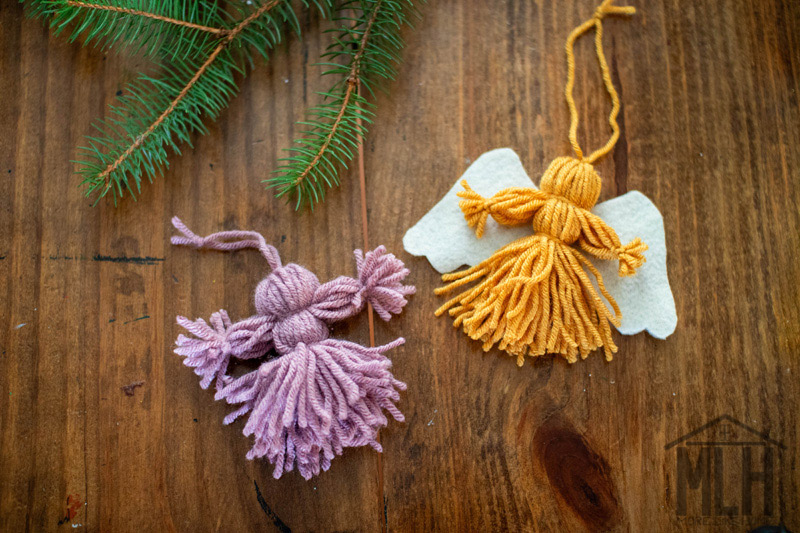
This is easily my very favorite Christmas project this year. These little yarn dolls are the sweetest, and are a great way to share memories that will last a lifetime. And I love that they are ornaments the kids can actually touch and play with without hurting them. Anyone with small children knows the value of an unbreakable ornament!
Want to make a few with your own kids? Here's what you need:
- yarn

This is one of those glorious crafts that doesn't have to be exact to work. Good enough is good enough.
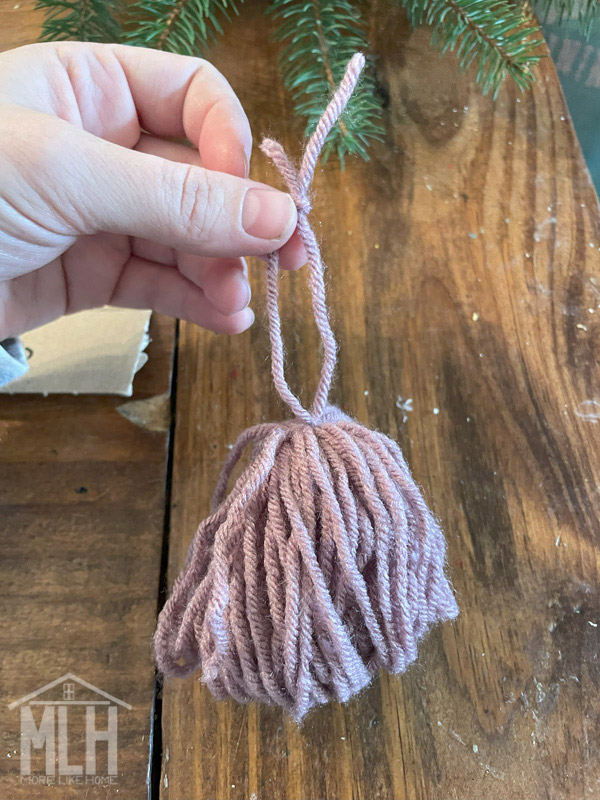
Next, cut a piece of yarn about 6" long and thread it underneath the loops you wrapped around the cardboard (shown below) then tie a knot tightly to hold the loops together. This will be the top of the head (you can see this in the next picture):

Below you can see the knot tied right around the loops.
Next, tie together the ends of the yarn you just threaded through the loops. This will make your loop for hanging the ornament. (shown below).
Now you can remove the cardboard, too.
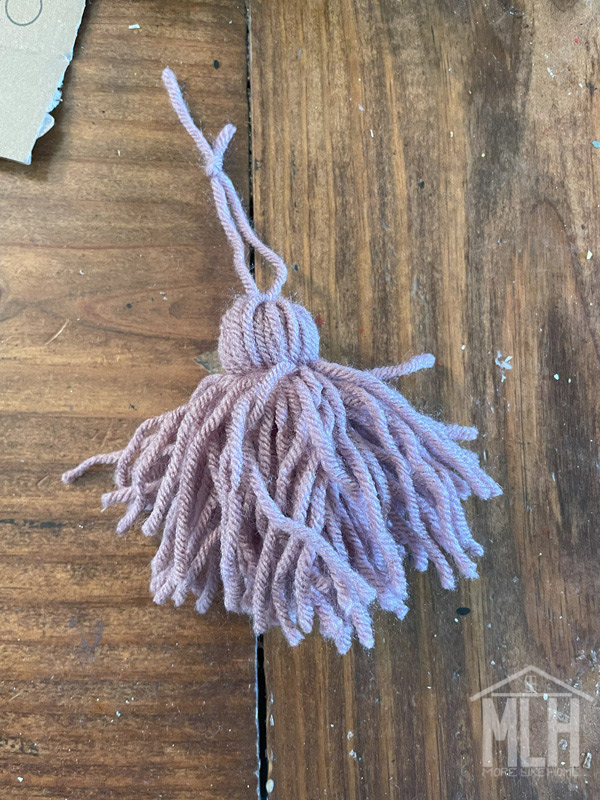
Slide your scissors through the loops and cut them right at the bottom. (now it should be a bunch of raw ends hanging down instead of loops, shown below)
Take another piece of yarn 6" long and tie it around all the strings just below the knot at the top of the head, then trim the tails of that know. This will make the bottom of the head:
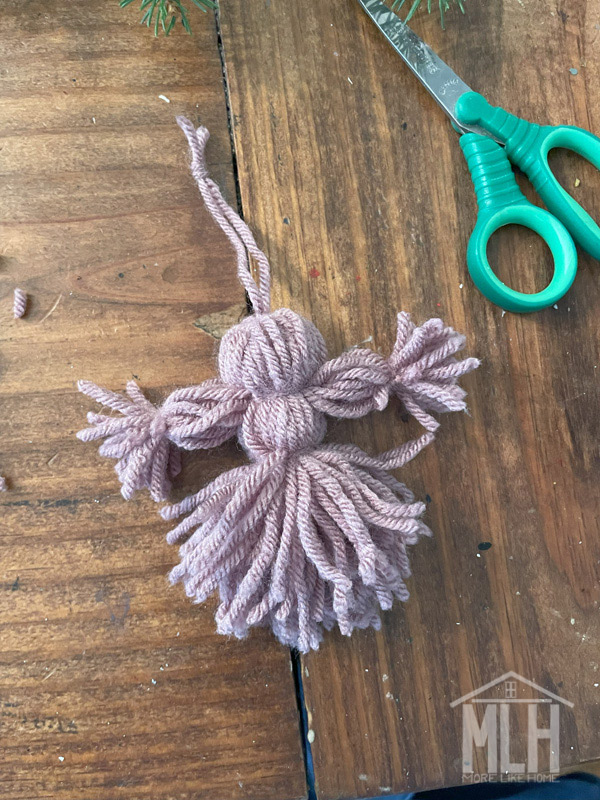
Separate two smaller bunches of yarn, one one each side to use as the arms. Leave a larger bunch for the body (shown below).
Tie a piece of string around each arm to make the "wrists." I like to trim the arms a little shorter than the rest of the body.
Then tie a string around the body a little below the arms to make the torso:
Your doll can be done at this point, or you can keep going with a few other variations:
- trim the bottom of the doll to a more even look
- make a boy doll: separate the bottom of the body into two even sections and tie a string around each leg to make the "ankles"
- cut angel wings out of felt and use hot glue to attach them to the back of the doll
I hope you have fun making and giving these ornaments this Christmas! I would love to hear who you (or your kids) are giving them to!
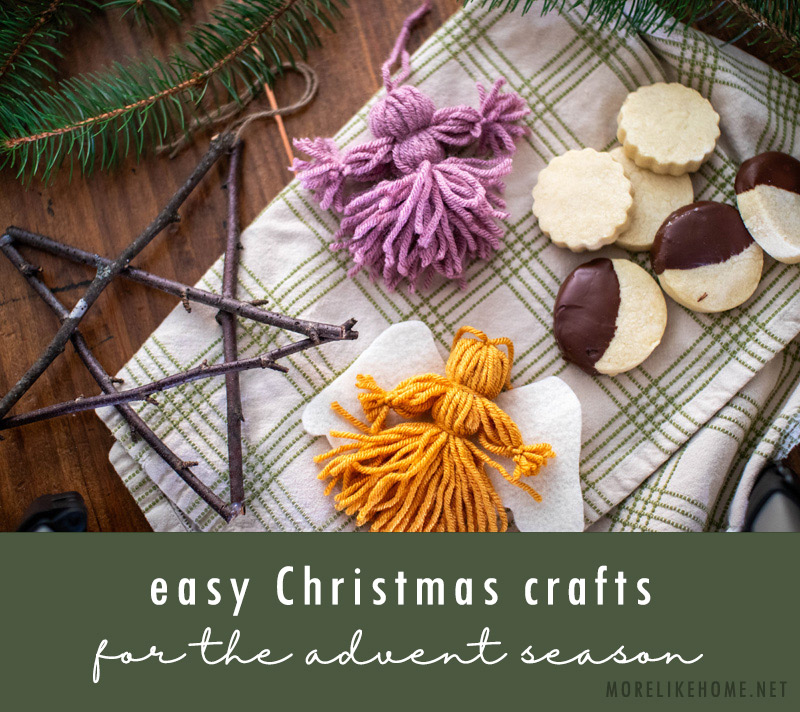
Be sure to check out the rest of my easy Christmas craft & recipe posts!
No comments:
Post a Comment