
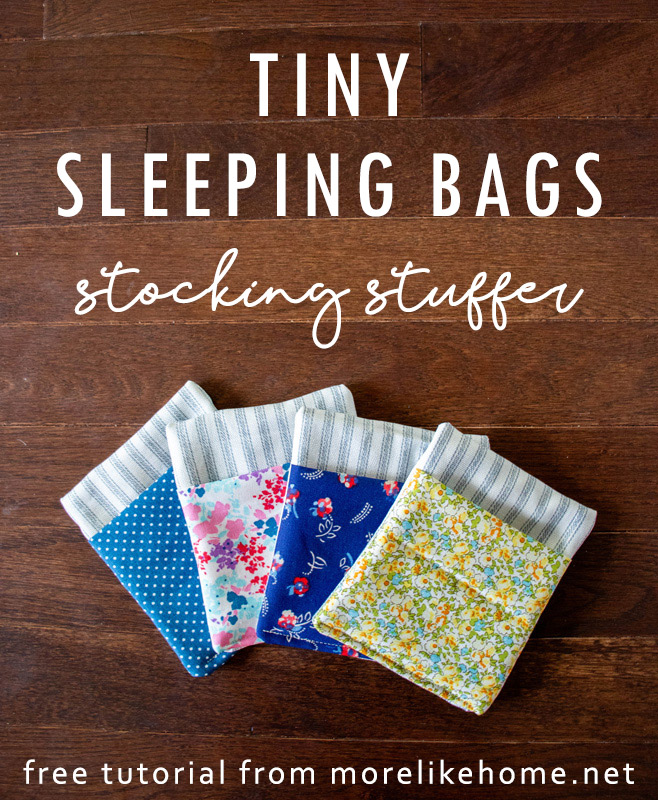
Need a quick handmade gift that only takes a few scraps of fabric? I've got you covered! You can whip up a whole campground worth of these tiny sleeping bags in no time. And the small size = perfect stocking stuffer!
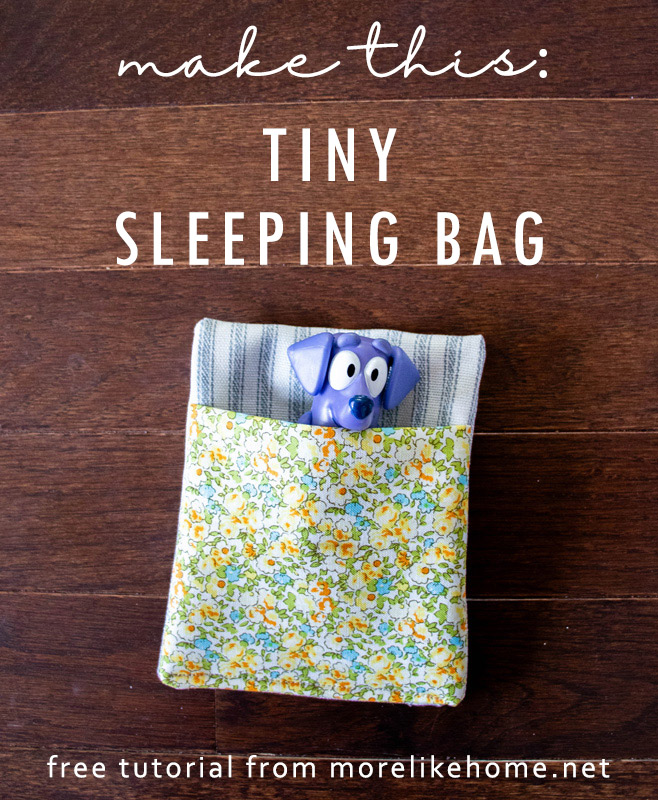
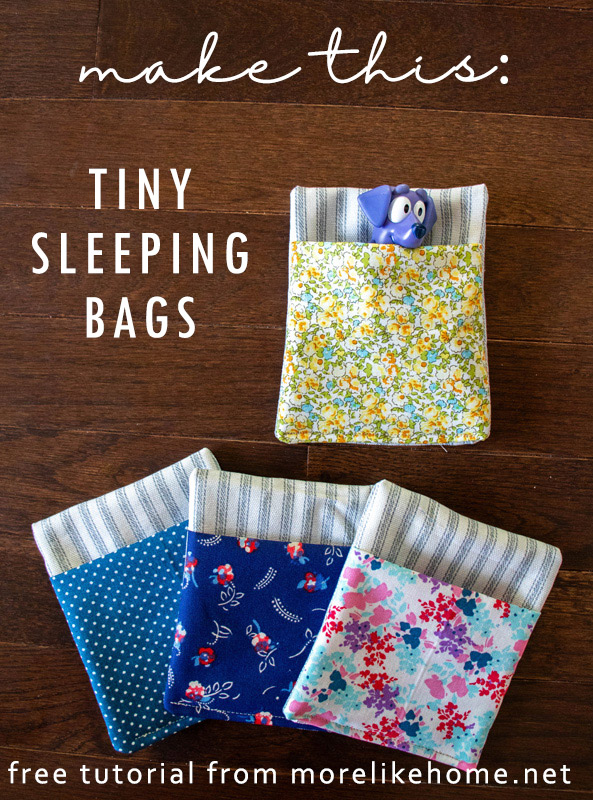
These sweet little sleeping bags are perfect for any small figures or dolls. Plus you can easily adjust the pattern to fit larger toys! Tips for adjusting the size are at the end of the post!
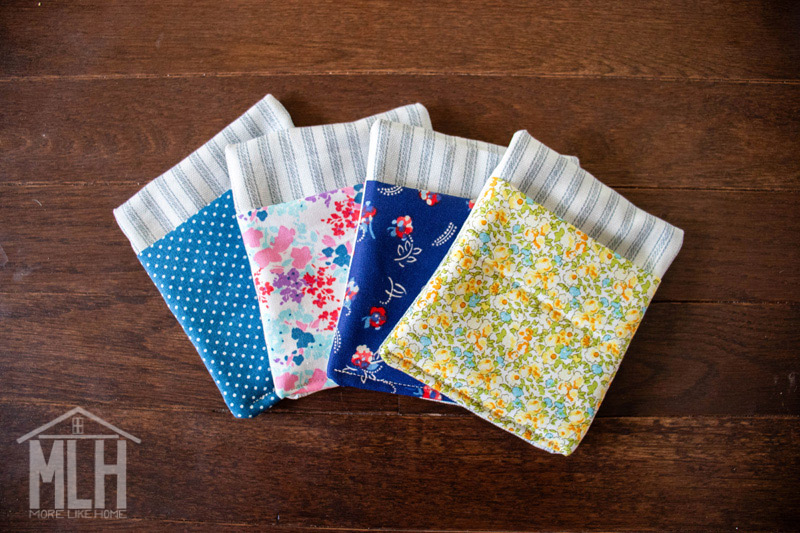
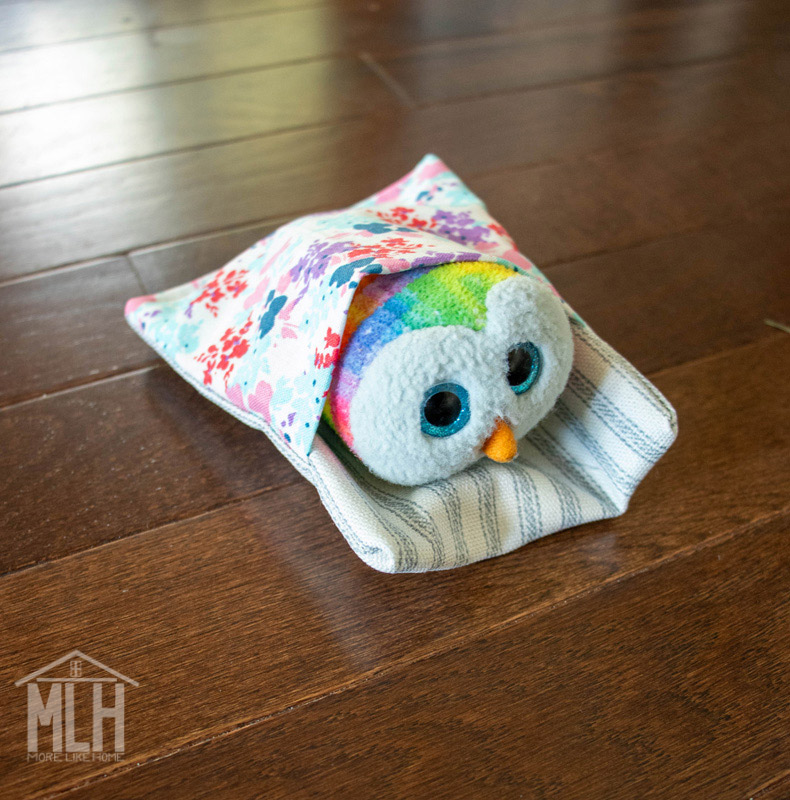
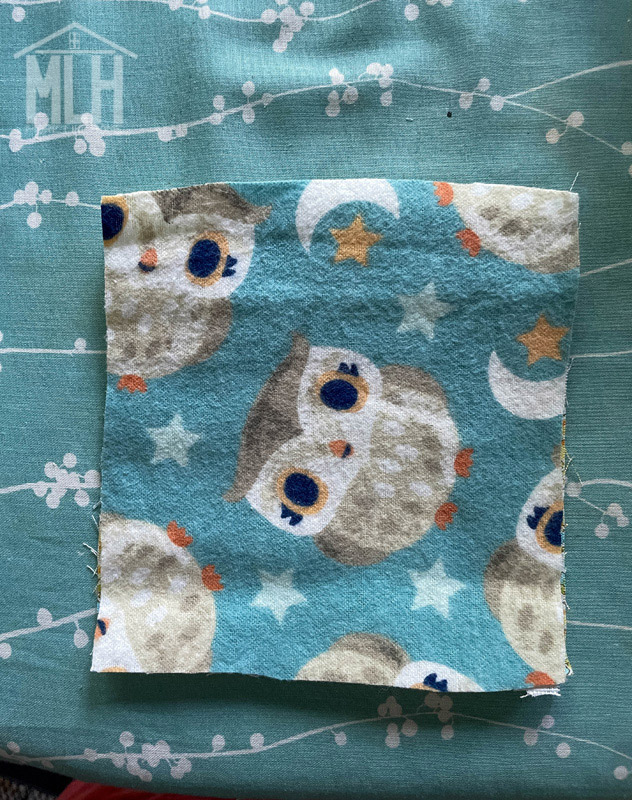
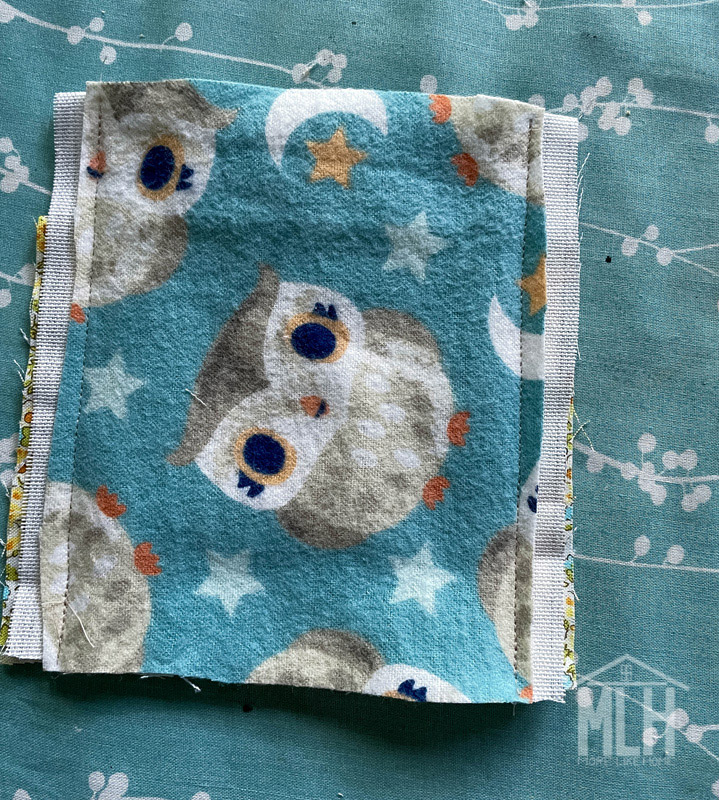
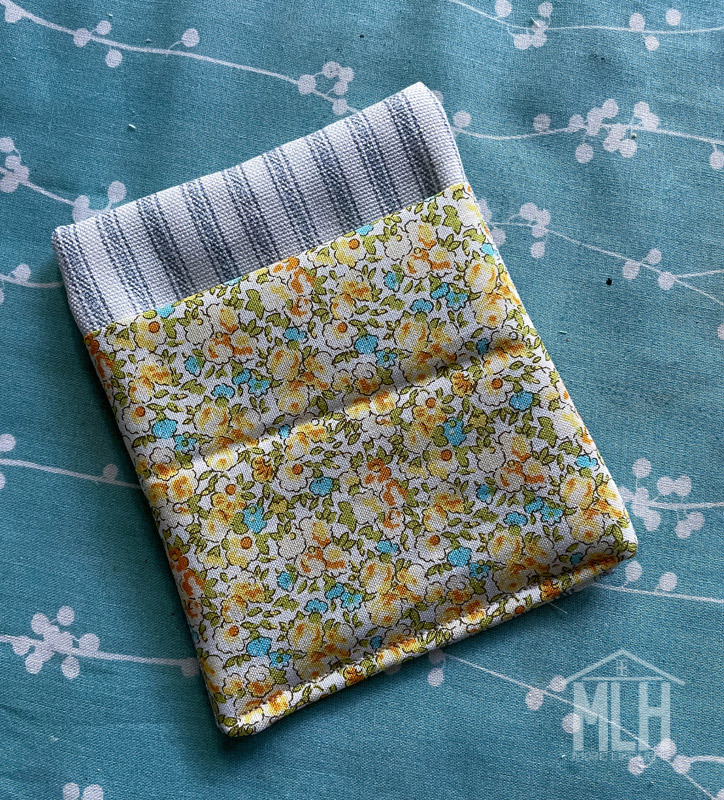
The finished size of this sleeping bag is about 4 x 4.5" and it can easily fit bluey characters, playmobil characters, and even small soft toys like this owl:
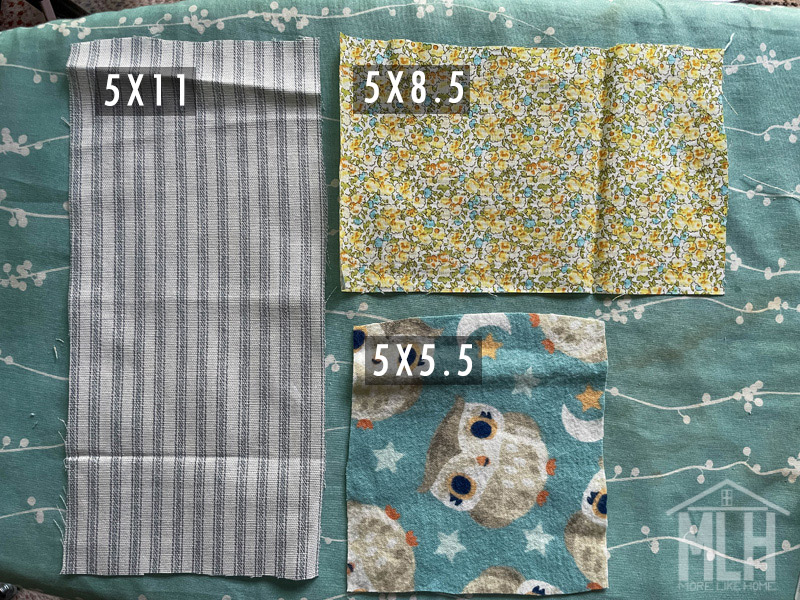
To make the sleeping bag you'll need:
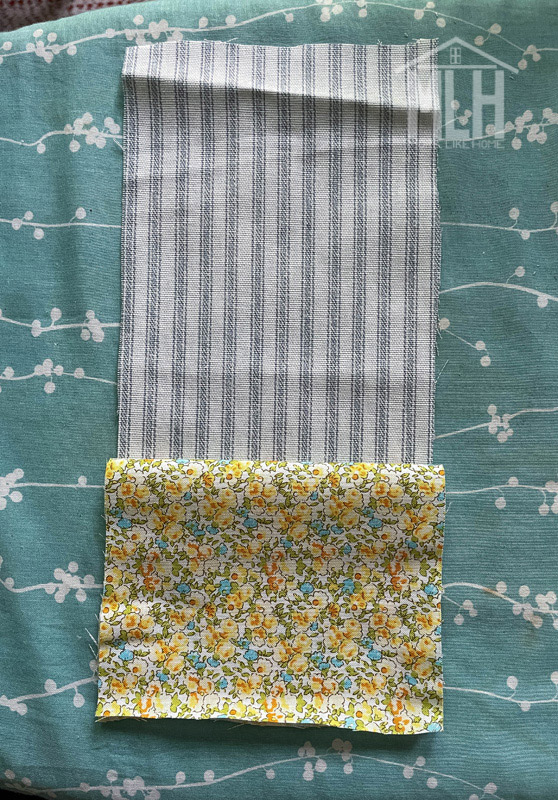
- a "mattress" that is 5 x 11"
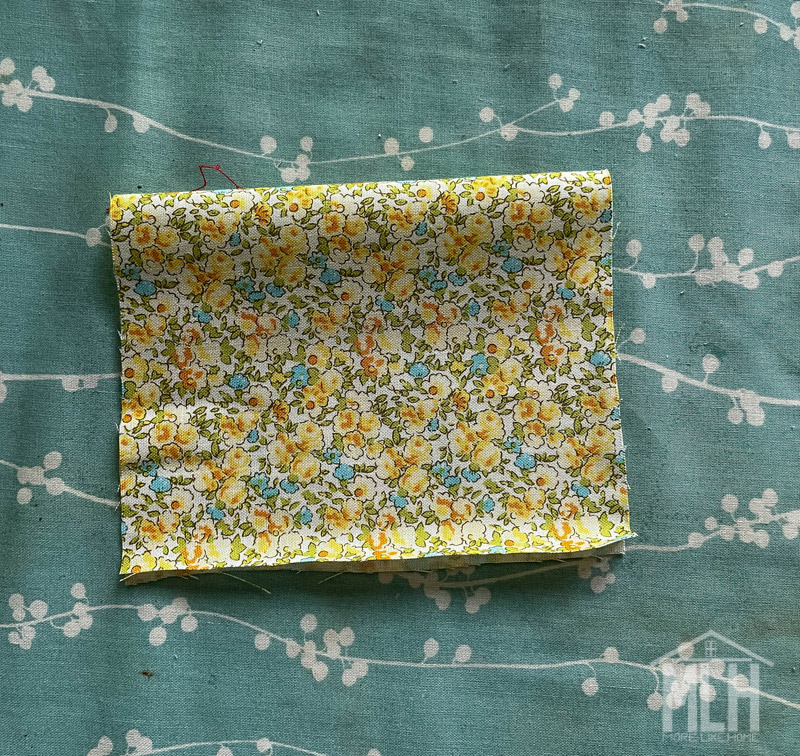
- a "blanket" that is 5 x 8.5"
- "padding" that is 5 x 5.5" (I used a scrap piece of flannel just to give it a little more stability)
- thread
Fold the "blanket" in half with wrong sides together, with the folded side toward the top:
Stack the "blanket" on top of the right side of the "mattress" fabric, lining up the bottom edges:
Fold the top side of the "mattress" down over the "blanket" so the bottom edges line up:

Stack the flannel on top of the "mattress" fabric:
Stitch down the left and right sides of the stack (leave the top and bottom alone):
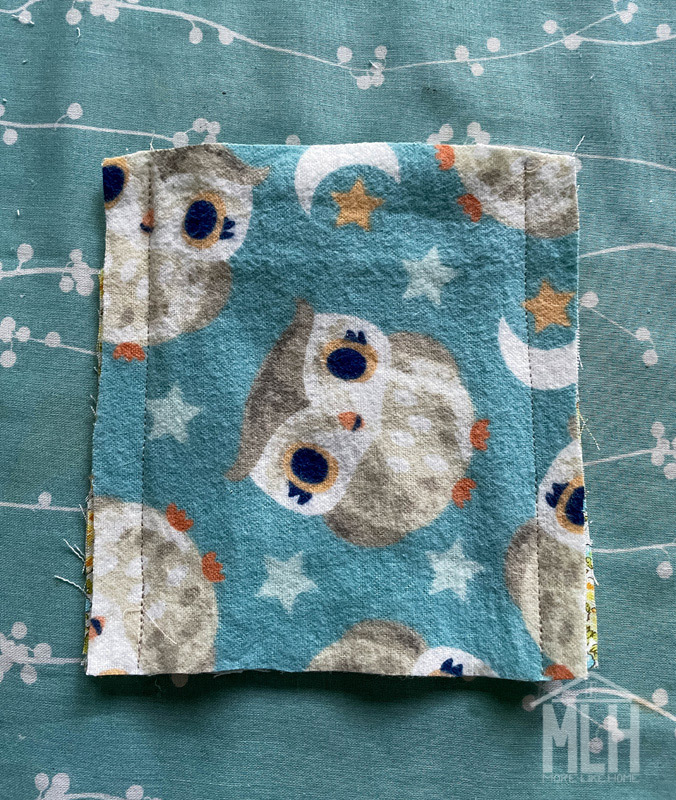
I trimmed the flannel in the seam allowance to make it a little less bulky for turning:
At the bottom edge, find the opening between the bottom layer of the "mattress" and the "blanket" and turn the sleeping bag right-side-out (if you turn it right-side-out using the wrong space it won't look right. Just flip it back around and try it again!):

- The 5" measurement for each piece of fabric is the width of the sleeping bag, so to change the width you need to change that measurement the same amount on every piece of fabric. Keep in mind the 1/2 seam allowances will take 1" away from the total width (so I needed a 5" piece of fabric to make a 4" sleeping bag). So, for example: to make an 6" wide sleeping bag, you'll need to cut your pieces 7" wide.
- The height is a little trickier. Here's what to keep in mind:
- Decide what height you want the finished "mattress" to be, double it, and add 1" for seam allowance. So, for example, if you want a 7" tall finished product you'll double that (14") and add 1" for the seam allowance for a total length of 15".
- The "padding" piece needs to be 1/2 the height of the "mattress" piece.
- The "blanket" piece needs to be at least 2.5" shorter than the "mattress" if you want a pillow portion to show at the top. You can leave more "pillow" by making the blanket piece even shorter.
No comments:
Post a Comment