Showing posts with label backyard. Show all posts

Thursday, March 5

How to Propagate Houseplants (more plants for free!)

You guys know I love low-budget home decor, and what's more low-budget than free? So today we're talking free houseplants! I'm going to show you how I propogate a few of my favorite houseplants to start brand new baby plants without paying a dime!

Did you catch my post last week about my top 6 favorite houseplants? It's a great place to start if you're looking for plants that are low maintenance and hard to kill. And this is a perfect follow up because guess what? All of my favorite plants can be propogated!

The best time to propogate is in the spring when plants are ready naturally ready to grow quickly... so get those pots ready, folks! It's almost time!


All these plants can be propogated with one of two methods: dividing or rooting. Both happen to be super simple, they just take a little time (you're growing new plants, after all!). If you're looking to get a big plant quickly then propogating probably isn't the best option for you, but if you're looking to slowly grow your collection (or sprout a few plants for friends) using what you already have? Then read on, friends! Here are the plants we'll be looking at today (although you can use these methods for many houseplants):
  1. Succulents
  2. Snake Plants
  3. Aloe
  4. Pothos
  5. Spider Plants

Tuesday, April 10

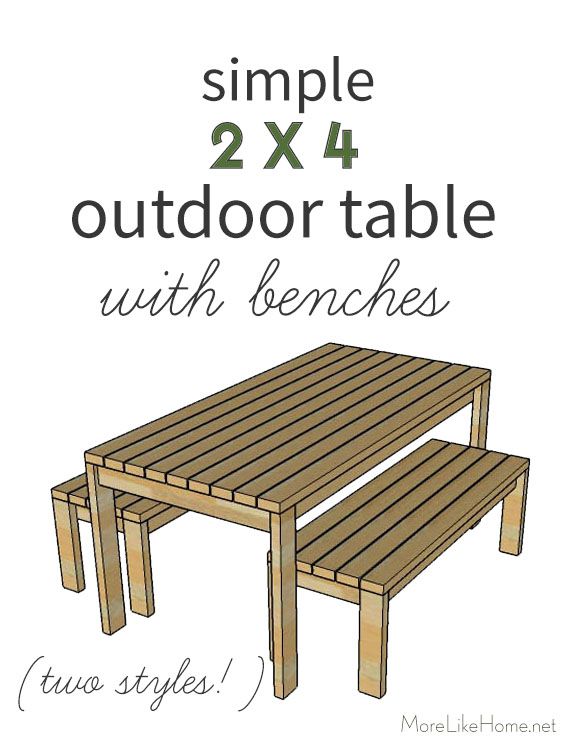
2x4 Simple Outdoor Table with Benches {two styles!}

I've always liked the look of Ana White's simple outdoor table & benches. With the popularity of our 2x4 building series, I thought I'd just make a quick twist on her original design to make a 2x4 version!  I dream of eating outdoors on summer evenings, and I feel like this set-up with a roomy table and long benches would be the perfect place for the family to gather. Plus it would be a great compliment to a 2x4 outdoor sectional!


I made two simple variations for the table top - one with the top boards running length-wise:


And one with the top boards running across the width:


The dimensions will be the same for either table: 67 1/4" long x 33 1/2" deep x 30" high


I'm also including plans for matching 2x4 benches to tuck under the table.  Perfect for some backyard summer fun! Ready to get started?


Monday, June 26

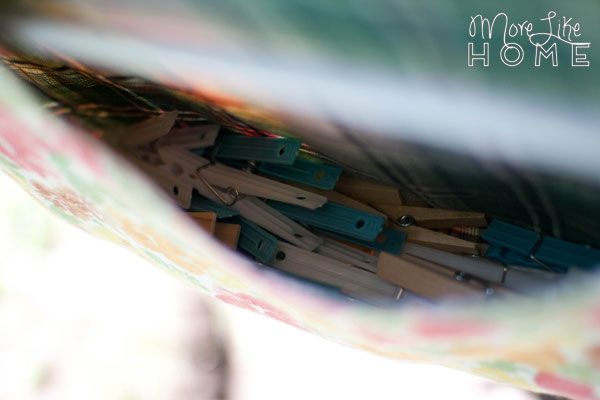
DIY Clothespin Bag

I've got a quick little project for you today that will go just perfectly with you new clothesline! (you did just put up a clothesline, right?) Grab any old hanger and some scrap fabric, and I'll show you how to make this handy clothespin bag:


It's perfect for keeping my clothes pins corralled and within reach (for even the littlest helper), and makes it easy to bring them inside after I take down the laundry. Bringing those pins in out of the weather will help extend their life and keep them working smoothly.


My bag is full with roughly 140 clothespins in it, and we use almost all of them when the line is full. Granted, I do have some clothespin enthusiasts helping on the lower line. I counted 9 clothespins on one shirt this morning.


I made my bag using a scrap of duck cloth leftover from the apron I made for my mom and lined it with a light canvas fabric that's been sitting in my stash for a couple years (maybe a yard sale find? I don't remember).

Monday, June 5

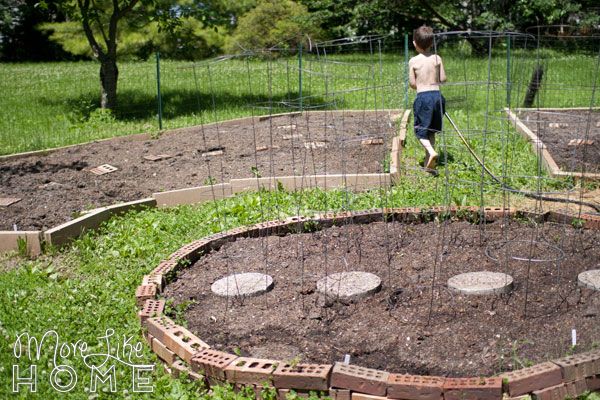
Old Bricks, Raised Beds, and a Truckload of Dirt

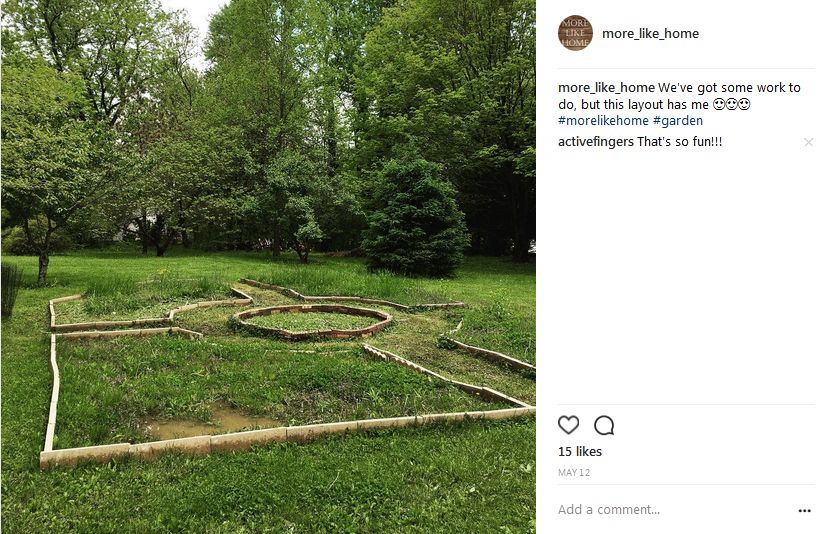
Our garden finally came together a couple weeks ago, and we're so excited to see what happens! We spent several weeks planning, budgeting, and piecing things together. And now we already have little sprouts popping up all around!


Want to see more garden posts? Check out my original square foot garden, what I planted in it, how to plan a garden layout, 2x4 garden fence, critter-proof salad garden, companion planting, starting seeds indoors, and my temporary mini-greenhouse.

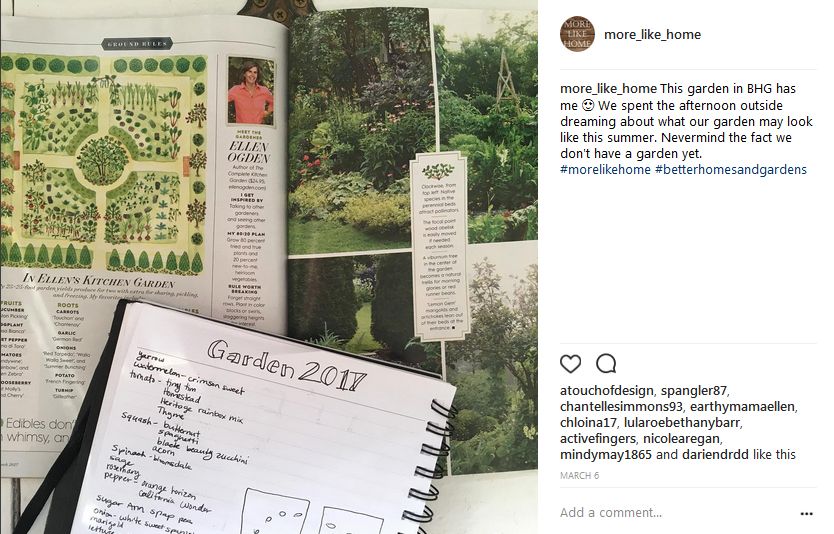
At first I planned a few simple rectangle beds like we put in at our last house. But then I came across this garden in an issue of BHG that got my wheels turning a whole different direction.


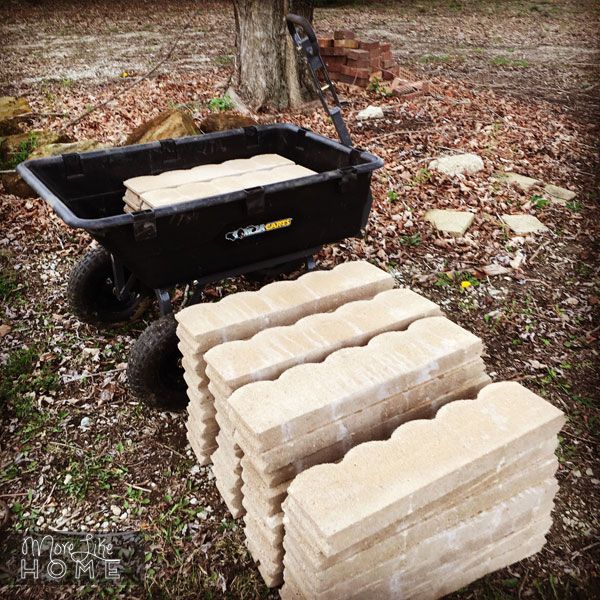
It looked so lush and peaceful. Where my plan was straight and boring, this garden was creative and flowing. I loved the curved lines, decorative elements, and the mix of flowers with veggies. And so our new garden plan was born. (we post updates like this on Instagram!) We created a pattern of brick-lined raised garden beds tucked in between a few small trees. It's the sunniest spot in the yard and seemed like the natural place for a garden.


So. Raised beds. We felt raised beds would be our best options because the ground is very clay-rich and doesn't drain well. So on top of being easier to weed and maintain, we're hoping raised beds will allow better drainage after rain and give our beds a more fertile start.


Saturday, May 20

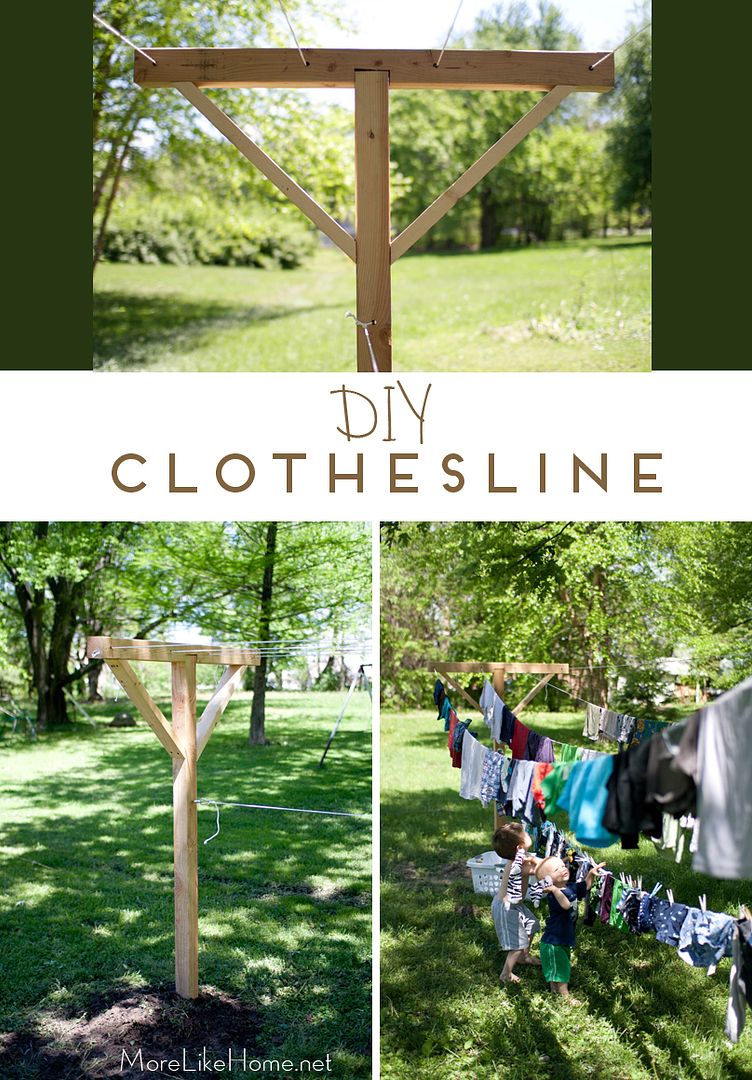
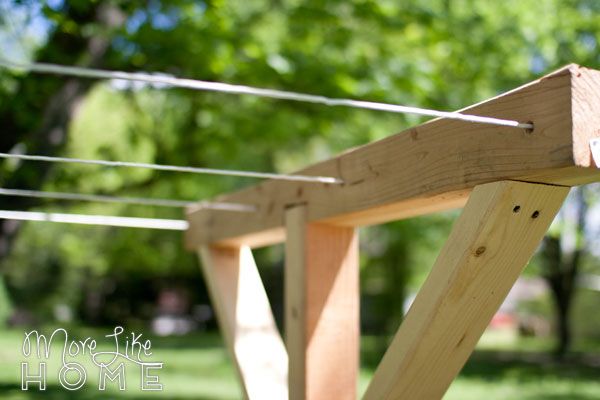
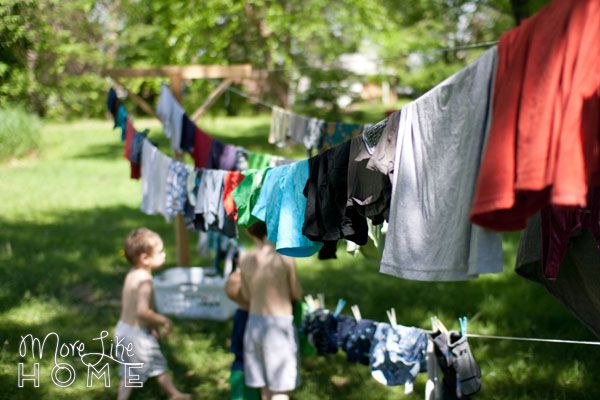
DIY Family Clothesline (so the kids can help!)

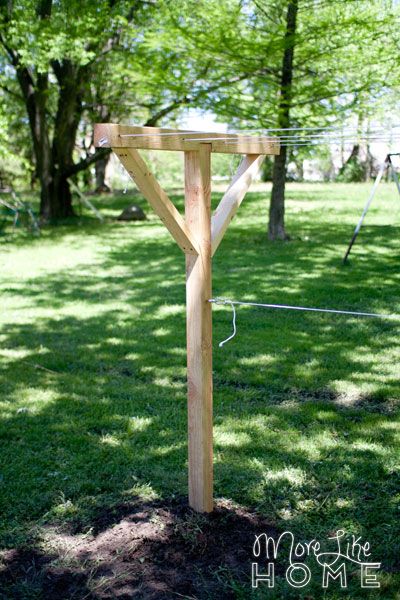
It's finished! And I love it!!! We've had our clothesline up and running for over a week, and my only regret is not doing it sooner. (if you want don't want to miss sneak peeks of projects like this and other behind-the-scene snippets, follow us on instagram and facebook!)


I like the idea of saving energy, but even more than that I've been looking for ways to spend more of our day outside, which made this a perfect solution for us. I bring the boys out to play, hang up some laundry, and wait for it to dry. Ok, we might not stay out the whole time it dries, but it's a great motivator to get us out the door!


It easily holds a full load of laundry, plus a load of cloth diapers at the same time. If you have a big "laundry day" during the week it may be worth adding a third pole to double your hanging space.


But we haven't even got to my favorite part yet. See it down there?


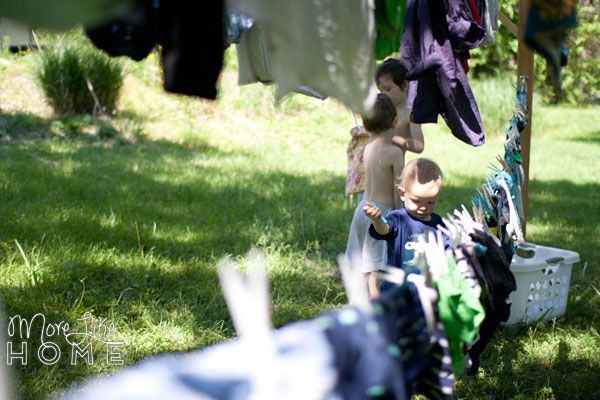
We snuck in a little child-height line so the boys can help hang the laundry. Or in the little one's case, trail behind removing every single clothes pin followed by an enthusiastic "uh-oh!"


Thursday, July 14

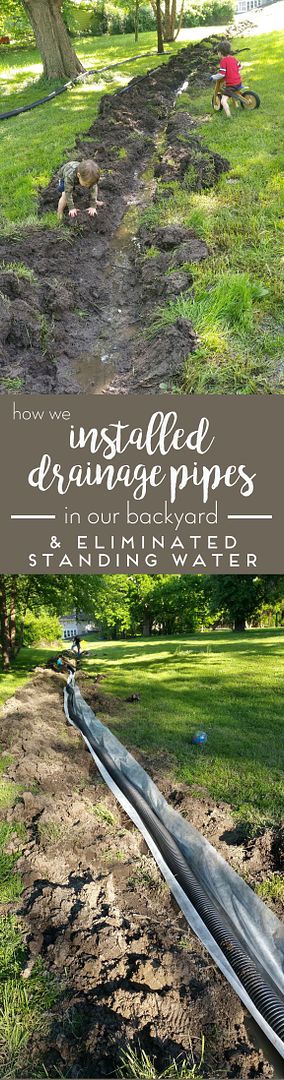
The One Where Everything is Muddy {How We Installed a Backyard Drainage System}

This summer brought one of the the biggest, dirtiest, most labor intensive home-maintenance projects we've ever tackled. There's nothing like a little bit (or a lot) of mud to keep things interesting on the homefront. So hold on to your hats! This is the story of how we turned our backyard river into... you know... a normal backyard.

When we first toured this house we loved it, but as soon as we walked out the backdoor and saw the big deck overlooking two beautiful acres we were sold.


That was at the end of winter. We moved in just as spring came. The property looked even better when it was green. Then it started to rain. And rain. And the lowest part of the yard started to fill with water. And I mean really fill with water. It was like a small river running through the yard while it rained, then turned into a pond at the south end with a creek trickling out the North end for days after when the rain stopped. Over time it would get lower until the rain came again, but I didn't think it would ever really be dry again! We never mowed the center of the yard because the mud was so deep. Turns out, the ground has an abundance of clay and lacks any real drainage. Conclusion: Indiana is a swamp. We live here now.

 These boys love mud. And clay.


So we did a little googling and hatched a plan to improve our drainage. The flood zone was pretty flat at the south end of the yard, but the north end slanted toward the north and right into a culvert that runs under the neighbors yards and the street. Perfect. So we bought a van-full of material (we had a roll of pipes inside and one tied to the rack on top). (More details on the materials coming up in a second.) But first - the big dig. We waited for things to dry up a bit more, then enthusiastically grabbed our shovels to start digging the 200 ft. trench. This is the first hole I dug:


It immediately filled with water. This might be harder than we thought. The boys had a hey-day, of course. I turned my back to try a drier area and heard hysterical laughter followed by "Mommy! My brudder throw-ed a snowball at me!"

I don't think that was a snowball, son.

Tuesday, May 3

How to Plan a Garden with an Architect's Scale {Garden 2016...ish}

I've spent the last few weeks working on a plan for our new garden space. I've been leaning toward raised beds and finally realized the best way to decide what layout I like (and estimate the cost to build it) was to go ahead and draw it up. I usually hop on SketchUp to draw floor plans and layouts, but today I wanted to do something quick and tech-free while the kids were eating breakfast, so I pulled out a piece of paper and my architect's scale. This is my favorite low-tech tool for making scaled drawings, and it's fun to boot! I'll share a few easy tips to get started with one, but first let's start with our garden plan.


I'll tell you now, I don't know if we'll actually pull off much gardening this year. Considering it's already May and we have yet to break ground (or... add ground?) My hopes aren't too high to actually get plants in, but we should at least be able to get it ready for next year. I started with a little brainstorming of what we're looking for in our garden:
  • easy maintenance
  • high enough fence to keep deer out (we have deer now!)
  • space for both annuals and perennials
  • fruit bushes (or maybe plant these outside the fence)
  • improved drainage
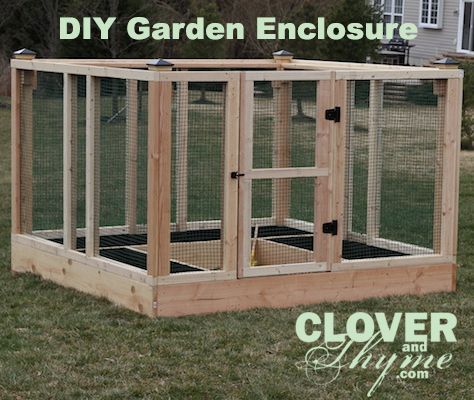
This landed us in the world of raised beds with high enclosures. Then I was off to pinterest to search for ideas. I loved this simple enclosure/raised bed combo by Clover and Thyme.

https://cloverandthyme.com/2013/04/01/diy-garden-enclosure/

And who doesn't love a little Joanna Gaines' charm? I love the style of this one, but I'm not as crazy about the huge garden beds. Part of the point of raised beds is staying off the dirt so it doesn't get compacted and that is lost on this layout, plus it means more area for weeds to pop up. But still... it's oh so pretty.

http://www.countryliving.com/home-design/house-tours/g2546/chip-joanna-gaines-farmhouse-tour/


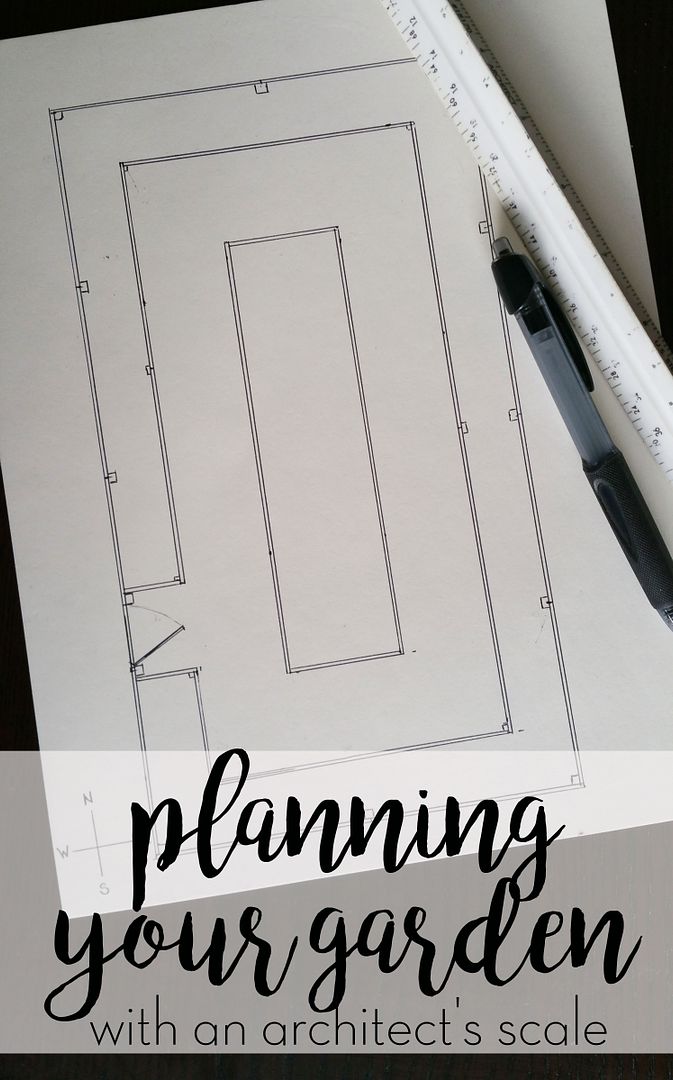
Then it was time to start working on my garden layout. Our new yard came with a pretty big garden already in place so I'm just working with that space. I started by measuring the existing garden. It was 14' x 25' so I drew a box that size on my paper, then got to work hashing out the raised bed layout. I decided on 2' deep beds around the perimeter (I should be able to reach things in the back easily), and a 4' deep bed in the center with a 3' pathway all around. These wide pathways are important if I do grass instead of gravel pathways because I want to be able to get the lawnmower in there! Grass saves a lot of money over adding gravel, plus I'd rather kneel on grass while I'm working. I also figured things like fence posts and a doorway into my drawing. This plan should roughly double the growing space of our last garden!


Wednesday, April 22

Patio DIY

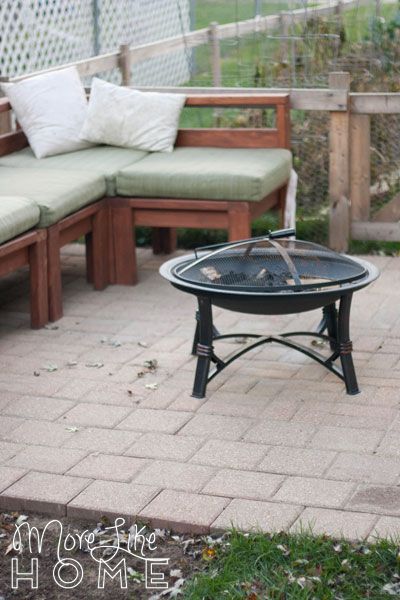
Spring is here, and we're ready to get out of this house. For a couple years I've been dreaming of extending our patio so we would have room for lounge seating, a dining area, and maybe even a fire pit. It's easier to take little boys outside to play if you have a comfy place to chill, right?


We built a comfy sectional and added a garden, but a patio was still on a long list of dreams for our little piece of the outdoors (you can see our dream list here).


The patio was pretty far down the list because, as it turns out, patios can be expensive. And we had at least a chunk of patio already. But last fall we stumbled across an opportunity too good to pass up - Husband's workplace was re-doing some pavement and dumped a pile of old pavers in the back of the parking lot. For free. First come, first served.


Saturday, August 16

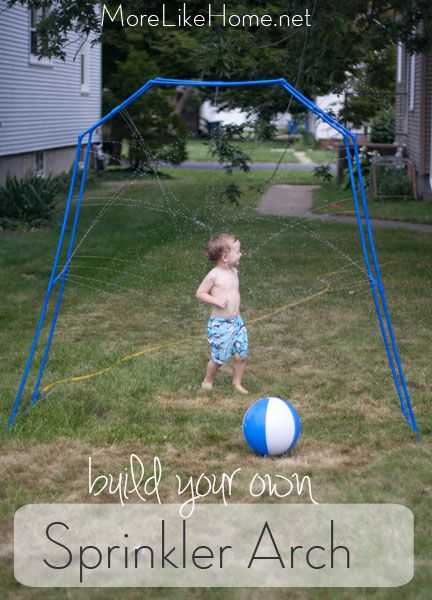
DIY Sprinkler Arch

We still have a few steamy days headed our way before summer is over, and this DIY sprinkler arch is a great way to stay cool in your own backyard!


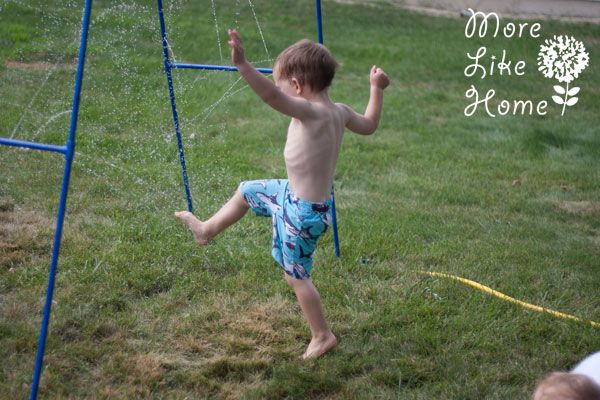
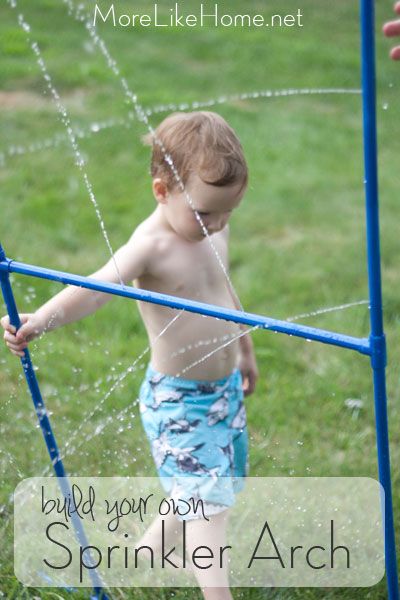
We've had a lot of fun hooking this up to our hose when things get too hot. And when we're done playing we can set it over our garden beds to water the garden! That's a freebie. That's also how Husband talked me into the idea.


It's a pretty quick and easy project to put together. We did it in an evening while the boys played in the wading pool and ran (or crawled) circles around us. So you can definitely squeeze it in before the next heat wave!


It's also great because you don't need a workshop full of tools to pull it off - just one small tool and a few pieces from the hardware store!


Saturday, June 21

2x4 Garden Fence

You guys are pretty up to date on the status of our garden (from starting seedlings, to a mini greenhouse, to a bunny-proof salad garden, to companion planting and doubling the size our big garden) but we still have one more big change to share. Our latest move as we wage war against the bunnies. We fenced in the big garden!


You guys know we love a good 2x4 (you can see our full 2x4 series here) and we still had several sitting in our garage just waiting to turn into a fence. We love them because they are easy to work with and pretty affordable, not to mention sturdy - they hold up houses for goodness sake!


Throw a couple rolls of chicken wire in the mix and you're on your way to garden bliss. It takes a little work to get it all together, but the process is pretty straightforward and it's totally worth to protect your future produce!


Thursday, June 19

Companion Planting in the Garden

We finally got our plants in the ground a few weeks ago (our mini greenhouses really helped our little plants get strong and hardy for the transplant) and we tried something new this year to hopefully increase our yields. I started reading up on companion planting with a couple books from the library (available here and here). The gist of it is that some plant, when grown together, help each other thrive while others can actually keep each other from producing. 


There was a lot of information in those books, so I started by making a list of all the things we would be growing and making a column of thing that grew well with it and another column of things to avoid. From there, knowing I would have three garden beds to work with, I did my best to divide them into three list of compatible plants. In the first bed we planned tomatoes, carrots, cucumbers, eggplant, and some spinach. Those things also grow well with strawberries and asparagus, which already grow along the garage, so all these things went in the neighboring bed. In the second bed we planned broccoli, onions, cabbage, cauliflower, brussel sprouts, hyssop, and squashes (we have pumpkin, acorn, and I think zucchini but I didn't label them all and a few didn't make it this far... so we'll have some surprises!). They also grow well with chamomile which I'd love to add, maybe around the fence since it tends to spread. The third bed is just a little guy and he got stuck with all the things that didn't fit anywhere else - potatoes, beans, cantaloupe, and snake squash and tiny pumkiny things courtesy of my sister. I don't think those even are supposed to grow together... I do better next year.


Then I grabbed a handy print-out from my square foot garden book to use as a spacing reference during planting and headed out to the garden (which is now fenced in!).


But wait... did I say three beds? We also had to dig up two more. While we love our raised bed and hope to upgrade these in the future, the wood/bricks and especially the compost to fill them was not in the budget at this point. So we broke out the handy shovel and dug. And dug. And dug. Cried a little. Dug some more. Okay we didn't actually cry, but I don't think the neighbors would have judged us if we did. We added another long bed marked with flags in the pic below, and a smaller bed across the end of the garden (perfect for beans since it's right along the fence!).


We worked in small sections at a time loosening the soil, pulling up the grass (make sure you get those roots!), and shaking as much dirt off the roots and back into the bed as possible. Shaking the dirt off is important so you end up with a nice bed full of dirt instead of a big old hole.


Bye bye grass!


When it came time to actually get the plants in the ground I started by laying out all the pots to figure out the spacing and make sure everything would fit.

Friday, May 16

Critter-Proof Cage & Garden Update

Our little seedlings are still chillin' out clinging to life in their mini greenhouse and while they wait we are trying to get the rest of our yard & garden ready for transplanting. You may remember we had quite a problem with bunnies (and squirrels) eating all of our plants last time. So this year we hopefully found a way to at least keep them out of our small salad & herb garden.


We built a simple frame and covered it with chicken wire so the little furry fiends can't get in. It's made with 1x2s 1x3s so it's pretty lightweight. We just lift it off of the garden when we need in for planting or weeding. I realize "garden" is a strong word here. So far we have chives & sage that popped up from last year.


To build it we started with two square sections like this. The ends are 1x3s (because we had them left over and they were long enough) and the long sides are 1x2s we purchased for the project. We made it just big enough to sit on the sides of our raised bed, but if we did a bed that didn't sit against the house we would have made it a little larger fit around the outside of the bed and sit on the ground.


We screwed the ends together.


Thursday, April 3

Backyard Brainstorming

This is that time of year when summer is so close I can almost feel the heat. Almost. So it's the time of year I start hashing out big (some husbands might say unreasonable) plans for how fantastic our backyard is going to be! Granted, several of these things were also on my first plan from 2012 but there are some fun new ideas, too (thank you pinterest). And they definitely will not all happen this year so lets all put on our patient pants before we get started. Got 'em on? Ready to dream big? Good. Here's what I'm thinking:


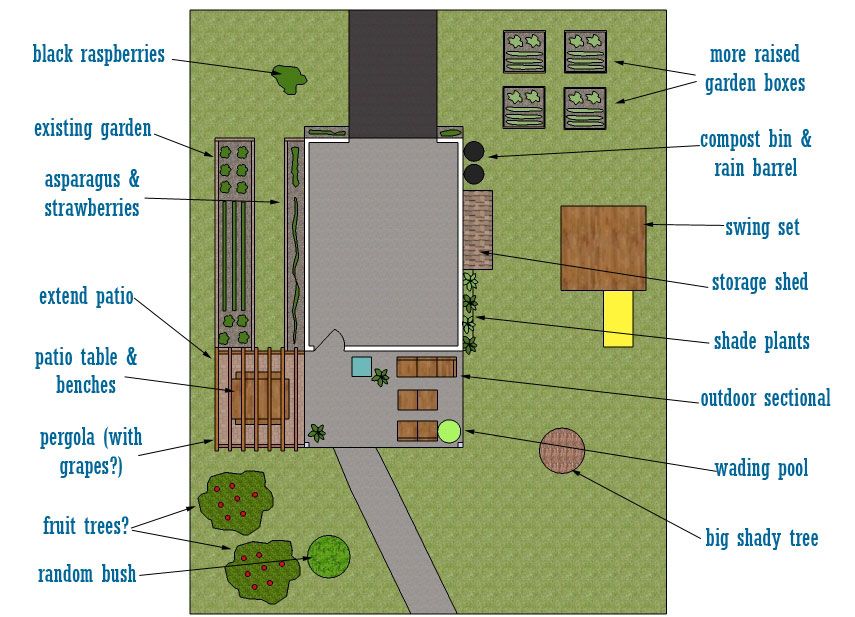
Over on the top/middle left we have our existing garden. Last year it was totally neglected and used for digging with dump trucks. But this year we already have seeds started to make it better than ever! Our section of strawberries & asparagus will stay the same (but we may finish boxing it in, that never got done last year) but the rest of our garden will need to be expanded to fit more goodies. I'm thinking adding a few more raised beds somewhere in the yard might be our best bet. The right side of our yard is shaded by a big tree so it would have to be back by the driveway or up where we have the random bush of uselessness (and the fruit trees I drew in, but it turns out we have power lines running over there so these would be better suited back where I drew the garden beds. oops.) Besides our new array of veggies, we're also going to need to step up the design to keep the critters out. Our first time around most of our plant were eaten by furry little scavengers. We definitely want to keep some of that food for ourselves this time! We haven't decided on an exact plan but we have a few ideas. One option is to build a removable frame like in the book Square Foot Gardening. The seem fairly easy and cheap to make, the only thing is that I would have to drag them off to get to the foodie goodness. Which led me to the idea of a totally fenced in garden so we can just open the gate to come and go.


I love the simple open look of that one and would be great for keeping out bunnies. However. Oh, however. We have an insane number of squirrels and I'm suspicious that they do far more damage that the few little bunnies hopping around. And a fence like that would not do much to stop them. Boo. So if we did a fenced in garden it would have to be something could have a roof, more like this:

Although there are probably some kind of city ordinances or nonsense against that? Hmm. While we think about that, I'm starting on a much easier & cheaper attempt to keep the critters at bay. I've read that animals aren't too crazy about the smell of marigolds. I have no idea if this is true. But 200 marigold seeds were only $0.99 from SeedsNow so I have a bunch of those guys sprouting in the office, hoping we can plant them all around the garden.

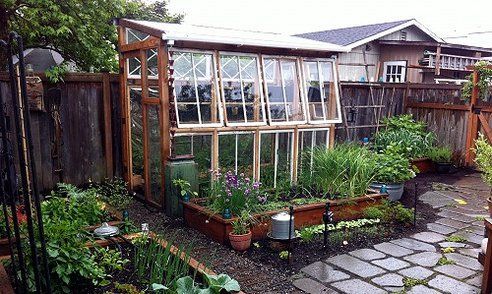
This next idea isn't drawn in the layout, but I also would love to have some kind of greenhouse for year-round veggies. I love these cool window greenhouses, but I'm thinking of doing something more practical like covered boxes along the south side of the house (you can read more about it in Four-Season Harvest). The other ideas I want to keep in mind for our garden are space-saving trellises for viney plants and I want to try newspaper instead of landscaping fabric under our raised beds.

Subscribe