Friday, July 22

X Entry Bench - Friday Hack

Another Friday, another hack! Today we're working on another look for the entryway. A few weeks ago we hacked a rustic entry table, but this time we're working on something with a much more modern vibe. But don't worry, it's still wonderfully warm and inviting.

http://wallsneedlove.com/collections/removable-wallpaper?utm_source=Pinterest&utm_medium=CPC&utm_content=Jones%20Design%20Wallpaper%20Install&utm_campaign=Refresh_Your_Walls_With_Removable_Wallpaper

So first things first, we need to hack this sweet X Bench. Finished dimensions will be 48" long x 18.5" tall x 14" deep. Here's what you need:

2 - 2x2 @ 8' long
1 - 1x2 @ 8' long
1 - 1x2 @ 6' long
2 - 1x4 @ 8' long
1 1/4" pocket hole screws 
2 1/2" pocket hole screws
wood glue
*if you don't have a Kreg Jig, you can get by with regular 1 1/4" and 2" screws and a countersink bit, and some finishing nails.
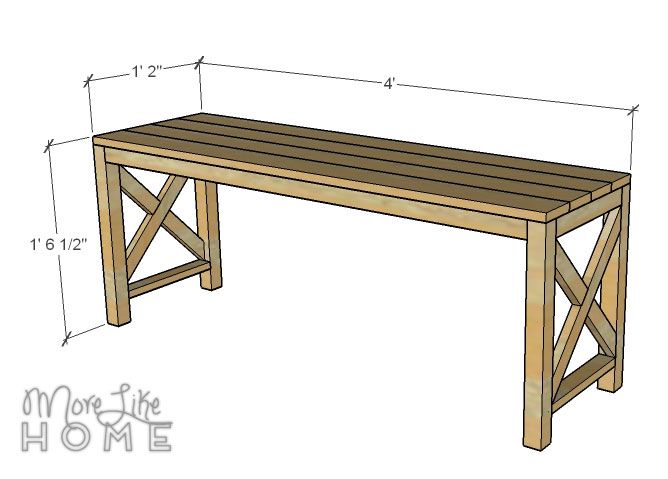
Measure twice, cut once. Use glue in every step. Read through all the instructions before you begin. Be safe, have fun, and let me know if you have any questions!

Cut List:
A) 4 - 2x2  @  17.75"  (legs)
B) 2 - 2x2  @  11" (side top)
C) 2 - 1x2  @  11  (side bottom)
D) 2 - 1x2  @  17 1/16 (X long)
E) 4 - 1x2  @  7.75"  (X short)
F) 2 - 2x2  @  45"  (front/back trim)
G) 4 - 1x2  @  11"  (seat supports)
H) 4 - 1x4  @  48"  (seat)

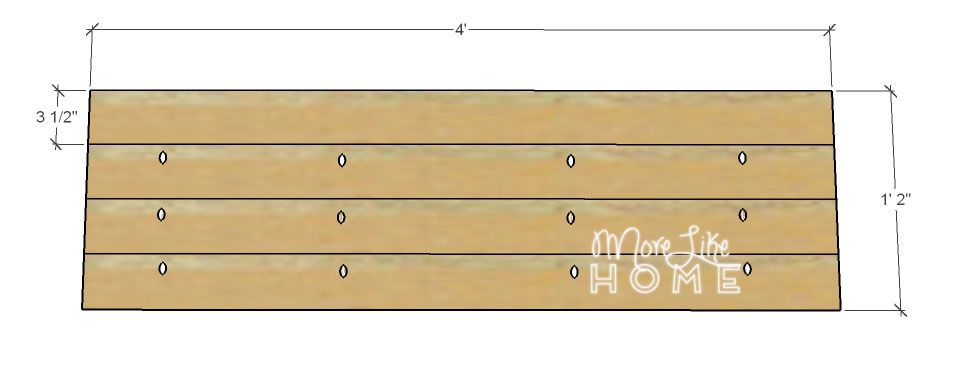
You'll actually want to start by cutting your seat boards (H). You'll lose up to 1/8" of length when you cut through your 8' board, so you'll actually end up with boards ever so slightly shorter than a full 48". This will be important later. Go ahead and attach the boards together side by side using the 1 1/4" pocket screws and Kreg Jig. Don't forget the glue. If you don't have a Kreg Jig, just cut the boards and then move to the next step.

Thursday, July 14

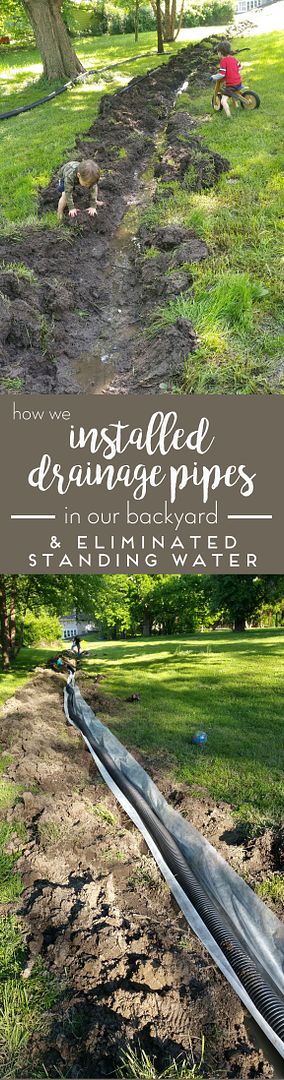
The One Where Everything is Muddy {How We Installed a Backyard Drainage System}

This summer brought one of the the biggest, dirtiest, most labor intensive home-maintenance projects we've ever tackled. There's nothing like a little bit (or a lot) of mud to keep things interesting on the homefront. So hold on to your hats! This is the story of how we turned our backyard river into... you know... a normal backyard.

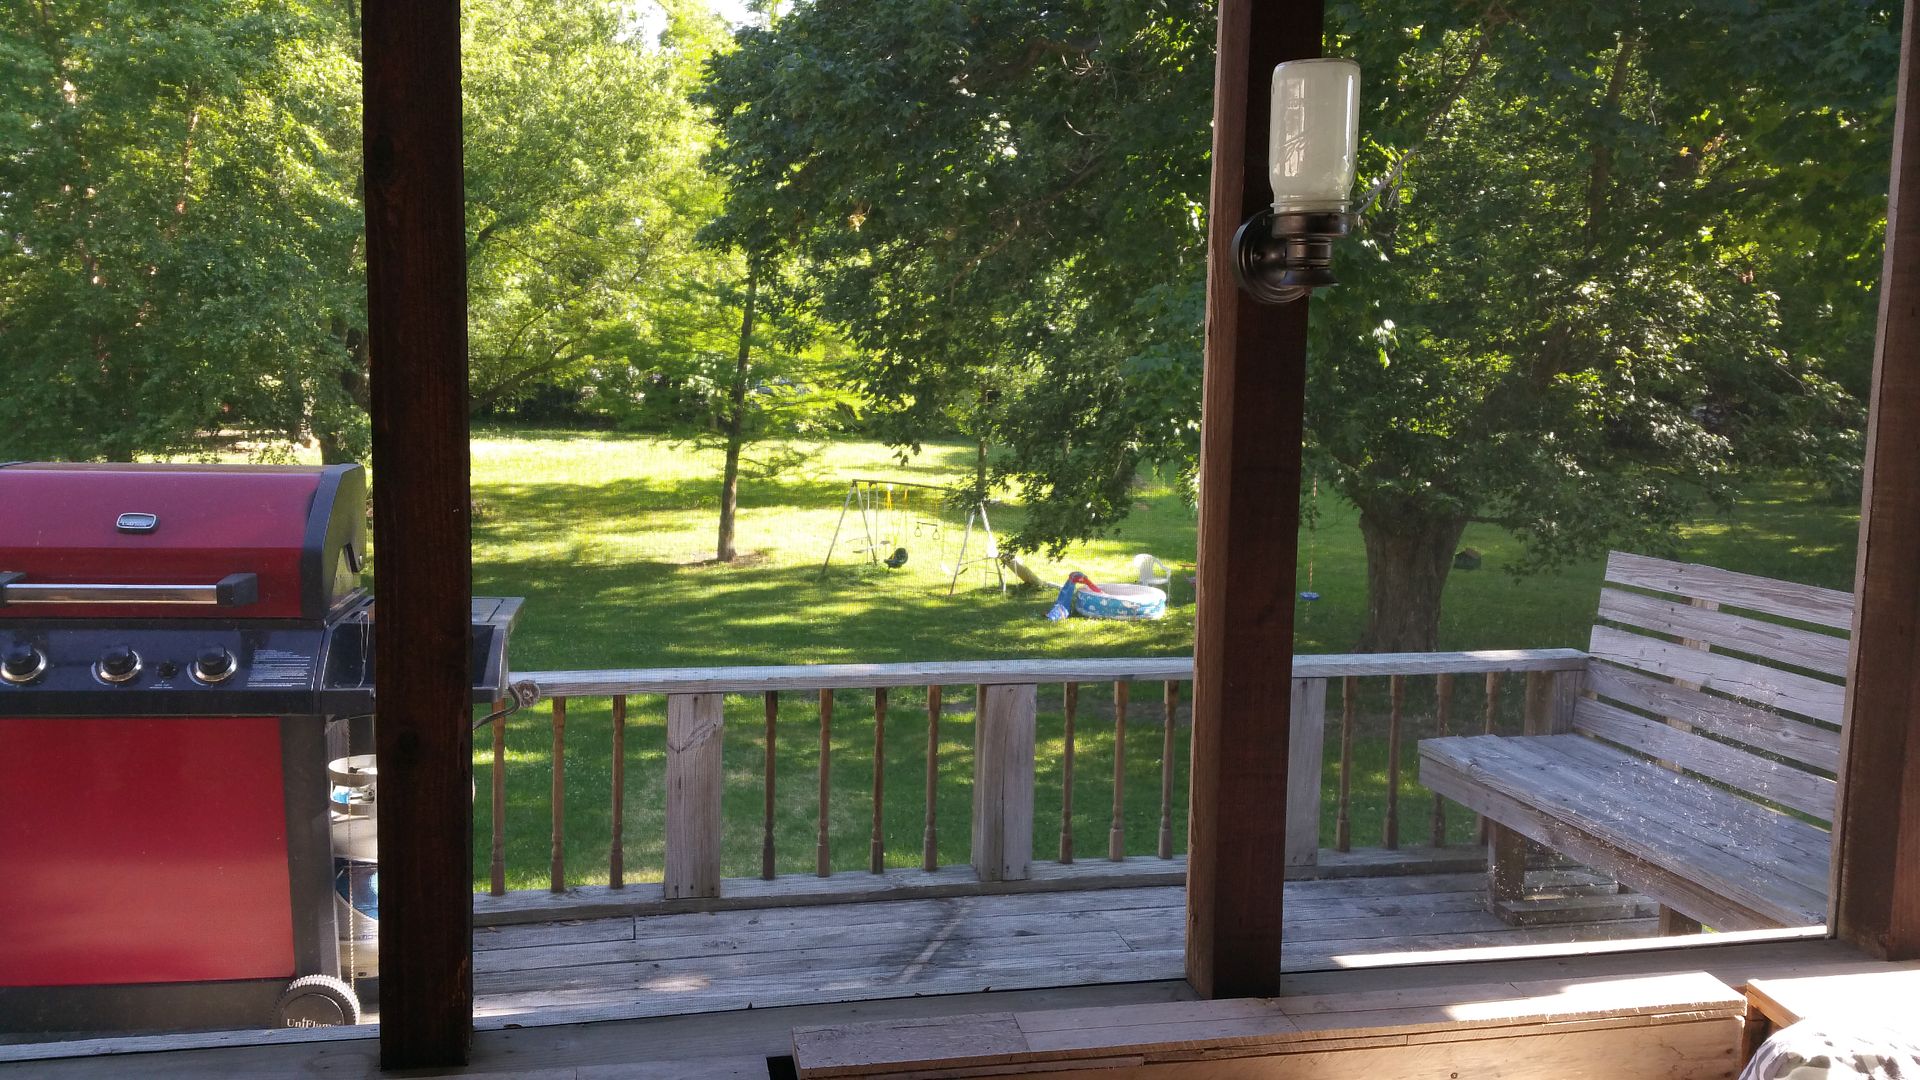
When we first toured this house we loved it, but as soon as we walked out the backdoor and saw the big deck overlooking two beautiful acres we were sold.


That was at the end of winter. We moved in just as spring came. The property looked even better when it was green. Then it started to rain. And rain. And the lowest part of the yard started to fill with water. And I mean really fill with water. It was like a small river running through the yard while it rained, then turned into a pond at the south end with a creek trickling out the North end for days after when the rain stopped. Over time it would get lower until the rain came again, but I didn't think it would ever really be dry again! We never mowed the center of the yard because the mud was so deep. Turns out, the ground has an abundance of clay and lacks any real drainage. Conclusion: Indiana is a swamp. We live here now.

 These boys love mud. And clay.


So we did a little googling and hatched a plan to improve our drainage. The flood zone was pretty flat at the south end of the yard, but the north end slanted toward the north and right into a culvert that runs under the neighbors yards and the street. Perfect. So we bought a van-full of material (we had a roll of pipes inside and one tied to the rack on top). (More details on the materials coming up in a second.) But first - the big dig. We waited for things to dry up a bit more, then enthusiastically grabbed our shovels to start digging the 200 ft. trench. This is the first hole I dug:


It immediately filled with water. This might be harder than we thought. The boys had a hey-day, of course. I turned my back to try a drier area and heard hysterical laughter followed by "Mommy! My brudder throw-ed a snowball at me!"

I don't think that was a snowball, son.

Wednesday, June 29

Seamless Crown Molding with Caulk

One of the great features of our new (but very old) house is the original crown molding in the living room. We love the character and charm, but settling had caused some significant gaps around the molding. Fortunately this has been one of the easiest fixes we've tackled in the house - the problem was solved with a tube of caulk and an evening on a ladder!


See how the crown is separated from the ceiling? I mean, I know it's an old home, but this was making it look really old.


And in some places, like around the fireplace, there was a gap both above and below the crown. It looked sloppy and honestly kind of dirty. Not exactly the vibe we were going for.


So we bought a tube of molding caulk. The flexible/crack-proof promises have me hoping it will hold up long-term. But most importantly, it's a paintable caulk. I've make the mistake of using regular caulk on other projects and I'll tell you now, there is no. way. to paint that stuff. Make sure your caulk is paintable. K?


Tuesday, June 21

It Is Well {DIY Hymn Art}

I love a good, old hymn. They have a knack for bringing peace and reassurance, even to the roughest days. And I'll tell you, some days around here feel pretty rough. But those days tend to bring me back to one of my favorites.


When peace like a river attendeth my way,
When sorrows like sea billows roll,
Whatever my lot, Thou hast taught me to say,
It is well, it is well, with my soul.

As I'm unpacking the new house and staring at these blank walls, I've been thinking it would be nice to get a few of these favorite verses up there. And this seems like a good place to start.


Here's all you need to make your own:
  • Wood - I used a piece about 12" long x 7" high
  • Paint - I used acrylic for the black and leftover white house paint for the white. Whatevs.
  • Printable Template - scroll down to the bottom and I have a few verses you can choose from!
Start by printing out your template of choice. Flip it over and use a pencil to color over the back of all the words.


Subscribe